Pistachio Ice Cream Recipe
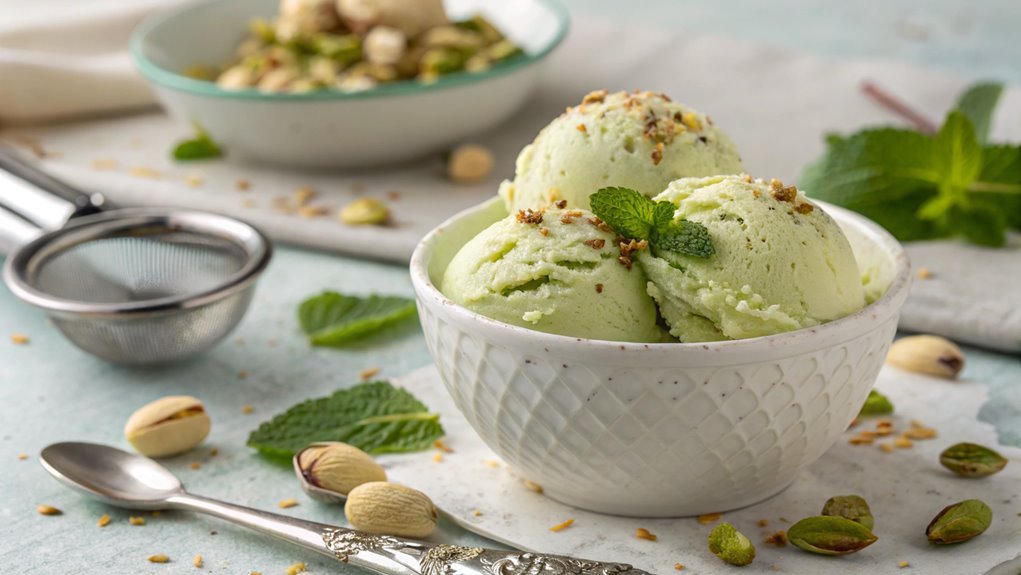
To make rich and creamy pistachio ice cream, begin with high-quality ingredients to enhance the flavor. The process is simpler than expected, from grinding the pistachios to churning the mixture.
A key overlooked technique can elevate your ice cream from good to exceptional, crucial for perfect texture and taste. Curious about this essential step? Let’s explore the details.
Recipe
Pistachio ice cream is a delightful treat that combines the rich, nutty flavor of pistachios with a creamy, smooth texture that melts in your mouth. Making this revitalizing dessert at home is surprisingly simple and allows you to control the ingredients, resulting in a much fresher and more flavorful ice cream than store-bought varieties.
Whether enjoyed on a hot summer day or during a cozy winter evening, pistachio ice cream is a crowd-pleaser that can elevate any occasion.
To start your homemade pistachio ice cream, you’ll need to prepare a custard base using fresh ingredients. This base will provide the creamy consistency that’s characteristic of traditional ice cream.
Once the mixture is combined and chilled, you’ll blend in ground pistachios to achieve that wonderful pistachio flavor. The best part? You can customize the texture by deciding how finely to grind the nuts, whether you prefer a smoother ice cream or one with a little crunch.
Ingredients:
- 1 cup shelled unsalted pistachios
- 2 cups heavy cream
- 1 cup whole milk
- 3/4 cup granulated sugar
- 4 large egg yolks
- 1 teaspoon pure vanilla extract
- 1/4 teaspoon salt
- Optional: chopped pistachios for garnish
Now let’s move on to the cooking steps.
Cooking Steps
Now that you’ve gathered your ingredients, it’s time to jump into the cooking steps for your delicious pistachio ice cream!
Start by blending those fresh pistachios with cream to create a rich mixture that’s bursting with flavor.
Once everything’s combined, chill it in the freezer for a creamy treat that will impress anyone who tries it!
Step 1. Gather Fresh Pistachios
While gathering fresh pistachios might seem simple, choosing the best quality nuts is essential for your ice cream’s flavor. Start by heading to your local market or specialty store. Look for pistachios that are bright green, plump, and have a slightly glossy shell. This indicates freshness and excellent quality.
Avoid any nuts that appear dull, shriveled, or have blackened shells, as they might be old or stale. If you can, buy your pistachios in bulk. This way, you can handpick the best ones. You’ll also have the chance to smell them! Fresh pistachios should have a pleasant, nutty aroma.
Once you’ve selected your nuts, don’t forget to check for any broken shells as these can affect the texture of your ice cream. After your purchase, store the pistachios in an airtight container to keep them fresh until you’re ready to make your ice cream.
Trust me, using high-quality pistachios will elevate your dessert. The rich, nutty flavor will shine through and make every scoop a delight. So, roll up your sleeves, gather those fresh pistachios, and get ready for an ice cream adventure!
Step 2. Blend Pistachios With Cream
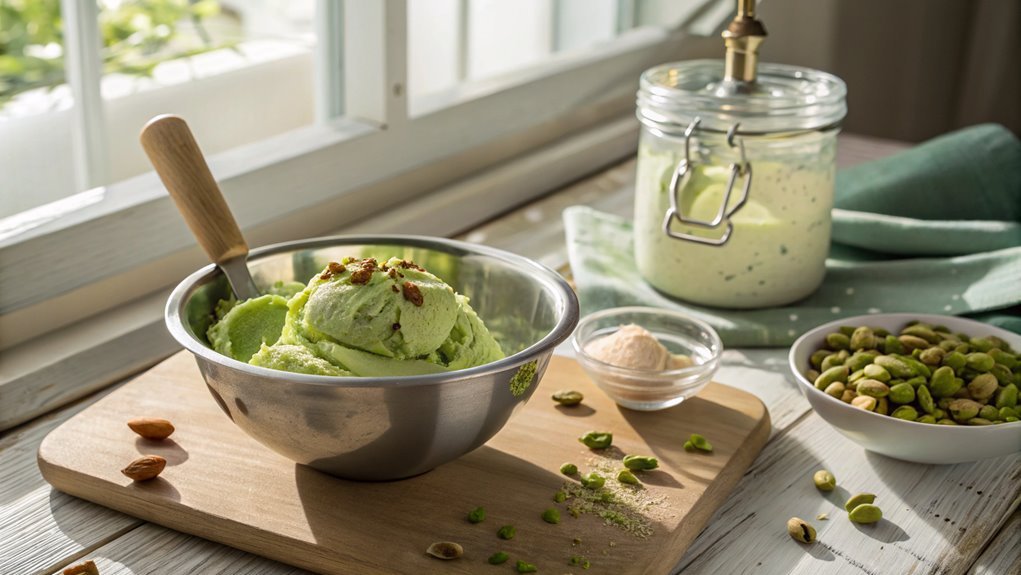
Once you’ve gathered your fresh pistachios, it’s time to blend them with cream for that rich, creamy base. Start by placing your shelled pistachios into a food processor. Pulse them a few times until they’re finely ground, but be careful not to turn them into a paste. You want a nice texture that adds a bit of crunch to your ice cream.
Next, pour in your heavy cream and whole milk. The cream will give your ice cream its luscious mouthfeel, while the milk balances everything out. Add sugar to taste; it enhances the sweetness of the pistachios without overpowering them. For an extra layer of flavor, consider adding a splash of vanilla extract.
Blend all the ingredients together until they’re smooth and well combined. You might want to taste the mixture to see if it’s just right for you; feel free to adjust the sweetness if necessary.
The vibrant green color of the pistachios will start to emerge, making the mixture visually inviting. It’s a delightful step that brings you closer to your homemade pistachio ice cream. Now, you’re ready for the next exciting phase of this delicious journey!
Step 3. Chill Mixture in Freezer
After blending your pistachio mixture to perfection, it’s essential to chill it in the freezer to achieve that creamy texture.
Pour your blended mixture into a shallow container. This helps it cool down evenly and quickly. You’ll want to spread it out a bit, ensuring it’s not too thick. Cover the container with a lid or plastic wrap to keep any freezer odors at bay.
Now, place the container in the freezer for about 30 minutes. This initial chill helps to lower the temperature before the final freeze. Keep an eye on it; you want it to become cold but not completely frozen just yet.
After 30 minutes, take it out and give it a good stir. This helps to break up any ice crystals that may have formed, ensuring your ice cream stays smooth and luscious.
Repeat the stirring process every 30 minutes for about two to three hours. This is where the magic happens, and your pistachio ice cream begins to take shape!
Step 4. Add Sugar and Vanilla
With your mixture chilled and ready, it’s time to enhance its flavor by adding sugar and vanilla. Start by measuring out about three-quarters of a cup of granulated sugar. This will give your ice cream that perfect sweetness, balancing the earthy notes of the pistachios.
Pour the sugar directly into your chilled mixture, and whisk it well until the sugar dissolves completely. You want to make certain every bit of that sugar is incorporated, so keep mixing!
Next, it’s time to add a splash of vanilla extract—about one to two teaspoons should do the trick. This ingredient will infuse your ice cream with a warm, inviting flavor that perfectly complements the pistachios.
Stir gently to make certain the vanilla is evenly distributed throughout the mixture.
As you mix, take a moment to appreciate the delightful aroma that fills your kitchen. The combination of sugar and vanilla will elevate your pistachio ice cream to a whole new level!
Once everything is well combined, you’re ready to move on to the next steps in your ice cream-making adventure. Enjoy the process; you’re creating something truly special!
Step 5. Serve With Chopped Nuts
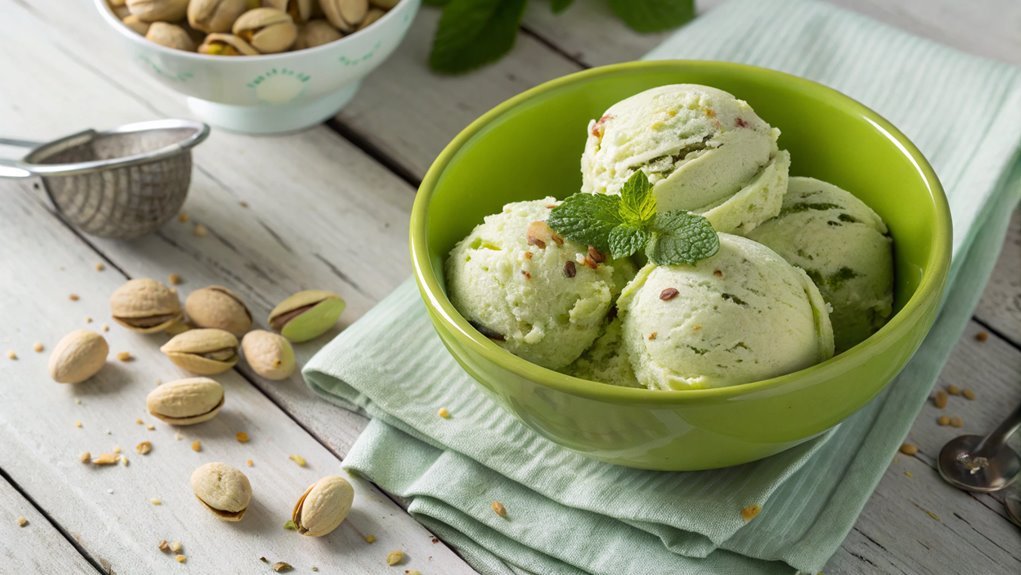
To elevate your pistachio ice cream, serve it with a generous sprinkle of chopped nuts. This simple addition not only enhances the flavor but also adds a delightful crunch that contrasts beautifully with the creamy texture of the ice cream. You can use a variety of nuts, such as pistachios, almonds, or walnuts, depending on your preference.
Start by chopping the nuts finely or coarsely, depending on how much crunch you want in every bite. Toasting the nuts in a dry skillet for a few minutes can intensify their flavor, making your dessert even more irresistible.
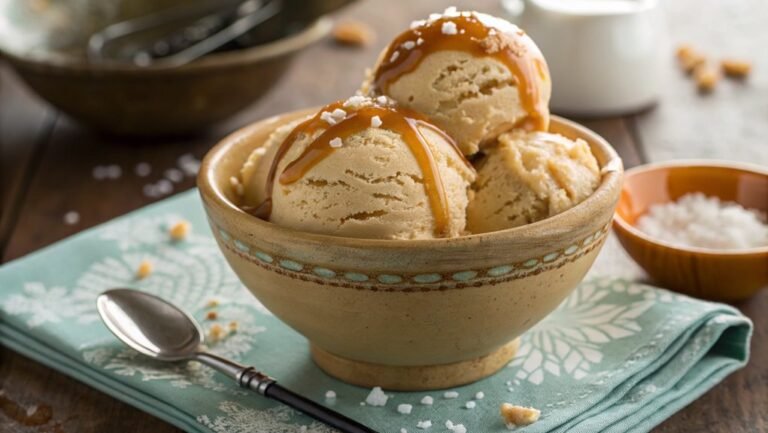
Once your ice cream is ready to serve, scoop it into bowls or cones, and don’t be shy—sprinkle a hefty amount of those chopped, toasted nuts on top.
You can also mix some nuts into the ice cream before freezing for an extra surprise in every scoop. This way, every bite is packed with nutty goodness!
Whether you’re serving this treat at a party or enjoying a quiet evening at home, adding chopped nuts will make your pistachio ice cream feel special and delicious. Enjoy the delightful combination of flavors and textures!
Final Thoughts
As you savor your homemade pistachio ice cream, it’s clear that this delightful treat is worth the effort. The creamy, nutty flavor dances on your taste buds, providing a satisfying experience that store-bought versions simply can’t match.
Plus, making it from scratch allows you to control the ingredients, ensuring every scoop is as fresh and delicious as possible.
Don’t hesitate to share this recipe with friends and family. They’ll love the chance to indulge in something so special and unique.
Imagine hosting a summer gathering where you serve your pistachio ice cream alongside other homemade desserts. You’ll be the star of the show, and your guests will appreciate all your hard work.
Whether you enjoy it on its own or topped with fresh fruits or whipped cream, each bite will remind you of the joy of creating something from scratch.
So, roll up your sleeves, gather your ingredients, and plunge into this exciting culinary adventure. You won’t just be making ice cream; you’ll be creating lasting memories with every scoop.
Frequently Asked Questions
Can I Use Unsalted Pistachios Instead of Salted?
Yes, you can definitely use unsalted pistachios instead of salted ones. Just keep in mind that you’ll need to adjust the salt in your recipe to maintain the desired flavor balance. Enjoy your creation!
How Long Does Homemade Pistachio Ice Cream Last in the Freezer?
Homemade ice cream usually lasts about two to three weeks in the freezer. To maintain its best quality, store it in an airtight container, and try to minimize air exposure to prevent freezer burn.
Is It Necessary to Use an Ice Cream Maker?
Imagine creamy, dreamy ice cream swirling in a bowl. You don’t necessarily need an ice cream maker; with a little patience, you can whip up delicious ice cream using simple tools and your freezer.
Can I Substitute Almond Milk for Regular Milk?
Yes, you can substitute almond milk for regular milk in recipes. Just keep in mind that almond milk has a different flavor and texture, so your final result might vary slightly from the original.
What Toppings Pair Well With Pistachio Ice Cream?
When you’re thinking about toppings, consider crushed nuts, chocolate syrup, or fresh fruit. A sprinkle of sea salt can enhance flavors, while whipped cream adds a delightful creaminess. Experiment and find your perfect combination!
Conclusion
Now that you’ve made your own pistachio ice cream, your taste buds are in for a treat. Each creamy scoop offers nutty flavors and rich textures.
Share this delightful dessert with friends and family to spark smiles and create unforgettable memories. Roll up your sleeves, enjoy the process, and savor the joy of homemade indulgence.
