No-Bake Pumpkin Pie Recipe
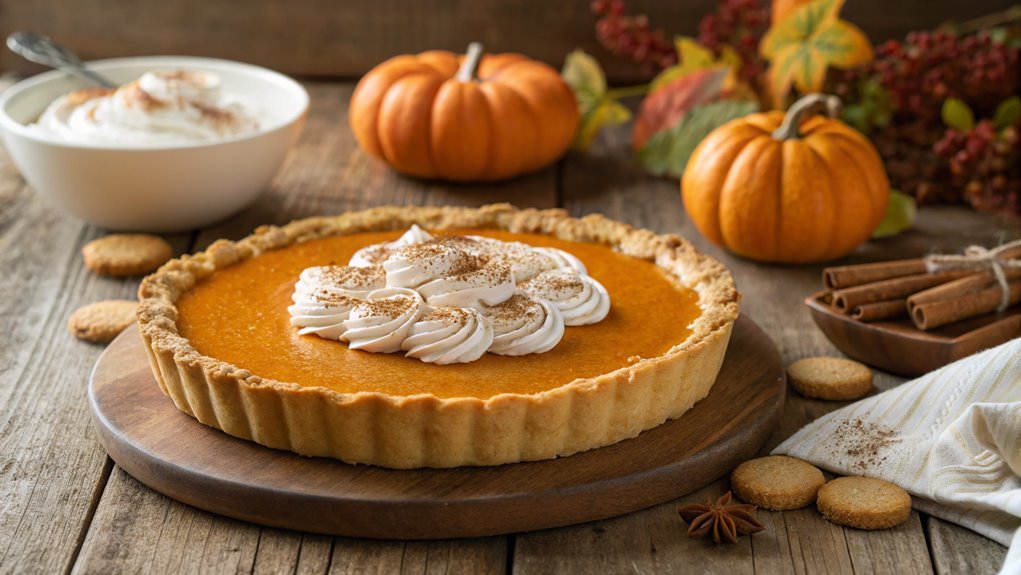
No-bake pumpkin pie is a simple, effortless dessert perfect for fall gatherings, with its creamy filling and crunchy graham cracker crust offering a delightful texture contrast. The addition of spices provides a warm, inviting flavor.
To achieve perfect consistency and presentation, follow these steps to make this seasonal favorite shine at your next event. It’s sure to be a standout dessert with minimal effort required.
Recipe
No-bake pumpkin pie is a delightful dessert that captures the essence of fall without the hassle of baking. This creamy, spiced treat is perfect for any occasion, whether it’s Thanksgiving dinner or a cozy gathering with friends.
The combination of pumpkin puree, cream cheese, and warm spices creates a rich filling that sits atop a crunchy graham cracker crust, making it a favorite among pumpkin pie enthusiasts.
The best part about this no-bake recipe is how simple and quick it’s to prepare. With just a few ingredients and minimal prep time, you can whip up this delicious pie and impress your guests.
Just let it chill in the refrigerator for a few hours, and you’ll have a luscious dessert that’s ready to serve. Follow the steps below to create your own no-bake pumpkin pie!
Ingredients:
- 1 ½ cups graham cracker crumbs
- ½ cup unsalted butter, melted
- ¼ cup granulated sugar
- 1 (8 oz) package cream cheese, softened
- 1 cup pumpkin puree
- 1 cup powdered sugar
- 1 teaspoon vanilla extract
- 1 teaspoon ground cinnamon
- ½ teaspoon ground nutmeg
- ¼ teaspoon ground ginger
- 1 cup whipped topping (optional, for garnish)
Now let’s move on to the cooking steps.
Cooking Steps
Now that you’ve gathered your ingredients, let’s get cooking!
You’ll start by preparing the crust mixture, which sets the perfect base for your pie.
From there, mixing the pumpkin and spices will fill your kitchen with mouthwatering aromas that make this no-bake treat irresistible!
Step 1. Prepare the Crust Mixture
To create a delicious crust for your no-bake pumpkin pie, combine crushed graham crackers and melted butter in a mixing bowl. This simple mixture forms the perfect base for your pie, adding a delightful sweetness and texture.
Start by measuring out about two cups of crushed graham crackers. You can use a food processor or a rolling pin to crush them finely. Next, melt a half cup of butter in the microwave or on the stove, ensuring it’s fully liquid.
Once you’ve got both ingredients ready, follow these steps:
- Mix the crushed graham crackers with melted butter until everything is evenly coated.
- Press the mixture into the bottom and up the sides of a pie dish. Use your fingers or the bottom of a glass to create a firm and even layer.
- Chill the crust in the refrigerator for at least 30 minutes. This helps it set nicely, making it easier to fill later.
You’ll love how easy this is! The crust isn’t only tasty but also provides a fantastic contrast to the creamy pumpkin filling.
Enjoy the process, and get ready for a delightful dessert!
Step 2. Mix Pumpkin and Spices
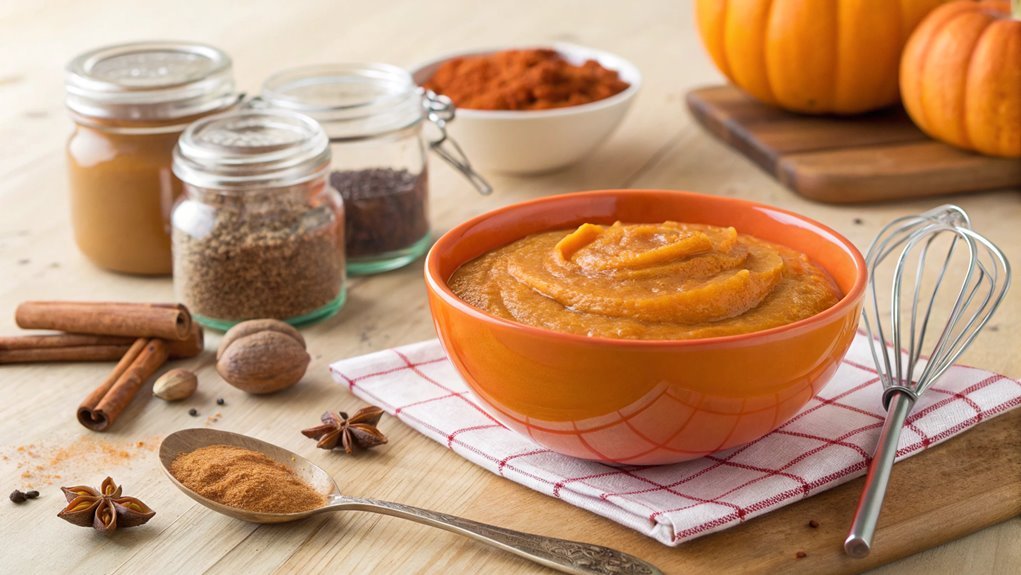
Start by gathering your pumpkin and spices to create a rich, flavorful filling for your pie. Grab a can of pure pumpkin puree—fresh pumpkin works, too, if you’re up for it!
Next, measure out your spices: cinnamon, nutmeg, ginger, and a pinch of salt. These ingredients will bring warmth and depth to your pie.
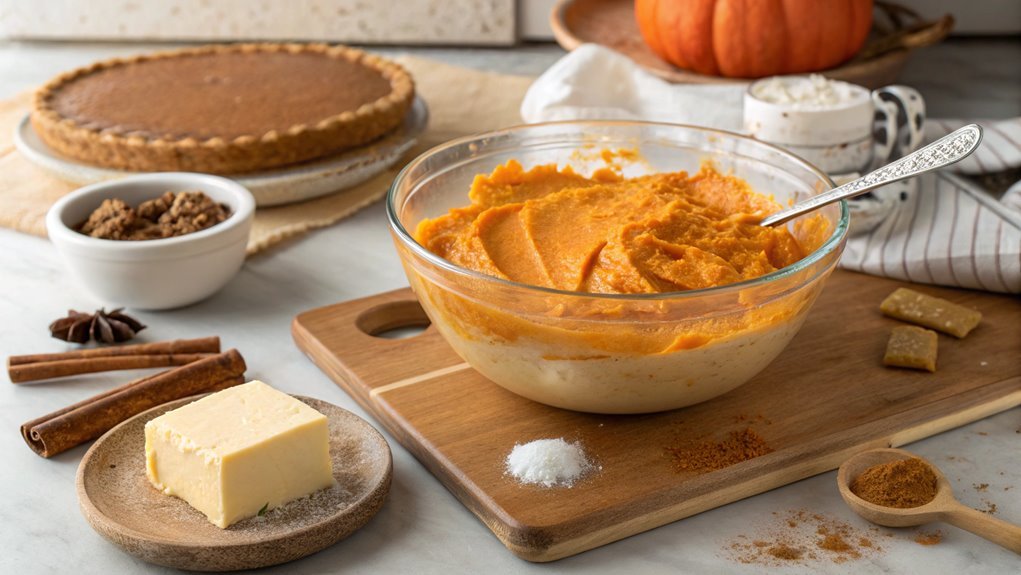
In a mixing bowl, combine the pumpkin puree with about a cup of sugar—you want that sweetness to balance the spices. Add the spices you’ve just measured, and mix everything together until it’s smooth and well-blended. The aroma will be delightful, and you’ll feel the excitement building as you prepare this comforting treat.
If you’re using cream cheese, now’s the time to add it. Beat it until creamy before folding it into the pumpkin mixture. This step gives your pie a luscious texture that’s simply irresistible.
Make sure everything is thoroughly combined; you want the flavors to meld beautifully.
Once you’ve mixed everything just right, you’ll be ready to pour this delicious filling into your prepared crust. Trust me, your taste buds will thank you!
Step 3. Chill the Pie Filling
Chilling the pie filling is essential for achieving that perfect texture and flavor. After mixing together your pumpkin and spices, it’s time to let the filling sit in the refrigerator. This step not only allows the flavors to meld beautifully but also helps the filling thicken, making it easier to slice once it’s in the crust.
You’ll want to chill it for at least two hours, but if you can hold out for longer, even better!
Here’s what you should do to guarantee your filling chills perfectly:
- Cover the Bowl: Use plastic wrap or a lid to cover your mixing bowl. This keeps the filling fresh and prevents any odors from the fridge from seeping in.
- Make Space: Clear a spot in your fridge for the bowl. A stable, flat surface will help avoid spills and guarantee even cooling.
- Be Patient: Resist the urge to peek too often! Let it sit for the full chilling time so it can reach the ideal consistency.
Once your filling is chilled, you’ll be one step closer to indulging in a delicious, no-bake pumpkin pie. Enjoy the anticipation!
Step 4. Pour Filling Into Crust
Gently pour the chilled pumpkin filling into your prepared crust, guaranteeing an even distribution that fills every corner. As you do this, take a moment to appreciate the rich, warm color of the filling. It’s a delightful sight that promises a delicious treat ahead!
You want to use a spatula to help guide the filling, smoothing it out as needed. This step is vital because it guarantees that every slice will have that perfect texture and flavor.
Once you’ve poured in the filling, give the pie a gentle shake. This helps settle the mixture and removes any air bubbles that might’ve formed. Don’t worry if it doesn’t look perfect right away; it’ll set beautifully in the fridge.
After you’ve finished, be sure to wipe away any spills on the crust. A clean edge not only looks great but also makes serving easier later on.
Now, cover your pie with plastic wrap or foil, and pop it into the fridge. Let it chill for at least four hours, or overnight if you can wait. You’re just a few steps away from enjoying a creamy, no-bake pumpkin pie that’s sure to impress!
Step 5. Garnish With Whipped Cream
Once your pie has chilled and set properly, it’s time to elevate its presentation with a generous dollop of whipped cream. This delightful garnish not only adds a creamy texture but also enhances the pie’s visual appeal. You’ll want to make your pie look as good as it tastes!
Here’s how to do it:
- Choose Your Whipped Cream: You can go with store-bought or whip up your own. If you’re feeling adventurous, add a splash of vanilla or a sprinkle of cinnamon to your homemade version for extra flair.
- Dollop It On: Grab a spoon or a piping bag, and add a generous dollop of whipped cream in the center of each slice. If you’re using a piping bag, you can create beautiful swirls!
- Finish It Off: For an extra touch, sprinkle a little ground cinnamon or nutmeg over the whipped cream. This not only looks appealing but also adds a hint of spice that complements the pumpkin flavor.
Now your no-bake pumpkin pie is ready to impress! Slice it up, serve it to your friends and family, and watch them enjoy every bite!
Final Thoughts
As you wrap up your no-bake pumpkin pie adventure, it’s clear that this dessert not only saves time but also delivers delightful flavors.
You’ve created a stunning treat that’s perfect for any occasion, from holiday gatherings to cozy family dinners. This pie’s creamy filling, spiced with cinnamon and nutmeg, dances on your taste buds, creating a comforting experience that everyone will love.
Don’t forget, the beauty of this recipe lies in its simplicity. You can whip it up in no time, allowing you to focus on what truly matters: sharing delicious moments with your loved ones.
Plus, the versatility of the no-bake pie means you can customize it to fit your preferences. Want to add a little chocolate? Go ahead! Craving a touch of pecans? Why not!
Frequently Asked Questions
Can I Use Fresh Pumpkin Instead of Canned?
Yes, you can use fresh pumpkin instead of canned. Just cook, puree, and strain it to achieve the right consistency. Fresh pumpkin adds a unique flavor, but it may require some extra preparation time.
How Long Does the Pie Need to Chill?
Chilling a pie is like letting a good story unfold; it needs time to develop. You should chill it for at least four hours, but overnight’s even better for the flavors to meld perfectly. Enjoy!
Can I Make This Pie Dairy-Free?
Yes, you can make this pie dairy-free! Substitute regular cream cheese with a dairy-free alternative and use coconut milk or almond milk instead of heavy cream. It’s delicious and everyone will enjoy it, regardless of dietary preferences!
What Can I Substitute for Graham Cracker Crust?
If you’re looking to substitute graham cracker crust, consider using crushed cookies, almond flour, or ground oats. Each option offers a unique texture and flavor, giving your dessert a delightful twist you’ll love.
How Do I Store Leftovers Properly?
To store leftovers properly, you’ll want to place them in an airtight container. Refrigerate them promptly, and they should stay fresh for about three to four days. Just remember to check for any signs of spoilage!
Conclusion
You’re just a few steps away from a delightful no-bake pumpkin pie. The creamy filling and crunchy crust offer an irresistible contrast. Top with whipped cream and a sprinkle of cinnamon for added flair. Gather your ingredients and let this pie shine at your next gathering. Enjoy!
