Chocolate Dipped Biscotti Recipe
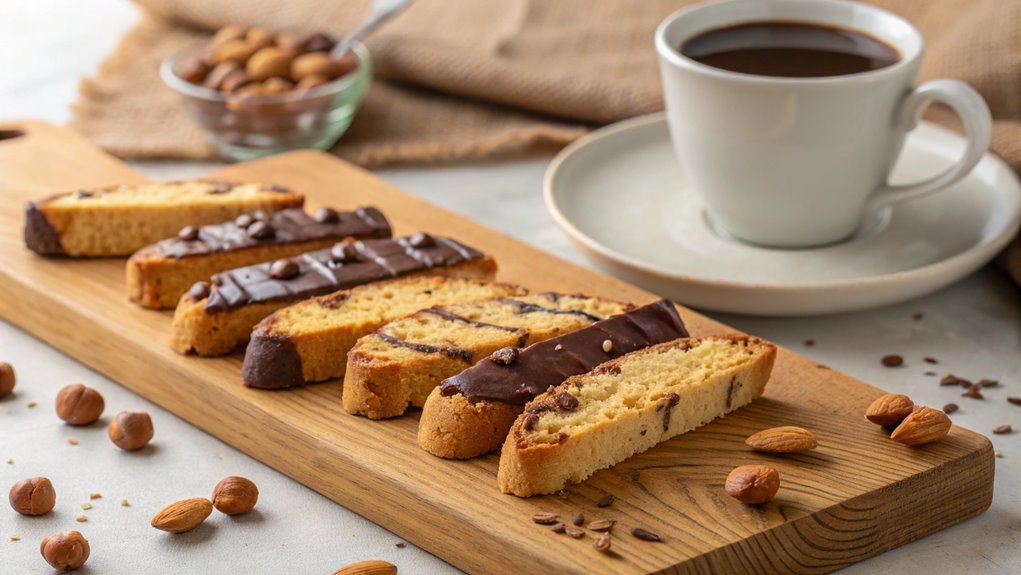
Making biscotti is easier than you might think. With a few ingredients and simple steps, you can create these crunchy treats with a rich chocolate finish.
The key is mixing and shaping the dough before dipping them in melted chocolate. To enhance their flavor, let’s explore techniques and variations that can make this recipe a standout at your gatherings.
Recipe
Chocolate dipped biscotti are a delightful, crunchy treat that are perfect for dipping into your favorite coffee or tea. This Italian biscuit not only transports you to a quaint café in Italy but also satisfies your sweet cravings with the rich flavor of chocolate.
The beauty of biscotti lies in its versatility; you can add various nuts, dried fruits, or spices to customize it to your liking, thereby making it a wonderful choice for any occasion or a thoughtful homemade gift.
The preparation of these delectable cookies is straightforward but requires some patience as they’re baked twice to achieve that signature crunch. The initial baking will create a log that’s then sliced into individual pieces, which are baked again until they’re perfectly crisp.
The final touch of melting chocolate adds not only flavor but also a beautiful finish that makes these biscotti even more irresistible. Grab your apron and let’s get started on making these delicious chocolate dipped biscotti!
Ingredients:
- 2 cups all-purpose flour
- 1 cup sugar
- 1 teaspoon baking powder
- 1/2 teaspoon salt
- 3 large eggs
- 1 teaspoon vanilla extract
- 1 teaspoon almond extract
- 1 cup chopped nuts (e.g., almonds or hazelnuts)
- 1 cup semi-sweet chocolate chips
- 2 tablespoons vegetable oil or shortening (for melting chocolate)
Now let’s move on to the cooking steps.
Cooking Steps
Let’s get started on making your delicious chocolate dipped biscotti!
First, you’ll preheat your oven to guarantee that your treats bake to a perfect golden brown.
Then, we’ll shape the biscotti dough and bake it to perfection before finishing it off with a delightful dip in melted chocolate; trust me, the results will be absolutely irresistible!
Step 1. Preheat Your Oven
Before you start mixing your ingredients, preheating your oven is vital for achieving that perfect biscotti texture. Setting your oven to 350°F (175°C) will guarantee that your baked goods come out just right—crispy on the outside and deliciously tender inside.
Take a moment to turn your oven on right now; the preheating process usually takes about 10 to 15 minutes. It’s this simple step that helps your biscotti rise beautifully, creating that classic, delightful crunch.
While the oven warms up, you can gather your ingredients and get your workspace organized. This is the perfect time to check that you have everything on hand, from flour and sugar to chocolate for dipping later.
Having your oven ready will help streamline your cooking process and keep you focused. You’ll be so glad you took this vital step because it sets the stage for incredible biscotti!
Once the oven reaches the right temperature, you’ll be all set to continue with the delicious journey of making your chocolate-dipped biscotti. Trust me, preheating is the secret to achieving that perfect balance of textures.
Don’t skip it—your taste buds will thank you!
Step 2. Form Biscotti Dough Shapes
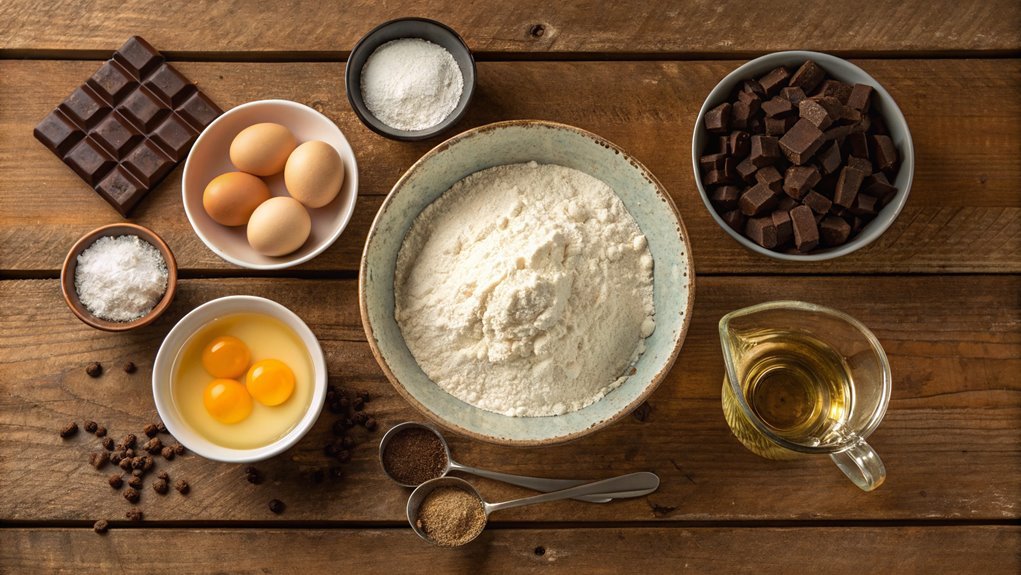
With the oven preheated and your ingredients ready, you can start forming the biscotti dough shapes! First, scoop out the dough onto a lightly floured surface. Don’t worry if it feels a bit sticky; that’s perfectly normal.
Using your hands, gently shape the dough into a log about 12 inches long and 2 inches wide. Remember, the shape doesn’t have to be perfect—each biscotti tells a story!
Once you have your log, carefully transfer it onto a parchment-lined baking sheet, leaving space between it and any future logs. You can make a second log if you’re feeling adventurous! It’s important to smooth the edges so they bake evenly.
For added flair, you can sprinkle some chopped nuts, chocolate chips, or even a dash of sea salt on top for extra flavor as you form your logs. This is where you get to be creative!
The anticipation of how delicious they’ll be when baked will drive your excitement. Now, it’s time to prepare your biscotti for the oven. Get ready to enjoy the incredible aroma that fills your kitchen as these delights bake!
Step 3. Bake Until Golden Brown
As your biscotti logs rest comfortably on the baking sheet, it’s time to pop them into the oven, where they’ll transform into golden-brown treats. Preheat your oven to 350°F (175°C), ensuring it’s nice and hot!
Carefully slide the baking sheet into the center of the oven and set a timer for 25 to 30 minutes. During this time, the logs will begin to rise and develop a lovely golden hue.
You’ll want to keep an eye on them, as oven temperatures can vary. The biscotti is ready when the tops look firm and a beautiful golden-brown color envelops the sides. If you’re unsure, a toothpick can help you check for doneness; it should come out clean, with only a few crumbs clinging to it.
Once they’re baked to perfection, remove the baking sheet from the oven and let your biscotti logs cool for about 10 minutes. This resting period helps them firm up, allowing for a perfect slice later.
Embrace the delightful aroma wafting through your kitchen and get ready for the next exciting step in your biscotti-making journey! Enjoy every moment of this delicious process!
Step 4. Cool on a Wire Rack
Once your biscotti logs have cooled for about 10 minutes on the baking sheet, it’s time to transfer them to a wire rack. This step is vital, as it allows the biscotti to cool evenly and completely, ensuring they maintain that delightful crunch we all love.
Grab a spatula or tongs and gently lift each log, placing them on the rack with a little space between each one. This way, air can circulate around the biscotti, helping them to dry out properly.
While they cool, take a moment to admire your work and the wonderful aromas filling your kitchen. You’ve put in the effort, and now the anticipation builds as you await that first bite!
Let the biscotti sit for at least 30 minutes on the rack. This cooling time is fundamental because it enhances the texture, making them perfect for dipping later.
As you wait, think about how delicious they’ll taste when paired with a cup of coffee or tea. You can almost picture sharing them with friends or savoring them during a cozy evening at home.
Enjoy this moment—you’re on your way to creating something truly special!
Step 5. Dip in Melted Chocolate
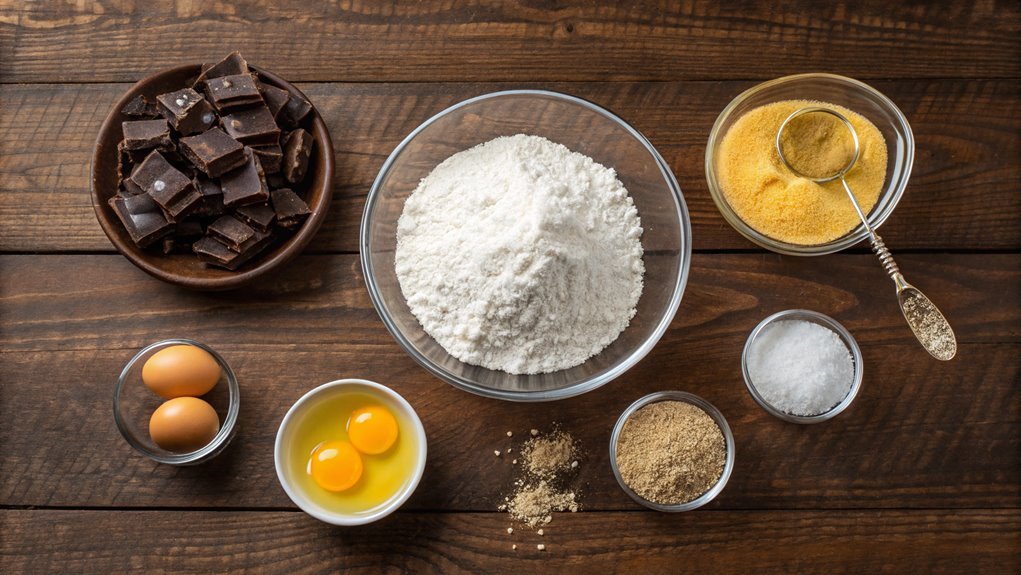
After your biscotti have cooled completely, it’s time to take them to the next level with a delicious chocolate dip. First, gather your ingredients: high-quality chocolate chips or melting chocolate. You want that smooth, rich flavor to complement the crunchy texture of your biscotti.
Begin by melting the chocolate. You can do this in a microwave-safe bowl, heating it in 30-second intervals, stirring in between, until it’s silky and fully melted.
Now the fun part begins! Take each biscotti, holding it by one end, and dip it into the melted chocolate. Make sure to coat about half of the biscotti for the perfect blend of flavors. Lift it out and let the excess chocolate drip back into the bowl, then place the dipped biscotti on a parchment-lined baking sheet.
If you’d like, sprinkle some chopped nuts or sea salt on top before the chocolate hardens. Keep going until all your biscotti are dipped!
Now, let them cool at room temperature until the chocolate sets. Enjoy this delightful treat with a cup of coffee or tea. You’ve turned a simple biscotti into a gourmet masterpiece—amazing job!
Final Thoughts
While baking chocolate-dipped biscotti may seem intimidating at first, the process is incredibly rewarding and results in a delightful treat. You’ll find that each step brings its own sense of accomplishment, from mixing the dough to the enjoyable act of dipping in melted chocolate. Trust me, the smell of freshly baked biscotti filling your kitchen is worth every minute you spend!
Once you’ve mastered this recipe, you can experiment with different flavors or toppings. Add nuts, spices, or try a white chocolate dip for a fun twist. Each variation allows you to express your creativity and cater this treat to your taste preferences.
Plus, sharing your homemade biscotti with family and friends will bring smiles all around.
Don’t forget, biscotti makes for a fantastic gift, especially during the holidays or any special occasion. Wrapped beautifully, they become a thoughtful and delicious present that’s sure to impress.
So, go ahead and roll up your sleeves! Immerse yourself in this delightful baking adventure, and enjoy every delicious bite along the way. Your chocolate-dipped biscotti won’t only conquer your taste buds but also become a cherished recipe in your home.
Happy baking!
Frequently Asked Questions
Can I Use Gluten-Free Flour for This Biscotti Recipe?
Oh, sure! Just throw in some gluten-free flour and see what happens, right? Seriously, you can use it, but be ready for possible texture changes. It might just surprise you—or not. Good luck!
How Should I Store Leftover Biscotti?
You should store leftover biscotti in an airtight container at room temperature. This keeps them fresh and crispy longer. If you want to extend their shelf life, consider freezing them for later enjoyment.
How Long Does Biscotti Stay Fresh?
When it comes to biscotti, freshness matters! It’ll stay fresh for about two to three weeks if stored properly. Just keep it in an airtight container, and you’ll have a delicious treat to enjoy!
Can I Freeze Chocolate Dipped Biscotti?
Absolutely, you can freeze chocolate-dipped biscotti! Just wrap them tightly in plastic wrap or store them in an airtight container. They’ll maintain their deliciousness for a couple of months—perfect for future cravings!
What Flavor Variations Can I Try for Biscotti?
You can experiment with flavors like almond, lemon, orange, or even pistachio. Adding spices like cinnamon or nutmeg can also elevate your biscotti. Don’t forget to incorporate extracts like vanilla or espresso for extra depth!
