Chocolate Cheesecake Recipe
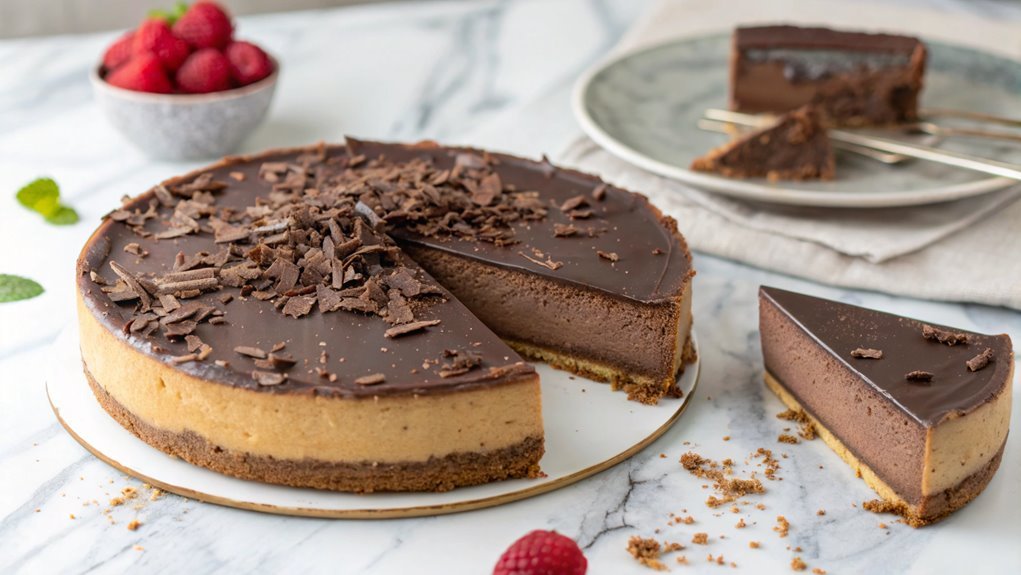
Craving a rich dessert or looking to impress guests? A chocolate cheesecake is the perfect indulgence.
This recipe combines a creamy filling with a perfectly textured crust, elevating any occasion.
Balancing flavors and textures is key to mastering this decadent treat. Pay close attention to these elements for an exceptional final result.
Recipe
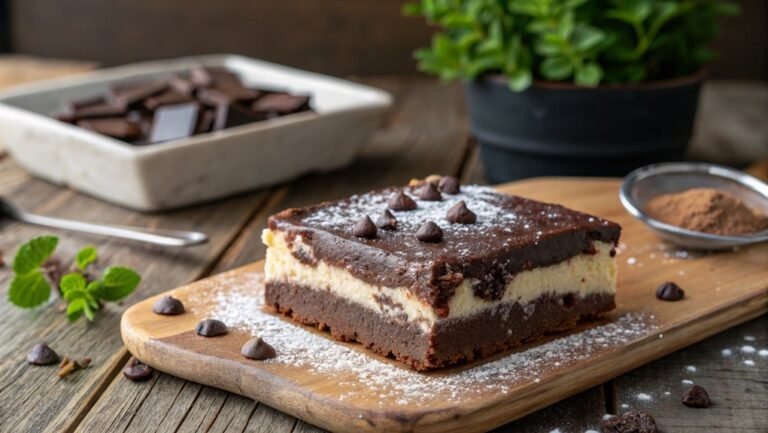
Indulging in a rich and creamy chocolate cheesecake is a delightful way to satisfy your sweet tooth. This decadent dessert, with its velvety texture and intense chocolate flavor, is a perfect choice for special occasions or simply as a treat for yourself.
With a buttery graham cracker crust and a luscious chocolate filling, this cheesecake promises to impress anyone who takes a bite.
To make the ultimate chocolate cheesecake, you’ll want to guarantee that all your ingredients are at room temperature for a smooth and creamy mixture. Additionally, using high-quality chocolate will elevate the flavor of your cake, making each slice a heavenly experience.
Follow this easy recipe to create a dessert that’s not only beautiful but also incredibly delicious.
Ingredients:
- 1 ½ cups graham cracker crumbs
- ½ cup unsalted butter, melted
- ¼ cup granulated sugar
- 24 oz cream cheese, softened
- 1 cup granulated sugar
- 1 teaspoon vanilla extract
- 3 large eggs
- 8 oz semi-sweet chocolate, melted
- 1 cup sour cream
- 1 tablespoon all-purpose flour
- Pinch of salt
Now let’s move on to the cooking steps.
Cooking Steps
Now that you’ve gathered all your ingredients, let’s get started on making that delicious chocolate cheesecake!
First, you’ll prepare the crust mix, creating a tasty base for your creamy filling.
Once you’ve whipped up the cream cheese mixture and baked it to perfection, you’ll chill it before serving, and don’t forget to top it off with cocoa powder for an extra touch of luxury!
Step 1. Prepare the Crust Mix
To prepare the crust mix for your chocolate cheesecake, start by combining crushed chocolate cookies and melted butter in a medium bowl. This mixture sets the stage for a delicious base that perfectly complements the rich filling you’ll create later on.
Grab your spatula and mix until all the crumbs are fully coated in buttery goodness.
Here are three easy steps to follow:
- Crush the Cookies: Use a food processor or a zip-top bag with a rolling pin to crush about 2 cups of chocolate cookies into fine crumbs.
- Melt the Butter: Measure out ½ cup of unsalted butter and melt it in the microwave or on the stove until it’s completely liquefied.
- Combine and Mix: Pour the melted butter over the cookie crumbs. Mix until it resembles wet sand, then press this mixture firmly into the bottom of a springform pan to create a solid, evenly distributed crust.
Step 2. Add Cream Cheese Mixture
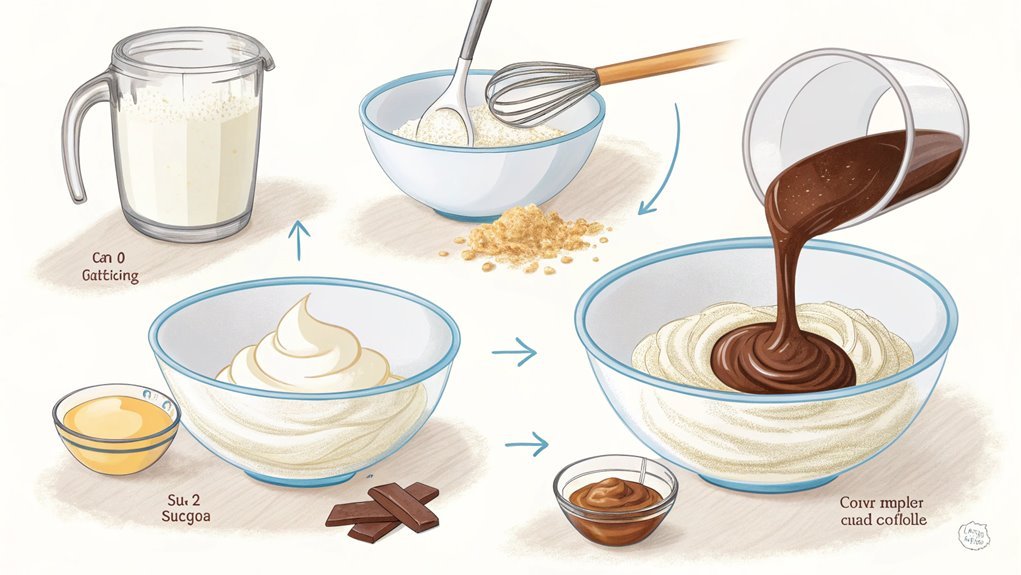
As you begin to add the cream cheese mixture, make sure your cream cheese is softened to room temperature for a smooth, velvety texture. Start by placing the softened cream cheese in a large mixing bowl. Using a hand mixer or a stand mixer, beat it until it’s creamy and free of lumps. This step is essential, as it sets the foundation for your cheesecake’s rich taste.
Next, gradually add the sugar to the mixture, continuing to blend until everything is well combined. You’ll notice how the cream cheese transforms, becoming even more luscious and inviting.
Now, it’s time to incorporate the eggs. Add them one at a time, gently mixing after each addition. This prevents overmixing, ensuring your cheesecake maintains its delightful density.
Once the eggs are blended in, pour in your melted chocolate and vanilla extract. Stir everything together until you have a thick and glossy batter. Look at that beautiful mixture—it’s like a chocolate dream waiting to happen!
We’re almost there, so prepare to pour this creamy delight over your luscious crust and get ready for magic in the oven.
Step 3. Bake at 325°F for 60 Minutes
Once you’ve poured the creamy chocolate mixture over your crust, it’s time to bake. Preheat your oven to 325°F, ensuring a perfect environment for your cheesecake. This step is essential for achieving that velvety texture.
Place your cheesecake in the oven, and let the magic happen for a full 60 minutes! During this time, you’ll notice the delightful aroma filling your kitchen, making it hard to contain your excitement.
Here are a few tips to keep in mind while your cheesecake bakes:
- Use a water bath: Adding a pan of hot water to the oven can help prevent cracks on your cheesecake’s surface.
- Check for doneness: A slight jiggle in the center is okay, but it should be mostly set when you remove it.
- Let it cool gradually: Once it’s done, turn off the oven and let the cheesecake cool inside. This helps it firm up without sudden temperature changes.
Baking your chocolate cheesecake doesn’t just create a delicious dessert; it builds anticipation for the treat that awaits.
Your efforts will be rewarded with a rich, creamy, and indulgent dessert that everyone will love! Enjoy the process!
Step 4. Chill Before Serving
After baking your chocolate cheesecake to perfection, it’s crucial to allow it to chill before serving. This step not only enhances the flavor but also helps set that incredible, creamy texture you’re after.
First, you’ll want to let the cheesecake cool on the counter for about an hour. This initial cooling allows it to shift gently from oven heat to room temperature.
Once it’s cooled, cover the cheesecake with plastic wrap or aluminum foil. Place it in the refrigerator and let it chill for at least four hours, although overnight is even better if you can wait! This chilling time allows the flavors to meld beautifully, resulting in a rich and decadent dessert that’ll impress everyone.
When you finally take it out of the fridge, your chocolate cheesecake will be firm yet velvety, ready to be sliced and enjoyed. Trust me, the wait will be worth it!
This chilled cheesecake is perfect for gatherings, parties, or simply treating yourself after a long day. So, give it that coolness it deserves, and get ready to wow your taste buds with this mouthwatering delight!
Step 5. Top With Cocoa Powder
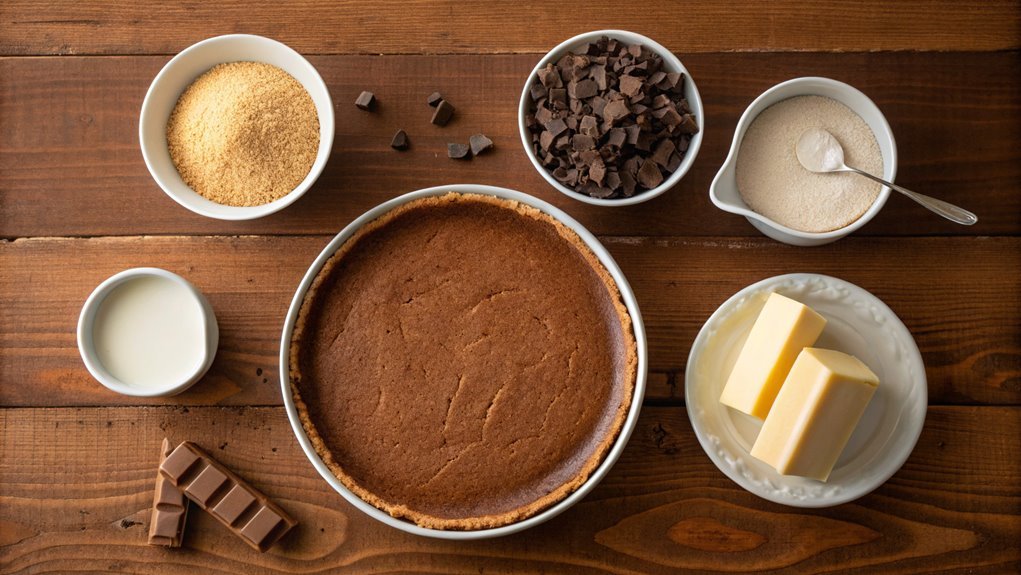
Now that your chocolate cheesecake is perfectly chilled, it’s time to add the finishing touch with cocoa powder. This step not only enhances the flavor but also gives your dessert an elegant look. So, let’s elevate your cheesecake to the next level!
Here’s how to top it with cocoa powder:
- Select High-Quality Cocoa Powder: Choose a good quality unsweetened cocoa powder to guarantee the best flavor. It’s worth the investment!
- Sift the Cocoa Powder: Use a fine mesh sieve to gently sift the cocoa powder over the surface of the cheesecake. This will help you achieve an even distribution and avoid any lumps.
- Garnish with Style: Feel free to sprinkle an extra pinch in the center or along the edges for a decorative touch. You can even pair it with chocolate shavings or fresh berries for a stunning presentation.
After you’ve topped your cheesecake, let it come to room temperature for about 15 minutes before serving. This allows the flavors to shine through.
Now, slice and enjoy your beautiful chocolate cheesecake! Your family and friends are going to be so impressed!
Final Thoughts
As you savor the rich layers of your homemade chocolate cheesecake, it’s clear that this dessert is more than just a treat; it’s a celebration of flavors and textures.
The creamy chocolate filling combined with the crunchy crust creates a delightful contrast that dances on your palate. You’ve put in the effort to create something truly special, and your guests will definitely appreciate it.
This cheesecake isn’t just indulgent; it’s versatile, too. You can adjust the sweetness to your liking or experiment with toppings like fresh berries or a drizzle of caramel.
This makes it perfect for any occasion, from birthdays to casual gatherings. Plus, the best part is that you can whip it up ahead of time, freeing you to enjoy the moment when it’s time to serve.
Frequently Asked Questions
Can I Use a Gluten-Free Crust for the Cheesecake?
Absolutely, you can use a gluten-free crust for your cheesecake. Just make sure it’s made from gluten-free ingredients, like almond flour or crushed gluten-free cookies. It’ll still be delicious and satisfy your cravings!
How Can I Store Leftovers Properly?
To store leftovers properly, wrap each slice tightly in plastic wrap or place it in an airtight container. Refrigerate and consume within five days for the best taste and texture. Enjoy your delicious treats later!
What Type of Chocolate Is Best to Use?
When choosing chocolate, you can’t go wrong with bittersweet or semisweet varieties. They balance sweetness and richness perfectly, enhancing your dessert’s flavors. Just guarantee it’s high-quality for the best results in your dish!
Can I Make This Cheesecake in Advance?
Absolutely, you can whip this up in advance! Just chill it overnight or cover it tightly in the fridge. It’ll taste even better after flavors have mingled a bit. You’ll impress everyone for sure!
Is There a Vegan Alternative for This Recipe?
Absolutely, you can create a delicious vegan alternative! Use blended silken tofu or cashews for creaminess, and substitute dairy chocolate with high-quality vegan chocolate. You’ll still enjoy a rich and satisfying dessert without animal products!
