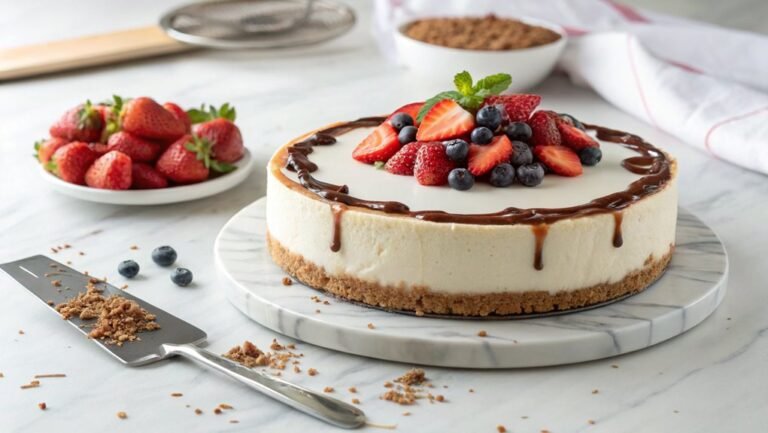
Blueberry Cheesecake Recipe
Incorporating blueberry sauce into your cheesecake elevates its flavor, balancing sweet and tart notes. This method enhances both the visual appeal and the creamy texture of the dessert. Curious about creating this delectable dish and essential baking techniques? Stick around as I break it all down for you.
Recipe
Blueberry Cheesecake Recipe
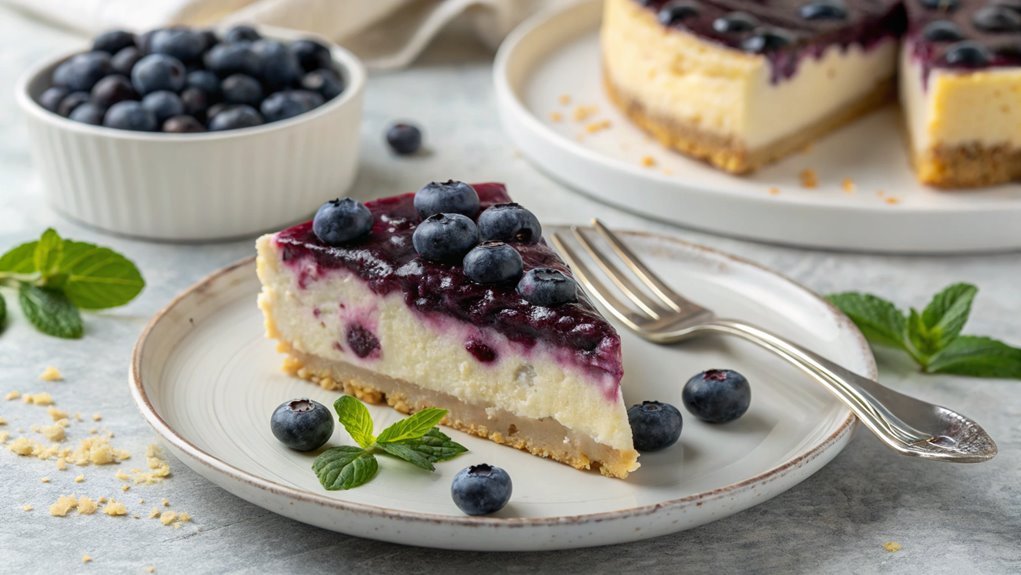
There’s nothing quite like a homemade blueberry cheesecake to impress family and friends or treat yourself to a delightful dessert. The creamy richness of the cheesecake combined with the burst of sweet and tangy blueberries creates a perfect harmony of flavors.
This recipe is easy to follow, and you’ll have a show-stopping dessert ready in no time. Whether you’re preparing for a special occasion or simply want to enjoy a slice with your coffee, this blueberry cheesecake is sure to satisfy your cravings.
To achieve the perfect texture, this cheesecake is baked in a water bath, ensuring it remains smooth and creamy without cracks on the surface. The blueberry topping not only adds a beautiful color but also elevates the cheesecake with its natural sweetness.
So, gather your ingredients and let’s get started on making this delicious dessert!
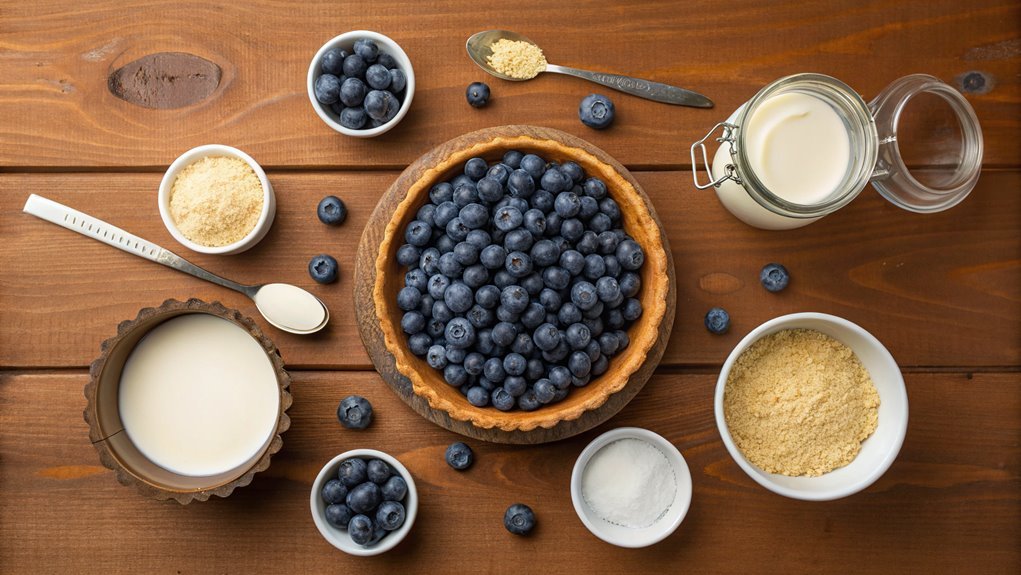
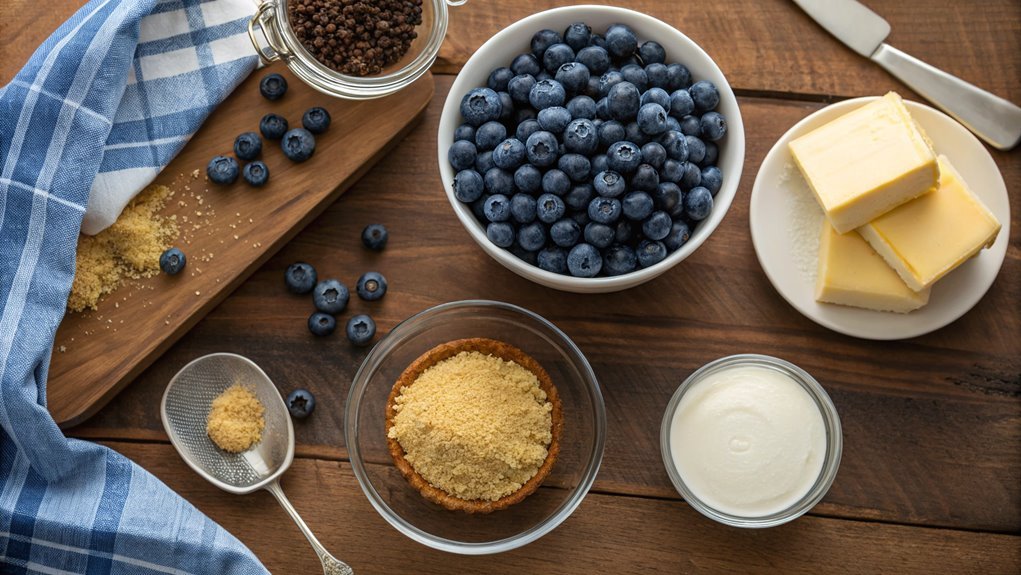
Ingredients:
- 1 ½ cups graham cracker crumbs
- ½ cup sugar
- ½ cup unsalted butter, melted
- 4 (8-ounce) packages cream cheese, softened
- 1 cup sugar
- 3 large eggs
- 1 teaspoon vanilla extract
- 2 cups fresh or frozen blueberries
- 2 tablespoons cornstarch
- 1 tablespoon lemon juice
- ¼ cup water
Cooking Steps
Now that you’ve gathered your ingredients, it’s time to start cooking your delicious blueberry cheesecake!
You’ll begin by preparing the crust mix, followed by adding that creamy, dreamy cream cheese mixture that will make your cheesecake irresistible.
With a few simple steps, like chilling before baking and perfectly timing the oven, you’re on your way to a dessert that’ll wow everyone!
Step 1. Prepare the Crust Mix
To create a delicious crust for your blueberry cheesecake, you’ll start by combining graham cracker crumbs with melted butter and sugar.
Grab a medium bowl and measure about one and a half cups of graham cracker crumbs. You can crush the crackers yourself or buy them pre-crumbled—whatever works for you!
Next, melt about six tablespoons of unsalted butter in a microwave-safe dish. Once melted, add the butter to the crumbs along with a quarter cup of granulated sugar.
Now, it’s time to mix! Use a fork or your fingers to combine everything well. You want the crumbs to be evenly coated in butter, resembling wet sand.
Once you’ve got that just right, it’s time to press your mixture into the bottom of a springform pan. Use the bottom of a measuring cup or your fingers to firmly pack the crust down, ensuring it’s even and compact.
This step is essential, as it’ll give your cheesecake that lovely base we all adore.
After you’ve pressed down the crust, pop it in the fridge for about 10 minutes to set. Trust me; this crust will make your cheesecake irresistible!
Step 2. Add Cream Cheese Mixture
With the crust nicely set in the fridge, you can turn your attention to preparing the cream cheese mixture. Start by taking your softened cream cheese and placing it in a large mixing bowl. Beat it with a hand mixer until it’s smooth and creamy, which should take about a minute.
Next, gradually add in your granulated sugar, mixing well until fully combined. Make certain to scrape down the sides of the bowl to guarantee everything’s incorporated for a luscious texture.
Now, it’s time to add that rich vanilla extract! Just a teaspoon will elevate the flavor a notch. Mix it in, and then add the eggs—one at a time—beating well after each addition. This helps create a velvety filling that bakes beautifully.
If you want a touch of tanginess, consider folding in a tablespoon of sour cream at this stage.
Once everything’s blended, you’ll have a delightful cream cheese mixture that’s ready to impress. The consistency should be thick yet smooth, perfect for creating a decadent cheesecake.
Feel that excitement? You’re just a few steps away from a delicious dessert!
Step 3. Chill Before Baking
Before you plunge into baking your cheesecake, let the cream cheese mixture chill in the fridge for about 30 minutes. This step’s really important, as it helps to firm up the mixture and improve its texture. You’ll notice that a chilled mixture spreads easily and combines beautifully with other ingredients, ensuring a creamy and decadent cheesecake.
While your mixture’s chilling, take a moment to appreciate the luscious blueberries you’ll be adding later. The contrasting flavors of tangy cream cheese and sweet blueberries will create a wonderful harmony in every bite. You can even prepare your crust, gathering graham crackers, butter, and sugar, while you wait.
As you anticipate that first heavenly slice, remember that patience is key in this recipe. Chilling allows all those delicious flavors to meld, resulting in a richer taste. Trust me, the extra time spent in the fridge will pay off when you taste your finished cheesecake.
Once the 30 minutes are up, you’ll be all set to proceed to the next steps and get one step closer to dessert perfection. Keep your excitement alive; you’re about to create something truly special!
Step 4. Preheat Your Oven Now
Now that your cream cheese mixture has had time to chill and thicken, it’s the perfect moment to get your oven ready. Preheating your oven is an essential step in creating that delicious blueberry cheesecake you’re about to bake.
So, go ahead and set the temperature to 325°F (160°C). This temperature gives your cheesecake the perfect environment to cook evenly, resulting in a smooth and creamy texture.
While your oven heats up, you can take a moment to prepare your baking pan. Make sure you have a springform pan ready, as it’ll help you achieve that beautiful presentation.
You might want to line the bottom with parchment paper or lightly grease it to guarantee your cheesecake releases easily after baking.
As the oven reaches the desired temperature, you’ll feel the anticipation build—after all, you’re about to create something scrumptious. That warm, inviting aroma will fill your kitchen soon enough!
Once the oven is preheated, you’ll be all set to pour in that luscious cheesecake mixture, making your dessert dreams come true. Trust me, this step is key, and the results will be worth the wait!
Step 5. Bake for 50 Minutes
It’s time to slide your cheesecake into the oven for 50 minutes of baking. As you place your cheesecake on the middle rack, take a moment to admire your creation. The smell of buttery crust and creamy filling will soon fill your kitchen, making it hard to resist peeking in!
During baking, the cheesecake will puff up slightly and develop a beautiful golden top. This is normal and part of the magic of the baking process. Be sure to set a timer so you can check on it without losing track of time. If you notice the edges look firm and the center still wobbles just a bit, you’re on the right track.
Once your timer goes off, don’t rush it! Turn off the oven and crack the door open, letting your cheesecake cool gradually. This helps prevent any cracks from forming on the surface.
After about an hour of cooling in the oven, transfer it to the counter. It’s important to let it chill in the fridge for several hours, or even overnight if you can wait. You’re so close to enjoying that delicious blueberry cheesecake!
Final Thoughts
As you savor each bite of your blueberry cheesecake, it’s clear that the effort you put into crafting this delicious dessert is worth it. The creamy texture paired with the burst of juicy blueberries creates a delightful experience that dances on your palate.
You’ve successfully brought together flavors that complement each other beautifully, making every forkful a reason to smile. Whether it’s a special occasion or just a treat for yourself, this cheesecake is bound to impress.
To inspire you further, here are some highlights of what makes this cheesecake so special:
- The velvety cream cheese filling that melts in your mouth.
- The sweet and tangy blueberry topping that adds a burst of freshness.
- A buttery graham cracker crust that provides the perfect crunchy base.
- The joy of sharing this delightful dessert with family and friends.
- The satisfaction of creating something delicious from scratch.
Don’t hesitate to take on this exciting baking adventure! You’re not just making a dessert; you’re creating lasting memories.
Frequently Asked Questions
Can I Use Frozen Blueberries Instead of Fresh Ones?
They say necessity is the mother of invention. You can definitely use frozen blueberries instead of fresh ones. Just remember to thaw and drain them beforehand, so your dish doesn’t turn out too watery.
What Type of Cream Cheese Is Best for Cheesecake?
For the best cheesecake, you’ll want to use full-fat cream cheese. It creates a rich, creamy texture that enhances flavor. Avoid low-fat options; they won’t provide the same indulgence and can affect the overall outcome.
How Long Should I Refrigerate the Cheesecake Before Serving?
You should refrigerate the cheesecake for at least four hours, but overnight is even better. This allows it to set properly, enhancing the flavor and texture, ensuring it’s delicious when you finally serve it. Enjoy!
Can I Substitute Sugar With a Sugar Alternative?
Yes, you can substitute sugar with a sugar alternative! Just make sure to check the conversion ratio, as some alternatives are sweeter than sugar. Adjust the amount to achieve the desired sweetness in your recipe.
What Is the Best Way to Store Leftover Cheesecake?
You might think refrigerating it’s enough, but for ideal freshness, wrap your leftover cheesecake tightly in plastic wrap and store it in an airtight container. This way, it’ll stay moist and delicious for days.