Strawberry Swirl Cheesecake Recipe
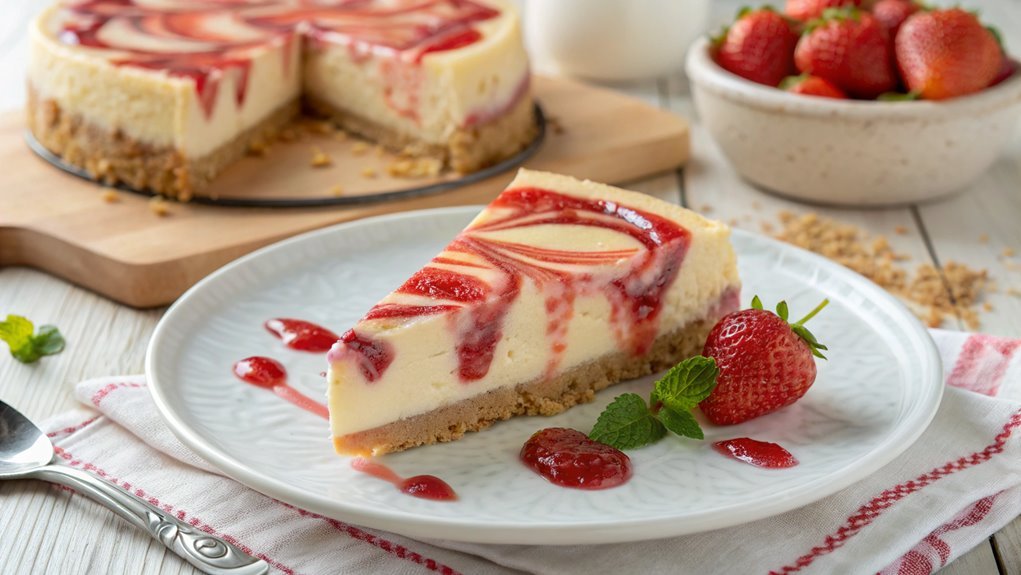
The Strawberry Swirl Cheesecake combines creamy richness with bright, tart strawberry notes, inviting you to explore its layers. Crafting this dessert is both an art and a science, with each step revealing secrets to achieving the perfect swirl.
Gather your ingredients and carefully assemble the components to create a showstopper that impresses with both flavor and presentation.
Recipe
Strawberry swirl cheesecake is a delightful dessert that combines the creamy richness of traditional cheesecake with the fresh, fruity flavor of strawberries. This recipe is perfect for any occasion, from family gatherings to special celebrations.
The vibrant strawberry swirl not only adds a pop of color but also enhances the cheesecake with a sweet and tangy taste that pairs beautifully with the smooth and rich filling.
Preparing this cheesecake is a straightforward process that involves making a buttery graham cracker crust, blending the creamy filling, and swirling in the strawberry puree. After some time in the oven, the cheesecake sets to perfection, creating a luscious dessert that’s sure to impress.
Serve it chilled, topped with extra strawberry sauce or fresh berries for an irresistible treat.
Ingredients:
- 1 ½ cups graham cracker crumbs
- ½ cup unsalted butter, melted
- 2 cups cream cheese, softened
- 1 cup granulated sugar
- 1 teaspoon vanilla extract
- 3 large eggs
- 1 cup sour cream
- 1 cup fresh strawberries, pureed
- 2 tablespoons sugar (for strawberry puree)
- 1 tablespoon lemon juice
Now let’s move on to the cooking steps.
Cooking Steps
Now that you’ve gathered all your ingredients, it’s time to jump into the cooking steps that will bring your strawberry swirl cheesecake to life!
You’ll start by preparing the crust mixture, blending the cream cheese, and adding that delicious strawberry swirl topping.
Each step is simple and fun, leading you closer to a mouthwatering dessert that’s sure to impress!
Step 1. Prepare the Crust Mixture
To create a delicious crust for your cheesecake, start by combining graham cracker crumbs, melted butter, and sugar in a mixing bowl. You’ll want to measure out about one and a half cups of graham cracker crumbs, which provide that iconic flavor and texture.
Next, melt around six tablespoons of butter—this is vital, as it binds the crumbs together and adds richness. Stir in about a quarter cup of granulated sugar to give your crust a touch of sweetness.
Once you’ve got all your ingredients in the bowl, mix them together until everything is well combined. You’re aiming for a crumbly, wet mixture that holds together when pressed.
Speaking of pressing, grab a 9-inch springform pan and firmly press the mixture into the bottom and slightly up the sides. This step is essential for a sturdy crust, so don’t rush it! Make sure it’s even and compact.
After that, pop it in the refrigerator for about 10-15 minutes to set. This little wait will help your crust hold its shape beautifully when you pour in the creamy cheesecake filling. Enjoy the process—you’re on your way to a stunning dessert!
Step 2. Blend Cream Cheese Mixture
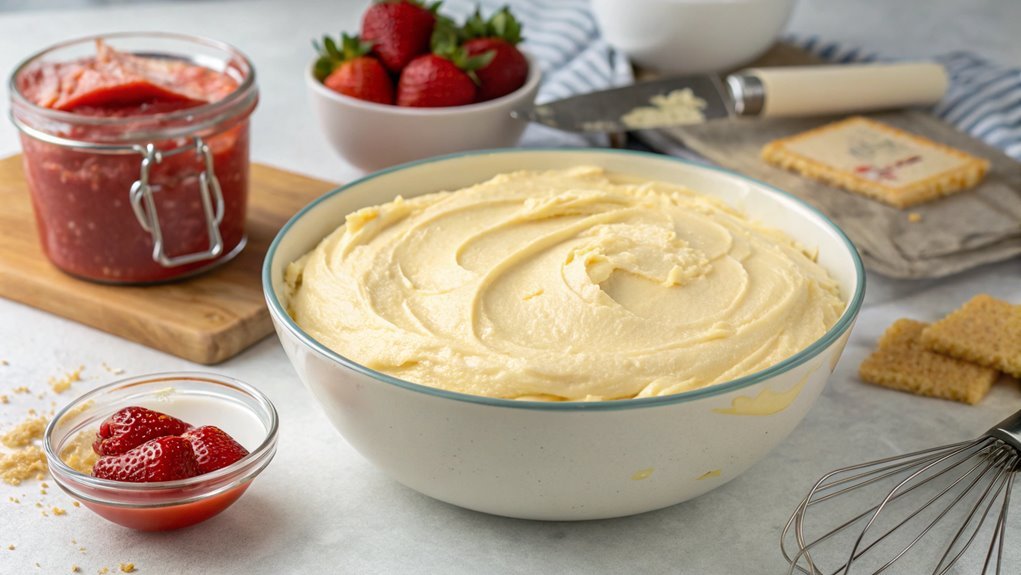
Start by placing softened cream cheese in a mixing bowl. It’s essential to verify your cream cheese is at room temperature, as this helps create a smooth and creamy texture.
Using a hand mixer or a stand mixer, beat the cream cheese on medium speed until it’s completely smooth and free of lumps. This should take about two to three minutes. You want it to feel light and fluffy, so don’t rush this step!
Next, gradually add in your granulated sugar while continuing to mix. The sugar will help sweeten your cheesecake and enhance its flavor.
Once the sugar is fully incorporated, add in your vanilla extract. The aroma of vanilla will elevate your cheesecake, bringing warmth and richness to every bite.
After that, it’s time to add the eggs. Crack one egg at a time into the mixture, blending well after each addition. This guarantees a uniform texture throughout your cheesecake.
Beat until everything is well combined and silky smooth. Remember, the key to a perfect cheesecake is in the blending, so take your time and enjoy the process! You’re one step closer to a delicious dessert that everyone will love!
Step 3. Add Strawberry Swirl Topping
Once your creamy cheesecake mixture is ready, it’s time to add the strawberry swirl topping that will elevate your dessert. This delicious topping not only adds a burst of color but also infuses your cheesecake with that irresistible strawberry flavor.
Here’s how to do it:
- Prepare your strawberries: Start with fresh strawberries, wash them thoroughly, and hull them. Chop them into small pieces for an even blend.
- Cook the strawberries: In a small saucepan over medium heat, combine your chopped strawberries with a little sugar. Cook them until they break down and get syrupy, about 5-7 minutes.
- Swirl into the cheesecake: Spoon dollops of the warm strawberry mixture onto the surface of your cheesecake batter. Use a knife or a skewer to gently swirl the strawberry sauce into the cheesecake, creating beautiful marbled patterns.
- Don’t overdo it: Remember, you want to see those lovely swirls, so avoid mixing too thoroughly!
With each step, you’re getting closer to a stunning dessert that will impress everyone.
Enjoy the process, and let your creativity shine!
Step 4. Chill the Cheesecake Mixture
Chilling the cheesecake mixture is essential for achieving that perfect, creamy texture. Once you’ve added your strawberry swirl topping and mixed everything together, it’s time to give your cheesecake a little TLC. Pour the mixture into your prepared crust, spreading it evenly to guarantee every slice is just as delicious as the last.
Now, cover the cheesecake with plastic wrap or aluminum foil. This step keeps it fresh and prevents any unwanted odors from sneaking in. Place it in the refrigerator and let it chill for at least four hours, but if you can wait overnight, do it! The longer it chills, the better it sets, allowing those flavors to meld beautifully.
During this chilling time, your cheesecake transforms from a soft mixture into a luscious dessert that practically melts in your mouth. This patience pays off, and trust me, every bite will be worth the wait!
Step 5. Bake the Cheesecake Mixture
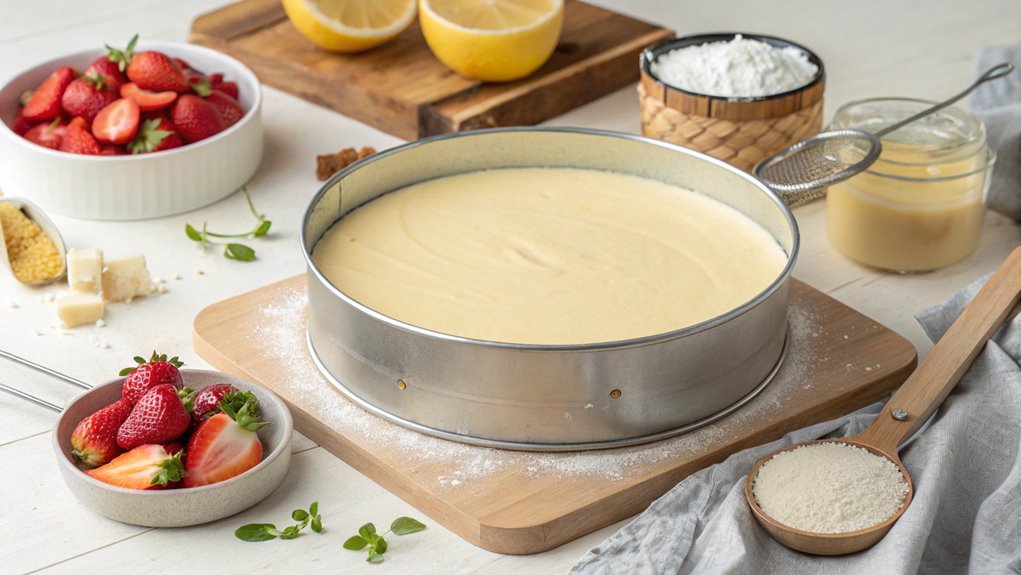
As you prepare to bake your cheesecake mixture, preheat your oven to 325°F (160°C) to guarantee everything cooks evenly. This step is essential for achieving that perfect creamy texture.
Once your oven’s ready, grab your chilled cheesecake mixture and pour it into your prepared crust.
Next, follow these simple steps:
- Smooth the Surface: Use a spatula to gently smooth the top of the mixture, ensuring an even surface for your beautiful strawberry swirl.
- Create the Swirl: Drizzle your strawberry puree on top, then use a knife to create lovely swirls. This adds a stunning visual appeal!
- Prepare for Baking: Place your cheesecake in the center of the oven. To avoid cracks, consider placing a shallow pan with water on the rack below. This adds moisture to the oven.
- Bake with Love: Let it bake for about 55-65 minutes. You’ll know it’s done when the edges are set, but the center still jiggles slightly.
Once baked, let it cool gradually in the oven with the door ajar. This will help prevent cracks and enhance your cheesecake’s deliciousness.
Enjoy the delightful anticipation as it cools!
Final Thoughts
While creating a strawberry swirl cheesecake might seem intimidating at first, the joy it brings once you take that first bite makes it all worthwhile. This dessert isn’t just a treat; it’s a celebration of flavors and textures that you can master in your own kitchen.
Picture the creamy cheesecake, swirled beautifully with vibrant strawberry puree, enticing your taste buds and impressing your friends and family.
Don’t worry if it feels challenging. Every step you take in the process is part of the fun and creativity. You’ll find satisfaction in preparing the crust, mixing the filling, and swirling the strawberries just right.
Plus, the aroma wafting through your kitchen will surely draw everyone in, excited to taste your creation.
Once it’s baked and cooled, you’ll feel a sense of pride as you slice into your masterpiece. The compliments will flow, and you’ll realize that you’ve not just made a dessert; you’ve created lasting memories.
So, gather your ingredients and get ready to whip up this delightful treat. You’ve got this, and the delicious outcome will definitely make the effort worthwhile!
Enjoy every moment of your baking adventure!
Frequently Asked Questions
Can I Use Frozen Strawberries Instead of Fresh Ones?
Absolutely, you can use frozen strawberries instead of fresh ones. Just make sure to thaw and drain them properly to avoid excess moisture. They’ll still give you that delicious flavor you’re looking for!
How Long Does Cheesecake Last in the Fridge?
So, you’ve got leftover cheesecake, huh? It’ll last about five to seven days in the fridge if you store it properly. Just make sure it’s covered to keep it fresh and tasty for later!
Can I Make This Cheesecake Ahead of Time?
Yes, you can make this cheesecake ahead of time! Just store it in the fridge, covered tightly. It’ll stay fresh for a few days, allowing you to enjoy it whenever you’re ready.
What Can I Substitute for Cream Cheese?
You can substitute cream cheese with Greek yogurt, ricotta cheese, or a dairy-free alternative like cashew cream. Each option will change the texture slightly, but they’ll still provide a creamy base for your dish.
Is It Possible to Make a Gluten-Free Version?
Yes, you can definitely make a gluten-free version! Use gluten-free graham crackers or almond flour for the crust. Just guarantee all other ingredients, like sugars and flavorings, are also gluten-free for the best results.
Conclusion
Get ready to make a stunning Strawberry Swirl Cheesecake that will impress everyone. Its creamy texture, sweet strawberry flavor, and irresistible swirl make it perfect for any gathering.
Gather your ingredients and unleash your creativity. Enjoy every step of the process, as baking is about the joy of creating something delicious from scratch.
Immerse yourself in the experience and savor the moment. Treat yourself to a slice of bliss!
