Chocolate Icebox Cake Recipe
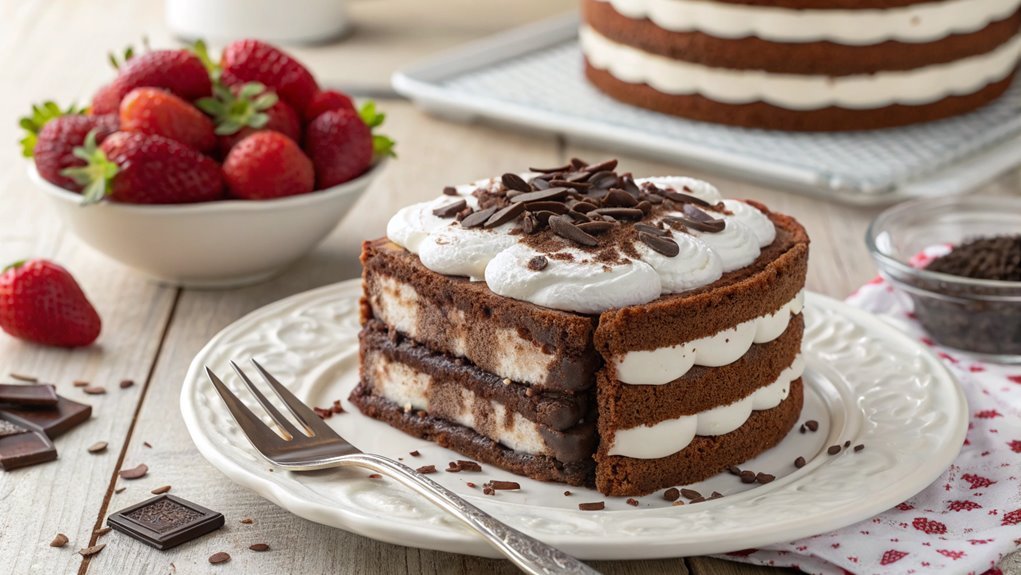
Emerging in the 1920s alongside the rise of home refrigeration, the Chocolate Icebox Cake is a no-bake dessert that simplifies your baking routine. This treat offers rich, layered flavors with minimal effort and is perfect for those seeking an indulgent yet easy-to-make dessert. Getting the layering right can elevate it from ordinary to extraordinary, inviting customization to suit your taste.
Recipe
Chocolate Icebox Cake is a delightful and creamy dessert that’s easy to prepare and perfect for any occasion. This no-bake cake requires minimal effort and is a fantastic way to impress your family and friends with a rich chocolate flavor and silky texture.
Layered with cookies and whipped cream, it transforms into a luscious treat that sets well in the refrigerator, allowing the flavors to meld together beautifully.
The beauty of the icebox cake lies in its versatility; you can use various types of cookies, from traditional chocolate wafers to more adventurous flavors. Customizing it with your favorite toppings—like chocolate shavings, fresh berries, or a drizzle of caramel—can elevate this classic dessert to new heights.
With this straightforward recipe, you’ll have a show-stopping dessert ready to chill and serve whenever you please.
Ingredients:
- 2 cups heavy whipping cream
- 1/2 cup powdered sugar
- 1 teaspoon vanilla extract
- 1 1/2 cups chocolate wafer cookies
- 1 cup chocolate pudding (instant or homemade)
- Optional: chocolate shavings or fresh berries for garnish
Now let’s move on to the cooking steps.
Cooking Steps
Let’s get started on making your delicious Chocolate Icebox Cake!
First, you’ll want to gather all your ingredients to make the process smooth and enjoyable.
Once you have everything ready, you’ll chill it for two hours and layer the chocolate cream and cookie crust, creating a treat that’s sure to impress!
Step 1. Gather Your Ingredients First
Before diving into your Chocolate Icebox Cake, you’ll want to make sure you’ve got all your ingredients ready. This step is essential because it sets you up for a smooth baking experience. You’ll need a box of chocolate wafer cookies, heavy cream, granulated sugar, and vanilla extract. It’s that simple!
First, grab a medium bowl and a mixing whisk, as you’ll be whipping up the cream to create your delightful layers. Make sure you have measuring cups and spoons handy to get those amounts just right. A spatula will come in really handy for transferring your whipped cream between layers.
Check your pantry for cocoa powder; it adds that rich chocolatey flavor we all love. If you’ve decided to incorporate chocolate shavings or sprinkles for decoration, gather those too!
Having everything within arm’s reach not only streamlines the process but also allows you to focus on the joy of creating this tasty treat. Once you’ve rounded up your ingredients, you’ll be ready to whip up the blissfully layered sensation that’s the Chocolate Icebox Cake!
Step 2. Chill for Two Hours
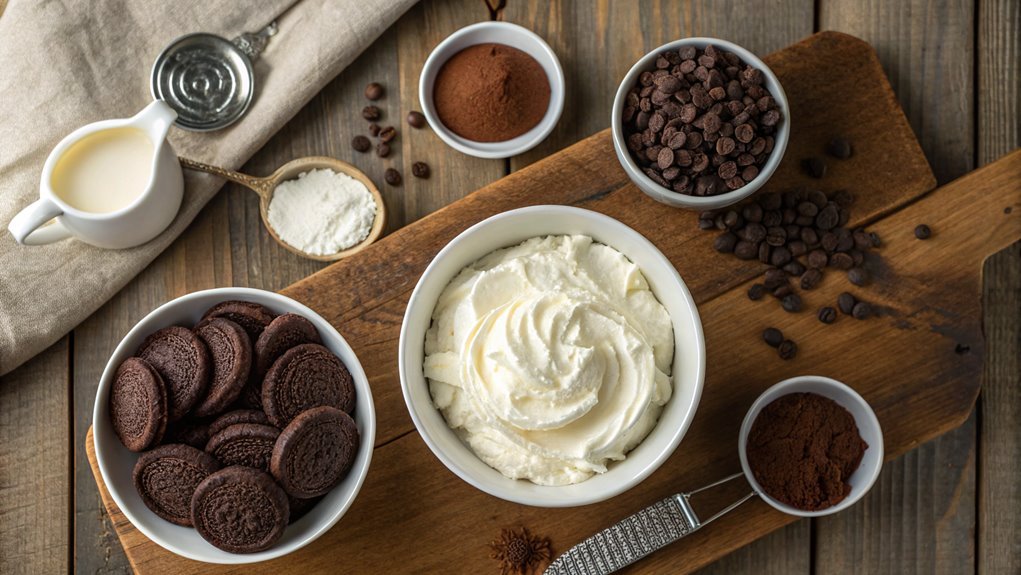
Once you’ve layered the chocolate wafer cookies and whipped cream, it’s time for the vital step of chilling your cake. You can’t rush this part, and you’ll want to give your dessert at least two hours in the refrigerator. This chilling time is essential because it allows the cookies to absorb the moisture from the whipped cream, becoming soft and cake-like. You’ll be amazed at how the flavors meld together during this process!
As you place your cake in the fridge, cover it with plastic wrap or a lid to keep it fresh. This helps maintain the delicious texture and prevents any unwanted refrigerator odors from seeping in.
While you wait, you can think about how rewarding it’ll be to dig into this chocolatey delight. Imagine slicing through the layers of creamy goodness, revealing that beautiful, fluffy interior!
After the two hours are up, you’ll be greeted with a cake that’s ready to impress. So, get excited! This is a perfect treat for gatherings or a cozy night in.
Step 3. Layer the Chocolate Cream
As you prepare to layer the chocolate cream, gather your whipped cream and chocolate filling, ensuring they’re both ready for assembly. Start by choosing a clean, large bowl. You’ll want to create a delightful, smooth layer that’ll melt in your mouth.
Now, take a generous scoop of the chocolate filling and gently fold it into the whipped cream. This creates a rich, airy texture that will elevate your cake. Mix them together until it’s beautifully combined, but be careful—overmixing can deflate that delightful fluffiness.
Next, grab your prepared cake base and spoon a layer of the chocolate cream mixture directly onto it. Use a spatula to spread the cream evenly, filling in every little nook.
Remember, each layer adds to the overall experience, so make it as thick or thin as you like! You’ll want to keep alternating layers, so keep the chocolate cream close at hand. Each scoop of that velvety chocolate will infuse your cake with luscious flavor.
Step 4. Add Cookie Crust Layer
Creating the cookie crust for your chocolate icebox cake is a simple yet essential step that adds delicious texture. You’ll love how this crust complements the creamy layers above it. Let’s get started on this delightful layer that forms the foundation for your cake!
- Choose your cookies: For a classic flavor, use chocolate wafer cookies. If you’re feeling adventurous, try crushed graham crackers or even Oreos!
- Crush the cookies: Place the cookies in a resealable bag and crush them into fine crumbs. You can also use a food processor for a quicker option. Aim for a sandy texture.
- Mix with butter: In a bowl, combine the cookie crumbs with melted butter. This mixture should be crumbly but stick together when pressed. You want just enough butter to hold everything together.
- Press into the pan: Transfer the crust mixture into your cake pan. Use your hands or a flat-bottomed glass to press it down firmly and evenly across the bottom.
You’re creating a delightful cookie crust that will take your chocolate icebox cake to the next level! Enjoy this satisfying step, and get ready for the delicious layers to come!
Step 5. Sprinkle With Cocoa Powder
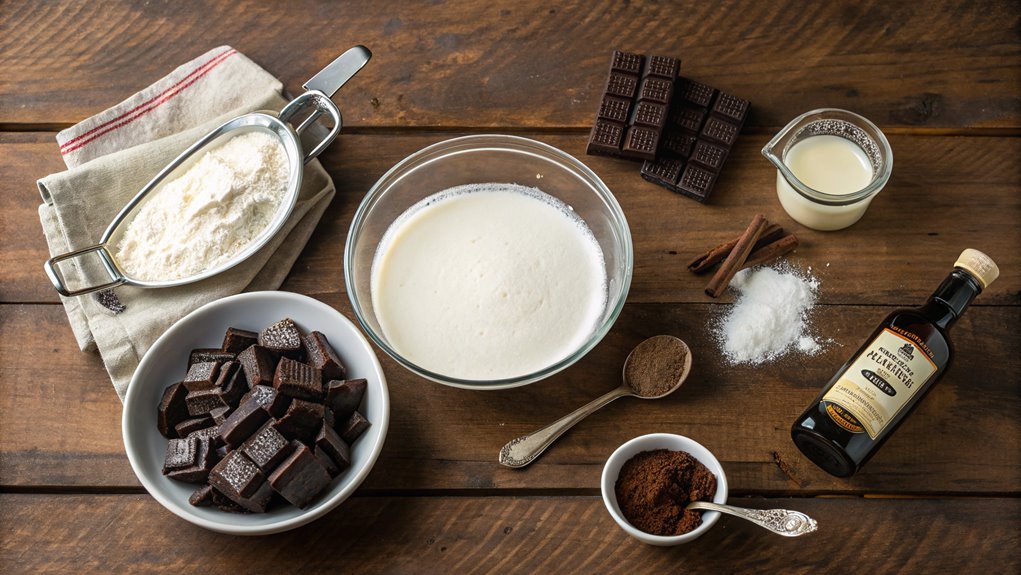
After you’ve assembled your layers, it’s time to add that finishing touch with a sprinkle of cocoa powder. This small step can elevate the presentation of your chocolate icebox cake while enhancing its rich, decadent flavor.
Take a fine-mesh sieve or a cocoa powder dusting tool, and hold it over the top of your cake. As you gently tap the sieve, let the cocoa powder fall evenly across the surface.
Make sure to cover the top layer thoroughly, but don’t go overboard—too much cocoa can be overwhelming. You want a delicate layer that perfectly complements the creamy texture underneath.
If you’d like, you can add a chocolate shavings garnish for added flair and texture, creating an irresistible visual appeal.
Once you’ve sprinkled that cocoa, step back and admire your creation! That final touch not only looks impressive but also hints at the delightful taste your guests are about to enjoy.
Now, pop the icebox cake into the refrigerator for a few hours to let it set, and get ready for the delicious combination of flavors when you cut into it. You’re going to love every layer!
Final Thoughts
While indulging in a rich slice of chocolate icebox cake, you can appreciate the simplicity and delight this dessert brings to any gathering.
It’s an effortless showstopper that combines creamy layers with a chocolatey crunch, perfect for impressing friends and family alike. You’ll love how easy it’s to assemble and how little time it takes to create a dessert that feels fancy yet approachable.
To help you enjoy every moment, consider these tips:
- Use Quality Ingredients: Choosing good chocolate and fresh whipped cream elevates your cake, making each bite sublime.
- Let It Chill: Allowing the cake to set in the fridge overnight will enhance the flavors and textures, making it even more delicious.
- Experiment with Flavors: Don’t hesitate to incorporate different flavors, like coffee or vanilla, to customize your treat.
- Serve with Toppings: Garnish with berries, shaved chocolate, or extra whipped cream for a stunning presentation.
Frequently Asked Questions
How Long Can I Store Chocolate Icebox Cake in the Refrigerator?
You can store it in the refrigerator for up to five days. Just make sure you cover it well to keep it fresh. Enjoy it chilled for the best flavor and texture!
Can I Use Dairy-Free Chocolate for This Recipe?
If you’re lactose intolerant, using dairy-free chocolate is definitely an option! Just make sure it melts smoothly. Brands like Enjoy Life are great, ensuring your recipe stays delicious while accommodating your dietary needs.
What Type of Cookies Work Best for the Cake Layers?
You’ll want to choose cookies that are sturdy yet soft, like chocolate wafers or graham crackers. They absorb moisture well, creating a delicious texture without falling apart, perfect for layering in your cake. Enjoy experimenting!
Is It Possible to Make This Cake Ahead of Time?
Yes, you can definitely make this cake ahead of time! In fact, letting it chill overnight enhances the flavors. Just store it in the fridge, and it’ll be ready for you when you need it.
Can I Substitute Whipped Cream With Another Topping Option?
Absolutely, adventurous substitutions are splendid! You can swap whipped cream with fluffy frosting, delightful dairy, or even whipped coconut cream. Each option adds unique taste and texture, so choose what tickles your taste buds!
