Triple Chocolate Cake Recipe
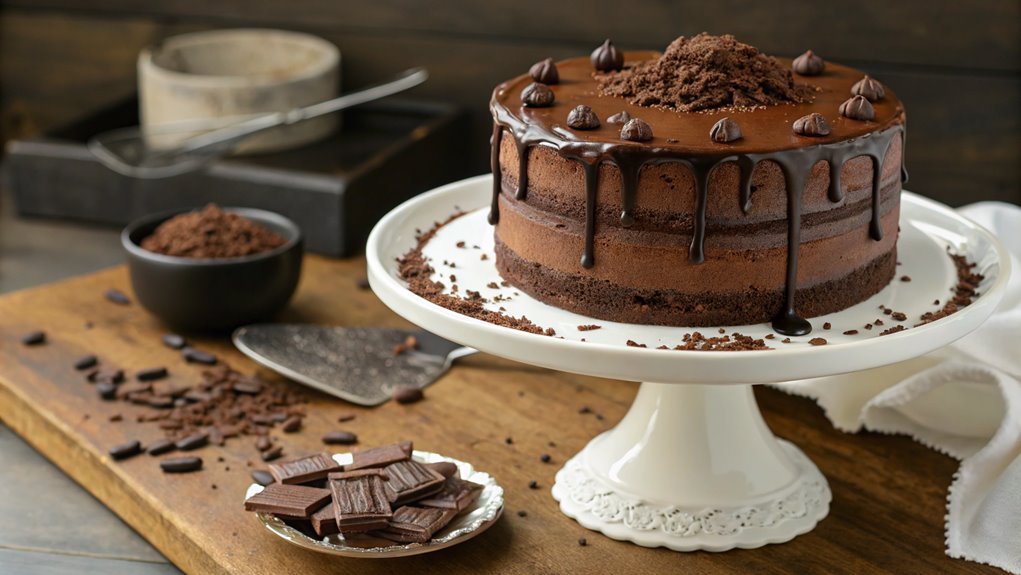
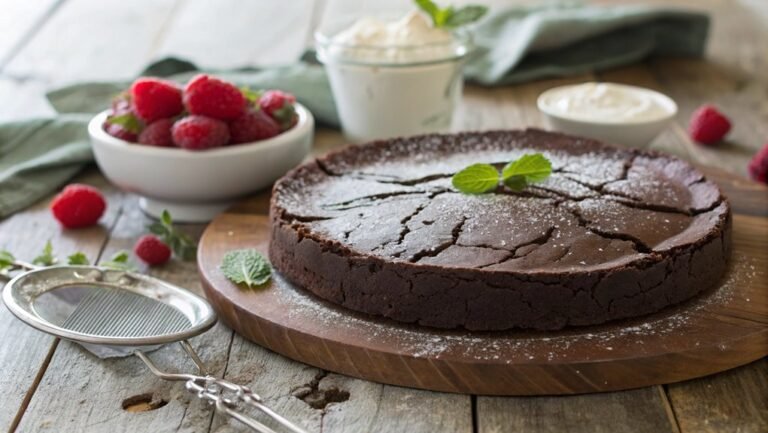
A Triple Chocolate Cake is the ultimate choice for a dessert that wows. With layers of rich chocolate cake, velvety frosting, and glossy ganache, each bite is a chocolate lover’s dream. Precision in achieving perfect texture and depth of flavor elevates the experience. Simple yet satisfying steps ensure your cake stands out as more than just a dessert.
Recipe
If you’re a chocolate lover, this Triple Chocolate Cake is sure to satisfy your sweet tooth! With layers of rich chocolate cake, creamy chocolate frosting, and decadent chocolate ganache, this dessert is the ultimate indulgence.
Perfect for birthdays, special occasions, or as a treat for yourself, this cake will impress your family and friends with its deep chocolate flavor and show-stopping presentation.
Baking this luscious cake is easier than you might think. You’ll begin by preparing the chocolate cake batter, which combines cocoa powder for richness, giving it that deep, dark color and flavor.
After baking and cooling the layers, you’ll whip up a smooth, velvety chocolate frosting to envelop the cake. Top it off with a glossy chocolate ganache for an extra layer of chocolate goodness. Follow the step-by-step directions below, and get ready to enjoy a slice of heaven!
Ingredients:
- 1 ¾ cups all-purpose flour
- 1 ¾ cups granulated sugar
- ¾ cup unsweetened cocoa powder
- 1 ½ teaspoons baking powder
- 1 ½ teaspoons baking soda
- 1 teaspoon salt
- 2 large eggs
- 1 cup whole milk
- ½ cup vegetable oil
- 2 teaspoons vanilla extract
- 1 cup boiling water
- 1 cup semi-sweet chocolate chips
For the Chocolate Frosting:
- 1 cup unsalted butter, softened
- 1 ½ cups unsweetened cocoa powder
- 5 cups powdered sugar
- ½ cup whole milk
- 2 teaspoons vanilla extract
For the Chocolate Ganache:
- 1 cup semi-sweet chocolate chips
- ½ cup heavy cream
Cooking Steps
Now it’s time to get your hands dirty and bring that triple chocolate cake to life!
Start by preheating your oven to 350°F, creating the perfect environment for baking.
Mixing your dry ingredients together will set the stage for adding those delicious wet ingredients that’ll make this cake truly irresistible.
Step 1. Preheat Oven to 350°F
Preheating your oven to 350°F is an essential step for baking a perfect triple chocolate cake. This temperature guarantees that your cake bakes evenly, helping it rise beautifully while developing that rich, delicious flavor we all crave.
As you prepare to start on your baking adventure, take a moment to set your oven. Start by locating the temperature dial or digital settings on your oven. It’s as simple as turning the knob or pressing the button until you see 350°F.
Once you’ve set it, turn your attention to the timer. Preheating typically takes about 10 to 15 minutes, so while you wait, you can gather your ingredients and tools. This is the perfect time to get your mixing bowls, measuring cups, and spatula ready!
While the oven warms up, imagine how fantastic your kitchen will smell once that triple chocolate cake is baking away. The anticipation builds with every passing minute!
Trust me, taking this extra step will help you achieve that melt-in-your-mouth texture that makes this cake a showstopper. Enjoy the process, and let the baking begin!
Step 2. Mix Dry Ingredients Together
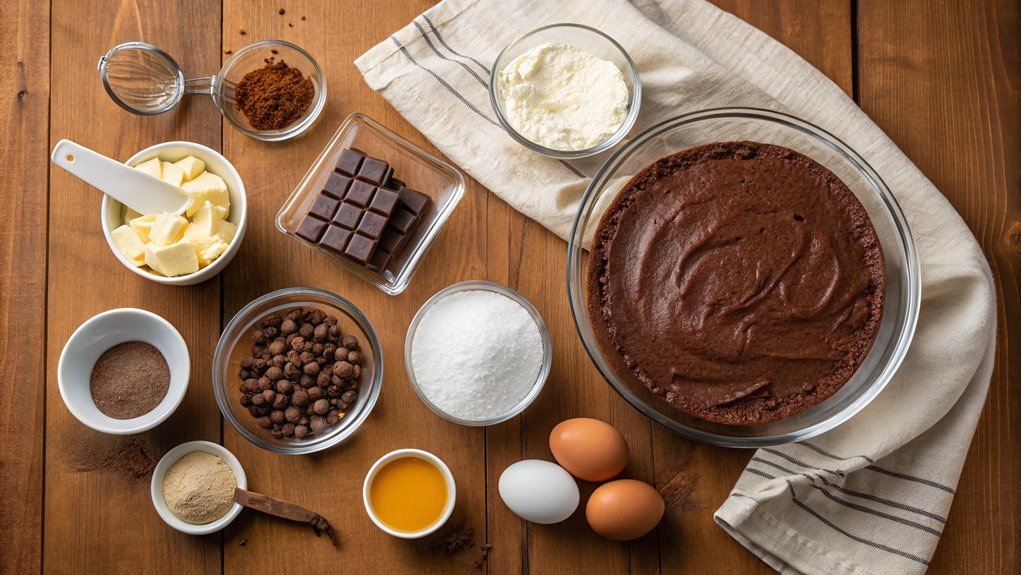
With the oven preheated and ready to go, it’s time to mix the dry ingredients together for your triple chocolate cake. This step is vital, as it sets the solid foundation for the chocolatey goodness that’s about to unfold.
Grab a large mixing bowl and start by adding the all-purpose flour. You’ll want to sift it to guarantee it’s light and free of lumps. Next, sprinkle in the unsweetened cocoa powder, along with baking powder, baking soda, and a bit of salt. These ingredients will work in harmony to give your cake the perfect texture and rise.
Now, take a whisk and mix them all together, creating a beautiful blend of rich colors and fragrances. It’s important to get even distribution, so don’t rush this step.
Feel free to imagine the thick, moist cake that will soon emerge from your oven! After mixing, you can set this bowl aside as you prepare for the next stage of the recipe.
Embrace the anticipation—your triple chocolate cake is already shaping up to be an extraordinary treat. Enjoy the process—you’re one step closer to indulgence!
Step 3. Add Wet Ingredients Gradually
As you shift to the next stage of your cake-making adventure, it’s crucial to add the wet ingredients gradually for the best results. This method not only helps to create a smooth and consistent batter but also guarantees the flavors meld beautifully.
Start by pouring in half of your liquid ingredients, like milk and eggs, into the bowl with your dry mix. Stir them together gently but thoroughly until there are minimal lumps remaining.
Next, introduce the remaining wet ingredients. This gradual addition allows you to control the consistency of the batter, making it easy to adjust as needed. If it seems too thick, you can mix in a splash more liquid.
Keep your spatula or mixer moving consistently, making sure everything’s evenly combined. Remember, the goal is a rich, velvety batter that will bake into a moist cake.
Don’t rush through this process! Enjoy the moment as you watch your ingredients transform into something delightful. The aroma of chocolate will start to fill the air, inviting you to dream about the delicious cake that’s on its way.
Trust this step, and you’re one step closer to an indulgent triple chocolate treat!
Step 4. Fold in Chocolate Chips
Now that your batter is smooth and velvety, it’s time to fold in those chocolate chips. This step is essential for achieving that triple chocolate goodness! Grab a spatula and carefully add in your chocolate chips. You can use semi-sweet, dark, or even white chocolate chips for extra flair.
Gently fold them into the batter using a figure-eight motion. This technique allows the chocolate chips to disperse evenly throughout the mixture without deflating your beautifully aerated batter. Don’t rush this process; you want to maintain that lovely fluffiness while ensuring every bite will be packed with chocolatey delight.
As you fold, you might spot those shimmering chocolate morsels peeking through the rich cocoa backdrop, and it’s hard not to get excited about the deliciousness to come!
Make sure to scrape down the sides of the bowl too, so every bit of batter gets the chocolate chip treatment.
Once you’ve incorporated the chips, stand back for a moment to appreciate the chocolatey masterpiece you’ve created. This cake is shaping up to be a real showstopper, and you’re just a few steps away from baking pure bliss!
Step 5. Bake for 30 Minutes
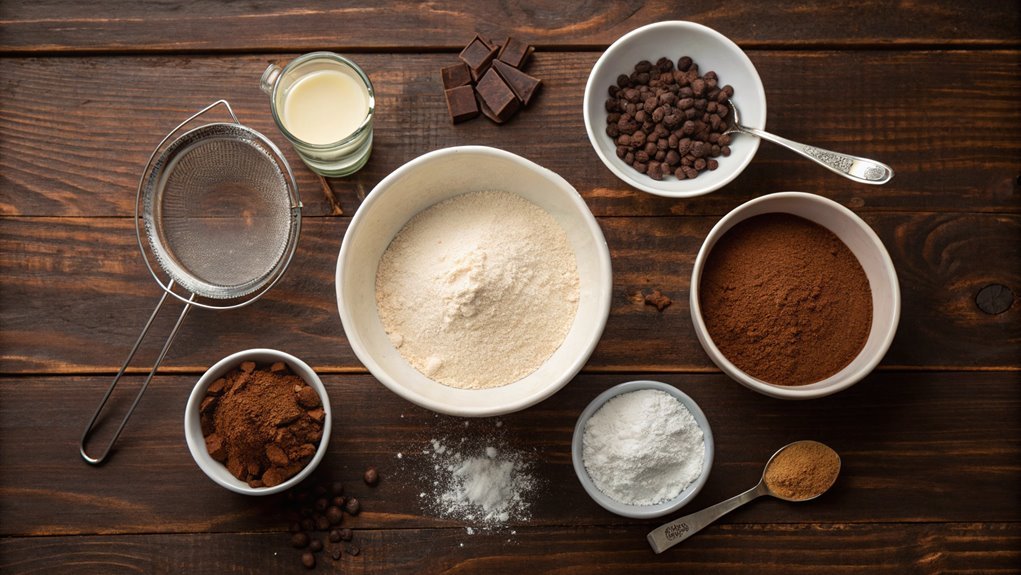
It’s time to bake your cake! Preheat your oven to 350°F (175°C) while you prepare your delicious chocolate mixture.
Once it’s hot enough, you’ll want to grab your cake batter that’s filled with all those rich, chocolatey flavors. Pour the batter into your greased cake pans evenly, making sure to smooth out the tops with a spatula. This helps the cake to bake uniformly.
Now, slide those pans into the oven and set a timer for 30 minutes. You’ll want to keep an eye on it as it bakes, but resist the urge to open the oven door too soon; this can cause the cake to sink.
Instead, use this time to enjoy the tempting aroma wafting through your kitchen, as the chocolate melds into a perfect blend.
When the timer goes off, carefully insert a toothpick into the center of your cakes. If it comes out clean, your cakes are ready to come out.
Let them cool in their pans for a few minutes before transferring them to a wire rack. Soon enough, you’ll have a scrumptious triple chocolate cake ready for frosting or simply enjoying! Happy baking!
Final Thoughts
While indulging in a slice of triple chocolate cake can feel like pure bliss, it’s important to remember the joy of creating it from scratch. Baking isn’t just about the end product; it’s about the experience, the aromas filling your kitchen, and the satisfaction you gain.
So, roll up your sleeves and get started! You’ll find that each step is just as rewarding as enjoying that final slice.
Picture yourself savoring not just the taste, but the entire process. Here are four delightful moments to expect:
- Measuring and mixing – Watching the rich cocoa powder blend seamlessly with sugar and flour sparks excitement.
- Melting chocolate – The aroma of chocolate wafting through the air is simply irresistible.
- Frosting the layers – Spreading that luscious, silky frosting on warm cake makes your heart soar.
- Slicing into the cake – The first bite, with layers of chocolate cascading into your mouth, seals the deal.
Frequently Asked Questions
What Can I Substitute for Eggs in This Recipe?
If you’re looking to substitute eggs, try using applesauce, mashed bananas, or yogurt. Each option adds moisture and works well in baking. Just remember to adjust the quantity to match your recipe’s needs.
How Can I Make This Cake Gluten-Free?
To make your cake gluten-free, substitute regular flour with a gluten-free blend. Verify you check that all other ingredients, like chocolate, are also gluten-free. Adjust baking time as needed for the new flour consistency.
Can I Use Milk Chocolate Instead of Dark Chocolate?
Yes, you can use milk chocolate instead of dark chocolate. Just keep in mind that milk chocolate is sweeter and creamier, so it might alter the cake’s overall flavor and texture slightly. Adjust accordingly!
How Should I Store Leftovers Properly?
Picture your delicious leftovers, tempting and rich, sitting on the counter. To store them properly, wrap tightly in plastic wrap or place in an airtight container. Keep them in the fridge, and they’ll stay fresh!
How Long Does This Cake Stay Fresh?
This cake stays fresh for about three to four days when stored properly in an airtight container. If you want it to last longer, consider freezing it, where it can remain good for up to three months.
