Gluten-Free Vanilla Cupcakes Recipe
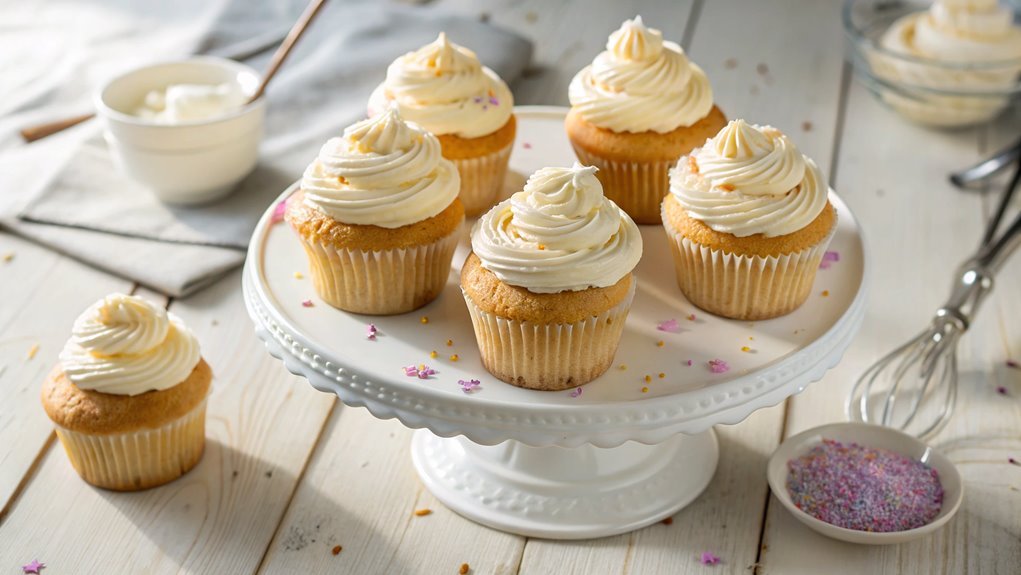
Looking to make gluten-free vanilla cupcakes? You’re in for a treat with just a few common ingredients and simple techniques. These cupcakes are light and fluffy, perfect for satisfying your sweet tooth without feeling heavy. They’re versatile, whether you choose a fancy topping or keep it simple. Curious about the process? Let’s explore the straightforward steps for baking success.
Recipe
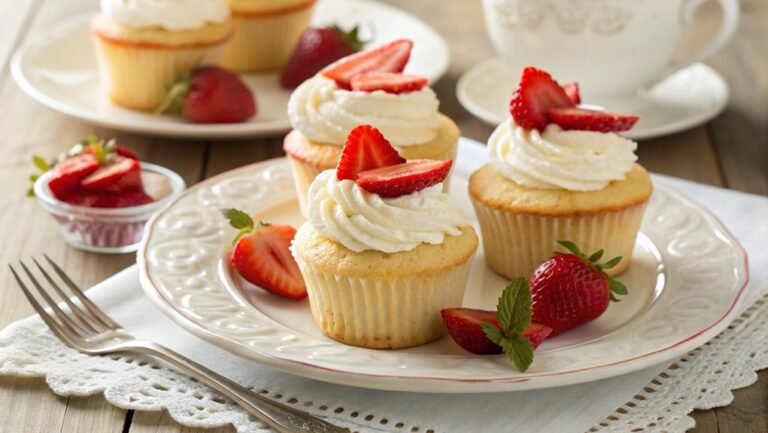
Gluten-Free Vanilla Cupcakes are a delightful treat that everyone can enjoy, whether they follow a gluten-free diet or not.
These cupcakes are light, fluffy, and bursting with vanilla flavor, making them perfect for any occasion—from birthdays to tea parties. Crafted with ingredients that are naturally gluten-free, they offer a delicious alternative to traditional cupcakes without compromising on taste or texture.
Baking gluten-free can sometimes be intimidating, but this simple recipe will guide you through the process with ease. By using a blend of gluten-free flour and essential baking ingredients, you can whip up a batch of these scrumptious cupcakes in no time.
Top them off with your favorite frosting or enjoy them plain for a sweet and satisfying snack.
Ingredients:
- 1 ½ cups gluten-free all-purpose flour
- 1 cup granulated sugar
- ½ cup unsalted butter, softened
- 2 large eggs
- 1 teaspoon vanilla extract
- 1 teaspoon baking powder
- ½ teaspoon baking soda
- ¼ teaspoon salt
- ¾ cup milk (or dairy-free alternative)
- Optional: sprinkles for decoration
Now let’s move on to the cooking steps.
Cooking Steps
Get ready to whip up some delicious gluten-free vanilla cupcakes!
First, you’ll want to preheat your oven to 350°F, setting the stage for some baking magic.
Then, you’ll mix the dry ingredients thoroughly before gradually adding the wet ones, creating a batter that’s sure to impress!
Step 1. Preheat Oven to 350°F
To kick off your gluten-free vanilla cupcakes, preheating your oven to 350°F is vital. This step is significant because it guarantees your cupcakes bake evenly and rise perfectly. A well-heated oven creates that inviting golden crust while keeping the inside moist and fluffy. So, let’s get things sizzling!
Start by turning on your oven to the desired temperature. Don’t forget to give it some time—about 10 to 15 minutes works best.
While the oven warms up, you can get excited about the delicious treats you’re about to make. Picture those sweet, simple cupcakes fresh out of the oven, filling your kitchen with an irresistible aroma.
It’s easy to overlook this step, but trust me, it makes a big difference! If the oven isn’t hot enough, your cupcakes can turn out flat or undercooked.
So, be patient and let it reach the right temperature before you mix your ingredients. Feel that anticipation build? You’re one step closer to enjoying these delightful gluten-free vanilla cupcakes!
Go ahead, take a deep breath, and get ready for some outstanding baking. You’re going to love the process!
Step 2. Mix Dry Ingredients Thoroughly
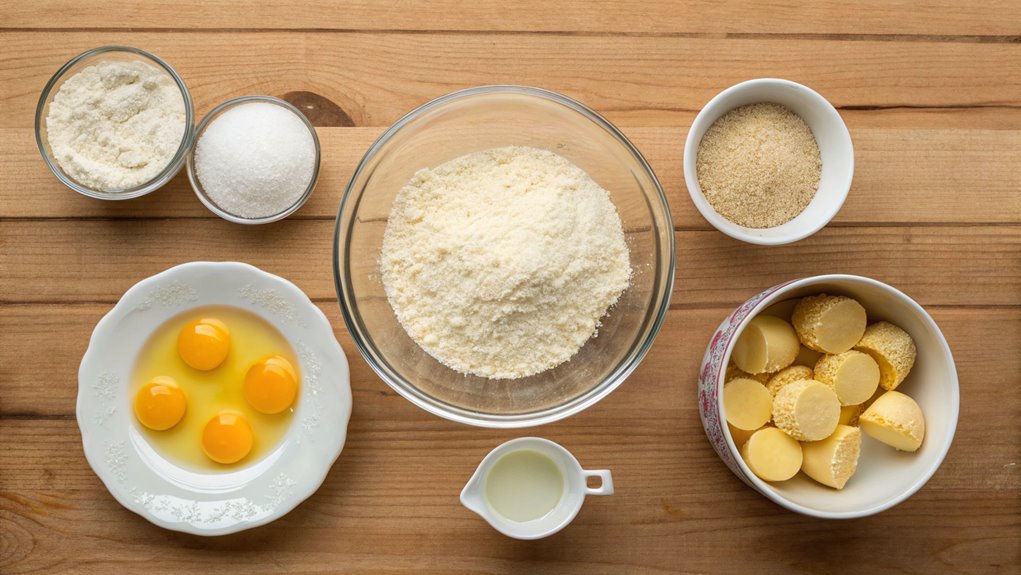
Start by gathering your dry ingredients—this is an essential step for achieving that perfect cupcake texture.
You’ll need gluten-free all-purpose flour, baking powder, baking soda, and a pinch of salt. Measure each ingredient carefully, as precision really matters in baking.
In a large mixing bowl, sift the gluten-free flour to guarantee it’s airy and free of lumps.
Then, add the baking powder, baking soda, and salt to the flour. Sifting helps blend these ingredients uniformly, making sure your cupcakes rise evenly and taste delightful.
Once everything’s combined, it’s time to whisk! Mixing well helps to distribute the leavening agents evenly throughout the flour.
This is where the magic begins; your dry mixture should be light and fluffy. Take a moment to appreciate the wonderful aroma of the flour blended with the dry ingredients.
If you’re feeling adventurous, you might consider adding a teaspoon of vanilla powder or a sprinkle of cinnamon for an extra flavor kick.
Mixing your dry ingredients thoroughly sets the foundational flavor of your gluten-free vanilla cupcakes.
Now that you’re ready, your next steps will be just as exciting, so let’s keep that momentum going!
Step 3. Add Wet Ingredients Gradually
As you’re ready to transform your dry mixture into a batter, it’s crucial to add the wet ingredients gradually. This step not only guarantees that your cupcake batter becomes smooth and lump-free, but it also allows you to maintain better control over the texture.
Start by pouring a small amount of your wet ingredients into the dry mix. Stir gently to combine, and then add more.
Here are three important things to remember during this process:
- Incorporate Slowly: By adding the wet ingredients slowly, you give the dry ingredients time to absorb and blend well, creating a silky batter.
- Watch for Consistency: Keep an eye on the texture! It should be thick but pourable, just like your favorite cupcake batters. If it feels too dry, don’t hesitate to add a splash more of the wet mixture!
- Don’t Overmix: Once everything is combined, stop stirring! Overmixing can lead to dense cupcakes, and we want them light and fluffy.
Step 4. Fill Cupcake Liners Evenly
Once your batter is ready, it’s vital to fill the cupcake liners evenly to guarantee uniform baking. This step can make a significant difference in how your cupcakes turn out! Grab a cookie scoop or a measuring cup to help you portion out your batter. Aim for about two-thirds full for each liner; this allows space for the cupcakes to rise beautifully without overflowing.
As you fill each liner, take a moment to admire the smooth, glossy surface of your batter. It’s this attention to detail that leads to the perfect cupcakes. If you notice that some liners are fuller than others, don’t hesitate to adjust. It’s essential for them all to bake at the same rate, ensuring that each cupcake is delightfully moist and fluffy.
After you’ve filled your liners, a gentle tap on the baking sheet can help settle the batter and pop any air bubbles. This little trick promotes even baking and gives your treats that dreamy texture everyone loves.
You’re just a step away from cupcake heaven. So, embrace this part of the process with excitement—your delicious gluten-free vanilla cupcakes are on the way! Happy baking!
Step 5. Bake for 20 Minutes
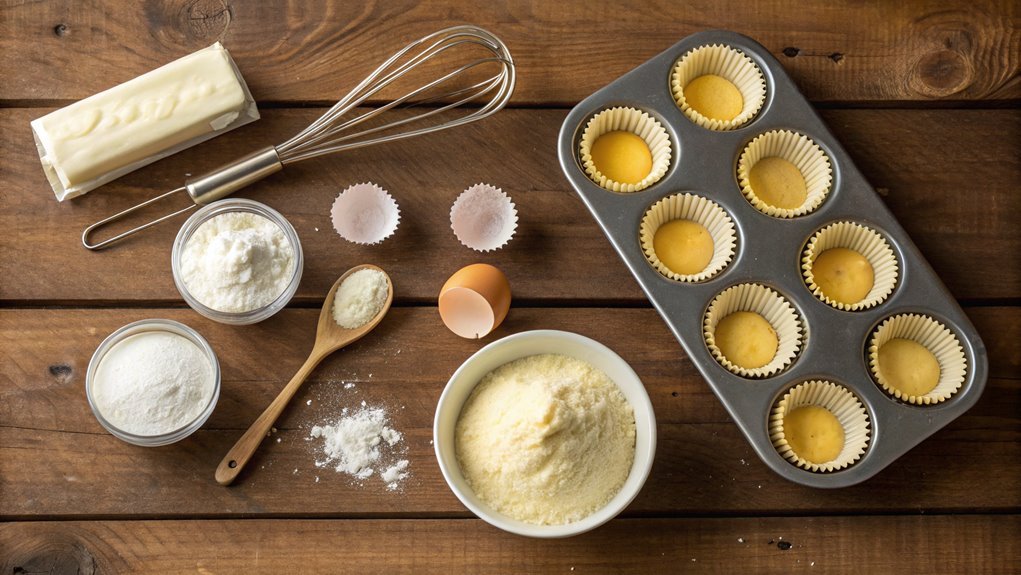
Baking your filled cupcake liners for 20 minutes is where the magic truly happens! As your cupcakes bake, they’ll rise beautifully, filling your kitchen with a sweet aroma that’ll make your mouth water.
Keep an eye on the clock, and trust your instincts; this is the moment when your hard work transforms into fluffy, golden delights.
Here’s what to remember during these essential 20 minutes:
- Preheat Your Oven: Make certain your oven is set to 350°F (175°C) before you pop those cupcakes in. A properly preheated oven guarantees even baking.
- Check for Doneness: About 5 minutes before the time’s up, peek through the oven door. You can use a toothpick to test—just stick it in the center of one cupcake. If it comes out clean, they’re ready!
- Cooling Time: Once baked, let your cupcakes cool in the pan for about 5 minutes before transferring them to a wire rack. This helps them set while keeping that perfect texture.
Enjoy the anticipation as you await your delicious creation. Trust the process, and soon you’ll be enjoying these lovely cupcakes with family and friends!
Final Thoughts
While creating gluten-free vanilla cupcakes can feel intimidating at first, the process is actually straightforward and rewarding. Once you gather your ingredients and tools, you’ll find that the joy of baking takes over. Just think about the delightful aroma filling your kitchen and the excitement of biting into a moist, fluffy cupcake that’s completely gluten-free!
Don’t shy away from trying new recipes. These cupcakes are perfect for sharing at parties, family gatherings, or even just as a sweet treat for yourself. You’ll impress your loved ones with your baking skills and give those on gluten-free diets a delicious option they can enjoy without worry.
The bright vanilla flavor combined with the light, airy texture is simply irresistible!
If you follow this recipe, you’ll get great results every time. Experimenting with toppings, like fresh fruit or gluten-free sprinkles, adds a personal touch that truly makes each cupcake your own.
Frequently Asked Questions
Can I Substitute Almond Flour for All-Purpose Gluten-Free Flour?
Yes, you can substitute almond flour for all-purpose gluten-free flour, but remember it has a different texture and moisture content. You might need to adjust other ingredients for the best results in your recipe.
What Is the Shelf Life of Gluten-Free Vanilla Cupcakes?
The shelf life of gluten-free vanilla cupcakes depends on storage. If you keep them in an airtight container at room temperature, they last about 2-3 days. Refrigerating extends it to around a week. Enjoy them fresh!
How Do Gluten-Free Cupcakes Differ in Texture?
Imagine a cloud versus a brick. Gluten-free cupcakes often feel lighter and fluffier due to alternative flours, but they can sometimes be denser. Experimenting with ingredients helps you find the right balance for your perfect texture.
Can I Add Frosting to These Cupcakes?
Absolutely, you can add frosting to those cupcakes! Just choose a frosting you love, whether it’s buttercream or cream cheese. It’ll enhance the flavor and make your gluten-free treat even more delightful. Enjoy every bite!
Are Gluten-Free Cupcakes Safe for People With Celiac Disease?
Sure, gluten-free cupcakes are totally safe—unless you accidentally mix in regular flour, of course! If you’re truly keeping things gluten-free, you should be just fine enjoying them, even with celiac disease. Enjoy safely!
