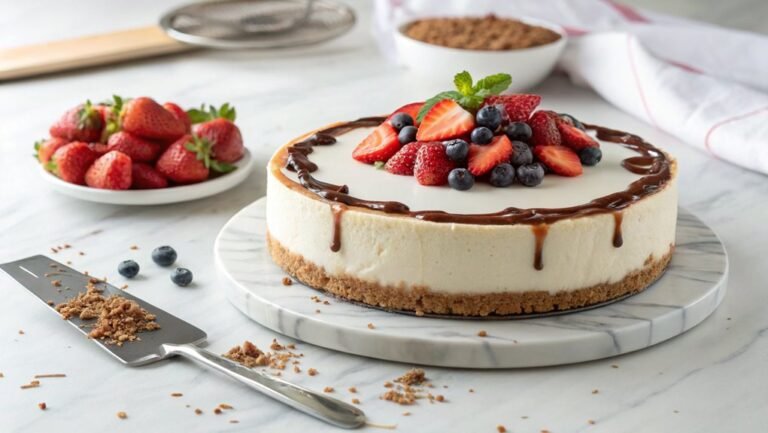
Chocolate Hazelnut Cheesecake Recipe
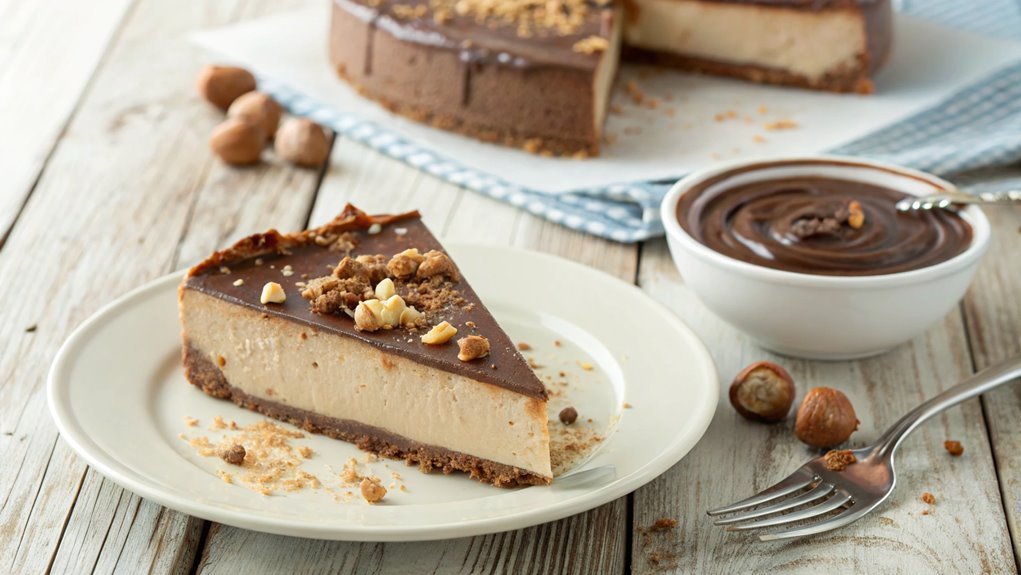
The combination of chocolate and hazelnuts dates back to ancient times, cherished for its rich flavor across various cultures. By making a Chocolate Hazelnut Cheesecake, you elevate this classic pairing into a creamy, decadent dessert that delights any palate.
Understanding the key steps and ingredients is essential to making this cheesecake stand out. Simple techniques can lead to impressive results, potentially transforming your dessert game entirely.
Recipe
Indulge in the rich and creamy delight of a Chocolate Hazelnut Cheesecake that will leave your taste buds dancing with joy. This dessert combines the heavenly flavors of smooth cream cheese, luscious chocolate, and the nutty essence of hazelnuts, making it the perfect treat for any occasion.
Whether you’re celebrating a special milestone or just wanting to indulge in a sweet craving, this cheesecake is sure to impress your guests and satisfy your chocolate-loving heart.
The preparation is surprisingly simple, allowing you to create this decadent dessert with ease. Begin by preparing a buttery graham cracker crust and then layer the velvety cheesecake filling with chocolate and hazelnut spread.
After it has set in the refrigerator, serve it topped with a drizzle of chocolate and toasted hazelnuts for an elegant finish. Let’s explore the ingredients you’ll need to create this delicious Chocolate Hazelnut Cheesecake.
Ingredients:
- 1 ½ cups graham cracker crumbs
- ½ cup unsalted butter, melted
- 2 cups cream cheese, softened
- 1 cup granulated sugar
- 3 large eggs
- 1 teaspoon vanilla extract
- 1 cup chocolate hazelnut spread (like Nutella)
- ½ cup sour cream
- 1 cup heavy cream
- ½ cup powdered sugar
- ¼ cup toasted hazelnuts, chopped
- Optional: chocolate syrup for drizzling
Now let’s move on to the cooking steps.
Cooking Steps
Let’s get started on creating your mouthwatering chocolate hazelnut cheesecake!
First, you’re going to preheat that oven to 350°F to guarantee the perfect bake.
Then, gather your ingredients and prepare to mix the rich cream cheese and sugar, setting the foundation for a decadent dessert that’s sure to impress!
Step 1. Preheat the Oven to 350°F
Before you plunge into creating your chocolate hazelnut cheesecake, you need to preheat your oven to 350°F. This step might seem simple, but it’s essential for ensuring your cheesecake bakes evenly and achieves that perfect creamy texture we all crave.
Preheating allows your oven to reach the ideal temperature before you slide in your cheesecake, preventing any surprises that might come from baking at an unreliable temperature.
To preheat, turn on your oven and set it to 350°F. Most modern ovens will beep or show a light when they reach this temperature, which makes it easy to know when you’re ready to go.
While the oven heats up, you can gather your ingredients and prepare for the mixing ahead.
Just imagine, a fluffy cheesecake enriched with lush chocolate and crunchy hazelnuts awaits you! The moment you step into the kitchen, the aroma of melted chocolate and toasted nuts will soon fill the air, inviting everyone to indulge.
Step 2. Mix Cream Cheese and Sugar
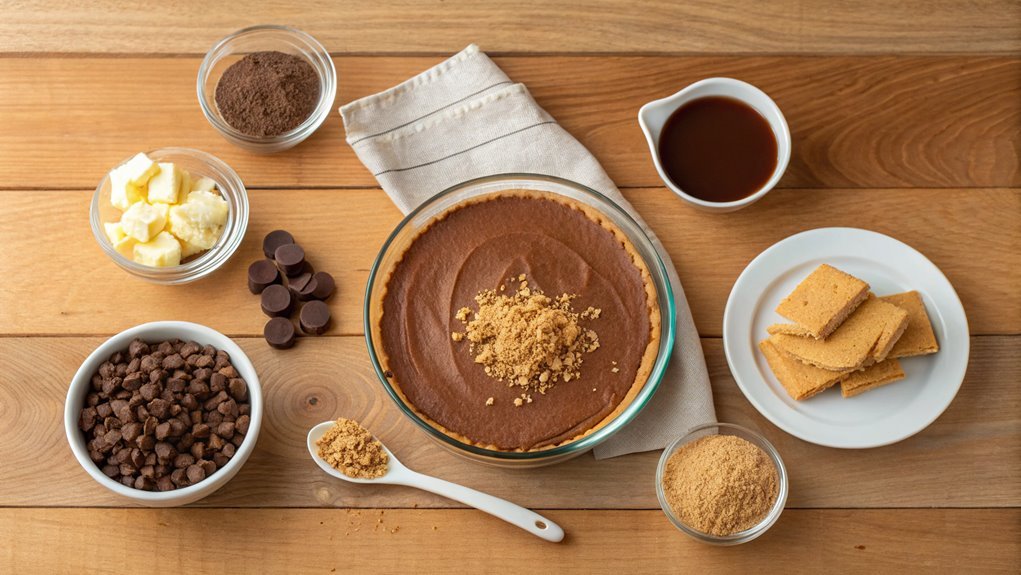
Start by placing your cream cheese in a large mixing bowl and let it soften for about 10 minutes at room temperature. This step is essential because softened cream cheese blends much more easily, guaranteeing a smooth, creamy texture for your cheesecake.
Once it’s softened, grab your electric mixer and beat the cream cheese on medium speed. Mix it until it’s nice and fluffy; this will take about 2 to 3 minutes.
Now, it’s time to incorporate the sugar. Gradually add granulated sugar to the bowl, continuing to beat the mixture. As you mix, watch the transformation occur—your cream cheese will become even airier and delightful.
Don’t rush it; take your time to guarantee the sugar dissolves completely, as this makes all the difference in taste!
Keep mixing until the mixture is fully combined and has a smooth, velvety consistency. Feel free to stop and scrape down the sides of the bowl occasionally, guaranteeing everything gets well-mixed together.
Once you have a perfectly creamy blend, you’re ready to move on to the next delightful steps in creating your chocolate hazelnut cheesecake masterpiece! Enjoy this process; it’s the foundation of your sweet creation!
Step 3. Add Eggs and Vanilla
Once the cream cheese mixture is fluffy and smooth, it’s time to elevate the flavor by adding the eggs and vanilla. First, crack in the eggs, one at a time, while mixing on low speed. This guarantees that the eggs incorporate evenly without overbeating the mixture. As you add each egg, focus on maintaining that light and creamy texture you’ve achieved with the cream cheese.
Don’t rush—take your time to blend them in until they’re fully combined and no streaks remain.
Next up is the vanilla. Pouring in pure vanilla extract will infuse your cheesecake with a warm, inviting aroma and flavor that complements the richness of the chocolate and hazelnuts beautifully. Mix it in on low speed just until it’s incorporated, and you’ll notice an uplifting essence that makes your mouth water!
Now, give everything a final scrape down the sides of the bowl. This little step guarantees no ingredient gets left behind, making every bite equally delicious.
Once you’ve done this, you’re on the right track for an incredible cheesecake. Can you feel the excitement building? You’re just one step away from creating a dessert that’ll impress everyone!
Step 4. Fold in Hazelnuts and Cocoa
Gently fold in the chopped hazelnuts and cocoa powder to your cheesecake batter, allowing the rich flavors to meld seamlessly. This step is essential, as it infuses your cheesecake with a delightful crunch and a deep chocolate essence.
Grab a spatula, and using a motion that lifts the batter from the bottom, carefully integrate the hazelnuts and cocoa. You want to maintain the fluffy texture of your batter, so take your time and be gentle.
As you mix, watch those beautiful hazelnuts get evenly distributed throughout the creamy batter, bringing in that nutty flavor to each decadent bite. The cocoa powder won’t only deepen the color but also add an irresistible chocolatey richness that perfectly complements the creamy cheesecake.
Don’t rush this process; it’s all about achieving a harmonious blend. Once you see no streaks of cocoa, and the hazelnuts are evenly spread out, admire your work before moving on to the next steps.
Step 5. Pour Into Springform Pan
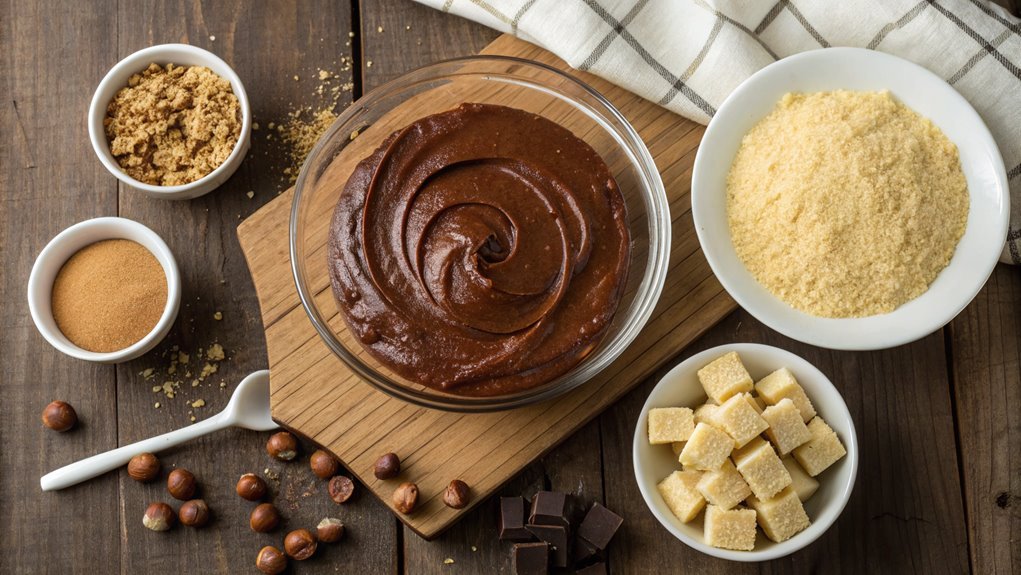
Before you pour your beautifully mixed batter, make sure your springform pan is ready for action. Start by lightly greasing the sides with butter or non-stick spray. This simple step guarantees your cheesecake slides out effortlessly once it’s set!
Next, take the bottom of the springform pan and line it with parchment paper to give extra support and make serving a breeze.
Now, grab your batter and let the fun begin! Carefully pour the rich, chocolate hazelnut mixture into the prepared springform pan. You can use a spatula to help guide every last bit into the corners. The smooth texture should fill the pan evenly, creating a lovely canvas for your cheesecake.
As you pour, admire the swirls of luscious chocolate and the flecks of hazelnuts—a tempting sight indeed!
Once you’ve poured it all in, gently tap the pan against the counter. This helps eliminate any air bubbles trapped in the batter, guaranteeing a creamy consistency.
With your springform pan filled and ready to go, it’s time to bake! Your cheesecake adventure is well underway, so get excited for the deliciousness ahead!
Final Thoughts
As you savor your homemade Chocolate Hazelnut Cheesecake, you might find yourself reflecting on how this delightful dessert can elevate any occasion.
Whether it’s a birthday, holiday, or a simple gathering with friends, this cheesecake is sure to impress. The rich, creamy texture paired with the nuttiness of hazelnuts creates a symphony of flavors that everyone will love.
You’ll feel a sense of accomplishment knowing you crafted something so delicious from scratch.
Don’t hesitate to share this cheesecake with loved ones; it’s a wonderful conversation starter and can bring smiles that light up the room.
If you’re enthusiastic about baking, consider experimenting with some variations. You could add a swirl of raspberry or a sprinkle of sea salt on top for a unique twist.
This recipe invites creativity and allows you to make it truly yours.
Frequently Asked Questions
Can I Substitute Cream Cheese With a Dairy-Free Alternative?
Yes, you can definitely substitute cream cheese with a dairy-free alternative. Options like cashew cream or vegan cream cheese work well, ensuring you still achieve a creamy texture while accommodating dietary preferences. Enjoy experimenting!
How Long Does the Cheesecake Need to Chill Before Serving?
Imagine you’ve just whipped up a delicious cheesecake. You’ll want it to chill for at least four hours, so it firms up properly. If you can, overnight is even better for the best texture.
Can I Use Roasted Hazelnuts Instead of Raw?
You can definitely use roasted hazelnuts instead of raw. Roasting enhances their flavor, adding a delicious nuttiness to your dish. Just chop them up and mix them into your recipe for a delightful twist!
What Can I Serve Alongside the Cheesecake?
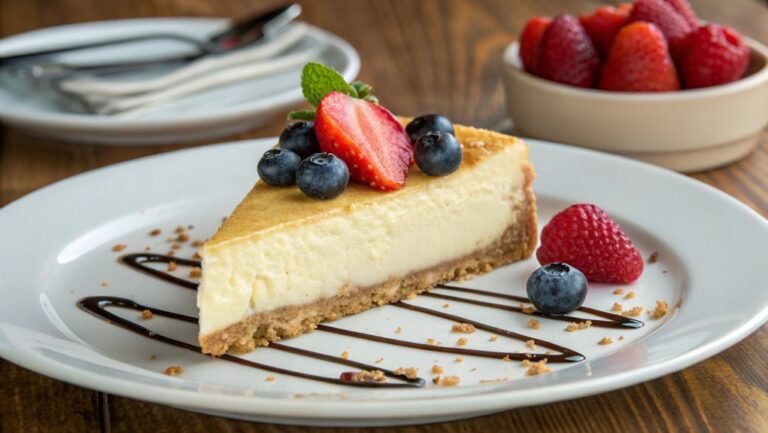
To complement your dessert, consider serving fresh berries, a drizzle of caramel or chocolate sauce, or a scoop of vanilla ice cream. These flavors balance the richness and enhance the overall dessert experience. Enjoy!
How Should I Store Leftovers for Best Freshness?
When you’ve finished your feast, wrap those leftovers in plastic wrap or an airtight container. It’ll keep them fresh for up to five days in the fridge. Trust me, you don’t want to waste that goodness!
