Gluten-Free Cheesecake Recipe
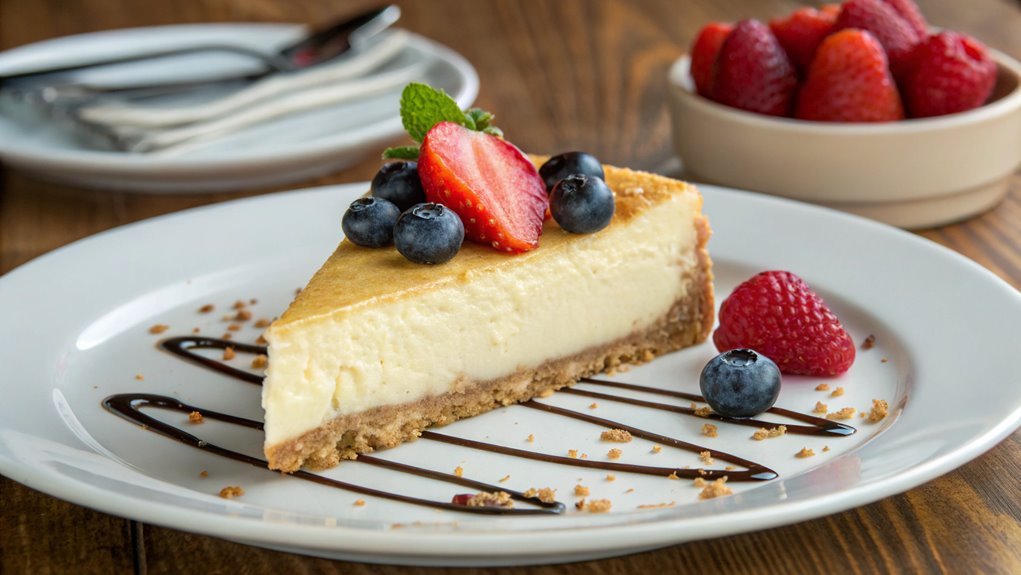
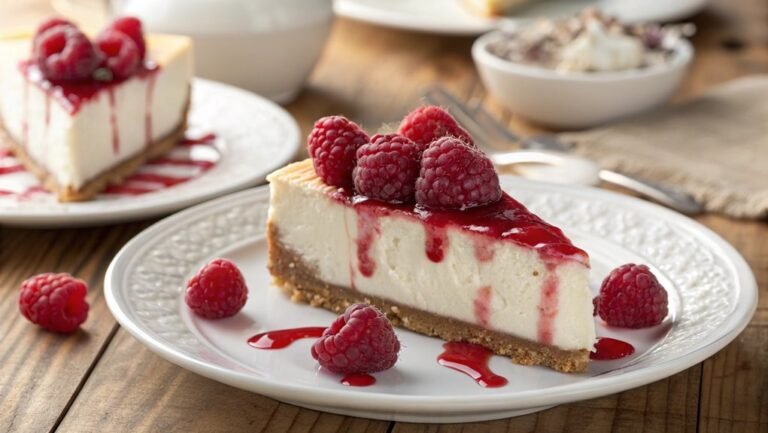
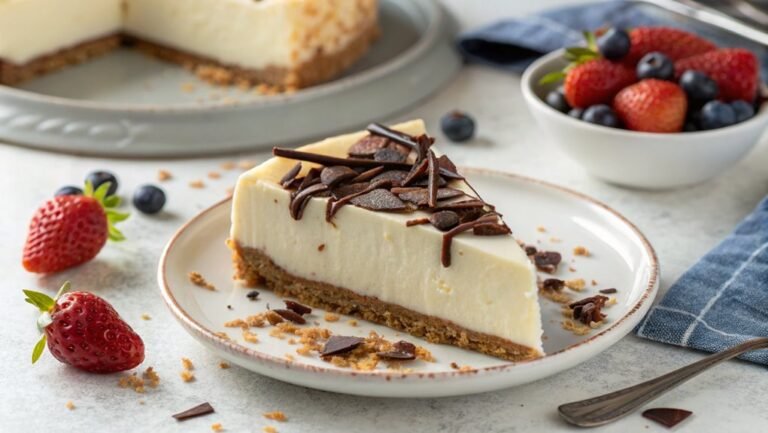
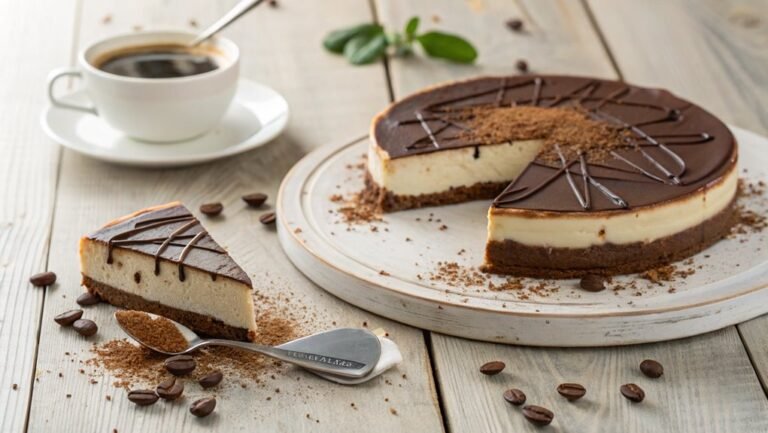
Impress your guests with a gluten-free cheesecake featuring a buttery almond flour crust and creamy filling, providing a delightful texture contrast. It’s easy to make without compromising on flavor.
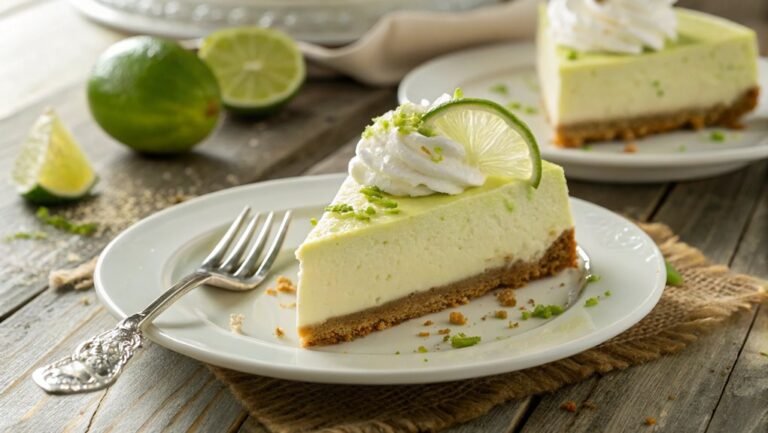
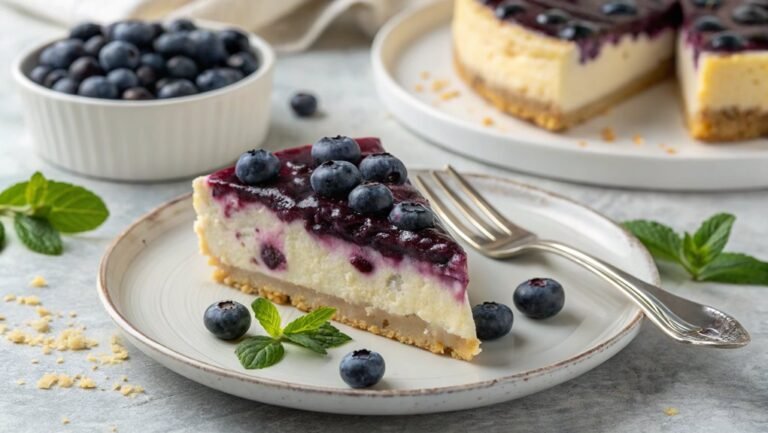
Enhance your cheesecake with various fruit toppings or drizzles for added appeal. Curious about the steps?
Recipe
Gluten-free cheesecake is a delightful dessert that allows everyone to indulge without the worry of gluten. This creamy, rich dessert is perfect for any occasion, whether it be a birthday, holiday, or simply a sweet treat after dinner.
The best part is that it’s incredibly easy to make, requiring minimal ingredients and effort. With a buttery gluten-free crust and a velvety filling, this cheesecake is sure to impress your family and friends.
To make this gluten-free cheesecake, you’ll start by preparing the crust, which can be made from gluten-free graham crackers or almond flour for a low-carb option. The filling is a blend of cream cheese, sugar, eggs, and vanilla, resulting in a smooth and luscious texture.
Once baked and chilled, you can top it with fresh fruits or a drizzle of chocolate sauce for an extra touch. Let’s explore the ingredients needed to create this scrumptious dessert.
- 1 ½ cups gluten-free graham cracker crumbs
- ½ cup unsalted butter, melted
- 1 cup granulated sugar
- 4 (8 oz) packages cream cheese, softened
- 4 large eggs
- 1 teaspoon vanilla extract
- 1 tablespoon lemon juice (optional)
- Fresh fruit or chocolate sauce for topping (optional)
Now let’s move on to the cooking steps.
Cooking Steps
Now that you’ve got your ingredients ready, it’s time to get cooking!
Start by preheating your oven to 350°F, which will set the perfect stage for your cheesecake.
As you mix the cream cheese with sugar, you’ll feel the excitement building—just wait until you taste the final result!
Step 1. Preheat Oven to 350°F
Before you plunge into mixing your cheesecake ingredients, it’s essential to preheat your oven to 350°F. This step might seem simple, but it’s important for achieving that perfectly baked cheesecake you’re dreaming of. An oven set to the right temperature guarantees your cheesecake cooks evenly, giving you that creamy, luscious texture we all love.
To preheat, turn on your oven and set the temperature to 350°F. It usually takes about 10 to 15 minutes for the oven to reach the desired heat. You can use this time to gather your ingredients and tools. Make certain your mixing bowls, measuring cups, and any other items are ready to go. This little bit of preparation will make the next steps smoother and more enjoyable.
While you’re waiting, take a moment to envision the delicious cheesecake you’re about to create. Picture the golden crust and that rich, creamy filling, and let your excitement build!
Once the oven signals it’s preheated, you’ll know you’re one step closer to enjoying a delightful, gluten-free cheesecake that you can proudly serve to family and friends. Happy baking!
Step 2. Mix Cream Cheese and Sugar
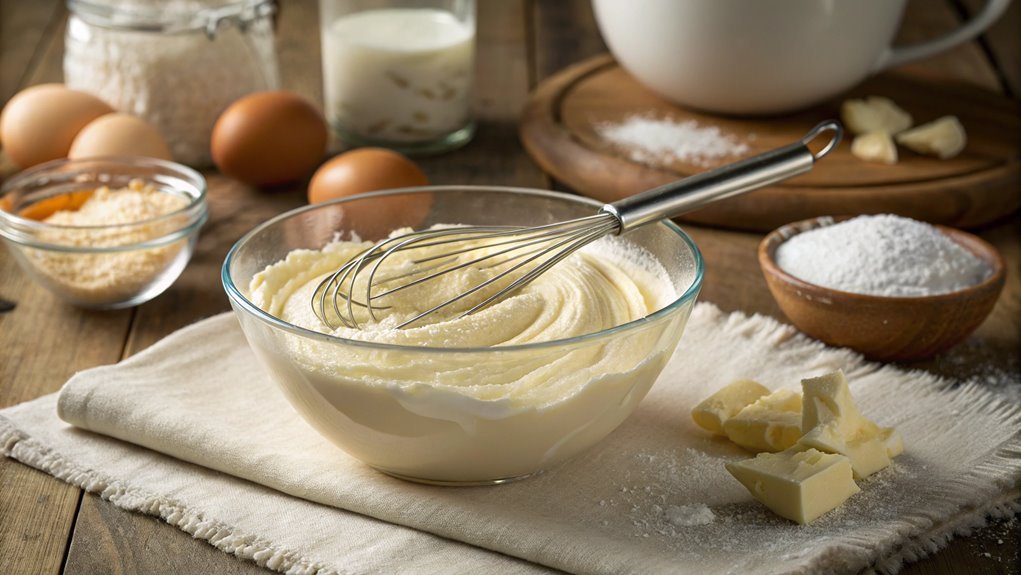
Start by placing the cream cheese in a mixing bowl and letting it soften for a few minutes. This step is essential, as soft cream cheese blends beautifully with sugar, creating a smooth, creamy texture.
Once it’s soft, grab your electric mixer or a sturdy whisk. You’ll want to beat the cream cheese until it’s fluffy and free of lumps. This usually takes about 2-3 minutes.
Next, it’s time to add the sugar. Pour in the granulated sugar gradually, mixing as you go. This guarantees that the sugar gets evenly distributed, giving your cheesecake that perfect sweetness.
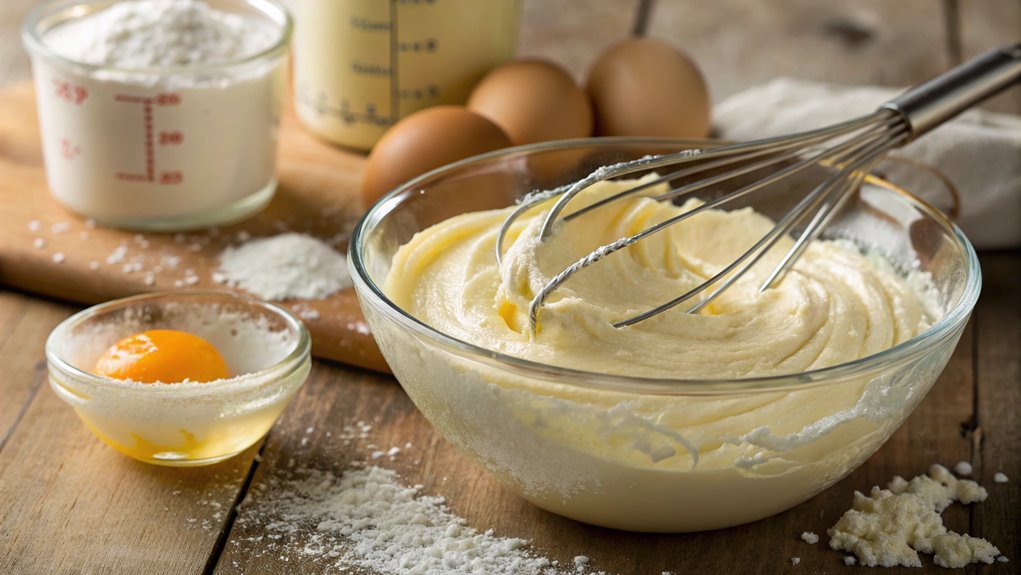
Continue to beat the mixture until everything is well combined. You should see a nice, creamy consistency forming. If you’re using a hand mixer, don’t forget to scrape down the sides of the bowl occasionally. This helps incorporate any stubborn bits of cream cheese that might cling to the sides.
Once you’ve achieved a smooth mixture, take a moment to admire your work! The foundation for your gluten-free cheesecake is coming together beautifully.
You’re one step closer to a delicious dessert that everyone will love, so keep that momentum going!
Step 3. Add Eggs and Vanilla
As you continue building your cheesecake, it’s time to incorporate the eggs and vanilla for that rich flavor and creamy texture. Start by cracking three large eggs into a bowl and give them a gentle whisk. This helps to incorporate air and guarantees they blend smoothly into your batter.
Next, add the eggs one at a time to your cream cheese and sugar mixture. Mixing in each egg individually allows for a smoother consistency, which is key to achieving that perfect cheesecake texture. Use your mixer on a low speed, just until each egg is fully combined. You don’t want to overmix at this stage; a few lumps are okay!
Now, it’s time to add the vanilla extract. Pour in about a teaspoon of pure vanilla extract for that delightful aroma and taste. This little addition makes a huge difference in flavor! Mix it gently until everything is well blended.
Once you’ve added the eggs and vanilla, your cheesecake batter should be creamy and luscious. You’re just a step away from achieving that dreamy dessert! Enjoy the process, and let the excitement of baking fill your kitchen.
Step 4. Pour Into Springform Pan
Once your cheesecake batter is perfectly mixed, carefully pour it into a greased springform pan. This step is exciting, as you can see all your hard work come together! Make sure to scrape the sides of the bowl with a spatula to get every last bit of that creamy goodness.
As you pour, tilt the pan slightly to help the batter spread evenly. This guarantees a smooth, beautiful cheesecake that everyone will enjoy.
Once you’ve poured in the batter, gently tap the pan on the counter to release any air bubbles that may have formed. This little trick helps create a dense, velvety texture that’s simply irresistible. If you notice any bubbles on the surface, use a toothpick or a skewer to pop them.
Don’t rush this part! Take your time, and enjoy the moment as you prepare to create a delicious treat. The anticipation of what’s to come is part of the fun!
With the batter now in the pan, you’re one step closer to indulging in a rich, gluten-free cheesecake that will impress your family and friends. Get ready for the next exciting phase of baking!
Step 5. Bake for 50 Minutes
Now that your cheesecake batter is in the springform pan, it’s time to bake it for 50 minutes. Preheat your oven to 325°F (163°C) if you haven’t done so already.
As the cheesecake bakes, the magic happens! You’ll want to keep an eye on it, but avoid opening the oven door too often. This allows the heat to escape, which could affect the texture.
At the 50-minute mark, your cheesecake should be set around the edges but still slightly jiggly in the center. This is perfectly normal! It’ll firm up as it cools, creating that luscious, creamy texture you’ve been dreaming about.
Once the time’s up, turn off the oven, crack the door open, and let the cheesecake cool in the oven for about an hour. This gentle cooling helps prevent cracks on the surface.
After that, transfer the cheesecake to the fridge and let it chill for at least four hours, or even overnight if you can wait! This step is essential for the flavors to meld and the texture to develop.
You’re almost there—get ready to enjoy a slice of your delicious gluten-free cheesecake!
Final Thoughts
While creating a gluten-free cheesecake might seem intimidating at first, you’ll find it’s a rewarding experience that allows you to enjoy a delicious dessert without compromising your dietary needs.
This recipe not only caters to gluten-free diets but also delivers on taste and texture, making it a perfect treat for everyone.
By following the steps laid out in this guide, you can create a cheesecake that’s creamy, rich, and utterly satisfying. You’ll impress family and friends with your culinary skills, and they won’t even realize it’s gluten-free!
Remember, the key ingredients like almond flour or gluten-free cookies make all the difference, adding flavor and a delightful crunch to the crust.
As you savor each bite, you’ll appreciate the effort you put into making something special.
Don’t be afraid to experiment—try different toppings like fresh fruits or chocolate drizzle to personalize your cheesecake.
Frequently Asked Questions
Can I Use a Dairy-Free Cream Cheese Alternative?
Absolutely, you can use a dairy-free cream cheese alternative! Just make sure it has a similar consistency and flavor. It’ll help you achieve a delicious result without compromising your dietary preferences or restrictions. Enjoy your creation!
How Do I Store Leftover Gluten-Free Cheesecake?
Like a treasure chest holding sweet memories, you should store leftover cheesecake in an airtight container. Keep it in the fridge for up to five days, ensuring those delightful flavors stay preserved for your next indulgence.
Can I Freeze Gluten-Free Cheesecake for Later?
Yes, you can freeze gluten-free cheesecake for later. Just wrap it tightly in plastic wrap or foil, then place it in an airtight container. When you’re ready, thaw it in the fridge before serving.
What Gluten-Free Crust Options Are Available?
You might think gluten-free crust options are limited, but you’ve got plenty! Almond flour, coconut flour, and even crushed gluten-free cookies work well. Get creative and find a crust that complements your cheesecake perfectly!
Is It Safe for Those With Celiac Disease?
Yes, it’s safe for you if you choose certified gluten-free ingredients. Always check labels to verify there’s no cross-contamination, and consult with a healthcare professional to confirm it fits your dietary needs.
Conclusion
This gluten-free cheesecake is a special treat, with its creamy richness and buttery almond crust creating a delightful experience in every bite. Top it with fresh fruits or a chocolate drizzle for added joy on any occasion. Slice into your masterpiece and share it with loved ones. You’ve crafted a moment of happiness; enjoy every delicious bite!
