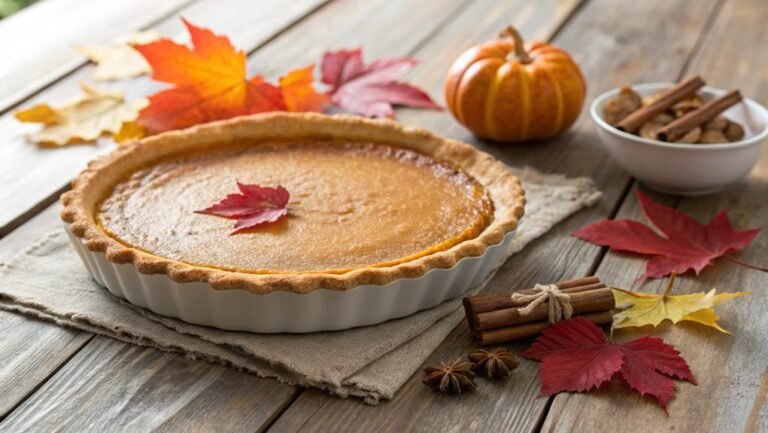
Gluten-Free Pumpkin Pie Recipe
For a tasty dessert suitable for gluten-free diets, consider making a gluten-free pumpkin pie. This recipe ensures rich flavor and texture by blending warm spices with creamy pumpkin puree.
Achieving the perfect crust and filling is key to this delightful treat. Follow the steps carefully to create a pie that’s both inviting and satisfying for everyone.
Recipe
Making a gluten-free pumpkin pie is a delightful way to celebrate the fall season or any festive occasion. This recipe combines the rich flavors of pumpkin and spices with a flaky gluten-free crust, ensuring that everyone can enjoy a slice of this classic dessert.
Whether you’re gluten-sensitive or simply looking to try something new, this pumpkin pie will satisfy your cravings. To create the perfect gluten-free pumpkin pie, you’ll need to gather fresh ingredients and follow a few simple steps.
The filling is a blend of pureed pumpkin, eggs, and a mix of warm spices that give it that signature autumn flavor. Coupled with a buttery crust made from gluten-free flour, this pie promises to be a hit at your Thanksgiving table or any gathering.
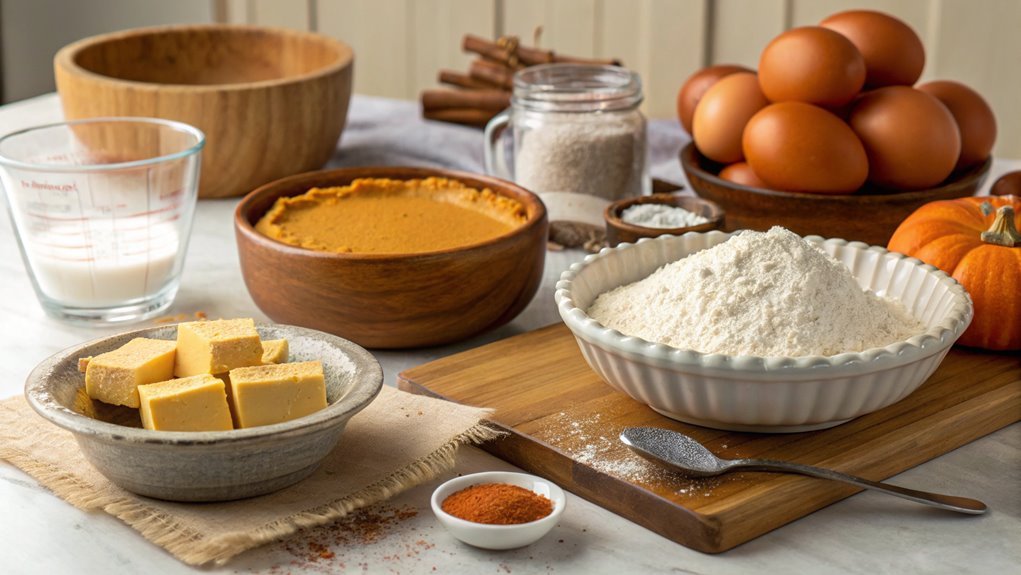
Ingredients:
- 1 ½ cups gluten-free all-purpose flour
- ½ cup unsalted butter, chilled and cubed
- ½ teaspoon salt
- 1 tablespoon sugar
- 4–5 tablespoons cold water
- 1 can (15 oz) pure pumpkin puree
- 3 large eggs
- 1 cup heavy cream
- ¾ cup brown sugar
- 1 teaspoon vanilla extract
- 1 teaspoon cinnamon
- ½ teaspoon nutmeg
- ¼ teaspoon ginger
- ¼ teaspoon cloves
- ¼ teaspoon salt
Now let’s move on to the cooking steps.
Cooking Steps
Now that you’ve gathered your ingredients, it’s time to get cooking!
Start by preheating your oven to 350°F, so it’s just right for your delicious pumpkin pie.
You’ll mix the pumpkin and spices, pour it into the crust, and watch as it transforms into a warm, inviting dessert that’s perfect for any occasion.
Step 1. Preheat Oven to 350°F
To achieve the perfect gluten-free pumpkin pie, start by preheating your oven to 350°F. This step is essential, as it guarantees your pie bakes evenly and develops that delightful golden-brown crust.
Take a moment to set the temperature on your oven, and let it warm up while you prepare your ingredients. While it’s preheating, feel free to gather everything you need for your pie.
Make certain to check that your oven rack is in the center position, which promotes even cooking. A properly preheated oven can make all the difference in your pie’s texture and flavor.
Once you’ve set the temperature, you might notice the comforting scent of the oven heating up, which adds to the excitement of baking.
Don’t rush this step—give your oven enough time to reach the desired temperature. You want to confirm it’s ready to create that delicious filling you’re about to mix.
Step 2. Mix Pumpkin and Spices
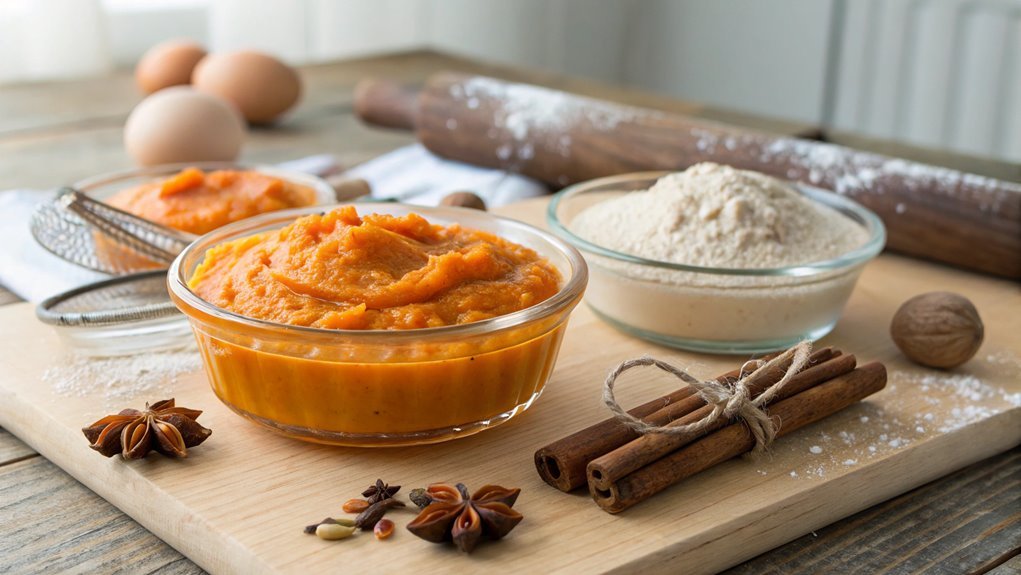
Start by combining the pumpkin puree with your chosen spices in a mixing bowl. This step is where the magic begins! You’ll want to create a harmonious blend that captures the essence of fall. The spices add warmth and flavor, making your pie irresistible.
Here’s a simple list of must-have spices to keep in mind:
- Cinnamon – It brings a delightful warmth and sweetness.
- Nutmeg – This adds a nutty, aromatic touch that’s perfect for pumpkin pie.
- Ginger – It offers a zesty kick that elevates the flavor profile.
Once you’ve gathered your spices, mix them into the pumpkin puree until everything is well combined. Don’t be afraid to taste it along the way! Adjust the spices to your liking; after all, this pie is yours.
The vibrant orange of the pumpkin against the rich brown of the spices will be a feast for the eyes. As you stir, visualize the creamy, spiced filling that’s soon to grace your pie crust. This step is essential for infusing every bite with that cozy, homemade flavor.
Get ready to impress your friends and family with this delicious creation!
Step 3. Pour Mixture Into Pie Crust
Gently pour the spiced pumpkin mixture into your prepared pie crust, ensuring an even distribution. As you do this, take a moment to admire the vibrant color of the filling, which promises a deliciously rich flavor. This step is essential, so steady your hands and let the mixture flow smoothly into the crust.
The aroma of cinnamon, nutmeg, and ginger will fill the air, heightening your anticipation for the final result. If you’re using a store-bought gluten-free crust, make sure it’s well-fitted to your pie dish. If you’ve made your own, admire your handiwork; the effort will pay off!
Once the mixture is in, gently tap the pie dish on the counter. This helps remove any air bubbles that might be trapped underneath, ensuring a perfect texture once baked.
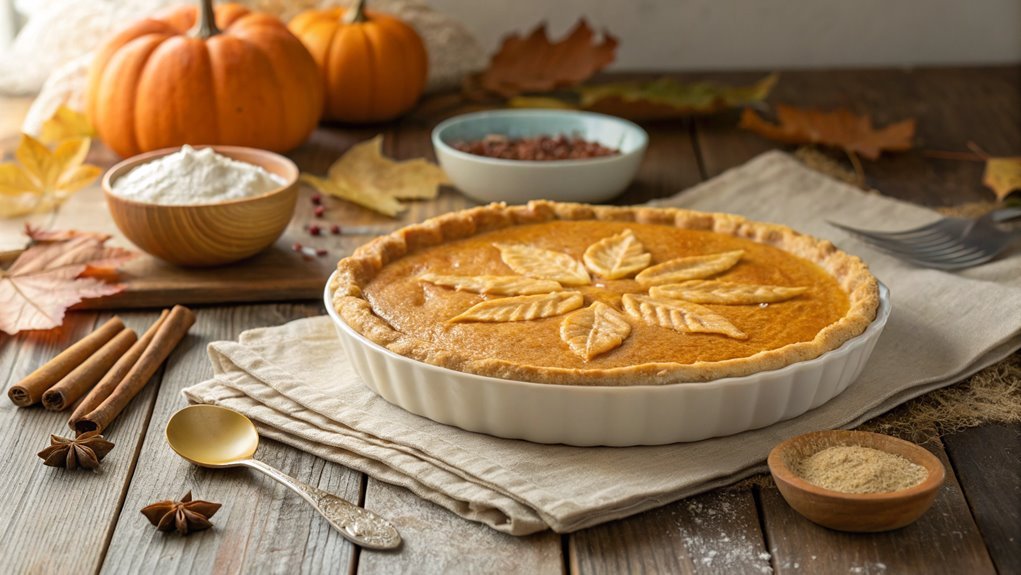
Step 4. Bake for 45 Minutes
Once your spiced pumpkin mixture is settled in the crust, it’s time to pop it into the oven. Preheat your oven to a cozy 350°F (175°C) and let the magic begin! Baking your pie for 45 minutes allows the flavors to meld perfectly while creating a deliciously golden crust.
You’ll want to keep an eye on it, so here are a few tips to guarantee your pie turns out just right:
- Check for Doneness: About 5 minutes before the timer goes off, gently jiggle the pie. If the center slightly wobbles but isn’t liquid, it’s ready!
- Look for Color: A beautifully browned crust will signal that your pie is on its way to perfection. The filling should look set but still have a little sheen.
- Use a Toothpick: Insert a toothpick into the center; if it comes out clean or with just a few moist crumbs, you’ve nailed it!
Once you see that lovely golden color and the filling’s perfect texture, take it out of the oven, and get ready for the next steps.
Trust me, the aroma will make your kitchen feel like a warm hug!
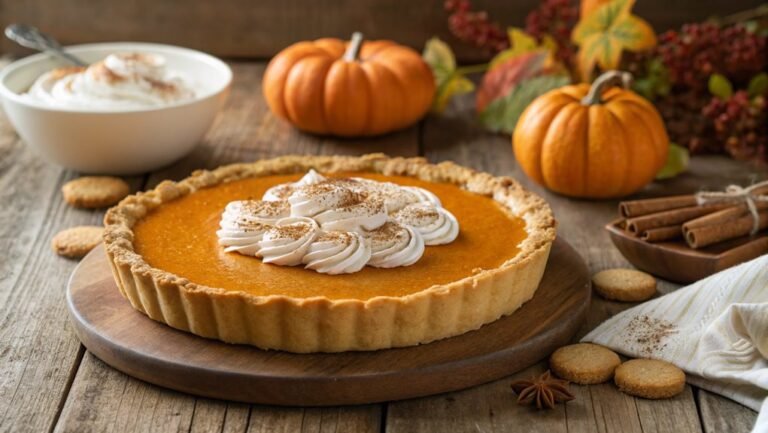
Step 5. Cool Before Serving
After your pie has baked to perfection, let it cool at room temperature for at least two hours. This step is essential because it allows the filling to set, ensuring that every slice holds its shape beautifully when you serve it.
While you’re waiting, take a moment to admire your creation; the golden crust and rich, spiced filling will make your mouth water!
Once the cooling time is up, you can refrigerate the pie if you want to serve it chilled. Just cover it lightly with plastic wrap to keep it fresh. If you’re serving it warm, you can dive right into slicing and serving! Pairing it with a scoop of vanilla ice cream or a dollop of whipped cream can elevate your pie to a whole new level of deliciousness.
Don’t rush this part—allowing your pie to cool properly enhances its flavor and texture.
So, grab a cup of coffee or tea, relax, and enjoy the delightful aroma wafting through your kitchen. You’ve earned it!
Get ready to impress your family and friends with this incredible gluten-free pumpkin pie. Enjoy every bite!
Final Thoughts
As you savor your homemade gluten-free pumpkin pie, it’s clear that this delightful dessert can be just as satisfying as its traditional counterpart.
You’ve not only created something delicious, but you’ve also catered to those who might be avoiding gluten. So, why should you proudly share this recipe?
1. Flavorful Experience: You’ll discover that the blend of spices and creamy pumpkin makes every bite a taste sensation.
It’s a comfort dessert that evokes warm memories and cheerful gatherings.
2. Healthier Alternative: By choosing gluten-free ingredients, you’re offering a dessert that’s more inclusive for guests with dietary restrictions.
It shows your thoughtfulness and care.
3. Easy Preparation: This recipe is straightforward and doesn’t require advanced baking skills.
You can whip it up in no time, making it perfect for last-minute gatherings or special occasions.
Frequently Asked Questions
Can I Use Fresh Pumpkin Instead of Canned?
Absolutely, you can use fresh pumpkin instead of canned. Just roast or steam the pumpkin until it’s soft, then puree it. It might take a bit more effort, but the flavor’s definitely worth it!
What Gluten-Free Flour Works Best for the Crust?
When you’re aiming for a flaky crust, almond flour offers richness while rice flour provides a light texture. Blending both creates the perfect balance, giving you a delicious gluten-free base for your favorite pie.
How Do I Store Leftover Pumpkin Pie?
To store leftover pumpkin pie, cover it tightly with plastic wrap or aluminum foil. You’ll want to refrigerate it for up to four days. If freezing, use an airtight container for up to three months.
Can I Make This Pie Dairy-Free?
Yes, you can definitely make this pie dairy-free! Substitute regular milk with almond, coconut, or oat milk, and use dairy-free butter or coconut oil in the crust. It’ll still taste delicious and creamy!
How Long Does Pumpkin Pie Last in the Fridge?
Pumpkin pie lasts about three to four days in the fridge if you store it properly. Just make sure it’s covered to keep it fresh, and you’ll enjoy it for a little longer!
Conclusion
You’ve crafted a delightful gluten-free pumpkin pie, perfect for chilly autumn days. Its sweet aroma of spices and pumpkin fills the kitchen, making it ideal for holiday feasts or simple gatherings.
This pie brings people together around the table. Don’t hesitate—slice, serve it warm with ice cream, and savor every moment!