Key Lime Cheesecake Recipe
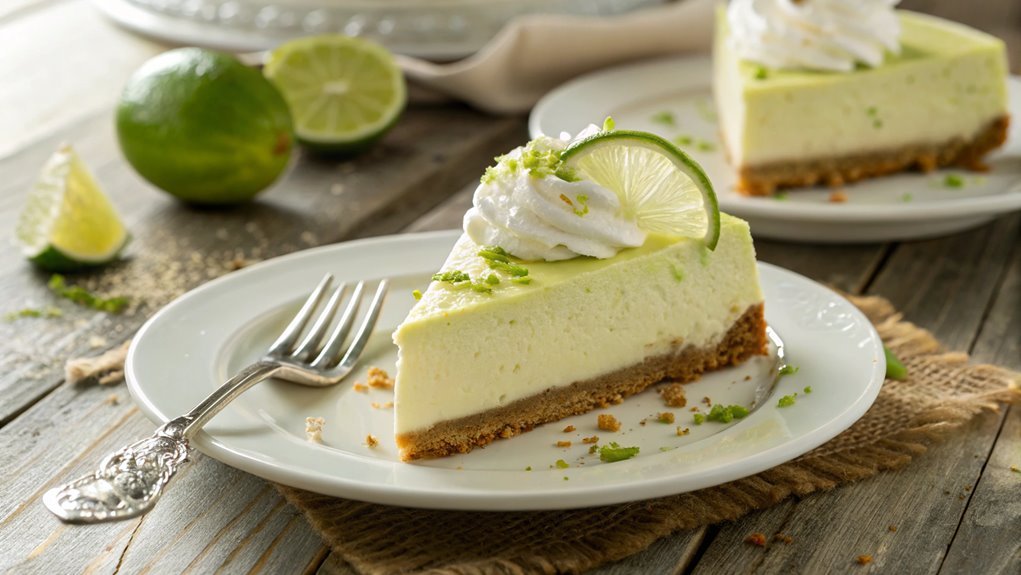
Key Lime Cheesecake originates from the citrus groves of the Florida Keys, known for their flavorful tiny limes. This dessert is a perfect blend of tartness and creaminess. To achieve the ideal consistency and vibrant flavor, explore the essential steps and ingredients. Ready to uncover the secrets behind this delightful dessert?
Recipe
Indulge in a deliciously tangy and creamy dessert with this Key Lime Cheesecake recipe, a perfect blend of sweet and tart flavors. This delectable cheesecake is ideal for special occasions or even just as a treat for yourself!
The buttery graham cracker crust is a delightful foundation that complements the smooth and rich filling made from cream cheese, sweetened condensed milk, and freshly squeezed key lime juice. Topped with a dollop of whipped cream and a sprinkle of lime zest, this dessert is sure to impress your family and friends.
Making this Key Lime Cheesecake is easier than you might think! With a few simple steps, you’ll find yourself creating a stunning dessert that captures the essence of traditional key lime pie but with the added richness of cheesecake.
Whether you’re a seasoned baker or a beginner in the kitchen, this recipe will guide you through the process, ensuring a beautiful and flavorful result. So, gather your ingredients and get ready to treat yourself to a slice of sunshine!
Ingredients:
- 1 ½ cups graham cracker crumbs
- ½ cup granulated sugar
- ½ cup unsalted butter, melted
- 4 (8 oz) packages cream cheese, softened
- 1 cup sweetened condensed milk
- ¾ cup key lime juice (freshly squeezed if possible)
- 1 teaspoon vanilla extract
- 3 large eggs
- Whipped cream (for topping)
- Lime zest (for garnish)
Now let’s move on to the cooking steps.
Cooking Steps
Now that you’ve gathered all your ingredients, it’s time to bring this key lime cheesecake to life!
Start by mixing the crust ingredients thoroughly to establish a solid foundation, then beat the cream cheese until it’s smooth and creamy.
As you combine the zest and juice, you’ll see the bright flavors come together, making this dessert irresistible!
Step 1. Mix Crust Ingredients Thoroughly
To create a delicious crust for your key lime cheesecake, you’ll need to mix the crust ingredients thoroughly. Start by gathering your graham cracker crumbs, melted butter, and sugar. These ingredients are the foundation of your crust, so it’s crucial to combine them well.
In a mixing bowl, pour in the crumbs and sugar, then drizzle the melted butter over the top. Using a fork or your hands, mix everything until the crumbs are evenly coated with the butter. You want the texture to be similar to wet sand. This consistency guarantees that your crust holds together beautifully when baked.
If you find the mixture a bit dry, feel free to add a touch more melted butter, but be cautious; you don’t want it too soggy. Once you’ve mixed the ingredients to perfection, transfer this mixture into your springform pan.
Press it firmly into the bottom and slightly up the sides to create an even layer. The more you press down, the sturdier your crust will be! Now you’re ready to move onto the next steps. Enjoy this delicious journey to a creamy key lime cheesecake!
Step 2. Beat Cream Cheese Smoothly
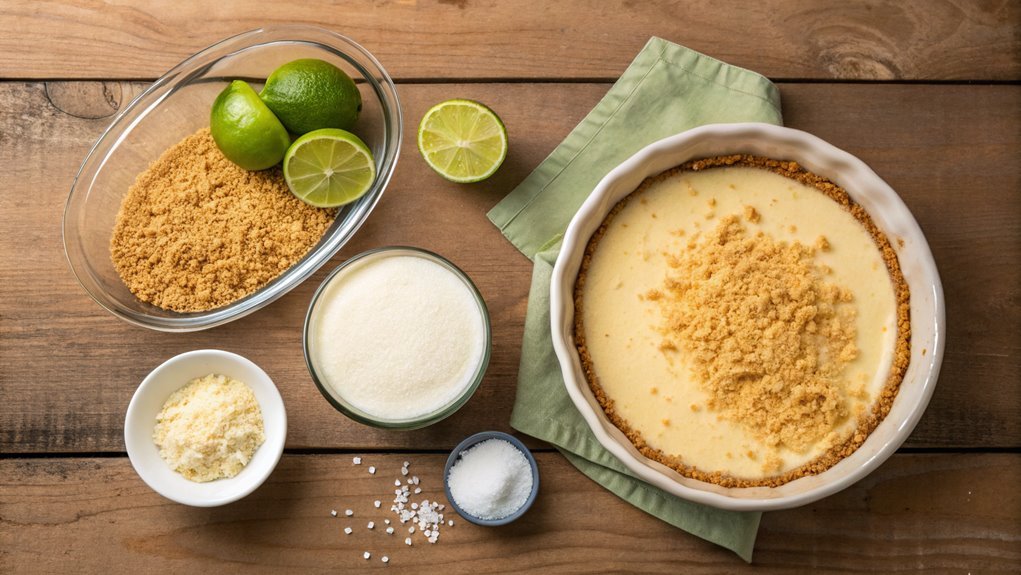
Start by softening the cream cheese to guarantee a smooth and creamy filling for your cheesecake. Let the cream cheese sit at room temperature for about 30 minutes before you begin. This step is essential because cold cream cheese can lead to lumps, and no one wants that in their delicious cheesecake!
Once it’s softened, grab your mixing bowl and combine the cream cheese with a hand mixer or stand mixer. Start on a low setting to break it up, then increase to medium speed. Beat it for about 2 to 3 minutes until it becomes fluffy and smooth.
You want to achieve that perfect creamy consistency, so don’t rush this process. Scrape down the sides of the bowl as needed to make sure everything blends evenly.
This creamy base will create the foundation for your cheesecake’s heavenly texture. As you beat, you’ll notice how the cream cheese transforms from a dense block to a luscious mixture that practically melts in your mouth.
Once you’ve reached the desired smoothness, you’ll be ready to add in the other ingredients. Enjoy this rewarding step; it sets the tone for a fantastic dessert adventure ahead!
Step 3. Add Zest and Juice
With the cream cheese perfectly beaten, it’s time to enhance the flavor of your cheesecake by adding zest and juice.
First, grab those key limes! You’ll need about four to five. Roll them on the counter with your palm to get those juices flowing, then cut them in half. Squeeze the juice into a measuring cup, making sure to catch any seeds—nobody wants those in their cheesecake!
Next, zest about two of the limes using a microplane or a zester. It’s easy! Just gently scrape off the outer green layer, which holds all that delicious citrus aroma and flavor. The bright, fragrant zest will really elevate your cheesecake!
Now, combine the lime juice and zest with your cream cheese mixture. Use your spatula to fold them in firmly, ensuring every bit is evenly distributed throughout.
As you mix, you’ll notice that wonderful lime fragrance filling the air—oh, it’s exciting!
Taste a little of the mixture. That tangy, sweet balance is key to a fantastic key lime cheesecake. Keep going until everything’s nicely blended, and get ready for the next awesome step in creating your dessert masterpiece!
Step 4. Fold in Whipped Topping
Gently fold in the whipped topping, creating a light and airy texture for your cheesecake. This step is essential for achieving that dreamy consistency that’ll have everyone coming back for seconds.
Start by adding about a cup of fresh whipped topping into your key lime mixture. Use a spatula and scoop from the bottom, bringing the mixture up and over the topping. It’s important to be gentle here; you want to maintain the fluffiness!
Keep folding until you no longer see streaks of whipped topping. This process is where your cheesecake gets that sought-after creaminess. The key lime flavor will shine through, balancing the sweetness of the topping, and the result is absolutely divine!
If you like, you can taste a little bit to check if it’s to your liking. The smoothness you’ll create during this step sets the stage for a dessert that feels indulgent yet invigorating.
Each fold taps into the joy of cooking, transforming simple ingredients into something truly special. So, embrace this moment and take pride in what you’re creating. Your cheesecake is on its way to becoming a showstopper!
Step 5. Chill Before Serving
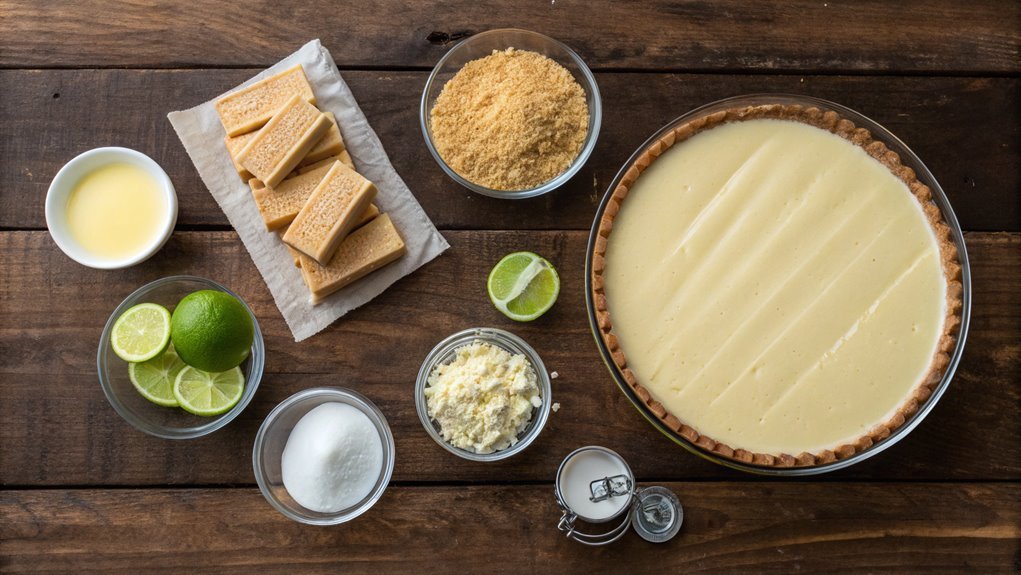
A crucial step in making your key lime cheesecake truly irresistible is chilling it before serving. Once you’ve carefully folded in the whipped topping and assembled your cheesecake, it’s time to send it to the fridge for some well-deserved chill time.
This isn’t just about making it cold; chilling allows the flavors to meld beautifully, enhancing that tangy key lime taste you crave!
You’ll want to cover your cheesecake with plastic wrap or a loose lid, ensuring it stays fresh and protected.
Pop it into the fridge for at least four hours, though leaving it overnight is even better if you can wait! During this time, the cheesecake will firm up, making it easier to slice and serve.
Plus, the cool, creamy texture you’ll achieve is simply delightful.
When you’re finally ready to indulge, take a moment to admire your masterpiece.
Slice it with a sharp knife for neat portions, and don’t hesitate to add a dollop of whipped cream on top or a sprinkle of lime zest for extra flair.
Trust me; serving a chilled key lime cheesecake will definitely wow your family and friends! Enjoy every luscious bite!
Final Thoughts
As you savor your homemade key lime cheesecake, you might reflect on the delightful balance of tartness and creaminess that makes this dessert a standout. Each slice brings a burst of flavor, transporting you to sunny shores and vibrant gatherings.
You’ve put love and effort into creating a dessert that not only pleases the palate but also impresses friends and family.
Embracing new recipes like this one is such a joy! It’s a chance to explore your culinary skills while indulging in something truly special. Whether it’s a festive occasion, a dinner party, or just a cozy night in, this cheesecake fits perfectly.
The vibrant key lime and smooth cream cheese blend harmoniously, inviting everyone to indulge.
But don’t just stop here—experiment! You can add graham cracker toppings, swirl in fresh fruit, or even try different citrus flavors. Each variation can lead you to discover delightful new favorites.
The magic of cooking lies in your creativity and passion. So, roll up your sleeves, gather your ingredients, and plunge into making your own key lime cheesecake.
It’s more than just a dessert; it’s an experience worth sharing. Enjoy every moment!
Frequently Asked Questions
Can I Use Regular Limes Instead of Key Limes?
Yes, you can use regular limes instead of key limes. However, remember, the flavor’s different. You’ll find regular limes a bit more tart, so adjust your sweetness to balance the taste just right.
How Long Does the Cheesecake Need to Cool?
Your cheesecake needs to cool for at least two hours in the fridge. By letting it chill properly, you guarantee it sets well and achieves that perfect creamy texture you’re looking for. Enjoy!
Can I Make This Cheesecake Ahead of Time?
Imagine slicing into a decadent dessert, the flavors dancing on your tongue. You can definitely make this cheesecake ahead of time! Just store it in the fridge, and you’ll enjoy it fresh and creamy later.
What Can I Substitute for Cream Cheese?
If you’re looking to substitute cream cheese, try mascarpone for a similar texture. Greek yogurt can work too, providing a tangy flavor. Just remember, the final result will slightly differ from traditional cream cheese dishes.
How Can I Tell if the Cheesecake Is Done?
When testing for doneness, look for a gentle jiggle in the center, like a serene lake under the moonlight. If the edges set and the middle’s slightly soft, it’s just right—your masterpiece is ready!
