Easy Chocolate Mug Cake Recipe
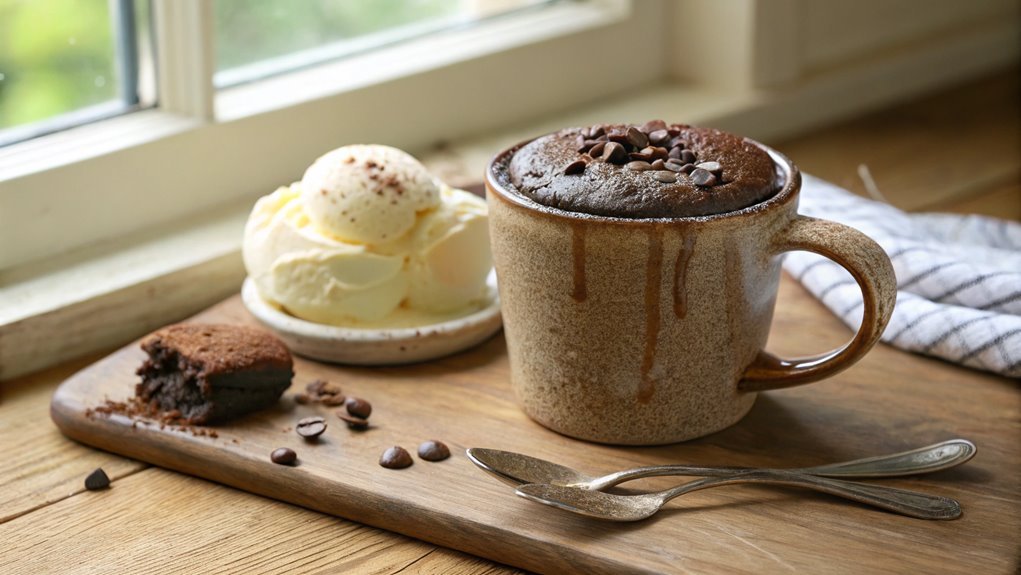
A chocolate mug cake is a quick and comforting dessert, requiring only a few ingredients and a microwave for a single-serving treat. Despite its simplicity, this recipe offers warmth and indulgence in minutes.
Discover tips and tricks to enhance your mug cake, transforming it from a basic treat into something special. Enjoy the ease and delight this dessert brings to your chilly evenings.
Recipe
If you’re in the mood for something sweet but don’t want to spend hours in the kitchen, a chocolate mug cake is the perfect solution. This quick and easy recipe allows you to whip up a delicious dessert in just a few minutes using just a microwave.
Ideal for a late-night snack or a treat after dinner, this single-serving cake is rich, fudgy, and incredibly satisfying. Plus, it requires minimal ingredients, making it a go-to for those spontaneous cravings.
Making a chocolate mug cake isn’t only straightforward but also fun! You can mix everything directly in your mug, which means fewer dishes to wash afterward.
The best part is, once you’ve mastered the basic recipe, you can customize it by adding your favorite toppings like chocolate chips, nuts, or a scoop of ice cream. So grab your favorite mug and let’s get started on this delightful indulgence!
Ingredients:
- 4 tablespoons all-purpose flour
- 4 tablespoons granulated sugar
- 2 tablespoons unsweetened cocoa powder
- 1/8 teaspoon baking powder
- 1/8 teaspoon salt
- 3 tablespoons milk
- 2 tablespoons vegetable oil
- 1/4 teaspoon vanilla extract
- Optional: chocolate chips or nuts for topping
Now let’s move on to the cooking steps.
Cooking Steps
Let’s get started on making your delicious chocolate mug cake!
First, you’ll combine the dry ingredients, which sets the foundation for that rich, chocolatey flavor.
Then, you’ll add the wet ingredients, pop it in the microwave for just a minute, and voilà—your sweet treat is almost ready!
Step 1. Combine Dry Ingredients First
Start by gathering all your dry ingredients, as combining them first is vital for achieving a perfectly baked mug cake. You’ll need all-purpose flour, unsweetened cocoa powder, sugar, baking powder, and a pinch of salt. Measure each ingredient carefully, as the right proportions make all the difference in flavor and texture.
In a large mug or mixing bowl, sift together the flour, cocoa powder, sugar, and baking powder. Sifting not only mixes the ingredients but also helps eliminate any lumps, resulting in a smoother batter. Stir in the salt to balance the sweetness. Ensuring an even distribution of dry ingredients is essential, so take your time mixing them well.
Once everything’s combined, you’ll notice the beautiful chocolatey aroma wafting up—it’s already tempting you to take a bite!
This step sets the foundation for your mug cake, ensuring it rises perfectly and has that delightful, rich flavor we all crave. So, roll up your sleeves and get ready to create something delicious. You’re just a few steps away from enjoying a warm, gooey chocolate mug cake that’s sure to impress!
Step 2. Add Wet Ingredients Next
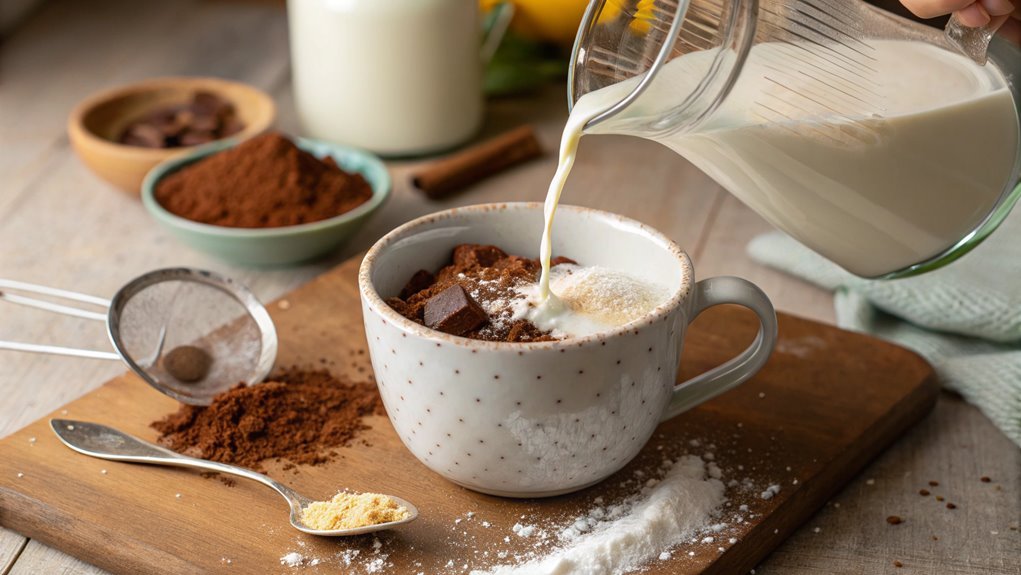
With the dry ingredients perfectly combined, it’s time to add the wet ingredients to bring your mug cake to life.
Start by cracking an egg into your bowl. This little ingredient is vital; it’ll give your cake that lovely, fluffy texture. Next, pour in some milk. The milk helps keep your cake moist and delicious, so don’t skimp!
Now, add a splash of vanilla extract for that warm, inviting flavor that everyone loves.
Using a fork, whisk everything together until you have a smooth mixture. Be sure to scrape the sides of the mug to incorporate all the dry mix. This step is essential for ensuring every bite is filled with rich chocolate goodness.
If you’re feeling adventurous, you can even stir in a tablespoon of melted butter or oil for extra richness.
Don’t forget to fold in any chocolate chips you’d like to use. They’ll melt beautifully and create delightful pockets of gooey chocolate throughout your cake.
Once everything is well-mixed, you’re almost ready for the next exciting step. Just imagine the deliciousness that awaits!
Step 3. Microwave for One Minute
Now that your mixture is ready, pop your mug in the microwave for one minute. This step is where the magic happens! As the microwave runs, you’ll feel a sense of excitement because you’re just moments away from indulging in a warm, gooey chocolate treat.
Make sure your microwave is set to high power, as this guarantees even cooking. While it’s cooking, you might hear a soft bubbling sound, which is a sign that your cake is rising and coming together beautifully.
Keep an eye on the time, and if you notice that it’s not quite done after one minute, you can add a few extra seconds. Just remember, overcooking can lead to a dry cake, so check it closely!
When the timer goes off, carefully open the microwave, and take a moment to admire your creation. The mug cake should look puffy and set, with a slightly moist center.
Let it cool for a minute before digging in, as it’ll be hot! This simple step makes all the difference in creating a deliciously satisfying treat you can enjoy in no time.
Get ready to savor every bite!
Step 4. Add Toppings of Choice
Once your mug cake has cooled for a minute, it’s time to elevate your dessert with toppings of your choice. This is where the fun really begins! You can go classic with a scoop of vanilla ice cream or a dollop of whipped cream. The warm cake and cold toppings create a delightful contrast that’s irresistible.
If you’re feeling adventurous, drizzle some chocolate syrup or caramel sauce on top for an extra layer of flavor. Fresh fruits, like strawberries or bananas, can add a revitalizing touch and a pop of color, making your mug cake not only delicious but also visually appealing.
For a bit of crunch, sprinkle some nuts or chocolate chips on top. They’ll add texture and enhance the chocolate experience. And don’t forget about sprinkles! They bring a festive vibe to your dessert, making it even more enjoyable.
Feel free to mix and match these toppings based on what you love. The beauty of this mug cake is its adaptability. So go ahead, get creative, and make it uniquely yours!
You’ll be amazed at how such simple additions can transform your dessert into something truly special. Enjoy every bite!
Step 5. Let Cool Before Serving
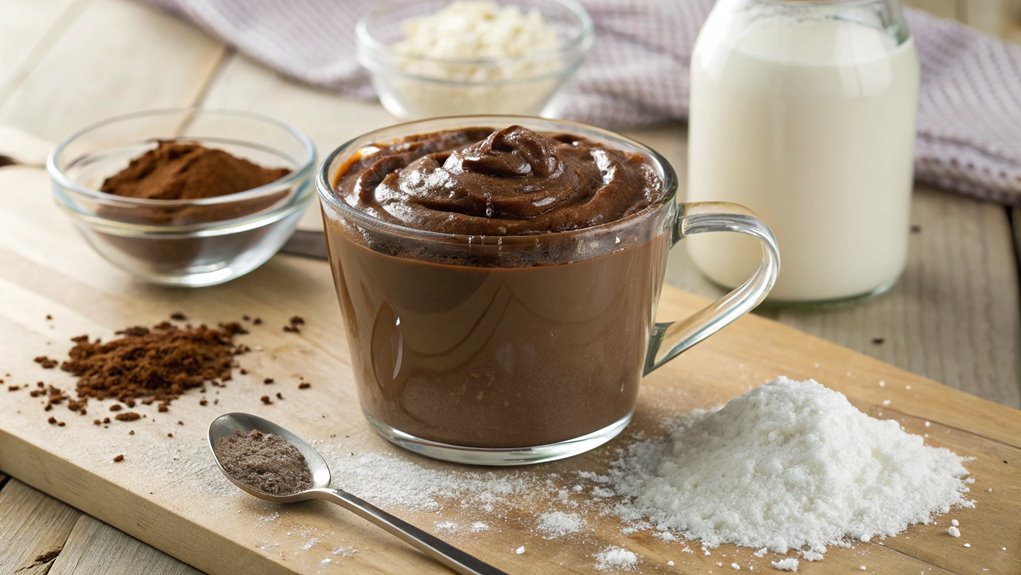
Allowing your mug cake to cool before serving is essential for the best flavor and texture. When you take your cake out of the microwave, it’s tempting to dig in right away, but patience pays off! Letting the cake sit for a few minutes allows the steam to escape, which means you’ll get a denser, more satisfying bite.
Cooling also helps the toppings settle in nicely. If you’ve added whipped cream, chocolate sauce, or fresh berries, they’ll blend better with the warm cake once it’s had a chance to cool slightly. Plus, the flavors will intensify, giving you that rich chocolatey goodness we all crave.
As you wait, you can set the table, grab your favorite spoon, or pour a glass of milk to enjoy alongside your creation. The anticipation makes each bite even more delightful!
Once your mug cake has cooled for about 5 to 10 minutes, you’re ready to serve and savor your masterpiece. You’ve earned this treat, so dig in and relish each delicious mouthful.
This simple step transforms a quick dessert into an indulgent experience that’s sure to impress! Enjoy every chocolaty moment!
Final Thoughts
As you savor your delicious chocolate mug cake, it’s clear that this quick and easy recipe is a game-changer for dessert lovers.
With just a few simple ingredients and a microwave, you can whip up a warm, decadent treat in minutes. Imagine the joy of indulging in a rich chocolate cake whenever the craving strikes, without the need for an oven or extensive prep.
It’s perfect for those late-night sweet tooth moments or when unexpected guests drop by.
Don’t forget, you can customize it to suit your taste! Add a scoop of ice cream, a sprinkle of nuts, or a drizzle of chocolate syrup to take it over the top.
The possibilities are endless, and that’s what makes this mug cake so special.
Frequently Asked Questions
Can I Substitute Ingredients for a Healthier Version?
Absolutely, you can substitute ingredients for a healthier version! Try using whole wheat flour instead of all-purpose, replacing sugar with a natural sweetener, and incorporating applesauce or yogurt for moisture. It’ll still taste delicious!
How Long Does the Mug Cake Stay Fresh?
The mug cake stays fresh for about one to two days at room temperature. If you want it to last longer, refrigerate it, but be sure to heat it up before enjoying it again.
Can I Make a Gluten-Free Chocolate Mug Cake?
Yes, you can make a gluten-free chocolate mug cake! While some worry about texture, using gluten-free flour blends helps achieve that delightful consistency. Just follow a gluten-free recipe, and you’re good to go!
What Toppings Pair Well With Chocolate Mug Cake?
You can elevate your chocolate mug cake by adding whipped cream, fresh berries, or a scoop of vanilla ice cream. A drizzle of chocolate sauce or caramel also enhances its rich flavors beautifully. Enjoy!
Is It Safe to Microwave a Metal Mug?
Did you know that over 100,000 fires annually result from microwaving metal? It’s not safe to microwave a metal mug. Instead, opt for microwave-safe ceramic or glass to avoid dangerous sparks and potential accidents.
Conclusion
You’ve transformed simple ingredients into a warm treat that embodies the comfort of home. Each bite of your chocolate mug cake offers a cozy hug, inviting you to savor life’s sweet moments.
Embrace your kitchen creativity and enjoy this delightful dessert! Whether shared or savored solo, it’s a delicious reminder that joy lies in the simplest things.
