Easy Peanut Butter Fudge Recipe
Imagine hosting a casual gathering where the rich, nutty scent of homemade treats draws everyone in, and your easy peanut butter fudge steals the spotlight. Effortlessly whip up a batch that satisfies a sweet tooth and impresses guests without baking.
Explore the simple steps to create this rich, indulgent dessert, and marvel at how a few common ingredients can yield delightful results. Consider variations for a personal touch.
Recipe
Peanut butter fudge is a delightful treat that combines the rich, creamy flavor of peanut butter with the sweetness of sugar and a touch of chocolate, making it a favorite for any occasion.
It’s perfect for satisfying your sweet tooth and can be made in just a few simple steps. This delightful confection isn’t only easy to prepare but also no-bake, so you can whip it up quickly without the need for an oven.
In just under an hour, you’ll have a batch of homemade peanut butter fudge that can be sliced into squares and enjoyed as an indulgent snack or dessert.
Whether you’re serving it at a party, gifting it to friends and family, or simply treating yourself, this peanut butter fudge is bound to impress everyone with its rich flavor and smooth texture.
Gather your ingredients, and let’s get started on making this scrumptious treat!
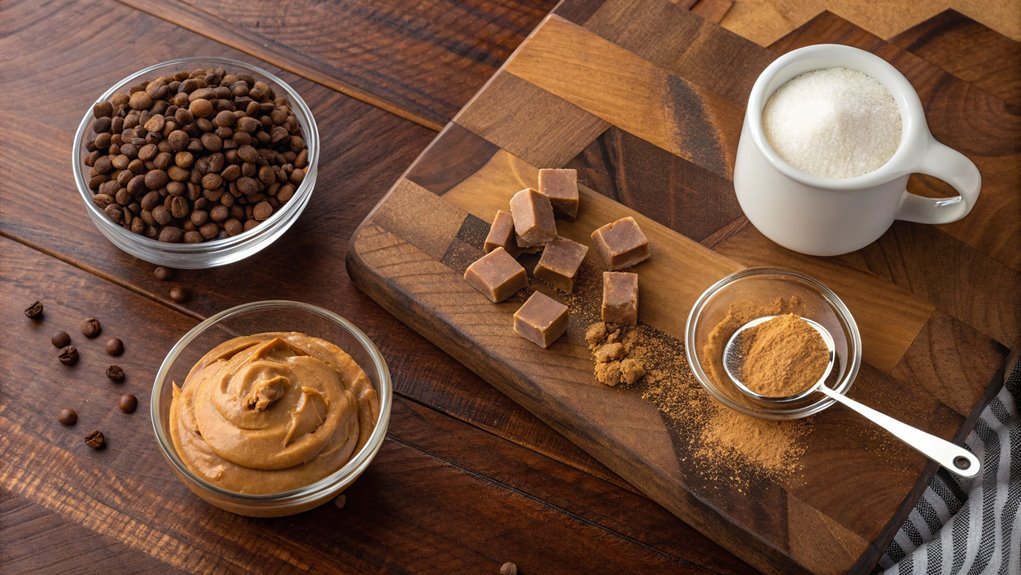
Ingredients:
- 1 cup creamy peanut butter
- 1 cup unsweetened cocoa powder
- 1 cup powdered sugar
- 1/2 cup unsalted butter, softened
- 1 teaspoon vanilla extract
- Pinch of salt
Now let’s move on to the cooking steps.
Cooking Steps
Now that you’ve gathered all your ingredients, you’re ready to jump into the cooking process!
Start by melting the peanut butter and sugar together, creating a rich, creamy base that’ll have your taste buds dancing.
Once you combine it with vanilla, you’ll be just steps away from pouring your delightful mixture into a pan and chilling it until it’s perfectly firm.
Step 1. Gather Ingredients and Tools
Before you plunge into making delicious peanut butter fudge, it’s essential to gather all the necessary ingredients and tools. Start by collecting your ingredients: you’ll need creamy peanut butter, sweetened condensed milk, and powdered sugar. Don’t forget a pinch of salt for that perfect flavor balance! Having everything laid out will streamline your cooking.
Next, grab your tools! You’ll need a mixing bowl and a sturdy spatula for combining your ingredients. A microwave-safe bowl is vital for melting, and an 8-inch square baking dish or pan will be perfect for setting your fudge.
It’s also helpful to have parchment paper to line the pan, making it easy to remove your fudge later.
Finally, verify you have measuring cups and a scale if you’re using the powdered sugar by weight. Having these tools and ingredients ready will make the process smooth and enjoyable, allowing you to focus on the joy of creating something scrumptious.
Step 2. Melt Peanut Butter and Sugar
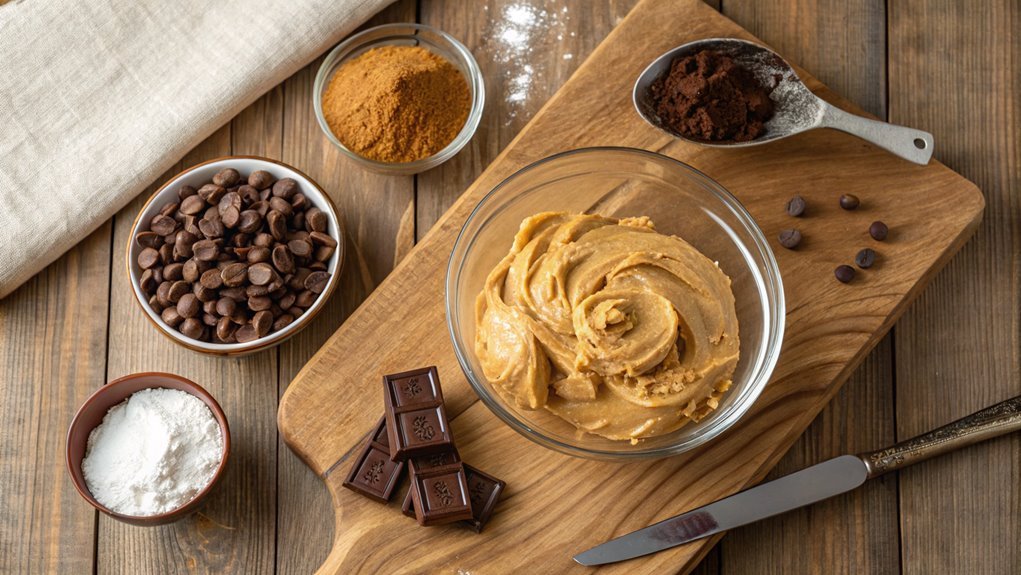
With everything gathered, it’s time to start melting the peanut butter and sugar. This step is essential, and you’ll want to do it right. Start by grabbing a medium saucepan and placing it on low heat.
Add your creamy peanut butter and the granulated sugar into the pan. As the ingredients warm up, stir them gently but constantly. This helps to combine everything smoothly, making sure nothing sticks to the bottom.
Keep an eye on the mixture; you don’t want it to scorch. You’ll notice it slowly transforming into a delightful, gooey blend. This is where the magic happens! The aroma of melting peanut butter will fill your kitchen, making it hard to resist tasting!
Continue stirring until the sugar dissolves completely and the mixture becomes glossy and uniform. This process usually takes just a few minutes, so be patient and keep stirring.
When you’ve achieved the right consistency, remove the saucepan from the heat. This is the base of your fudge, and it’s already looking and smelling incredible! Are you excited? You’ll be one step closer to enjoying your homemade peanut butter fudge!
Step 3. Combine Mixture With Vanilla
As soon as your peanut butter and sugar mixture is smooth and glossy, it’s time to infuse it with flavor by adding vanilla. The rich, warm aroma of vanilla will elevate your fudge to another level. Just a splash will do! Stir the vanilla into your mixture gently, making certain it’s evenly distributed. This isn’t just about flavor; it’s about creating an inviting dessert that everyone will enjoy.
Here’s what you need to keep in mind as you blend in that delicious vanilla:
- Use pure vanilla extract for the best flavor.
- Start with one teaspoon, then adjust to your taste.
- Confirm your mixture isn’t too hot; let it cool slightly if needed.
- Stir continuously to maintain the smooth texture.
- Taste a tiny bit—trust your palate!
This step may seem small, but it makes all the difference in creating that mouth-watering taste you want in your peanut butter fudge.
The combination of creamy peanut butter and sweet vanilla is simply irresistible! So, go ahead, pour it in with confidence and watch your fudge transform into something truly special. Your taste buds will thank you!
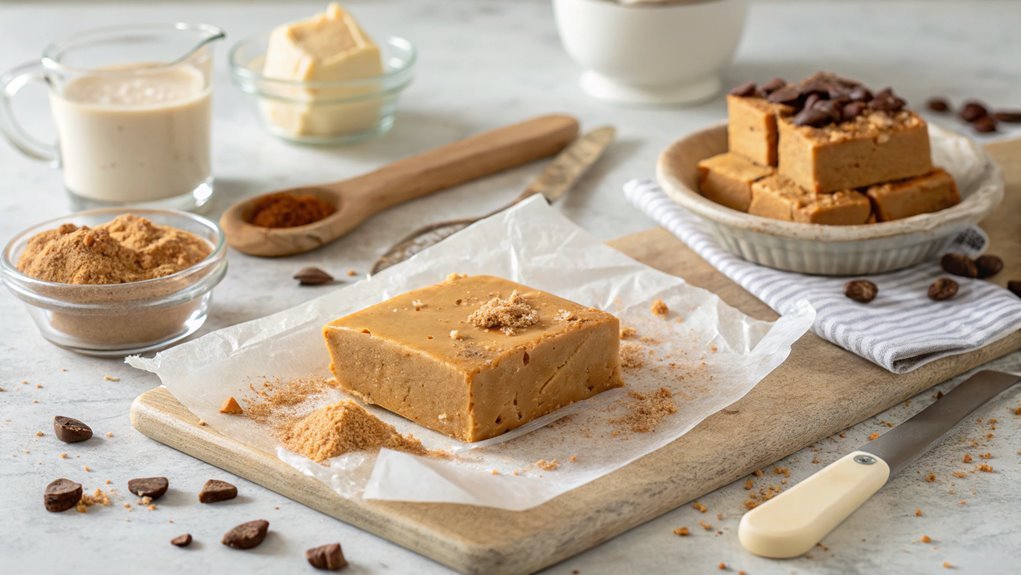
Step 4. Pour Mixture Into Pan
Once you’ve blended in the vanilla, it’s time to pour your peanut butter fudge mixture into a prepared pan. Get ready for that satisfying moment!
Grab your pan, which should be greased or lined with parchment paper for easy release. This step is key, as it’ll make your fudge come out beautifully and avoid any sticky situations later.
Carefully transfer the peanut butter fudge mixture, using a spatula to scrape every last bit from the bowl. You don’t want to miss any of that deliciousness! As you pour, let the mixture settle. This helps to create a smooth top, ensuring your fudge looks just as amazing as it tastes.
Once it’s all in the pan, gently spread the mixture out evenly, making sure it reaches every corner. A good, even distribution is essential for both texture and visual appeal.
You’re almost there! Take a moment to admire your work—this fudge is going to be a hit.
With excitement buzzing in the air, you’re just a few steps away from enjoying your homemade treat. So, grab that spatula and feel the joy of making something special that you and your loved ones will savor!
Step 5. Chill Until Firm
After you’ve spread the peanut butter fudge mixture evenly in the pan, it’s time to chill it until firm. This step is essential, as it solidifies the fudge, giving it that delightful, melt-in-your-mouth texture. You’ll want to pop the pan into the refrigerator for at least two hours.
While it’s chilling, you can prepare for the best part—enjoying your tasty creation! Here are some tips to enhance your fudge experience:
- Use parchment paper: Line the pan for easier removal.
- Check the consistency: If it’s not firm enough after two hours, give it extra time.
- Slice with a hot knife: Dip it in hot water for clean cuts.
- Store properly: Keep leftovers in an airtight container to maintain freshness.
- Experiment with toppings: Add crushed nuts or chocolate chips for a fun twist!
Once the fudge is set, you’ll feel a rush of excitement as you cut it into squares. Your homemade peanut butter fudge will be ready to share (or keep all to yourself)!
Enjoy this simple yet satisfying treat that’s guaranteed to impress your friends and family. Happy cooking!
Final Thoughts
While you may feel overwhelmed by the number of dessert options out there, this peanut butter fudge stands out for its simplicity and deliciousness. It’s a treat that everyone loves, and you can whip it up in no time!
By following the easy steps provided, you’re creating a creamy, rich dessert that’ll satisfy any sweet craving. When you take your first bite of this fudge, you’ll be thrilled by the delightful combination of peanut butter and chocolate.
It’s perfect for sharing at gatherings, or simply enjoying at home. Plus, making this fudge allows you to get creative; consider adding chopped nuts, marshmallows, or even a swirl of jelly for fun variations.
Don’t hesitate to customize the recipe to your taste! Whether you’ve made treats before or are trying dessert-making for the first time, you’ll find this fudge is achievable and exciting.
The joy of preparing it, coupled with the delicious end result, makes for a satisfying experience. So, gather your ingredients and let the magic happen. Your taste buds will thank you, and you’ll likely want to make it again!
Enjoy your delicious creation and let the compliments roll in!
Frequently Asked Questions
Can I Use Crunchy Peanut Butter Instead of Creamy?
You can definitely use crunchy peanut butter instead of creamy. It’ll give your fudge a delightful texture, adding little surprises with each bite. Just remember, the flavor may slightly change, but it’ll still be delicious!
How Long Does Peanut Butter Fudge Last in the Fridge?
Peanut butter fudge typically lasts about one to two weeks in the fridge when stored properly in an airtight container. Just make sure you check for any signs of spoilage before indulging in it!
Can I Freeze Peanut Butter Fudge for Later Use?
Yes, you can freeze peanut butter fudge for later use. Just wrap it tightly in plastic wrap or an airtight container to prevent freezer burn. When you’re ready, thaw it in the fridge before enjoying!
Is It Possible to Substitute Other Nut Butters?
You can easily swap nut butters; it’s a piece of cake! Just remember, each nut butter has its own flavor, so your treat’s taste will change. Experiment, and find the combination that tickles your taste buds!
What Size Pan Is Best for Fudge Preparation?
For making fudge, you’ll want a 9×9 inch or 8×8 inch pan. These sizes give your fudge the right thickness and guarantee it sets properly. Don’t forget to line your pan for easier removal!