Gluten-Free Apple Crisp Recipe
A gluten-free apple crisp offers a comforting dessert with the natural sweetness of apples and a satisfying, crunchy topping. It’s simple to prepare with a few gluten-free ingredients, making it an easy choice for any occasion.
Discover the perfect balance of flavors and textures in this dessert, ensuring it stands out at gatherings. With just a few steps, you’ll have a delicious treat that impresses every time.
Recipe
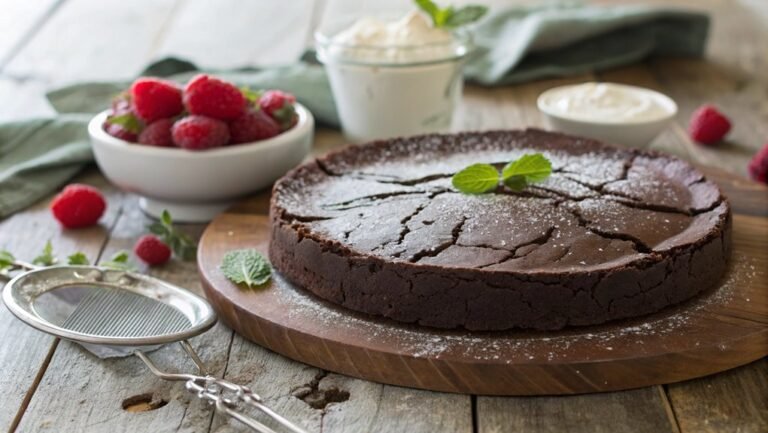
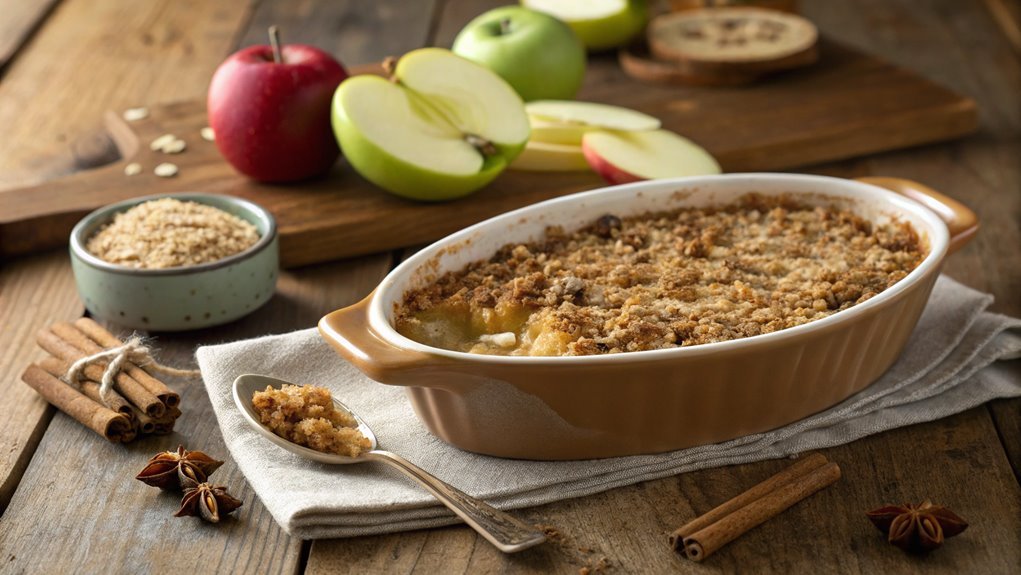
Gluten-Free Apple Crisp is a delightful dessert that captures the essence of autumn with its warm, comforting flavors. This dish features tender, juicy apples infused with cinnamon and sugar, all topped with a crunchy, buttery oat topping that’s completely gluten-free.
It’s perfect for gatherings, family dinners, or simply as a sweet treat to enjoy at home. With its simple preparation and delicious outcome, this apple crisp is sure to become a family favorite.
Creating this warm dessert is a breeze, making it an excellent choice for bakers of all skill levels. The key to a great apple crisp lies in the choice of apples—opt for a mix of tart and sweet varieties to achieve the best flavor balance.
Once you’ve prepared your ingredients, the crisp comes together in just a few easy steps, and the aroma that fills your kitchen while it bakes is simply irresistible.
Ingredients:
- 6 cups sliced apples (such as Granny Smith and Honeycrisp)
- 1 tablespoon lemon juice
- 1 teaspoon ground cinnamon
- 1/2 cup granulated sugar
- 1 cup gluten-free rolled oats
- 1/2 cup almond flour
- 1/2 cup brown sugar
- 1/2 teaspoon salt
- 1/2 cup unsalted butter, melted
- 1 teaspoon vanilla extract
Now let’s move on to the cooking steps.
Cooking Steps
Ready to bring some warmth into your kitchen? Start by preheating your oven to 350°F, and then let’s mix those oats and brown sugar together for a delightful crunch.
As you add the apples and cinnamon, you’ll see how each step builds the incredible flavor that makes this gluten-free apple crisp irresistible!
Step 1. Preheat Oven to 350°F
To kick off your gluten-free apple crisp, preheat your oven to 350°F. This step is essential because it guarantees your dessert bakes evenly and comes out perfectly golden and delicious.
As the oven warms up, you’ll set the stage for a delightful treat that fills your kitchen with the sweet aroma of baked apples and spices.
While you wait for the oven to reach the right temperature, take a moment to gather your ingredients. This will help you stay organized and make the cooking process smoother.
Think of the anticipation building as you prepare to create something amazing.
It’s always a good idea to double-check that your oven rack is in the center position. This will allow the heat to circulate properly around your apple crisp, assuring an even bake.
Once the oven beeps, signaling it’s ready, you’ll be just moments away from baking a dish that’s not only gluten-free but also bursting with flavor.
Step 2. Mix Oats and Brown Sugar
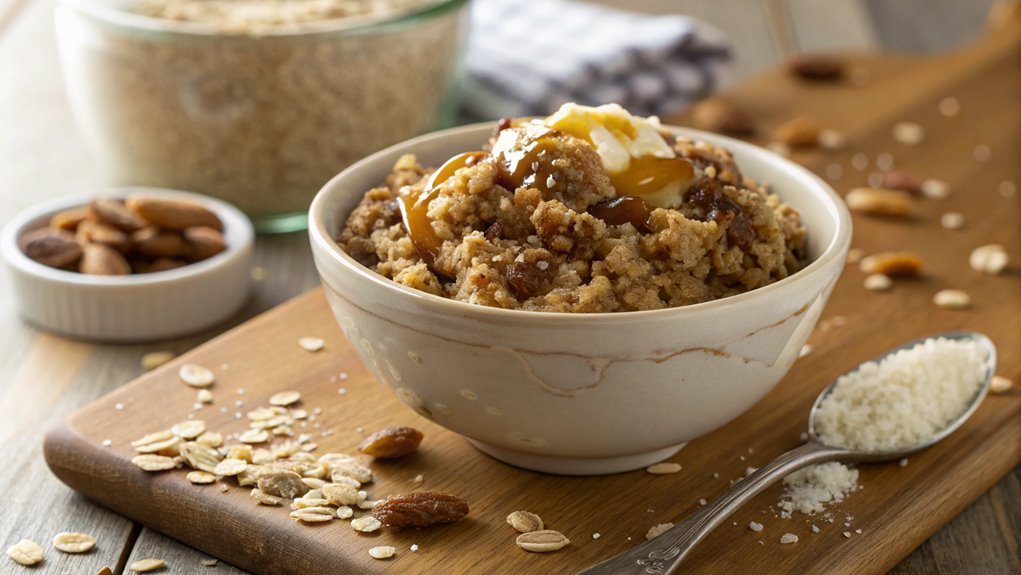
With the oven preheated and your ingredients gathered, it’s time to mix the oats and brown sugar for that delicious topping. Start by measuring out your gluten-free oats—these will add a lovely texture and heartiness to your apple crisp.
In a large mixing bowl, combine the oats with a generous amount of brown sugar. The sweetness of the brown sugar will beautifully complement the tartness of the apples, creating a delightful balance of flavors.
Next, you’ll want to add a pinch of salt to enhance the overall taste. Stir the mixture well, ensuring the oats are evenly coated with the brown sugar. This step is essential because it helps distribute the sweetness evenly throughout the topping.
If you’re feeling adventurous, consider adding a sprinkle of cinnamon or nutmeg to give it that warm, cozy flavor that pairs perfectly with apples.
Once everything’s combined, take a moment to admire your handiwork. This simple mixture is the key to a crispy, golden topping that will make your apple crisp irresistible.
Get ready to layer this topping over your apples, and let the baking magic begin! Enjoy the process, and don’t forget to savor every moment!
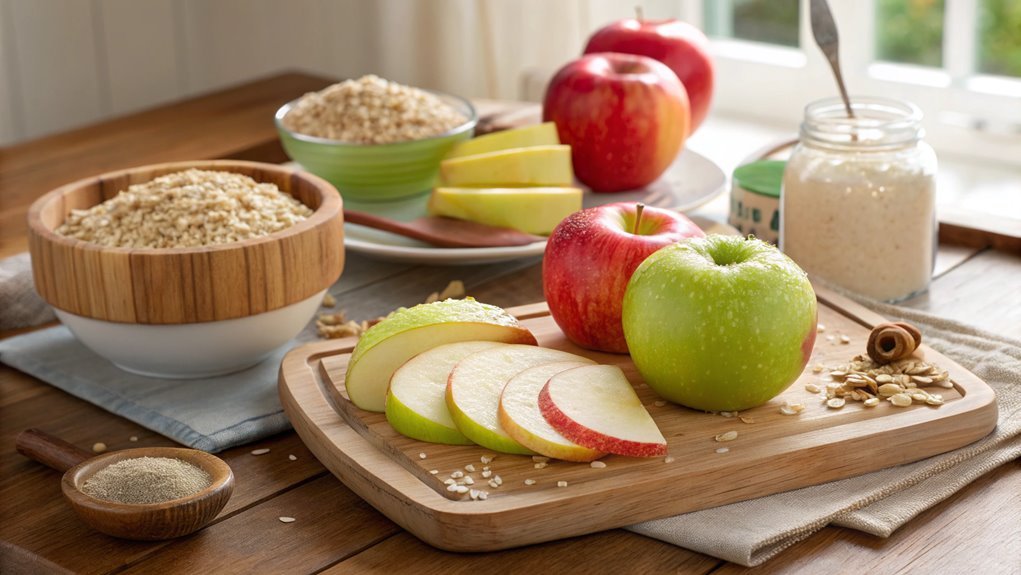
Step 3. Add Apples and Cinnamon
As you prepare to layer the topping, it’s time to focus on the apples. The right apples can make or break your crisp, so choose wisely! You want a mix of sweet and tart flavors to create a delightful balance.
Start by peeling and slicing about six medium-sized apples, such as Granny Smith or Honeycrisp. Once you’ve got your apples ready, toss them in a bowl with cinnamon to infuse them with warm, inviting flavors.
Here’s what you’ll need:
- 6 medium apples, peeled and sliced
- 1 tablespoon of cinnamon
- 1 tablespoon of lemon juice (to add a bit of brightness)
- A pinch of salt (to enhance the sweetness)
- Optional: 1/4 cup of brown sugar (if you like it sweeter)
Gently mix these ingredients together, ensuring the apples are well-coated. The aroma will be irresistible!
Next, layer the apple mixture evenly in your baking dish. This step is essential; it sets the stage for the crunchy topping to shine later on.
You’re already creating something special, and your kitchen will soon fill with the mouthwatering scent of baked apples and cinnamon. Get ready for a treat!
Step 4. Top With Butter Cubes
Now it’s time to add the finishing touch that brings your apple crisp to life: butter cubes. This step is essential, as the butter melts during baking, creating a rich, golden topping that enhances all the delicious flavors beneath.
Start by taking a cold stick of unsalted butter and cutting it into small, even cubes, about one tablespoon each. This guarantees that the butter will distribute evenly across the topping.
Once you’ve diced the butter, sprinkle the cubes generously over the oat mixture that you’ve already prepared. Make sure to spread them out so every bite of your apple crisp has that buttery goodness.
Don’t be afraid to be a little generous here; the butter is what makes the topping crisp and decadent.
As you place the butter cubes, take a moment to appreciate how it all comes together. The oats, sugar, and spices will absorb the butter’s flavor, creating a delightful contrast between the crunchy topping and the tender apples below.
It’s this combination that makes your gluten-free apple crisp so irresistible. Now that you’ve topped it off with butter, you’re just one step away from enjoying a fantastic dessert!
Step 5. Bake for 30 Minutes
Preheat your oven to 350°F (175°C) and get ready to bake your apple crisp to perfection. The anticipation builds as you prepare to transform your delicious mixture into a warm, bubbly dessert.
Once your apple crisp is ready, it’s time to pop it into the oven. Baking it for 30 minutes allows those flavors to meld beautifully and creates a delightful golden topping.
Here’s what you can expect during those 30 minutes:
- The aroma of cinnamon and sugar will fill your kitchen.
- The apples will soften, soaking up all that yummy goodness.
- The topping will become crisp and golden, making it hard to resist.
- Your mouth will water at the sight of your creation.
- You’ll feel a sense of accomplishment as you await the final result.
As the timer goes off, your apple crisp will be bubbling and irresistible. Take it out, let it cool for a few minutes, and then serve it warm.
It’s perfect on its own, or you can add a scoop of gluten-free ice cream for an extra treat! Enjoy every bite of your homemade apple crisp, and share it with friends and family—you’ve earned it!
Final Thoughts
Although you might be tempted to try other desserts, this gluten-free apple crisp stands out for its simple ingredients and delicious flavors.
You’ll love how easy it’s to whip up, making it perfect for any occasion. With juicy apples, warm spices, and a crunchy topping, each bite is a delightful experience.
The best part? You don’t need any fancy ingredients or complicated techniques. Just gather your apples, oats, and a few pantry staples.
You can customize it too! Add nuts or a sprinkle of cinnamon to elevate the taste even further. Trust me, your friends and family will be asking for seconds.
Serving this apple crisp warm, topped with a scoop of vanilla ice cream, creates a comforting dessert that’s hard to resist.
Plus, knowing it’s gluten-free means everyone can enjoy it, whether they’ve dietary restrictions or not.
Frequently Asked Questions
Can I Substitute Other Fruits for Apples in This Recipe?
Yes, you can definitely substitute other fruits for apples! Try using pears, peaches, or berries. Just adjust the sweetness and cooking time as needed to guarantee your dessert turns out delicious and satisfying.
How Do I Store Leftover Gluten-Free Apple Crisp?
To store leftover apple crisp, let it cool completely, then cover it tightly with plastic wrap or foil. You can keep it in the fridge for up to five days or freeze it for longer storage.
Is It Safe for Those With Celiac Disease?
Yes, it’s safe for those with celiac disease, as long as you guarantee all ingredients are gluten-free. Always check labels to avoid cross-contamination, and enjoy your dessert worry-free!
Can I Make This Recipe Vegan?
Sure, you can absolutely transform this recipe into a plant-based delight! Substitute butter with coconut oil or vegan margarine, and use maple syrup instead of honey. Enjoy a guilt-free, compassionate dessert that everyone will love!
What Gluten-Free Flours Work Best for the Topping?
When choosing gluten-free flours for your topping, consider almond flour, coconut flour, or a gluten-free all-purpose blend. They’ll provide great texture and flavor, ensuring your dish is both delicious and gluten-free. Enjoy experimenting!
Conclusion
This gluten-free apple crisp is a must-try for everyone, not just those with dietary restrictions. Its delightful flavors and textures will have everyone asking for seconds.
No need to be a kitchen pro; this recipe is simple enough for any skill level. Picture the warm aroma enveloping your home as it bakes!
Gather your ingredients and indulge in this scrumptious dessert that’s sure to impress.