Chocolate Mousse Cake Recipe
Both of us share a love for desserts, particularly indulgent chocolate creations like chocolate mousse cake. Achieving the perfect balance of richness and lightness requires selecting the right chocolate and mastering the mousse technique. Each step is crucial in determining the cake’s outcome. Let’s explore why this dessert is perfect for any occasion and how it can showcase your baking skills.
Recipe
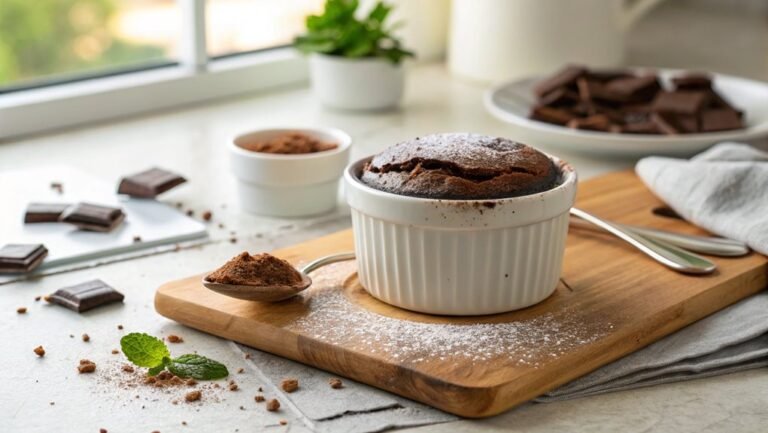
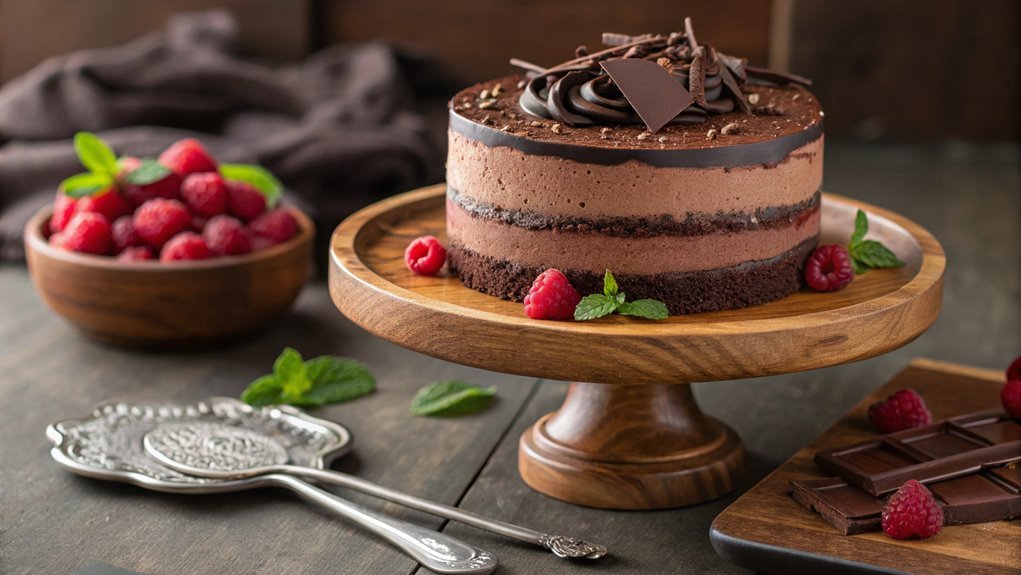
Chocolate mousse cake is a delicious dessert that combines the rich flavors of chocolate with a light and airy texture, creating a treat that’s perfect for any occasion.
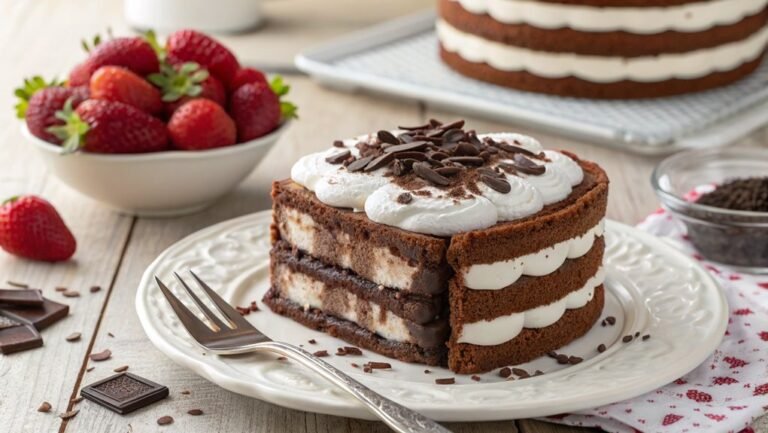
This decadent cake is composed of layers of chocolate mousse sandwiched between a moist chocolate cake, making it a favorite among dessert lovers. The beauty of a chocolate mousse cake lies not only in its indulgent taste but also in its elegant presentation, making it a showstopper for dinner parties or celebrations.
Making a chocolate mousse cake from scratch can seem challenging, but with a few simple steps and ingredients, you can create a delightful masterpiece that will impress your family and friends.
This recipe guides you through the process of baking the cake layer and preparing the mousse filling. Be sure to allocate some time, as chilling and setting the mousse is essential for achieving the perfect texture.
Ingredients:
- 1 cup all-purpose flour
- 1 cup granulated sugar
- 1/2 cup unsweetened cocoa powder
- 1 teaspoon baking powder
- 1/2 teaspoon baking soda
- 1/4 teaspoon salt
- 1/2 cup unsalted butter, softened
- 2 large eggs
- 1 teaspoon vanilla extract
- 1/2 cup milk
- 1 cup semi-sweet chocolate, chopped
- 2 cups heavy cream
- 1/2 cup powdered sugar
- 1 teaspoon vanilla extract (for mousse)
- Dark chocolate shavings (for garnish, optional)
Now let’s move on to the cooking steps.
Cooking Steps
Let’s get started on making your delicious Chocolate Mousse Cake!
First, you’ll want to preheat your oven to 350°F so it’s ready when it’s time to bake.
As you move through each step, like mixing egg yolks with sugar and folding in whipped cream, you’ll see how easy it’s to create this mouthwatering dessert!
Step 1. Preheat Your Oven to 350°F
Before diving into the delicious layers of your chocolate mousse cake, you need to preheat your oven to 350°F. This step is essential, as a properly preheated oven guarantees even baking and helps your cake rise beautifully. So, grab your oven knob and set that temperature!
While the oven warms up, take a moment to gather your ingredients and tools. A well-organized workspace makes the cooking process enjoyable and efficient. Make certain you have your cake pans ready, greased, and lined with parchment paper for easy release after baking.
As the temperature climbs, you’ll feel the excitement building. You’re one step closer to enjoying a rich, decadent cake that’s sure to impress anyone who gets a slice.
Double-check that your oven rack is positioned in the center; this promotes ideal heat distribution while your cake bakes.
Once the oven beeps, letting you know it’s ready, you’re now fully prepared to mix and bake that chocolatey masterpiece! With everything in place and your oven preheated, you’re on your way to creating a dessert that will make memories.
Enjoy every moment of the process; it’s going to be delicious!
Step 2. Fold in Whipped Cream

Gently fold in the whipped cream to the chocolate mixture, creating a luscious and airy texture. This step is where your mousse transforms into something truly extraordinary!
As you fold, be careful not to deflate the whipped cream; you want to keep that delightful fluffiness. Use a spatula and combine it in a gentle motion, scooping from the bottom and bringing it to the top. This technique guarantees a light and decadent cake that melts in your mouth.
Imagine the deliciousness of your completed cake:
- Rich, smooth chocolate flavor that intensifies with every bite.
- Fluffy, cloud-like mousse that feels indulgent yet light.
- A dessert that wows your guests, making it perfect for special occasions.
- A beautiful presentation, with layers of chocolate delight that impress everyone.
As you work this magic in your kitchen, allow the wonderful aroma and silky texture to ignite your culinary passion.
Folding in cream isn’t just a step; it’s where the heart of the cake truly lies. So plunge into it and get ready to create something delicious that you’ll be proud to share!
Step 3. Sift Cocoa Powder Together
Now that you’ve folded in the whipped cream and created that delightful mousse, it’s time to sift the cocoa powder. This step is crucial for achieving a smooth, rich chocolate flavor in your cake.
Grab a fine-mesh sieve or sifter and place it over a clean bowl. Using a spoon, scoop the cocoa powder into the sieve, making certain to break up any clumps that might’ve formed.
As you sift, gently tap the side of the sieve. This helps the cocoa powder fall through while removing any lumps. It’s important because a smooth incorporation prevents an uneven texture in your mousse.
You’ll see the cocoa powder beautifully cascade into the bowl, filling it with that deep, luscious color that makes chocolate desserts so irresistible.
Once you’ve sifted all the cocoa, use a spatula to gently incorporate it into your mousse. This guarantees every spoonful is packed with chocolatey goodness.
It’s an exciting step that brings you closer to your decadent Chocolate Mousse Cake! Take a moment to appreciate the aroma and depth of flavor you’re creating. Enjoy the process and let your passion for baking shine through!
Step 4. Mix Egg Yolks With Sugar
Whisk together the egg yolks and sugar in a mixing bowl until the mixture becomes light and creamy. You’re starting to create the heart of your chocolate mousse cake, so give it your all! This process not only blends the ingredients but also incorporates air, which helps achieve a smooth, delightful texture.
As you whip away, take a moment to appreciate the visual transformation—the golden yolks gradually turn into a velvety pale yellow. This is where your patience pays off!
Here’s what you can expect:
- The warm, inviting aroma of egg yolks fills your kitchen.
- The sugar crystals melt away, leaving a silky mixture.
- Bubbles form, indicating air is getting in—yes, you want that!
- The color shifts from bright yellow to a creamy dream.
Keep whisking until it’s just right, and you’ll feel like a master chef. This mix is essential in creating that rich, chocolatey flavor you love.
Once it’s ready, you can move on to the next step, knowing you’re one step closer to enjoying a decadent chocolate dessert. Happy baking!
Step 5. Bake for 25 Minutes

After preparing your chocolate mixture, it’s time to bake your cake for 25 minutes. Preheat your oven to the right temperature, usually around 350°F, before you begin. This step guarantees your cake rises beautifully and develops a rich flavor.
Pour the luscious chocolate mixture into a greased cake pan, smoothing the top with a spatula.
Once you pop the pan into the oven, keep an eye on the clock. As the cake bakes, delightful aromas will fill your kitchen, making it hard to resist sneaking a taste! The key here is to trust your oven and let it work its magic.
At the 25-minute mark, do a toothpick test. Insert it into the center of the cake; if it comes out clean or with just a few moist crumbs, you’re in business! If not, give it a few more minutes. Remember, patience pays off.
Once baked, let your cake cool in the pan for about 10 minutes, then carefully transfer it to a wire rack. This cooling approach helps maintain its texture and flavors.
You’re one step closer to enjoying your heavenly chocolate mousse cake! Happy baking!
Final Thoughts
As you savor each delicious bite of this chocolate mousse cake, it’s important to reflect on the process that brought you here. This isn’t just a dessert; it’s a celebration of your time and effort in the kitchen.
You’ve transformed simple ingredients into a rich, velvety masterpiece that’s sure to impress anyone lucky enough to share it with you.
Now, imagine the joy and satisfaction that comes with creating this delightful cake. Picture the following:
- The chocolate melting, releasing an irresistible aroma that fills your kitchen.
- The soft, fluffy mousse that turns beautifully into a glorious layered cake.
- Your friends and family gathering around the table, eyes wide in anticipation.
- The pure bliss when they take that first bite and smile in delight.
With each forkful, you’re not just enjoying a treat; you’re relishing in your skills and creativity.
So, don’t hesitate to whip this cake up again for special occasions or even just to satisfy a sweet craving. Embrace the process and share your creation.
You’ve got this, and I can’t wait for you to enjoy your next baking adventure!
Frequently Asked Questions
Can I Make Chocolate Mousse Cake Ahead of Time?
Sure, you can totally make it ahead of time. Just let it chill in the fridge for a few hours or overnight. You’ll enjoy the rich flavors even more after it’s had some time to set!
What Type of Chocolate Is Best for This Cake?
For a rich flavor, you should use high-quality dark chocolate with at least 70% cocoa. If you prefer a sweeter taste, semi-sweet chocolate works well too. It’ll make your cake truly delicious and impressive.
How Can I Store Leftover Chocolate Mousse Cake?
You can store leftover chocolate mousse cake in an airtight container in the refrigerator. It’ll stay fresh for about three to four days. Just remember to let it come to room temperature before serving again.
Can I Substitute Eggs in This Recipe?
Yes, you can substitute eggs in this recipe. Try using flaxseed meal or applesauce as alternatives. Adjust quantities based on the substitute you choose, ensuring that the texture remains creamy and light for the mousse.
What Can I Serve With Chocolate Mousse Cake?
When it comes to dessert, you can’t beat a classic pairing. Serve your chocolate mousse cake with fresh berries, whipped cream, or a scoop of vanilla ice cream for a delightful taste explosion that’ll impress your guests.