Classic Apple Pie Recipe
The aroma of freshly baked apple pie evokes warmth and nostalgia. Crafting this classic dessert requires the right balance of tart apples and spices. Mastering the interplay of sweetness and acidity is crucial. Beyond the filling, other essential elements transform a simple pie into a nostalgic centerpiece.
Recipe
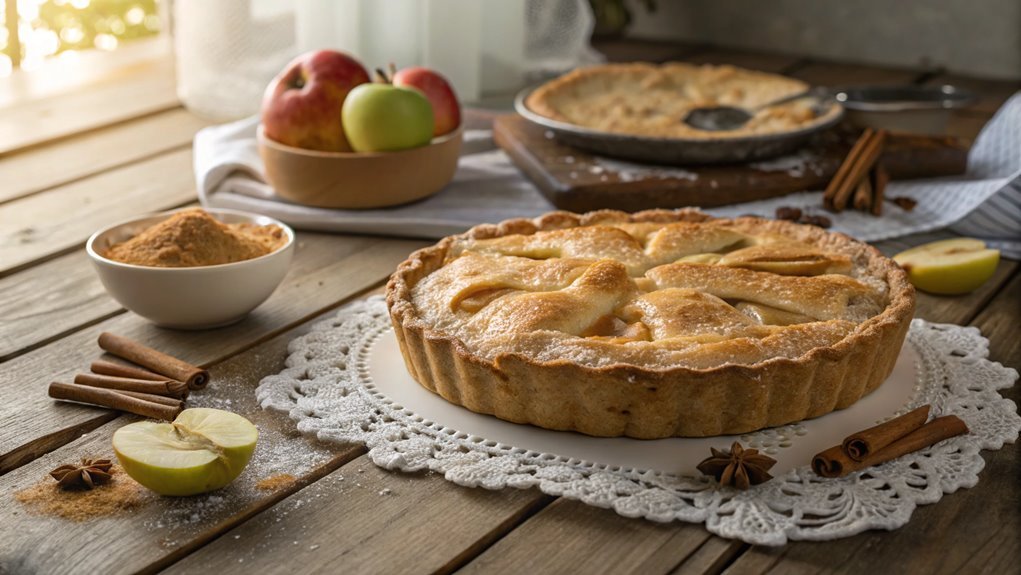
Apple pie is a quintessential American dessert that has been cherished for generations. Its warm, spiced apple filling enveloped in a flaky, buttery crust evokes feelings of comfort and nostalgia.
Whether enjoyed during the holidays or as a classic treat any time of year, making a homemade apple pie can be a delightful experience that fills your kitchen with delicious aromas. Armed with fresh apples and a few pantry staples, you can create a mouthwatering pie to share with family and friends.
To start your apple pie adventure, you’ll want to gather the best apples you can find. A mix of sweet and tart varieties, such as Granny Smith and Honeycrisp, is recommended for the perfect balance of flavor.
The preparation involves not only peeling and slicing the apples but also coating them with sugar and spices to accentuate their natural sweetness. Finally, you’ll assemble the pie with a double crust for a classic appeal, creating a deliciously warm dessert that can be served with ice cream, whipped cream, or simply on its own.
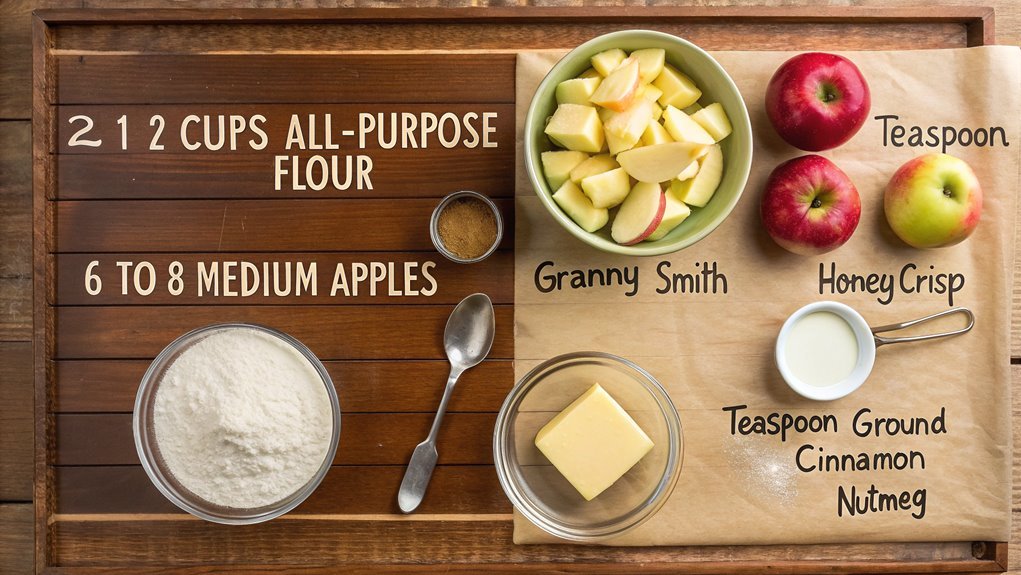
Ingredients:
- 2 ½ cups all-purpose flour
- 1 teaspoon salt
- 1 teaspoon sugar
- 1 cup unsalted butter, chilled and diced
- 6 to 8 tablespoons ice water
- 6 to 8 medium-sized apples, peeled, cored, and sliced
- ¾ cup sugar (adjust based on fruit sweetness)
- 1 teaspoon ground cinnamon
- ½ teaspoon ground nutmeg
- 2 tablespoons lemon juice
- 2 tablespoons all-purpose flour (for thickening)
- 1 egg (for egg wash)
Now let’s move on to the cooking steps.
Cooking Steps
Now that you’ve gathered your ingredients, it’s time to bring your classic apple pie to life!
First, you’ll need to preheat your oven to a toasty 425°F, creating the perfect environment for that golden crust.
Get ready to prepare your pie crust, add in the delicious apple filling, and watch your masterpiece bake for 45 minutes—there’s nothing quite like the aroma of homemade pie filling your kitchen!
Step 1. Preheat the Oven to 425°F
Preheating your oven to 425°F is an essential step in achieving that perfect golden crust for your classic apple pie. This high temperature helps the crust get that crispy, flaky texture you crave, while also giving the filling a chance to bubble and meld into a deliciously sweet treat.
Start by turning your oven on and setting the temperature. It usually takes about 15 to 20 minutes for your oven to reach the desired heat, so this is a great time to gather your ingredients or tidy up the kitchen.
Make sure you’ve got all your tools handy, like your pie dish and measuring cups.
As your oven warms up, envision the magical transformation that’ll happen—the rich aroma of apples, sugar, and spices filling your home, making it oh-so-cozy!
When the oven finally reaches 425°F, you’ll be one step closer to serving up a classic apple pie that’ll impress your family and friends. The anticipation builds and you can practically taste that buttery crust already!
Step 2. Prepare the Pie Crust
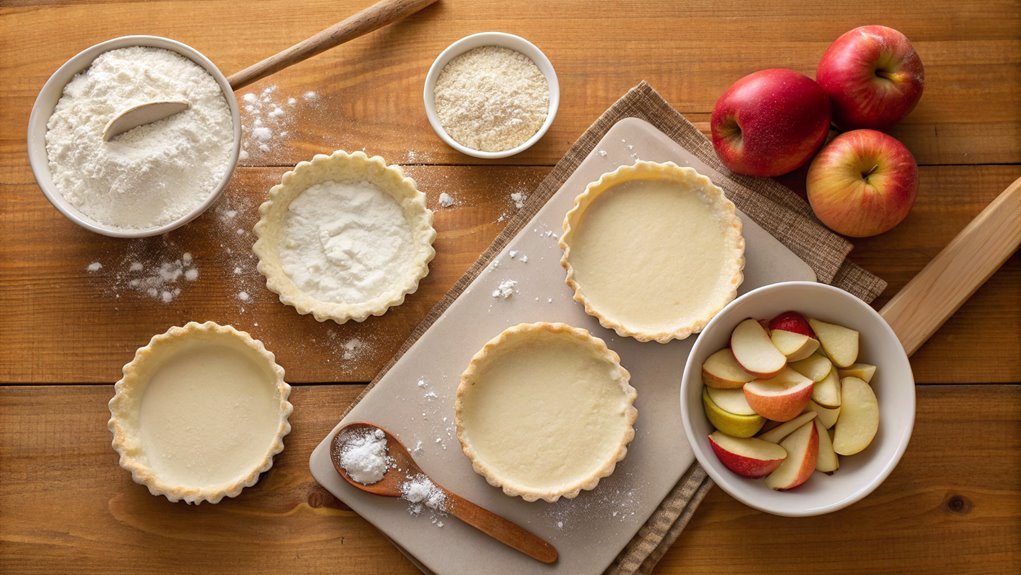
As you prepare to create your pie crust, the right combination of ingredients makes all the difference. A flaky, tender crust sets the perfect foundation for your classic apple pie, and it’s easier than you might think!
First, choose high-quality ingredients, as they contribute greatly to the flavor and texture.
Here’s what you’ll need:
- All-purpose flour – about 2 ½ cups
- Unsalted butter – 1 cup, cold and cubed
- Ice-cold water – about 6-8 tablespoons
Start by mixing the flour and salt in a large bowl. Then, add the cold butter, cutting it into the flour until it resembles coarse crumbs. This step is essential for that light, flaky texture we all love.
Gradually add the ice-cold water, one tablespoon at a time, mixing until the dough just holds together. Avoid overmixing, as this can toughen your crust!
Once you’ve formed your dough, divide it into two disks, wrap them in plastic wrap, and chill them in the fridge for at least 30 minutes.
Trust me, taking this time to chill will lead to a wonderfully buttery crust you’ll be proud to serve!
Step 3. Add Apple Filling
With your chilled pie crust ready, you can turn your attention to the flavorful apple filling that will truly make your pie shine.
Start by peeling, coring, and slicing about six medium-sized apples—choose a mix of tart and sweet varieties like Granny Smith and Honeycrisp for a delightful balance. As you slice, toss the apples in a large bowl with a sprinkle of lemon juice to keep them from browning.
Next, add sugar, ground cinnamon, and a pinch of nutmeg to the apples. Stir until the apples are well-coated, allowing those warm, inviting flavors to meld together.
If you want a bit more texture, consider adding a tablespoon of flour or cornstarch, which will thicken the juices as the pie bakes.
Pour the apple filling into your prepared crust, making sure to mound it in the center for a beautiful presentation. Don’t worry about the apples overflowing; they’ll cook down as they bake, creating that perfect juicy filling.
Now, it’s time to get ready for the next steps in this scrumptious adventure! You’re on the verge of creating a classic dessert that will wow your family and friends. Happy baking!
Step 4. Bake for 45 Minutes
Once you’ve filled your pie crust with that delicious apple mixture, it’s time to bake it for 45 minutes. This is where the magic happens! As your pie bakes, the kitchen will fill with mouthwatering aromas that’ll make everyone excitedly anticipate dessert.
Keep an eye on that crust; it should turn golden brown, and you’ll notice the filling bubbling up through those lovely slits you made.
Here’s what to do while your pie’s in the oven:
- Set a timer – This will help guarantee your pie doesn’t overbake, keeping the crust perfectly flaky and the filling just right.
- Clean your mess – Take a moment to tidy up your workspace. You’ll feel accomplished and organized by the time that pie is done!
- Prepare for serving – Think about how you’d like to serve your pie, whether it’s with a scoop of vanilla ice cream or a dollop of whipped cream.
Baking this classic apple pie isn’t just a cooking task; it’s creating cherished memories!
Step 5. Cool Before Serving
After your pie comes out of the oven, resist the temptation to slice into it immediately. You’ll want to let it cool for at least two hours before serving. This step is essential, as it allows the filling to set properly. If you cut the pie too soon, the juice may run out, leaving you with a messy slice instead of neat, beautiful portions.
While the pie cools, take a moment to savor the heavenly aroma wafting through your kitchen. If you can, use this time to whip up some freshly whipped cream or a scoop of vanilla ice cream to serve alongside your pie later. The combination of warm pie and cold ice cream is simply irresistible!
Once the two hours are up, grab a sharp knife and slice into that perfectly baked crust. As you serve each slice, prepare for the compliments that are sure to come your way.
Everyone will appreciate the patience you showed in waiting for the pie to cool. So, take a moment to enjoy your creation—it’s your delicious reward for all the hard work! Celebrate this sweet victory, and don’t forget to relish each bite!
Final Thoughts
As you wrap up your apple pie baking adventure, remember that the joy of making this classic dessert lies not only in the final product but also in the memories created along the way.
The delightful aroma, the laughter shared, and the anticipation of that first slice make baking a special experience.
To truly savor your apple pie journey, keep these three tips in mind:
- Experiment with Flavors: Don’t hesitate to mix different apple varieties or add spices like nutmeg or cinnamon. Each tweak can create a unique twist!
- Invite Friends or Family: Sharing the baking process elevates the experience. Get someone to help peel apples or roll out the dough. It makes the kitchen lively and fun!
- Don’t Skip the Cooling: Allow your pie to cool before serving. This will help the juices settle and make slicing easier, so you can serve perfect pieces.
Frequently Asked Questions
Can I Use Store-Bought Pie Crust Instead of Homemade?
Absolutely, you can use store-bought pie crust! They save time and still deliver a delicious end result. Just make sure to follow the package instructions for the best texture and flavor. Enjoy your baking!
What Types of Apples Are Best for Apple Pie?
Finding the best apples for pie is like choosing the perfect partner; you want sweetness and a bit of tartness. Try Granny Smith, Honeycrisp, or Fuji for a delightful balance of flavors in your pie.
How Do I Prevent a Soggy Pie Crust?
To prevent a soggy pie crust, you should pre-bake it for a few minutes, use a thicker filling, and brush the crust with egg wash or melted butter before adding the filling. Those tips really help!
Can I Freeze Apple Pie Before Baking?
Absolutely, you can freeze apple pie before baking! In fact, about 20% of home bakers take this approach to save time, ensuring pies maintain freshness and taste when you’re ready to enjoy them later.
How Long Does Homemade Apple Pie Last?
Homemade apple pie lasts about 2 to 3 days at room temperature, covered. If you refrigerate it, it’ll stay fresh for up to a week. Just make sure it’s stored properly to maintain flavor.