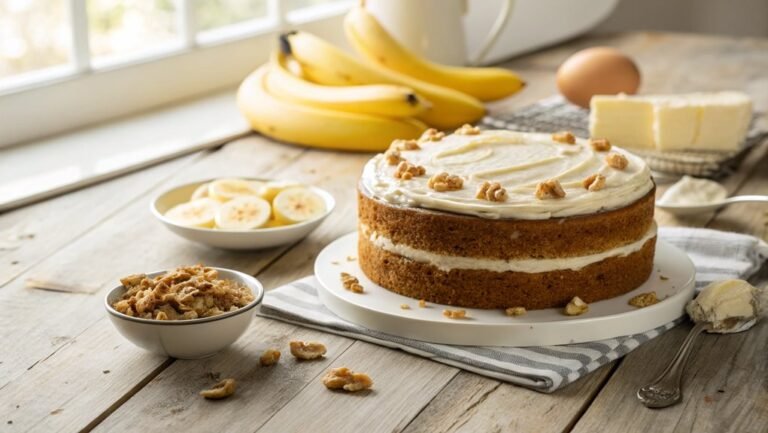
Banana Bread Recipe
Banana bread sales increased by over 200% during the pandemic. This classic recipe captures the taste of home and invites kitchen creativity. Whether aiming for a moist loaf or experimenting with flavors, there are essential steps to follow. Transform overripe bananas into a delectable treat that could become a baking staple.
Recipe
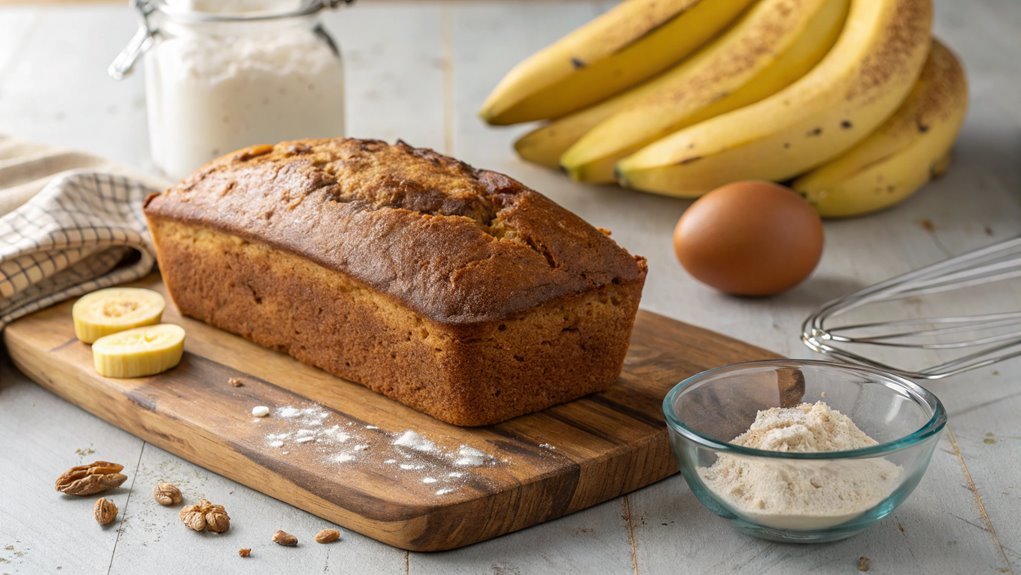
Banana bread is a classic comfort food that many people treasure for its moist texture and delightful sweetness. Making banana bread isn’t only simple but also an excellent way to use up ripe bananas that you might otherwise toss.
The combination of ripe bananas, flour, sugar, and a hint of flavoring creates a mouthwatering loaf that’s perfect for breakfast, snacks, or dessert. It’s a versatile recipe that can easily be customized with nuts, chocolate chips, or spices to suit your preferences.
To get started, gather your ingredients and preheat your oven to 350°F (175°C). While many recipes use a mixer, making banana bread can also be done by hand, allowing you to control the mixture’s texture—just be careful not to overmix.
This recipe yields a delicious loaf that can be enjoyed fresh out of the oven or toasted for an extra layer of warmth and flavor. Now let’s explore the ingredients you’ll need for this delightful treat!
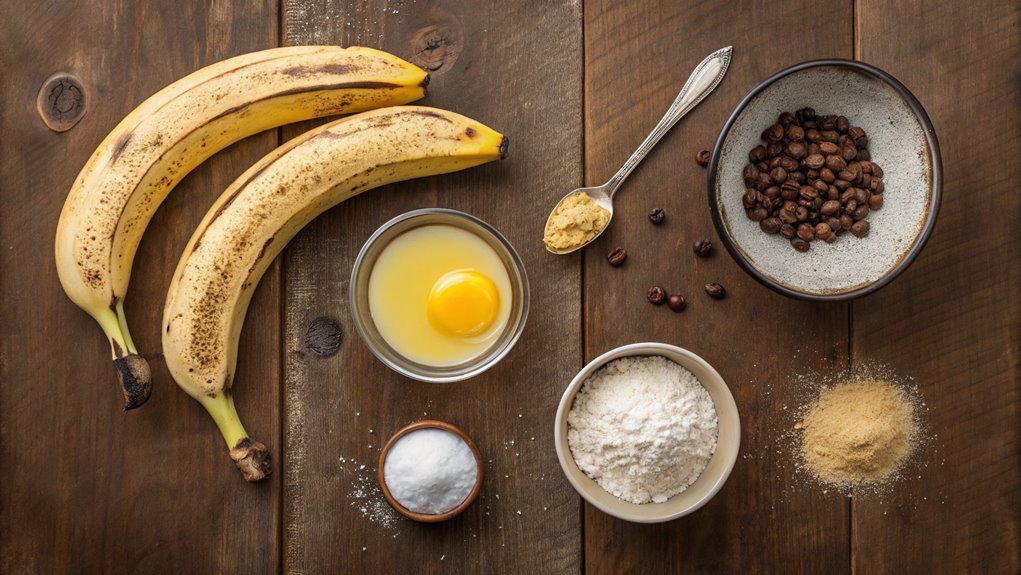
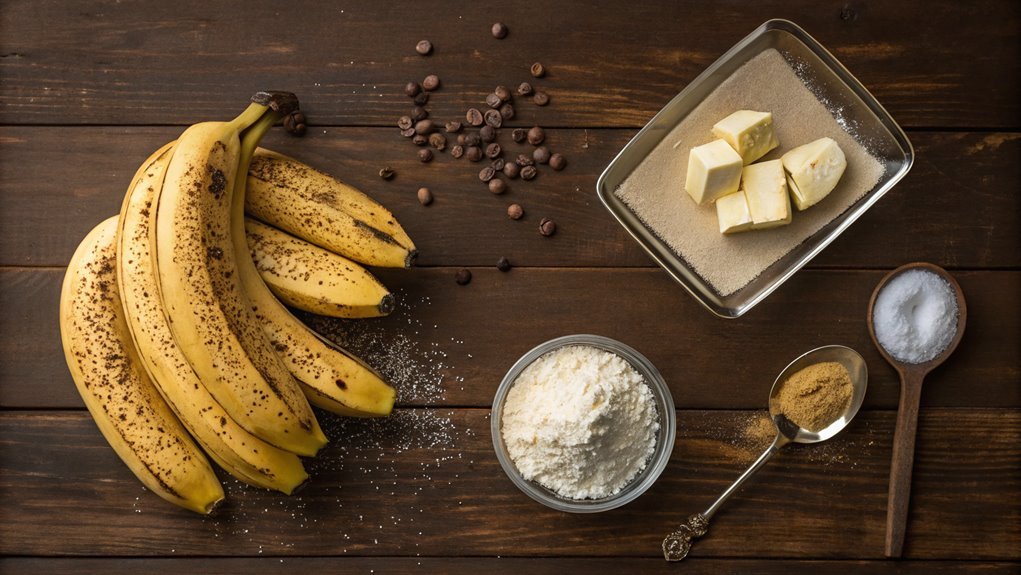
- 3 ripe bananas
- 1/3 cup melted butter
- 1 teaspoon baking soda
- Pinch of salt
- 3/4 cup sugar
- 1 large egg, beaten
- 1 teaspoon vanilla extract
- 1 1/2 cups all-purpose flour
Cooking Steps
Now that you’ve gathered your ingredients, it’s time to jump into the fun part: the cooking steps!
First, you’ll want to preheat your oven to get it ready for that delicious banana bread.
After that, let’s mash those ripe bananas thoroughly, and soon you’ll be on your way to a warm, homemade treat that fills your kitchen with a wonderful aroma!
Step 1. Preheat Your Oven First
Before diving into mixing your ingredients, make sure to preheat your oven to 350°F (175°C). This essential step sets the stage for delicious banana bread that’ll make your kitchen smell heavenly! When you preheat, your oven warms up evenly, ensuring that your bread bakes perfectly from the start. Nobody wants a loaf that’s overcooked on the outside and raw on the inside!
While your oven is getting cozy at that warm temperature, take a moment to gather your baking tools and ingredients. Having everything ready to go will make your baking experience smoother and more enjoyable. You’ll appreciate the sweet aroma of baked banana bread wafting through your home, creating a warm atmosphere that makes everyone feel at ease.
Also, don’t forget to grease your loaf pan while you wait! A well-prepped pan prevents sticking, making it easy to remove your beautiful creation once it’s done baking. It’s these little details that help you achieve that ideal, golden-brown crust!
Step 2. Mash Ripe Bananas Thoroughly
Start by peeling your ripe bananas and placing them in a mixing bowl. The riper the bananas, the better! Their natural sweetness and softness make mashing a breeze.
Grab a fork or a potato masher, and start squishing those bananas until they turn into a smooth or slightly chunky puree—it’s all up to your preference!
As you mash, watch as all that golden goodness breaks down, emitting a lovely, inviting aroma. If you notice any stubborn bits left behind, don’t hesitate to apply a little extra pressure. You want to achieve a creamy consistency that’ll blend beautifully with the rest of your ingredients later on.
Mashing the bananas thoroughly not only enhances their flavor but also guarantees they mix seamlessly in your batter. This step adds a delightful moistness to your banana bread, creating that classic texture you crave.
Plus, it’s incredibly satisfying to see the transformation from whole bananas to a vibrant mash. So, get ready to release your inner baker!
Once you’ve got those bananas perfectly mashed, you’ll be one step closer to enjoying warm, delicious banana bread. Keep up the great work; you’re doing amazing!
Step 3. Add Sugar and Eggs
With your mashed bananas ready, it’s time to sweeten the mix by adding sugar and eggs. This step is vital, as it brings a delightful flavor to your banana bread. Grab your measuring cup and pour in the granulated sugar—about one cup should do the trick! The sweetness of the sugar perfectly complements the bananas, creating that irresistible taste we all love.
Next, crack in your eggs. You’ll want to use two large eggs for the best results. They not only add moisture but also help bind the ingredients together, giving your banana bread a lovely texture.
As you stir the sugar and eggs into your banana mix, feel free to use a whisk or a fork; just make sure everything’s combined well. Mix it all until the sugar dissolves and the eggs are fully incorporated.
You’ll notice the mixture becoming smooth and slightly fluffy, which is exactly what you want. This is a vital moment, as your banana bread is starting to come to life! Don’t rush—take your time and enjoy the process. Your taste buds will thank you when you savor the final product!
Step 4. Fold in the Flour Mixture
Now that your banana mixture is smooth and fluffy, gently fold in the flour mixture. Grab a spatula and start by adding about a third of the flour to the banana blend. Using a folding motion, incorporate the flour without over-mixing. This technique helps keep your banana bread light and tender.
Be careful not to stir vigorously; you want to maintain that lovely airy texture you’ve created. Instead, push the spatula down through the mixture and lift it up, turning the bowl slightly as you go.
Continue adding the flour in thirds, repeating the folding process until there are just a few streaks of flour remaining. It’s okay if the batter looks a bit lumpy—this is part of what makes your bread so delectable!
Once you’ve combined all the flour, take a moment to admire your creation. The aroma of bananas will make your kitchen feel inviting and warm.
You’re getting closer to baking a comforting loaf that’ll bring smiles all around. Trust in this process, and you’re sure to delight everyone with your homemade banana bread.
Let’s keep the momentum going and move on to the next exciting step!
Step 5. Add Nuts or Chocolate
As you finish folding in the flour, it’s time to decide if you want to enhance your banana bread with some delicious add-ins like nuts or chocolate. Adding ingredients like chopped walnuts, pecans, or rich chocolate chips can elevate your bread’s flavor and texture. The crunchy nuts provide a delightful contrast to the softness of the bread, while chocolate brings a sweet, indulgent touch.
If you choose nuts, about one cup should do the trick. Lightly toast them in a skillet for a few minutes to boost their flavor before folding them into your batter.
For chocolate lovers, consider using semi-sweet or dark chocolate chips—about one cup will add just the right amount of sweetness. The combinations are endless, so think about mixing both for a truly decadent loaf!
Gently fold your chosen add-ins into the batter, ensuring they’re evenly distributed. This step is essential; you want delicious surprises in every bite!
So, go ahead—experiment with different nuts or chocolates that excite your taste buds. With these simple additions, you’re on your way to creating a banana bread that’s uniquely yours and utterly irresistible!
Enjoy the delightful aroma that fills your kitchen!
Final Thoughts
While baking banana bread can seem like a simple task, the joy it brings is anything but ordinary. There’s something magical about taking ripe bananas and turning them into a warm, moist loaf that fills your home with a delightful aroma.
You’ll find the process rewarding, as you get to mash the bananas, mix in the ingredients, and watch your creation rise in the oven.
Don’t hesitate to explore variations, like adding nuts or chocolate chips, to make it truly your own. Each twist provides a new layer of flavor and excitement. Plus, this recipe is perfect for sharing with friends and family—there’s nothing like enjoying a slice together!
So gather your ripe bananas and preheat that oven. Baking can be a fantastic way to de-stress and express your creativity.
And trust me, your taste buds will thank you for it. Whether it’s your first loaf or your fiftieth, each attempt will bring you closer to banana bread perfection.
Now, roll up your sleeves, get mixing, and create something delicious. You won’t regret spending your time on this delightful treat! Happy baking!
Frequently Asked Questions
Can I Substitute Sugar With Honey in Banana Bread?
Yes, you can substitute sugar with honey, but be mindful of the liquid ratio in your recipe. Reduce other liquids slightly and remember honey’s sweetness is stronger, so you might need less than the sugar amount.
How Ripe Should Bananas Be for the Best Flavor?
For the best flavor, you’ll want bananas that are quite ripe, with peels that have turned brown or black. The sweeter and softer they are, the more delicious and flavorful your final product’ll be.
Can I Freeze Banana Bread for Later Use?
Yes, you can freeze banana bread for later use. Just wrap it tightly in plastic wrap or aluminum foil, then place it in an airtight container. It’ll maintain its flavor and freshness for about three months.
What Adds Moisture to Banana Bread Recipes?
When it comes to adding moisture, you’ve got to hit the nail on the head. Ingredients like yogurt, sour cream, or applesauce work wonders. They keep your baked goods tender and delicious, ensuring you won’t be disappointed!
Is It Safe to Add Nuts or Chocolate Chips?
Yes, it’s safe to add nuts or chocolate chips to your recipe. They’ll enhance the flavor and texture, making it even more delicious. Just be mindful of allergies when serving it to others. Enjoy!