Glazed Donut Recipe
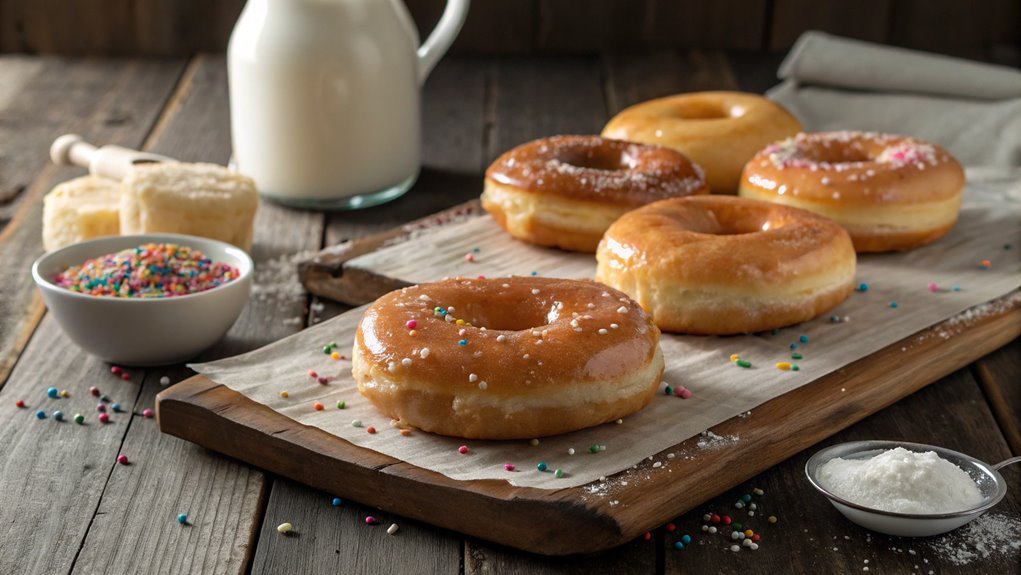
Creating a glazed donut is a delightful culinary endeavor. This straightforward recipe balances simplicity and satisfaction, perfect for beginners and seasoned bakers alike. The key to success is mastering the perfect glaze, which enhances both the beauty and taste of your donuts.
Recipe
Glazed donuts are a beloved treat, perfect for breakfast or a sweet snack at any time of the day. With their fluffy texture and sweet, shiny glaze, these donuts are sure to be a hit whether you’re making them for a family brunch or a special occasion.
Making glazed donuts from scratch might seem intimidating, but with a little patience and practice, you’ll find it can be a rewarding and delicious endeavor.
The process begins with creating a soft dough that will rise beautifully, giving your donuts that perfect airy bite. Once fried, each donut is dipped in a smooth glaze, elevating them from just good to truly irresistible.
Follow this recipe to bring the warm, sweet aroma of homemade glazed donuts into your kitchen.
Ingredients:
- 2 cups all-purpose flour
- 1/4 cup granulated sugar
- 1 teaspoon salt
- 1 teaspoon instant yeast
- 1/2 cup milk, warmed
- 2 large eggs
- 1/4 cup unsalted butter, melted
- Oil for frying
For the glaze:
- 1 cup powdered sugar
- 2 tablespoons milk
- 1 teaspoon vanilla extract
Now let’s move on to the cooking steps.
Cooking Steps
Now that you’ve gathered your ingredients, it’s time to get your hands a little messy and start cooking!
You’ll mix the dry ingredients together first, then add the wet ingredients gradually to create a perfect dough.
Kneading and shaping the dough before frying is where the magic happens—resulting in those golden-brown donuts you can’t wait to taste!
Step 1. Mix Dry Ingredients Together
Before diving into mixing the dry ingredients, gather all your components to guarantee a smooth process. You’ll need all-purpose flour, granulated sugar, baking powder, and a pinch of salt to create that fluffy, delightful donut texture.
Start by measuring out your flour accurately. Too much or too little can affect your dough’s consistency, so use a kitchen scale or spoon it into a measuring cup, leveling it off with a straight edge.
Once you’ve got your flour ready, grab a large mixing bowl. Add your sugar, baking powder, and salt, and give everything a good whisk. Mixing these dry ingredients thoroughly is vital, as it assures even distribution and helps the donuts rise perfectly!
As you whisk, take a moment to appreciate how the ingredients come together—this is where the magic begins!
Don’t rush! Make sure the mixture looks uniform, with no clumps lingering around. You can even use a sieve if you want a super smooth blend!
This foundation is critical for your glazed donuts, so embrace the process and enjoy the anticipation of their sweet, fluffy goodness that’s coming soon!
Step 2. Add Wet Ingredients Gradually
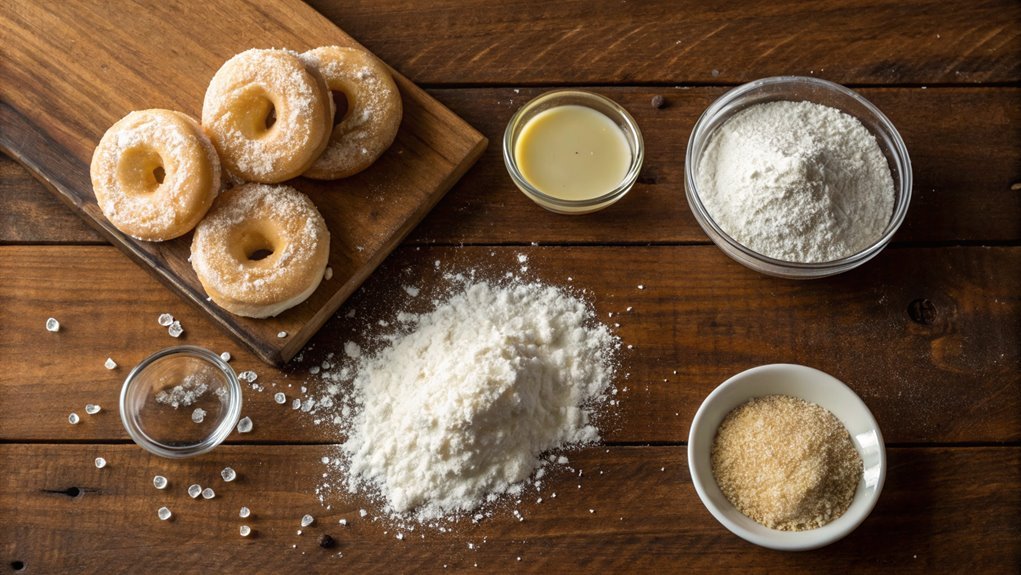
As you prepare to add the wet ingredients, remember that doing this gradually is key to achieving a smooth batter. Start by mixing your eggs, milk, and vanilla extract in a separate bowl. This allows all those delicious flavors to combine beautifully before you introduce them to the dry ingredients.
Now, take your mixture and slowly pour it into the dry mix. Do this in small portions, mixing thoroughly after each addition. This gradual approach guarantees that you don’t end up with clumps of flour and leads to a perfectly velvety batter. It might feel a bit tedious at first, but trust me, it’ll be worth it!
As you’re mixing, pay close attention to the consistency. You want it smooth and slightly sticky, so don’t rush this step. If you notice any stubborn lumps, use a spatula to gently coax them out.
The joy of making glazed donuts is all about enjoying the process! So, give yourself time, and savor the feeling of creating something delightful. Once everything is perfectly combined, you’ll be one step closer to those irresistible, warm, sugary treats!
Step 3. Knead the Dough Thoroughly
Knead the dough thoroughly to develop its structure and texture. When you begin kneading, it’s crucial to work the dough properly. This process helps create that delightful chewiness you love in a perfect glazed donut.
Flour your work surface lightly and place your dough on it. Using the heels of your hands, push the dough away from you, then fold it back over itself. Turn it a quarter turn, and repeat this motion.
Keep kneading for about 8 to 10 minutes or until the dough feels smooth and elastic. You’ll know it’s ready when you can stretch it without tearing. Don’t rush this step! Enjoy the feeling of the dough transforming beneath your hands, and trust that this labor of love pays off in every bite.
If the dough sticks to your hands, sprinkle a little more flour—just don’t overdo it. Maintaining the right consistency is key.
Once your dough has reached that wonderful texture, shape it into a ball and place it in a lightly greased bowl. Cover it with a clean cloth and let it rest. Your patience will be rewarded with the light, airy donuts you’ve been dreaming of!
Step 4. Cut and Shape the Dough
Once the dough has rested and doubled in size, it’s time to cut and shape it into delightful rounds.
Start by lightly flouring your work surface to prevent the dough from sticking. Gently punch down the dough to release any air bubbles, then roll it out about half an inch thick. Don’t worry if it’s not perfect—these donuts are all about that homemade charm!
Next, grab a donut cutter, or you can use two round cookie cutters of different sizes if you don’t have one. Cut out as many donuts as possible, then use the smaller cutter to create holes in the center of each round.
Gather the excess dough, knead it briefly, and roll it out again to cut out more donuts.
Once you’ve shaped all your donuts, place them on a parchment-lined baking sheet, leaving some space between each one.
Now it’s time for another rest! Let them rise for about 30 minutes, allowing the dough to puff up again. By the time you’re ready to fry, your donuts will be light, fluffy, and ready to soak up all that sugary glaze.
Get excited—deliciousness is on the way!
Step 5. Fry the Donuts Golden Brown
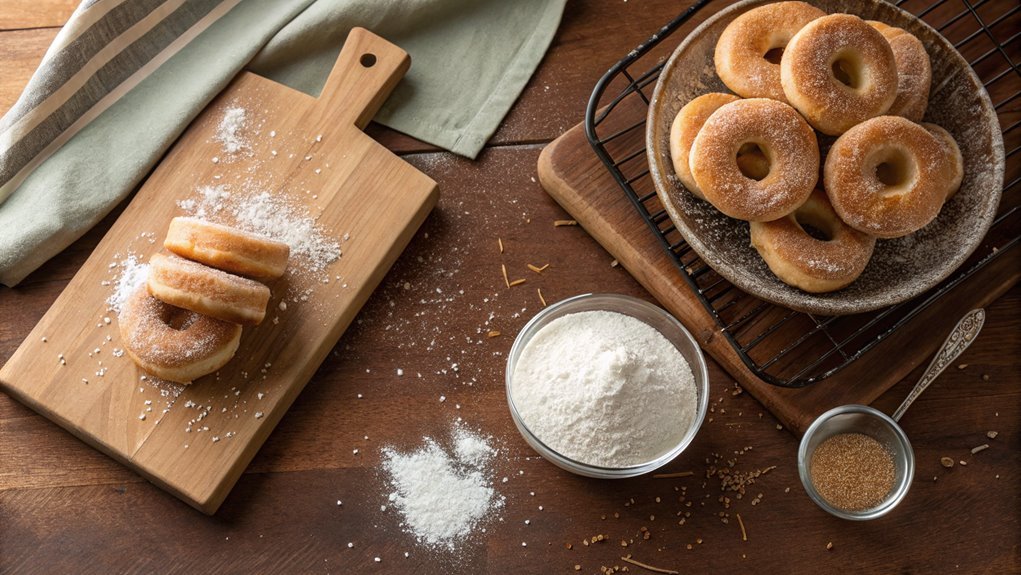
After letting your shaped donuts rise, it’s time to bring them to life with a golden brown fry. Grab a deep frying pan or a fryer and fill it with oil, about two to three inches deep. Heat the oil to around 350°F (175°C), using a thermometer for accuracy. This temperature is essential—too low, and your donuts will absorb oil; too high, and they’ll burn.
Once the oil’s ready, gently lower the donuts in, a few at a time, making sure not to overcrowd the pan. Fry them for about 1 to 2 minutes on each side, or until they’re beautifully golden. Use a slotted spoon to flip them carefully, allowing them to brown evenly.
You’ll know they’re done when they puff up and turn that mouth-watering golden hue. As you fry, the sweet aroma will fill your kitchen, and you won’t be able to resist sneaking a taste!
Once ready, remove the donuts and let them drain on a rack or paper towels. This step not only helps remove excess oil but also heightens the anticipation for that delicious glaze to come. Enjoy the thrill of creating your homemade treats!
Final Thoughts
As you savor your homemade glazed donuts, it’s easy to appreciate the joy that comes from baking them yourself.
There’s something truly special about creating a treat from scratch, and sharing it with loved ones adds to the magic.
You’ve not just made a snack; you’ve created a moment worth savoring!
To make your donut experience even more delightful, consider these tips:
- Experiment with Flavors: Don’t be afraid to try different extracts or spices in your dough. Vanilla, nutmeg, or even a hint of orange zest can elevate your donuts to new heights.
- Get Creative with Toppings: Glaze is just the beginning! Sprinkles, nuts, or even a dusting of powdered sugar can transform your donuts and make each one unique.
- Make Memories: Involve your family or friends in the process. Baking together fosters connection and results in delicious, memorable moments.
Frequently Asked Questions
Can I Use a Donut Maker Instead of Frying?
You know what they say: “There’s more than one way to skin a cat.” So yes, you can definitely use a donut maker instead of frying. It’ll give you a different texture but a delicious result!
How Do I Store Leftover Donuts?
To store leftover donuts, place them in an airtight container at room temperature. If you want them to last longer, consider refrigerating or freezing them, but let them come to room temperature before serving.
Can I Freeze Glazed Donuts?
Yes, you can freeze glazed donuts! Just wrap them individually in plastic wrap or aluminum foil, then place them in an airtight container. When you’re ready, let them thaw at room temperature for delicious treats.
What Is the Best Type of Flour to Use?
When choosing flour, go for all-purpose flour. It gives you a nice balance of structure and tenderness. If you want a lighter texture, you can also experiment with cake flour. It’ll yield fluffier results!
How Long Do Glazed Donuts Last?
You might wonder just how long those sweet treats can last. If stored properly in an airtight container, glazed donuts typically stay fresh for about two to three days, but their deliciousness fades fast.

