Classic New York Cheesecake Recipe
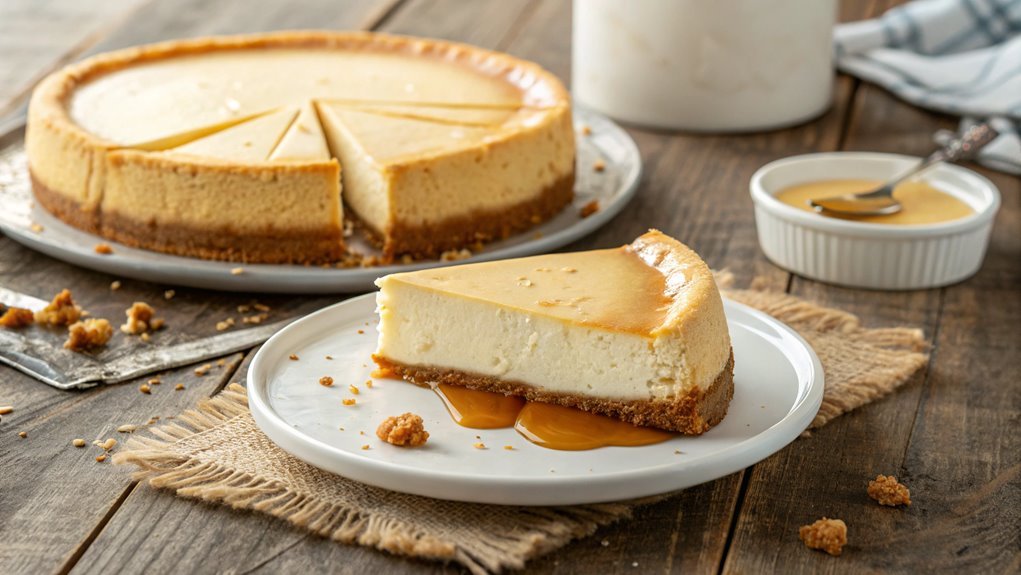
The New York cheesecake is a classic dessert known for its creamy texture and rich flavor. Achieving the perfect balance of sweetness and tanginess requires quality ingredients and precise techniques. Before you start, it’s important to understand the essential steps and common pitfalls. This knowledge will help you create a cheesecake that rivals any bakery’s version.
Recipe
Classic New York cheesecake is a rich, creamy dessert that has become a classic staple in many bakeries and homes alike. This indulgent treat boasts a velvety texture and a delightful tang from cream cheese, perfectly balanced by a buttery graham cracker crust.
While making a cheesecake may seem intimidating at first, the results are well worth the effort. Whether you’re preparing for a special occasion or simply satisfying a sweet tooth, this recipe will guide you through the steps to create a mouthwatering cheesecake that everyone will love.
To achieve the perfect New York cheesecake, it’s important to use high-quality ingredients and to follow the directions carefully for the best results. The key to a successful cheesecake lies not only in the ingredients but also in its baking process, which requires a gentle approach to avoid cracks on the surface.
After allowing it to chill in the refrigerator for several hours, you’ll be rewarded with a dessert that isn’t only delicious but also beautifully presented. Let’s jump into the recipe!
Ingredients:
- 1 ½ cups graham cracker crumbs
- ¼ cup granulated sugar
- ½ cup unsalted butter, melted
- 4 (8 oz) packages cream cheese, softened
- 1 ¼ cups granulated sugar
- 1 tsp vanilla extract
- 4 large eggs
- 1 cup sour cream
- ¼ cup all-purpose flour
- 1/4 tsp salt
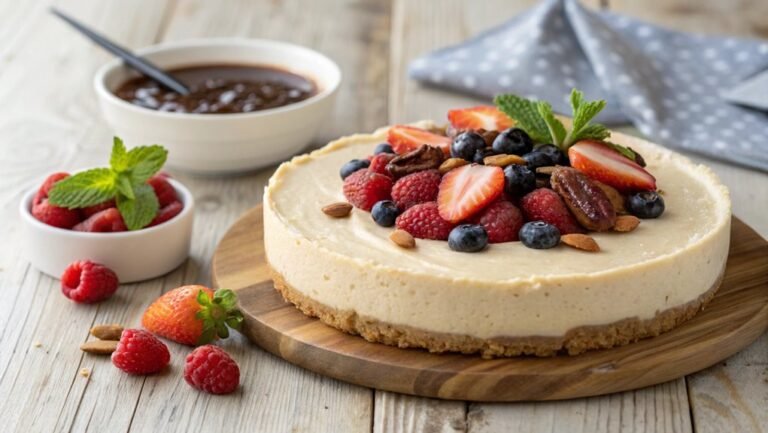
- Optional: fresh fruit, chocolate sauce, or caramel for topping
Now let’s move on to the cooking steps.
Cooking Steps
Alright, let’s get started on whipping up that classic New York cheesecake!
You’ll first want to preheat your oven to 325°F, creating the perfect environment for baking.
Then, mix together the cream cheese and sugar to form a creamy base that’ll take your dessert to the next level!
Step 1. Preheat the Oven to 325°F
Before you plunge into creating your delicious New York cheesecake, you’ll want to preheat your oven to 325°F. This step is essential because it sets the perfect temperature for baking your cheesecake, ensuring a creamy, velvety texture that everyone will rave about.
While you gather your ingredients, take a moment to prepare your oven. If your oven has a preheat feature, simply set it to the desired temperature and let it do its magic. But if it doesn’t, it’s a good idea to turn it on a few minutes before you start mixing your ingredients. This way, your oven is hot and ready when you pop in the cheesecake, which helps it bake evenly.
Make sure to use an oven thermometer to double-check that it’s truly at 325°F. An incorrectly heated oven could lead to cracks or an uneven bake.
Once you hear the oven beep or the indicator light shows it’s ready, you’ll know you’re one step closer to that incredible cheesecake. So, let the anticipation build! The warm, sweet aroma of baking cheesecake will soon fill your kitchen, and trust me, it’ll be worth the wait!
Step 2. Mix Cream Cheese and Sugar
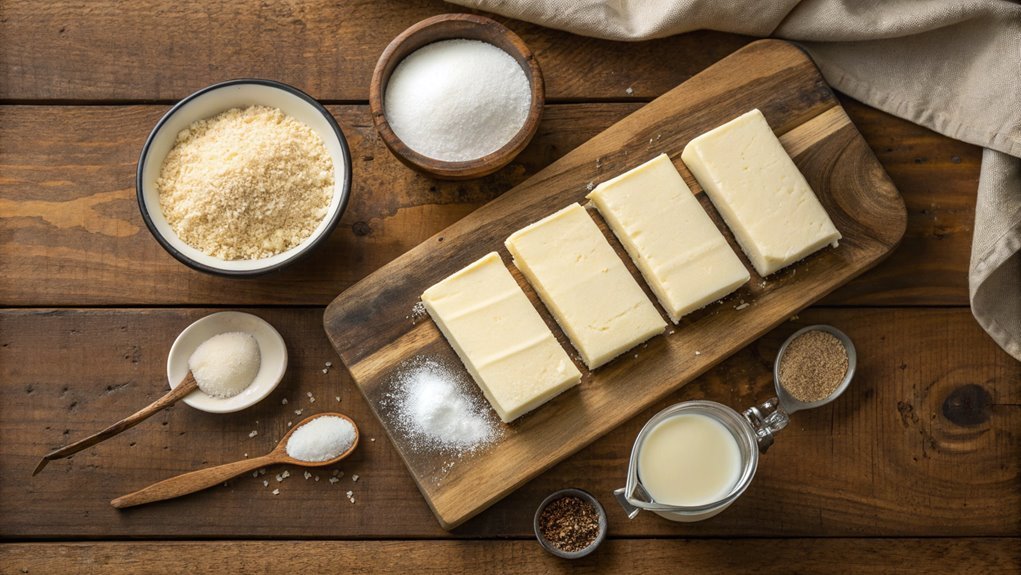
Start by combining the cream cheese and sugar in a large mixing bowl. This step is essential, as it sets the foundation for your incredibly creamy cheesecake.
Make certain your cream cheese is at room temperature; this helps it blend smoothly with the sugar. Use an electric mixer on low speed to start, gradually increasing the speed as the ingredients mix together.
You want to achieve a fluffy, well-combined texture without any lumps. Take your time with this—patience pays off in flavor and creaminess! Scrape down the sides of the bowl with a spatula to guarantee that all the cream cheese gets mixed in evenly.
You might be amazed at how something so simple can transform into a decadent batter that’s perfect for a cheesecake. The sweetness from the sugar balances wonderfully with the tanginess of the cream cheese, creating that classic New York cheesecake flavor we all love.
Don’t rush this process; enjoy the journey of creating something delicious! Once you’ve mixed them to a perfect consistency, you’ll be ready to move on to the next step, which brings you closer to enjoying your homemade cheesecake masterpiece.
Happy mixing!
Step 3. Add Eggs Gradually
With your cream cheese and sugar beautifully mixed, it’s time to add the eggs. This step is essential for achieving that creamy texture everyone loves in a New York cheesecake. You’ll want to add the eggs one at a time, allowing each one to fully blend in before adding the next. This gradual approach helps to keep your mixture smooth and guarantees that all those delicious flavors meld together perfectly.
Start by cracking the first egg into your mixing bowl. As you beat it in gently, you’ll notice the mixture transforming. Incorporate the next egg only after the first one is fully blended. This process might seem simple, but it’s what sets apart a good cheesecake from an incredible one!
Make sure you’re scraping down the sides of your bowl as you mix to guarantee even blending. You want everything to come together seamlessly.
Once you’ve added all your eggs, you’ll have a luscious, velvety batter ready for the next step. Remember, the key to a fantastic cheesecake is patience, so take your time!
Now that you’ve got the eggs in, you’re one step closer to that dream dessert!
Step 4. Fold in Sour Cream
Now it’s time to fold in the sour cream, which adds that extra tang and creaminess to your cheesecake. This step is essential for achieving that classic New York cheesecake flavor everyone loves.
Start by using a rubber spatula or a large spoon. First, scoop your prepared sour cream into the mixing bowl with your filling ingredients.
Gently place the spatula into the mixture, making sure you don’t deflate any of the air you’ve incorporated earlier. Lift and turn the mixture, allowing the sour cream to blend in smoothly. You’re not looking to stir aggressively; instead, think of it as a gentle embrace between ingredients.
Keep folding until you see no streaks of sour cream. This simple act creates a beautifully cohesive mixture that’s ready for the next step. The luscious texture and tangy flavor of the sour cream elevate the cheesecake, making each bite absolutely divine.
It’s that extra touch that truly makes a difference! Once everything’s well combined, you can feel proud that you’re on your way to creating a dessert masterpiece. Enjoy the journey, and get ready for a truly delightful cheesecake experience!
Step 5. Add Vanilla Extract Blend
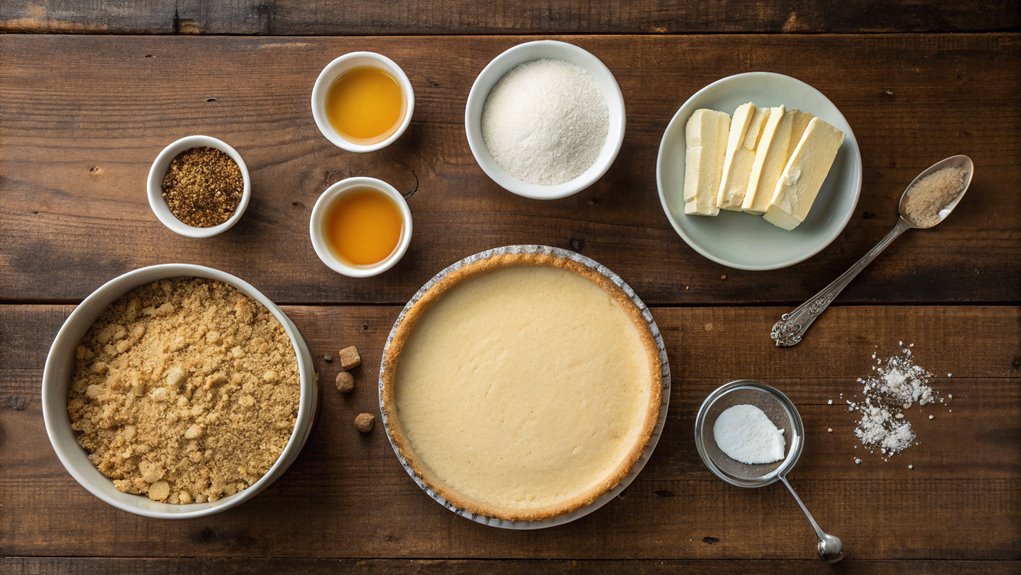
Once you’ve folded in the sour cream, it’s time to enhance the flavor by adding vanilla extract. This simple ingredient is a game changer for your cheesecake, infusing it with warmth and depth that’ll make every bite heavenly. Grab your pure vanilla extract, as it offers a rich flavor that imitation versions just can’t match.
Start by measuring about one tablespoon of vanilla extract. Pour it carefully into your creamy mixture, ensuring it evenly spreads throughout. As you stir, focus on the beautiful way the vanilla swirls into the mix, transforming it into something truly special.
You want the flavors to marry together, so continue to blend gently until everything’s well combined. Don’t rush through this step! Taking your time here allows the vanilla to really shine, enhancing the overall taste of your cheesecake.
When it’s well incorporated, you’ll notice how the aroma fills your kitchen, creating an inviting atmosphere that’ll have everyone excited about dessert. Keep your spirits high—you’re almost there!
Once this step is done, you’re ready to move on to the next stage of your delicious cheesecake adventure. Enjoy the process!
Final Thoughts
As you take a moment to savor each creamy bite of your homemade New York cheesecake, it’s clear that this dessert isn’t just a treat; it’s a celebration of flavor and texture.
The rich, velvety cheesecake perfectly contrasts with the buttery graham cracker crust, creating an irresistible experience with every forkful. Sharing this dessert with friends and family will definitely draw out compliments and spark joy!
To make your cheesecake experience even more delightful, keep these tips in mind:
- Choose Quality Ingredients: Using high-quality cream cheese and fresh eggs will enhance the flavors and create a smoother texture.
- Cool Gradually: After baking, allow your cheesecake to cool in the oven with the door slightly ajar. This prevents cracks and helps it set evenly.
- Let it Chill: Chill your cheesecake for at least four hours, or overnight if you can wait! This allows the flavors to meld beautifully and guarantees that it’s perfectly chilled when you serve.
Frequently Asked Questions
Can I Use Low-Fat Cream Cheese for This Recipe?
Yes, you can use low-fat cream cheese, but it may alter the texture and flavor slightly. It’s best to balance it with other ingredients to maintain creaminess and achieve a delightful end result.
How Long Should the Cheesecake Cool Before Slicing?
Isn’t patience a virtue? You should let the cheesecake cool for at least an hour at room temperature before slicing, then refrigerate it for a few hours to enhance its texture and flavor. Enjoy!
What’s the Best Way to Store Leftover Cheesecake?
To store leftover cheesecake, wrap it tightly in plastic wrap or aluminum foil. Alternatively, place it in an airtight container. Refrigerate for up to five days, or freeze for longer storage while maintaining its flavor and texture.
Can I Freeze Cheesecake for Later Use?
Did you know that nearly 70% of people freeze desserts for later enjoyment? Yes, you can freeze cheesecake! Just wrap it tightly and store it in an airtight container. Thaw it in the fridge before serving.
What’s the Origin of New York Cheesecake?
New York cheesecake originated in the early 1900s, influenced by traditional European recipes. It gained fame due to its rich, creamy texture, and quickly became a beloved dessert in iconic New York delis and restaurants.
