Tiramisu Cheesecake Recipe
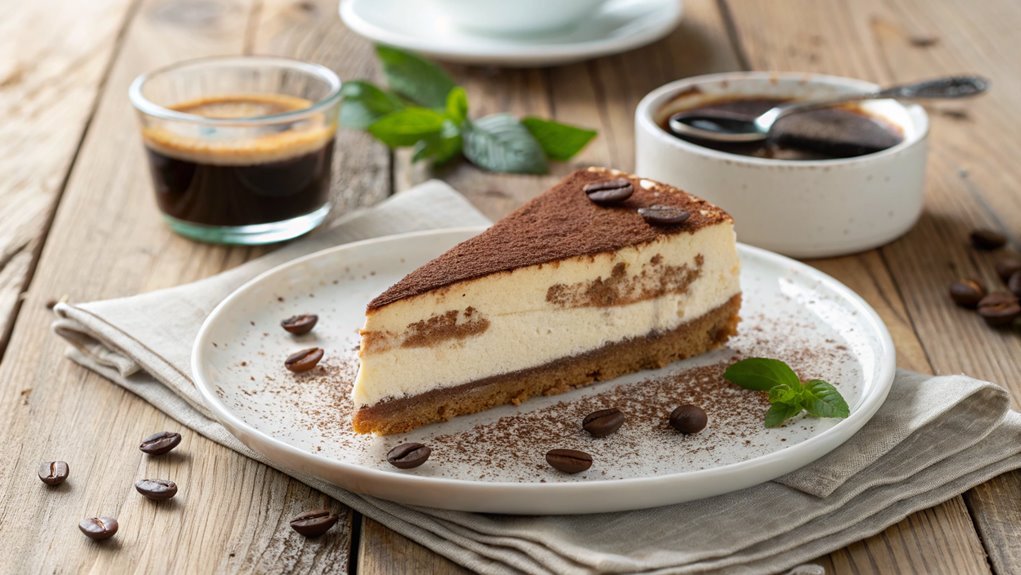
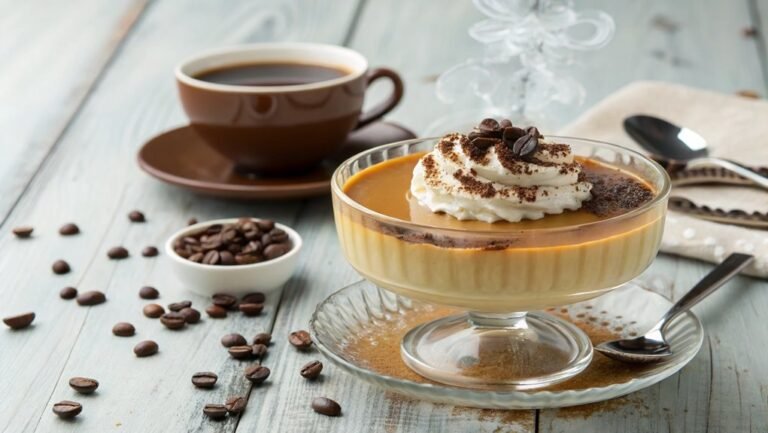
Imagine a heavenly slice where creamy mascarpone meets rich espresso in each bite of tiramisu cheesecake. This dessert effortlessly elevates any gathering, captivating guests with its delightful layers.
To achieve this luscious creation, follow a precise process that ensures each component shines. Explore the recipe to transform simple ingredients into this exquisite treat.
Recipe
Tiramisu cheesecake is an exquisite fusion of two beloved desserts, offering a delightful combination of creamy cheesecake and the rich flavors of traditional tiramisu. This dessert is perfect for those who love coffee and mascarpone, and it’s sure to impress at any gathering.
With its layers of flavor and texture, this cheesecake stands out as a sophisticated yet approachable treat. Making tiramisu cheesecake is surprisingly straightforward, and the results are well worth the effort.
You’ll be creating a graham cracker crust, a luscious coffee-infused cheesecake filling, and a topping reminiscent of the classic tiramisu finish. With each slice, you’ll enjoy the distinct flavors coming together harmoniously, making it the perfect indulgence for special occasions or a delightful everyday treat.
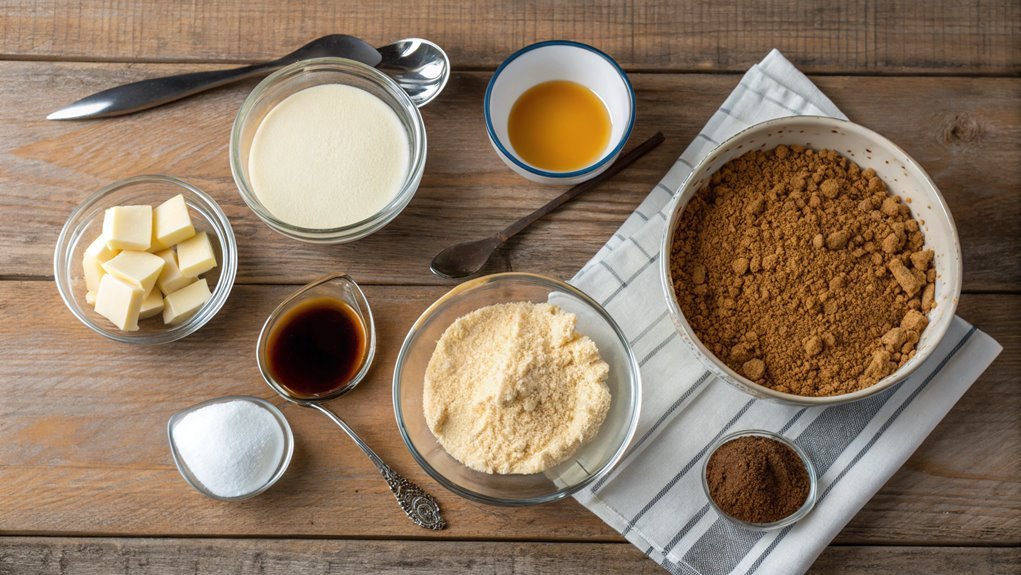
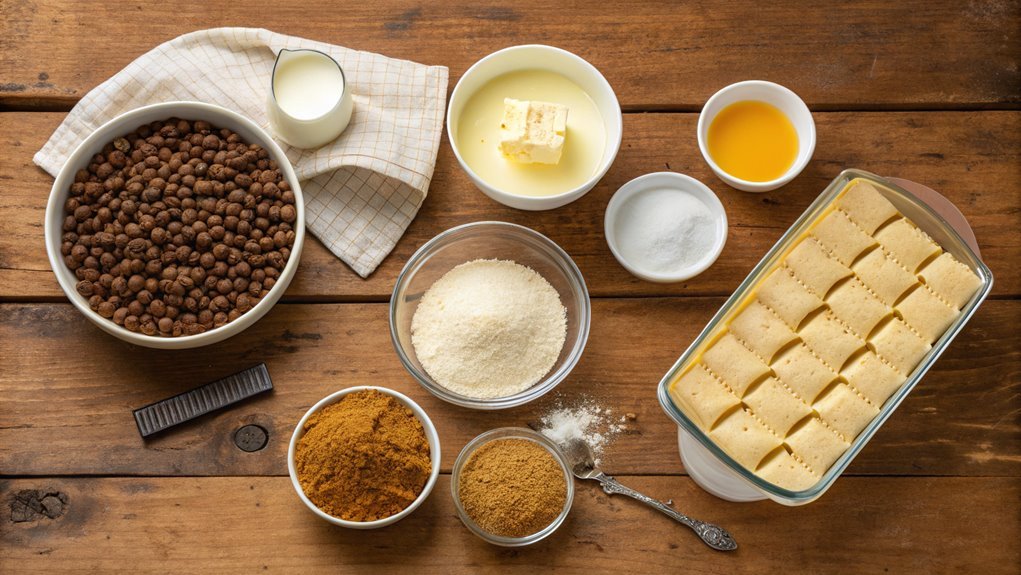
Ingredients:
- 1 ½ cups graham cracker crumbs
- ½ cup unsalted butter, melted
- 2 tablespoons granulated sugar
- 24 oz cream cheese, softened
- 1 cup granulated sugar
- 3 large eggs
- 1 teaspoon vanilla extract
- 1 cup mascarpone cheese
- ½ cup brewed espresso, cooled
- 2 tablespoons coffee liqueur (optional)
- 1 teaspoon cocoa powder (for dusting)
Now let’s move on to the cooking steps.
Cooking Steps
Now it’s time to get cooking and bring your Tiramisu Cheesecake to life!
You’ll start by preparing the crust ingredients, mixing the creamy mascarpone with rich cream, and chilling that delicious mixture to perfection.
Once you layer it with cocoa powder and add a delightful coffee syrup drizzle, you’ll realize just how rewarding it’s to create such a decadent treat!
Step 1. Prepare the Crust Ingredients
Before diving into the delicious layers of the tiramisu cheesecake, you’ll want to focus on preparing the crust ingredients. This delectable crust sets the stage for your cheesecake, so let’s get started!
First, gather your materials: 1 ½ cups of graham cracker crumbs, ½ cup of melted unsalted butter, and ¼ cup of sugar.
Take those graham cracker crumbs and toss them in a mixing bowl with the sugar. It’ll give the crust that perfect, sweet flavor. Once mixed, pour in the melted butter. This helps everything stick together beautifully. Use a fork to combine the ingredients well until you get a damp, sand-like consistency.
Now, you’re ready to shape the crust! Press the mixture evenly into the bottom of a springform pan. Make sure it’s packed tightly—this’ll guarantee your crust holds together when it’s baked. Use your hands or the bottom of a cup to smooth it out.
After forming it, pop it into a preheated oven at 350°F (175°C) for about 10 minutes. This little bit of baking will give it that perfect crunch. Enjoy this process—it’s the first step toward a wonderful dessert!
Step 2. Mix Mascarpone and Cream
Whip together the mascarpone cheese and heavy cream until they’re smooth and creamy. This step is essential because it creates the light, luscious base of your cheesecake.
As you mix, the sweet and rich flavors will start to meld beautifully. You’ll want to keep beating until you achieve that delightful, fluffy texture.
Here’s a helpful checklist to keep you on track:
- Use Room Temperature Ingredients: This helps everything blend more easily and prevents lumps.
- Beat in Stages: Start slow to avoid splatters, then gradually increase the speed for an even mix.
- Check Consistency: When it’s thick enough to hold peaks, you’re good to go!
- Don’t Overmix: You want it creamy, not grainy, so stop mixing just as it comes together.
Get ready for that cloud-like texture that makes tiramisu cheesecake so irresistible!
It’s all about that perfect balance—light and decadent, sweet yet slightly tangy. Once you’ve got your mascarpone and cream mixed well, you’re one step closer to an amazing dessert.
Keep the enthusiasm up; you’re creating something truly special!
Step 3. Chill the Cheesecake Mixture
With the mascarpone and cream beautifully combined, it’s time to chill the cheesecake mixture. This step is essential for achieving that perfect, smooth texture you’re after. Grab a large mixing bowl and carefully pour in the mascarpone mixture you just whipped up. It’s important to guarantee the bowl is big enough; you want to give the ingredients room to blend even more as they cool.
Now that you’ve got everything in the bowl, cover it with plastic wrap or a lid. This will help prevent any pesky odors from your fridge from sneaking in and affecting the delicate flavors of your cheesecake.
Place the bowl in the refrigerator and let it chill for at least two hours. While it’s in there, you can take a breather and perhaps even check your favorite cooking show for more inspiration!
Chilling allows the ingredients to set and meld together nicely, which will enhance the overall flavor of your tiramisu cheesecake. Just imagine how creamy and decadent it’ll be!
After the time’s up, you’ll be ready to layer it into your crust and take your dessert to the next level. Now, that’s something to look forward to!
Step 4. Layer With Cocoa Powder
Now that your cheesecake mixture is perfectly chilled, it’s time to layer it with cocoa powder for that signature tiramisu flavor. This step is crucial as it adds depth to your dessert.
You’ll love how easy it’s to elevate your cheesecake with this classic ingredient!
Here’s how to do it:
- Sift the cocoa powder: Take about 1/4 cup of cocoa powder and sift it to remove any lumps. This helps to create a smooth, even layer without any bitter surprises.
- Dust the first layer: Using a small sieve, gently dust a layer of cocoa powder over the top of your chilled cheesecake. Make sure it covers the entire surface for that beautiful finish.
- Refrigerate briefly: Once you’ve layered the cocoa, pop the cheesecake back in the fridge for about 15 minutes. This allows the cocoa flavor to meld with the cheesecake.
- Check the evenness: After chilling, take a peek to verify everything looks uniform. If you see any bare spots, don’t hesitate to add a little more cocoa!
Now you’re one step closer to a heavenly dessert! Enjoy the process and get ready to impress!
Step 5. Add Coffee Syrup Drizzle
As you prepare to elevate your tiramisu cheesecake, adding a coffee syrup drizzle brings a rich, aromatic touch that perfectly complements the flavors.
Begin by brewing a strong cup of coffee, allowing it to cool slightly. Next, in a small saucepan, combine the coffee with sugar and a bit of vanilla extract over low heat. Stir the mixture until the sugar completely dissolves, creating a luscious syrup.
Once it has thickened to your liking, remove it from the heat and let it cool to room temperature. It’s crucial to allow it to cool so it doesn’t melt your cheesecake layers.
Now, it’s time for the fun part! Grab a spoon or a squeeze bottle, and gently drizzle the coffee syrup over your chilled cheesecake. Start from the center and work your way outward for an eye-catching pattern.
Imagine the delightful blend of textures and flavors as the syrup meets the creamy cheesecake and cocoa dusting.
Don’t hesitate to serve extra syrup on the side, inviting everyone to enjoy more of that irresistible coffee goodness. Your guests will be raving about this added touch! Immerse yourself and savor each bite!
Final Thoughts
Whether you’re a seasoned baker or just starting your culinary journey, this Tiramisu Cheesecake is sure to impress.
It’s a delightful fusion of classic tiramisu and creamy cheesecake that will have your taste buds dancing with joy. Making this dessert not only offers a delicious treat but also an opportunity to share special moments with friends and family.
As you prepare to plunge into this recipe, here are four reasons you should absolutely give it a try:
- Easy to Follow: The steps are straightforward, making it great for all skill levels.
- Impressive Presentation: Its elegant design will make it the star of any gathering.
- Rich Flavor: The combination of coffee, mascarpone, and chocolate creates an indulgent taste experience.
- Versatile: You can customize it with your favorite toppings or flavors to make it your own.
Now let’s move on to the cooking steps.
Split any long paragraphs in the [TEXT] into separate paragraphs. Write the entire [TEXT] again, but with any long paragraphs split.
Retain any and all special formatting (e.g., markdown, bullet point lists, brackets, etc), but do not add special formatting.
Frequently Asked Questions
Can I Substitute Mascarpone Cheese in This Recipe?
“Don’t put all your eggs in one basket.” Yes, you can substitute mascarpone cheese, but the flavor and texture will change. Consider cream cheese or ricotta for a different yet tasty result in your dish.
How Many Servings Does This Cheesecake Yield?
This cheesecake typically yields about 8 to 10 servings, depending on how generous you are with slicing. If you’re serving a crowd, consider doubling the recipe to guarantee everyone gets a delicious piece!
How Should I Store Leftover Cheesecake?
You should store leftover cheesecake in an airtight container in the refrigerator to maintain freshness. If you plan to keep it longer, wrap it tightly in plastic wrap and freeze it for up to three months.
Can I Freeze Tiramisu Cheesecake for Later?
Freezing tiramisu cheesecake is like putting your taste buds on ice! You can freeze it, but be careful—proper wrapping is key! Thaw it overnight in the fridge, and you’ll enjoy a delicious treat later.
What Type of Coffee Works Best for This Recipe?
For this recipe, you’ll want to use strong, freshly brewed espresso for a rich flavor. If espresso isn’t available, strong brewed coffee works too. Just guarantee it’s robust enough to infuse that delightful coffee taste.