Red Velvet Cupcake Recipe
Baking a red velvet cupcake involves balancing cocoa and buttermilk for the ideal flavor and ensuring the texture is just right. The key steps in the process can elevate your cupcakes from ordinary to extraordinary.
Discovering the secret to standout cupcakes involves understanding the nuances of combining ingredients. These details can transform your baking experience.
Recipe
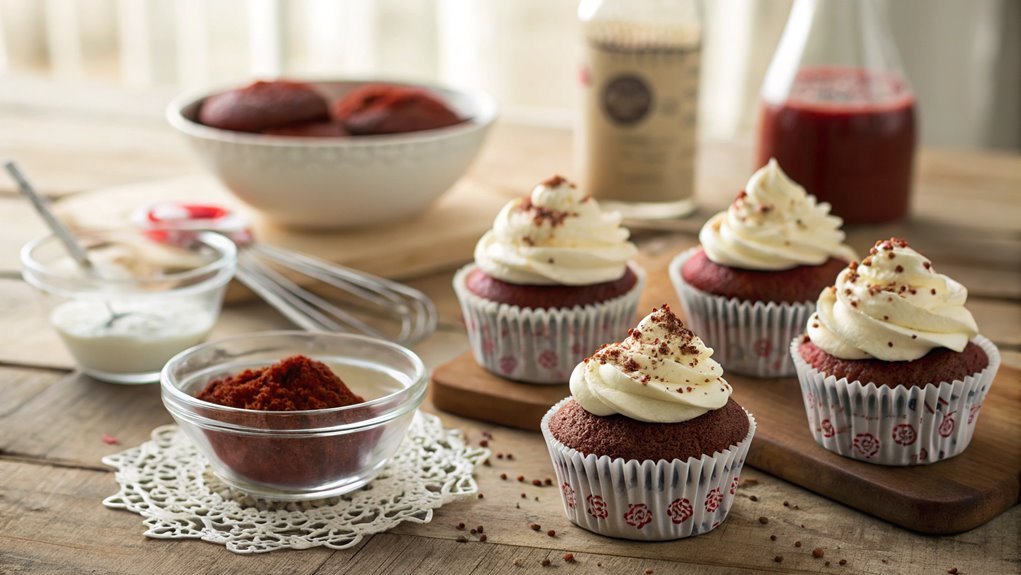
Red velvet cupcakes are a delightful treat that combines the rich flavors of cocoa with a hint of tanginess from buttermilk, all while being visually stunning with their vibrant red color. Perfect for any occasion, these cupcakes are soft, moist, and topped with a luscious cream cheese frosting that complements their subtle chocolate taste.
Whether you’re celebrating a special event or simply indulging in a sweet snack, red velvet cupcakes are sure to impress your family and friends.
Making red velvet cupcakes is a fun and straightforward process that brings the joy of baking right into your kitchen. With just a few simple ingredients and steps, you can create a batch of these delicious cupcakes that will fill your home with a wonderful aroma.
Gather your supplies, preheat your oven, and get ready to whip up a batch of these charming treats that are almost too pretty to eat!
Ingredients:
- 1 ½ cups all-purpose flour
- 1 cup granulated sugar
- 1 teaspoon baking soda
- 1 teaspoon salt
- 1 teaspoon cocoa powder
- 1 cup vegetable oil
- 1 cup buttermilk, room temperature
- 2 large eggs
- 2 tablespoons red food coloring
- 1 teaspoon vanilla extract
- 1 teaspoon white vinegar
For the Cream Cheese Frosting:
- 8 oz cream cheese, softened
- ½ cup unsalted butter, softened
- 4 cups powdered sugar
- 1 teaspoon vanilla extract
Now let’s move on to the cooking steps.
Cooking Steps
Get ready to create some delicious red velvet cupcakes!
First, you’ll want to preheat your oven to 350°F, setting the stage for baking perfection.
Then, gather your dry ingredients and wet ingredients, as mixing them together will bring your cupcake dreams to life!
Step 1. Preheat Oven to 350°F
Before you plunge into mixing your ingredients, it’s vital to preheat your oven to 350°F. This step might seem simple, but it’s essential for achieving that perfect red velvet cupcake texture. By preheating, you’re ensuring that when you place your batter in the oven, it starts cooking immediately, allowing the cupcakes to rise beautifully and develop that signature soft crumb.
To preheat your oven, turn the dial or set the digital display to 350°F. It usually takes about 10-15 minutes for the oven to reach the right temperature, so while you wait, you can gather your ingredients and tools. This is a great time to get excited about the process! Imagine the delicious aroma filling your kitchen and the vibrant red color of your cupcakes.
Once the oven beeps, signaling that it’s ready, you’ll be all set to move on to mixing your ingredients. Preheating your oven isn’t just a technical step; it’s the first step in creating a scrumptious treat that’s sure to impress your friends and family.
Step 2. Mix Dry Ingredients Together
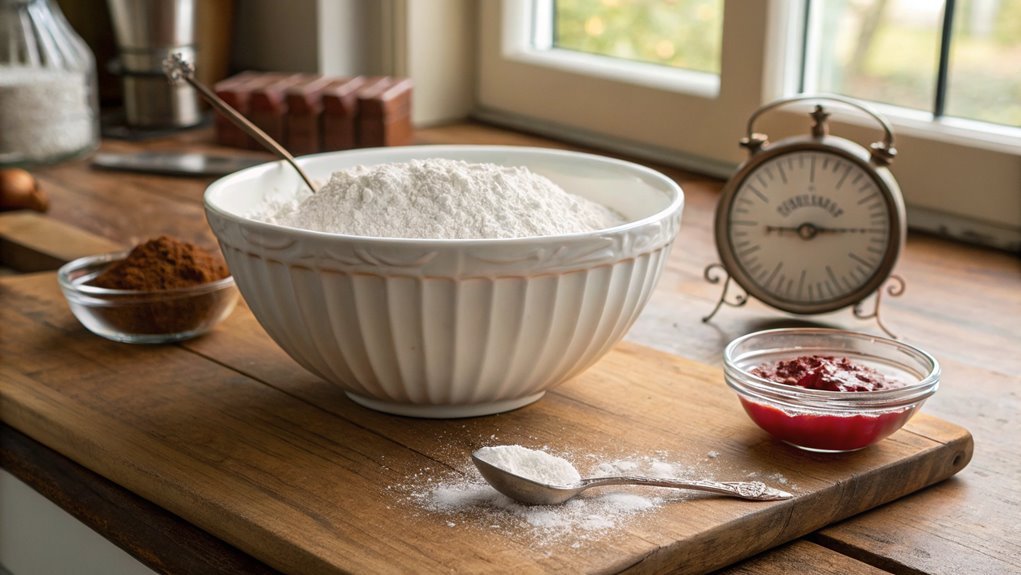
Start by combining your dry ingredients in a large mixing bowl. This step is essential, as it sets the foundation for your delicious red velvet cupcakes. You’ll want to make certain everything is well-mixed, so take a moment to gather the following ingredients:
- All-purpose flour – This provides the structure for your cupcakes.
- Unsweetened cocoa powder – This adds that rich, chocolatey flavor we all love.
- Baking soda and salt – These help your cupcakes rise and balance the sweetness.
Once you’ve got everything ready, sift the flour and cocoa powder together to eliminate any lumps. This also aerates your mixture, making your cupcakes light and fluffy.
Next, add the baking soda and salt, mixing them in thoroughly. By whisking everything together, you guarantee an even distribution of the leavening agents, which is key to achieving that perfect rise.
As you mix, breathe in the aroma of the cocoa; it’s a delightful reminder of the tasty treats to come!
When you’re satisfied that everything’s combined, set the bowl aside. You’re one step closer to baking those beautiful red velvet cupcakes that will impress everyone!
Step 3. Add Wet Ingredients Gradually
With your dry ingredients mixed and ready, it’s time to incorporate the wet ingredients gradually. This step is essential for achieving that perfect cupcake texture you’re aiming for.
Start by adding the buttermilk, vegetable oil, eggs, and vanilla extract into a separate bowl. Give those ingredients a good whisk until they’re combined. The mixture should look smooth and inviting.
Now, here’s where the magic happens. Pour your wet mixture into the bowl of dry ingredients, but do it slowly! This gradual addition allows the two mixtures to blend beautifully without getting lumpy.
As you go, gently stir with a spatula or wooden spoon. You want to combine everything just until you no longer see dry flour. Don’t overmix, though! Overmixing can lead to tough cupcakes, and we definitely want them to be light and fluffy.
Once the wet and dry ingredients are harmoniously combined, you’ll be ready to take the next step. Your mixture should have a rich, velvety consistency, inviting you to dive right in.
Enjoy this moment, because you’re oh-so-close to baking those delicious red velvet cupcakes!
Step 4. Fold in Red Velvet Batter
Now that your wet and dry ingredients are perfectly combined, it’s time to fold in the signature red velvet batter. This is where the magic happens! You’ll want to handle this step with care to keep your batter light and fluffy. Grab a spatula, and gently fold the mixture, being mindful not to overwork it.
Here’s how to do it:
- Start with the Creamy Mixture: Add a portion of the wet ingredients to the dry mix. This helps blend flavors without losing air.
- Fold, Don’t Stir: Use a spatula to scoop from the bottom and gently lift the mixture over itself. This technique keeps your batter airy, which is vital for those delightful cupcakes.
- Add the Color: Once you’ve got a lovely, smooth batter, it’s time to incorporate that vibrant red food coloring. Make sure to fold it in evenly, giving your cupcakes their signature hue.
As you fold, feel the excitement building! The beautiful, rich color is just a glimpse of what’s to come.
Take a moment to enjoy the process, and get ready for the deliciousness that awaits!
Step 5. Bake for 20 Minutes
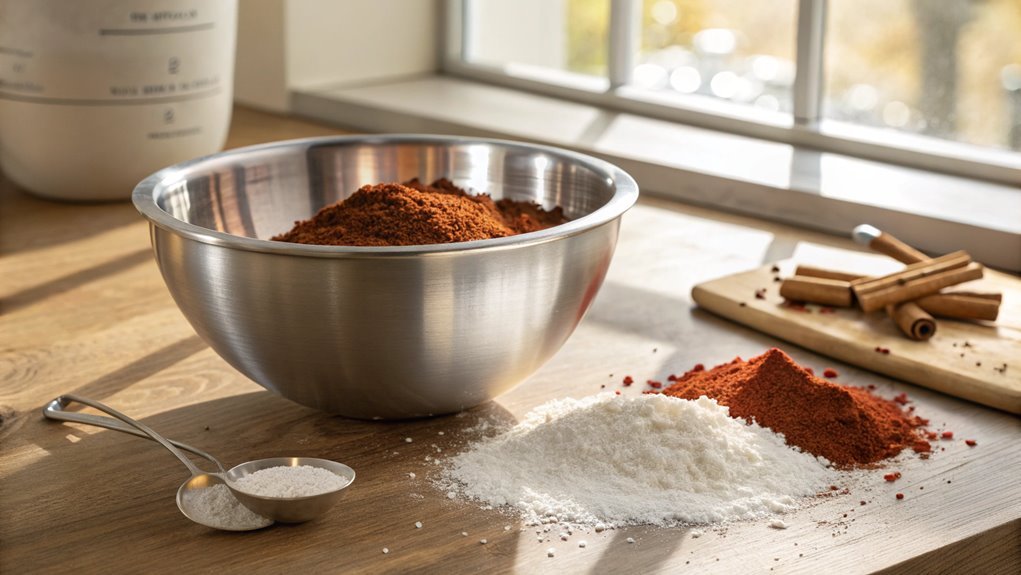
Once your red velvet batter is ready, it’s time to bake those cupcakes to perfection. Preheat your oven to 350°F (175°C) and line your cupcake pan with paper liners. This step is essential, as it makes for easy removal once they’re baked.
Now, fill each liner about two-thirds full with your luscious red velvet batter. Don’t worry if it looks a little messy; that’s part of the charm!
Slide the tray into the oven and set your timer for 20 minutes. As they bake, the wonderful aroma of chocolate and vanilla will fill your kitchen, creating a delightful atmosphere.
Keep an eye on them during the last few minutes. You want them to rise beautifully and develop a slight dome on top.
To check for doneness, gently insert a toothpick into the center of a cupcake; if it comes out clean or with a few moist crumbs, they’re ready!
Once baked, remove them from the oven and let them cool in the pan for about five minutes before transferring them to a wire rack. This cooling time is important; it prevents sogginess.
Enjoy the anticipation of frosting your freshly baked red velvet cupcakes!
Final Thoughts
As you wrap up your baking adventure, you’ll find that making red velvet cupcakes isn’t just about following a recipe—it’s an opportunity to bring joy and creativity into your kitchen.
The rich color and delicious flavor are a feast for both the eyes and the taste buds. You’re not just baking; you’re creating a little piece of magic that can brighten anyone’s day.
Here are three reasons why you should immerse yourself in this delightful recipe:
- Versatility: You can customize your cupcakes with various frostings, from classic cream cheese to even chocolate ganache, making them perfect for any occasion.
- Nostalgia: Red velvet cupcakes have a timeless appeal that reminds many of childhood celebrations and special gatherings, evoking sweet memories.
- Showstopper: The striking red color makes them a standout dessert, sure to impress your family and friends at any gathering.
Frequently Asked Questions
Can I Use a Gluten-Free Flour Substitute?
Yes, you can use a gluten-free flour substitute! Just make sure it’s a blend designed for baking. Adjust your liquid ingredients slightly, as these flours can absorb moisture differently. Enjoy your delicious treats!
How Do I Store Leftover Cupcakes?
Like treasure guarded in a chest, store your leftover cupcakes in an airtight container. Keep them in a cool, dry place or the fridge, and they’ll stay fresh and delightful for a few days. Enjoy!
What Can I Use Instead of Buttermilk?
If you don’t have buttermilk, you can easily substitute it. Just mix one tablespoon of vinegar or lemon juice with a cup of milk. Let it sit for a few minutes, and you’re good to go!
Can I Make These Cupcakes in Advance?
Yes, you can definitely make these cupcakes in advance! Bake them a day or two ahead, store them in an airtight container, and frost just before serving for the best flavor and texture. Enjoy!
How Do I Achieve a Deeper Red Color?
To achieve a deeper red color, you can use more red food coloring or opt for gel coloring for a richer hue. Also, consider adding cocoa powder, as it enhances the red tone beautifully.
Conclusion
Enjoy your stunning red velvet cupcakes! Each bite is a delightful combination of flavors. Whether for a special occasion or a treat for yourself, these cupcakes will bring joy to your day. Share with loved ones and watch smiles light up every face. Savor this rewarding baking experience!
