Gluten-Free Vanilla Cupcake Recipe
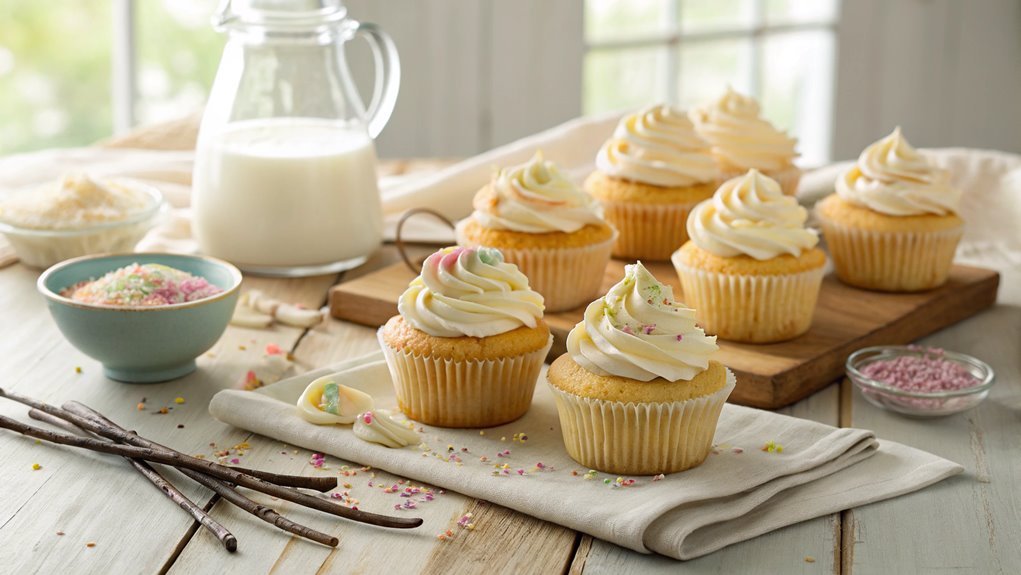
For a delicious gluten-free vanilla cupcake that maintains both taste and texture, this recipe uses simple ingredients to create light and fluffy cupcakes perfect on their own or with frosting. Explore how to achieve the ideal rise and discover variations to enhance your baking skills.
Follow these steps for success and learn tips to elevate your cupcakes beyond the basics. Whether you’re a seasoned baker or just starting out, these guidelines will help you create the perfect treat.
Recipe
If you’re looking for a delicious treat that everyone can enjoy, these gluten-free vanilla cupcakes are the perfect solution. Whether you have dietary restrictions or simply want to try something new, these light and fluffy cupcakes will satisfy your sweet tooth without sacrificing flavor.
With a simple mix of gluten-free ingredients, you can whip up a batch that’s sure to impress family and friends alike.
These cupcakes aren’t only easy to make, but they also offer a delightful vanilla flavor that pairs wonderfully with various frostings or can be enjoyed plain. Perfect for birthdays, celebrations, or just a sweet snack, this recipe is versatile enough to accommodate any occasion.
Gather your ingredients and let’s get baking!
Ingredients:
- 1 ½ cups gluten-free all-purpose flour
- 1 cup granulated sugar
- ½ cup unsalted butter, softened
- 2 large eggs
- 1 cup milk (dairy or non-dairy)
- 1 tablespoon vanilla extract
- 1 ½ teaspoons baking powder
- ½ teaspoon baking soda
- ¼ teaspoon salt
Now let’s move on to the cooking steps.
Cooking Steps
Now that you have your ingredients ready, let’s jump into the cooking steps that’ll bring your gluten-free vanilla cupcakes to life!
First, you’ll want to preheat your oven to 350°F, setting the stage for that perfect bake.
Then, we’ll mix the dry ingredients thoroughly before adding the wet ones gradually, ensuring a deliciously smooth batter that you can’t wait to taste!
Step 1. Preheat Oven to 350°F
Before diving into mixing your ingredients, preheat your oven to 350°F. This vital step guarantees your cupcakes bake evenly and rise beautifully, giving you that perfect fluffy texture.
While your oven warms up, you can gather your ingredients, which not only saves you time but also builds the excitement for what’s to come!
Here are four reasons why preheating is essential:
- Even Cooking: A preheated oven helps your cupcakes cook uniformly, preventing any raw spots.
- Better Rise: Starting at the right temperature encourages your batter to rise properly, creating those delightful domed tops.
- Faster Baking: Preheating gets your oven ready, meaning you won’t have to wait as long for your treats to bake.
- Perfect Texture: A properly preheated oven helps achieve that soft, tender crumb that everyone loves in a cupcake.
Step 2. Mix Dry Ingredients Thoroughly
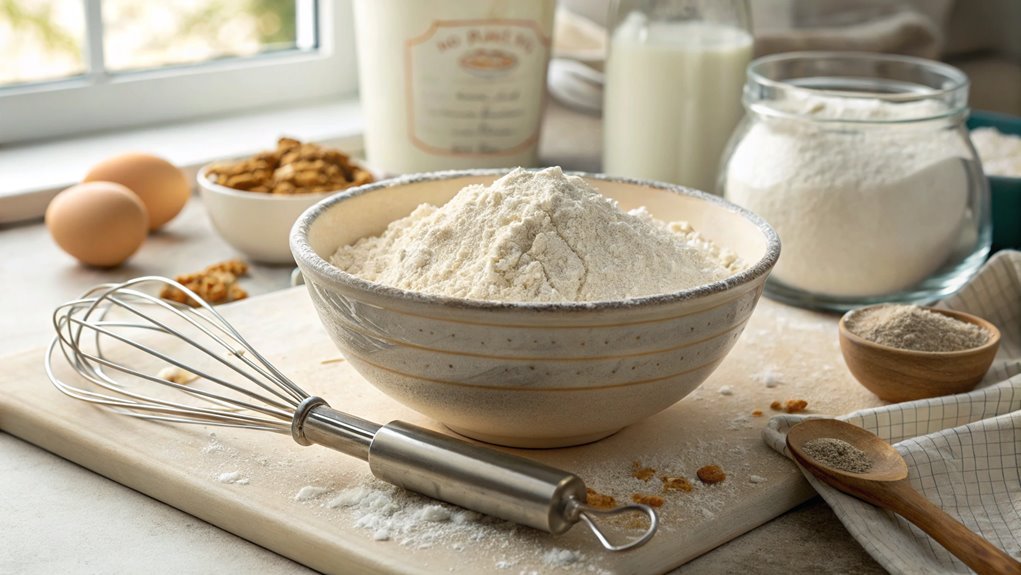
Once your oven is preheated, it’s time to mix your dry ingredients thoroughly to create a solid base for your cupcakes. Start by gathering your gluten-free flour blend, baking powder, baking soda, and a pinch of salt. These ingredients are the heart of your cupcake, providing structure and flavor.
In a large mixing bowl, combine the flour, baking powder, and baking soda. Whisk them together until they’re well incorporated. This step is vital because it guarantees even distribution of the leavening agents, which helps your cupcakes rise beautifully.
Don’t skip the salt; it enhances the sweetness and brings out the other flavors. If you’re feeling adventurous, consider adding a bit of almond flour or coconut flour for extra texture and taste. Just remember to adjust your measurements accordingly.
As you mix, visualize the fluffy, delicious cupcakes that are about to emerge from your oven. Once everything’s combined, take a moment to admire your work. You’ve laid the foundation for something delightful!
Mixing your dry ingredients thoroughly is an essential step that sets you up for success. Get ready to move on to the next exciting phase of your cupcake journey!
Step 3. Add Wet Ingredients Gradually
As you prepare to bring your cupcake batter to life, gradually adding the wet ingredients is essential for achieving the perfect texture. This step guarantees that your cupcakes will be moist and fluffy, so don’t rush it!
Here’s how to do it right:
- Start with your eggs: Crack them into a separate bowl and whisk until they’re lightly beaten. This helps to incorporate air, making your cupcakes light and airy.
- Add vanilla extract: Measure out the vanilla and pour it in with the eggs. This will infuse your batter with a delightful flavor that pairs perfectly with the sweetness of the cupcakes.
- Incorporate your milk: Slowly pour in your chosen milk alternative while mixing. This gradual addition helps the dry ingredients absorb the liquid evenly, preventing clumps.
- Combine the melted coconut oil: Finally, drizzle in the melted coconut oil, mixing gently. This adds richness and keeps your cupcakes moist.
Step 4. Fold in Chocolate Chips
With your wet ingredients fully incorporated and the batter coming together beautifully, it’s time to add a touch of indulgence by folding in chocolate chips. This step is where your vanilla cupcakes transform into delightful treats that everyone will love! Grab your chocolate chips—semi-sweet or dark, it’s up to you—and pour them into the batter.
Now, using a spatula, gently fold the chocolate chips into the mixture. Be careful not to overmix! The goal is to evenly distribute the chips without deflating the air you’ve whipped into your batter. You want those little pockets of chocolate to surprise and delight with every bite.
Picture the moment when that warm cupcake comes out of the oven, and you get to sink your teeth into the soft, fluffy cake, bursting with melted chocolate goodness!
Once you’ve folded in the chocolate chips, take a moment to admire your creation. This batter is going to make some fantastic cupcakes! Get excited because you’re just a step away from baking these delicious gluten-free vanilla cupcakes. Trust me, you won’t be able to resist sharing these sweet treats with family and friends!
Step 5. Bake for 18-20 Minutes
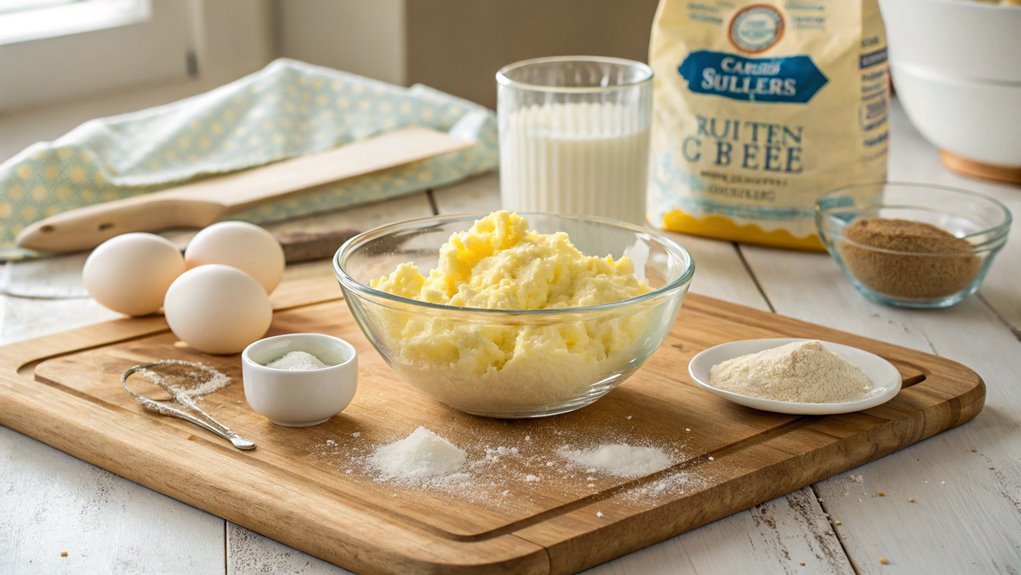
Preheat your oven to 350°F (175°C) before you place your cupcake batter in the oven. This step is essential because it guarantees your cupcakes bake evenly and rise beautifully.
Once your oven’s ready, it’s time to pop those delightful little treats in!
Follow these steps for perfect cupcakes:
- Fill the Cupcake Liners: Carefully fill each cupcake liner about two-thirds full with batter. This helps them rise without overflowing.
- Bake: Place the filled cupcake pan in the oven and set a timer for 18 minutes. The aroma of vanilla will start to fill your kitchen!
- Check for Doneness: Use a toothpick to test if they’re done. Insert it into the center of a cupcake; if it comes out clean, they’re ready!
- Cool: Once baked, remove them from the oven and let them cool in the pan for about 5 minutes. Then, transfer them to a wire rack to cool completely.
The anticipation of enjoying these gluten-free vanilla cupcakes is almost as sweet as the final treat itself!
Get ready to indulge in a fluffy, delicious bite of heaven!
Final Thoughts
While baking gluten-free vanilla cupcakes can seem intimidating at first, the process is surprisingly straightforward and rewarding. You’ll find that with just a few simple ingredients, you can create delicious treats that everyone will love. The light, fluffy texture and rich vanilla flavor will make these cupcakes a hit at any gathering, and you won’t even need to mention they’re gluten-free!
As you experiment with this recipe, feel free to personalize it. You might add chocolate chips, sprinkle some nuts, or even swirl in your favorite fruit puree. The possibilities are endless, and it’s a great way to make each batch unique to your taste.
Plus, you’ll get the satisfaction of knowing you made something special from scratch. Don’t forget to share your creations with friends and family; they’ll be impressed by your baking skills!
Remember, practice makes perfect, so don’t be discouraged if your first batch isn’t exactly as you envisioned. Each attempt will teach you something new.
Frequently Asked Questions
Can I Use Almond Flour Instead of Gluten-Free Flour?
Yes, you can use almond flour instead of gluten-free flour, but keep in mind it has a different texture and flavor. You might need to adjust liquids or add binding agents for the best results.
How Can I Make These Cupcakes Dairy-Free?
To whip up these delightful cupcakes dairy-free, swap milk for almond or coconut milk, and use dairy-free butter or coconut oil. Your taste buds will dance with joy as they savor the creamy goodness!
What Are Good Frosting Options for Gluten-Free Cupcakes?
For gluten-free cupcakes, consider light buttercream, cream cheese frosting, or whipped coconut cream. You can also try dairy-free chocolate ganache or fruit-based frostings for a revitalizing twist. Choose what complements your flavors best!
How Do I Store Leftover Cupcakes?
Think of your leftover cupcakes like precious treasures. To store them, simply place them in an airtight container at room temperature for up to two days, or refrigerate for a week. Enjoy their delightful sweetness later!
Can I Freeze the Cupcakes for Later Use?
Yes, you can freeze the cupcakes for later use. Just wrap them tightly in plastic wrap or foil, then place them in an airtight container. They’ll stay fresh for up to three months.
Conclusion
Discover the secret to baking scrumptious gluten-free vanilla cupcakes! Share these delightful treats at gatherings and watch everyone’s smiles light up like candles on a cake.
With each fluffy bite, prove that gluten-free doesn’t mean flavor-free. Gather your ingredients and unleash your creativity, whether keeping them simple or adding frosting.
Enjoy the joy of baking—your taste buds will thank you!
