Cinnamon Roll Recipe

Crafting cinnamon rolls is a straightforward process with rewarding results when they come out of the oven. Every detail is important, from gathering ingredients to kneading the dough and letting it rise.
The secret to their irresistible softness and sweetness lies in the balance of flavors and techniques. This transformation turns a simple dough into something truly special.
Recipe
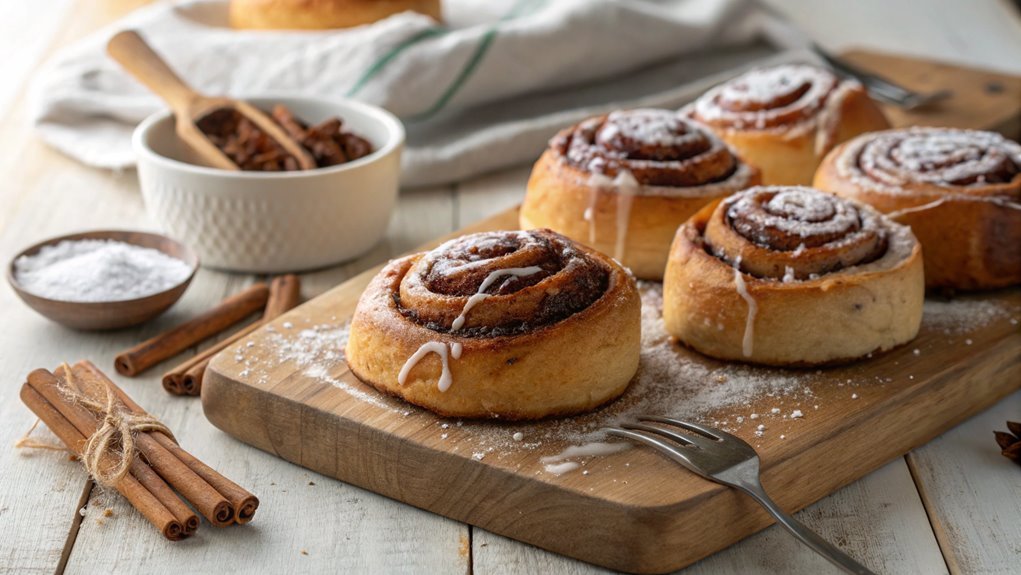
Cinnamon rolls are a delightful treat that can brighten any morning or serve as a sweet indulgence for any occasion. The combination of soft, fluffy dough swirled with a rich cinnamon filling and topped with creamy icing makes these rolls irresistible.
While they may seem intimidating to make from scratch, this recipe breaks it down into simple steps, ensuring that even novice bakers can achieve delicious results. Whether you’re enjoying them fresh out of the oven or saving some for later, homemade cinnamon rolls are sure to impress.
To get started, you’ll need to gather all your ingredients and set aside some time, as the dough will need to rise. The process involves mixing the dough, allowing it to proof, spreading a luscious cinnamon filling, rolling it up, and finally, baking to golden perfection.
Once they’re out of the oven, a drizzle of icing ties it all together. This recipe yields a dozen perfectly fluffy cinnamon rolls that are perfect for sharing—or keeping all to yourself!
Ingredients:
- 4 cups all-purpose flour
- 1/4 cup granulated sugar
- 1 packet (2 1/4 tsp) active dry yeast
- 1 cup warm milk (about 110°F)
- 1/3 cup unsalted butter, melted
- 1 large egg
- 1 tsp vanilla extract
- 1 tsp salt
- 1 cup brown sugar, packed
- 2 tbsp ground cinnamon
- 1/3 cup unsalted butter, softened
- 1 cup powdered sugar
- 2-3 tbsp milk (for icing)
- 1/2 tsp vanilla extract (for icing)
Now let’s move on to the cooking steps.
Cooking Steps
Now that you’ve gathered your ingredients, it’s time to jump into the cooking steps that will bring those delicious cinnamon rolls to life!
You’ll start by preparing the dough, kneading it thoroughly to guarantee a perfect texture, and then letting it rise completely for that fluffy goodness.
Once that’s done, shaping the rolls and adding a generous amount of cinnamon filling will make every bite irresistible—let’s get started!
Step 1. Prepare Dough Ingredients First
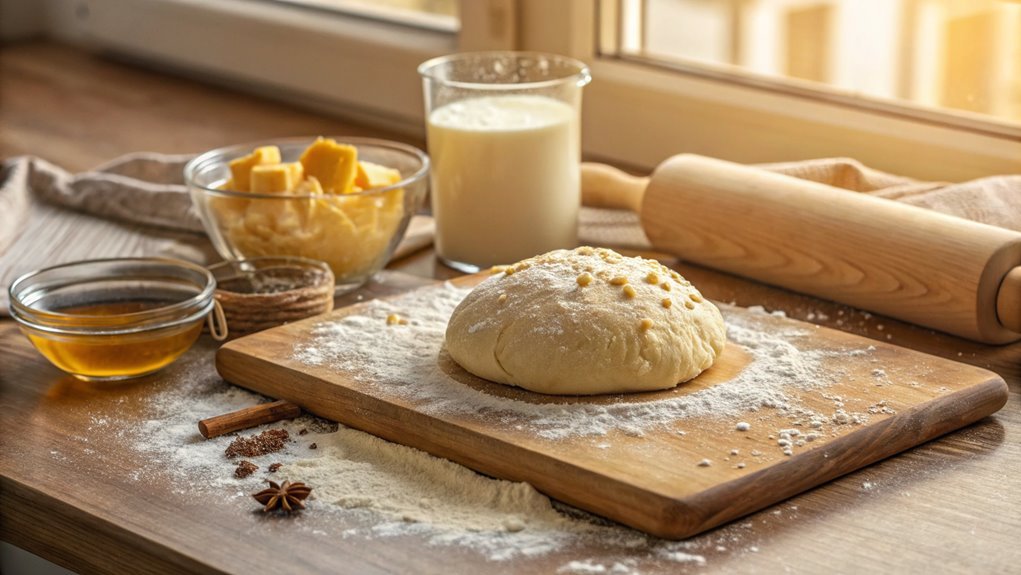
To kick off your cinnamon roll adventure, gather the key ingredients for the dough: all-purpose flour, sugar, yeast, milk, eggs, butter, and a pinch of salt. With these simple ingredients, you’re on your way to creating something truly delicious.
Make sure you have everything ready before you start mixing, as this will make the process smoother and more enjoyable.
First, measure out your flour and sugar, then set them aside. Next, warm your milk to just above room temperature; this helps activate the yeast. While waiting, crack your eggs into a bowl and let them come to room temperature, too.
Remember, using fresh ingredients is essential for the best flavor.
Now, grab your butter and either melt it gently or let it soften at room temperature. Don’t forget that pinch of salt! Salt enhances the flavor and balances the sweetness.
Once everything is gathered and prepped, you’ll feel ready to plunge into the next steps. Preparing these dough ingredients is the foundation of your cinnamon roll creation, leading to a sweet treat that’ll fill your kitchen with irresistible aromas.
Enjoy the journey ahead!
Step 2. Knead the Dough Thoroughly

Begin kneading the dough to develop that perfect texture. This essential step transforms your ingredients into a soft, elastic dough that’ll make your cinnamon rolls irresistible. As you knead, feel the dough come alive under your hands. It’s a rewarding process that builds anticipation for the delicious rolls ahead!
Here’s what you’ll want to experience during this stage:
- Satisfaction as you see the dough becoming smooth and cohesive.
- Excitement knowing you’re just steps away from an amazing treat.
- Joy in the rhythmic motion of kneading, which can be almost meditative.
- Pride when you achieve that perfect, stretchy dough that bounces back when pressed.
Knead for about 8 to 10 minutes, adding a little flour if it sticks too much but be careful not to overdo it. You want the dough to be soft and slightly tacky.
As you work, channel your passion for baking; each fold and press is a step towards a mouthwatering cinnamon roll experience. Once you’ve got that dough just right, you’ll be one step closer to indulging in that warm, gooey goodness!
Keep it up; you’re doing great!
Step 3. Let Dough Rise Completely
As your dough rests, it’s important to let it rise completely, allowing the yeast to work its magic. This step is vital for achieving those fluffy, mouthwatering cinnamon rolls you crave.
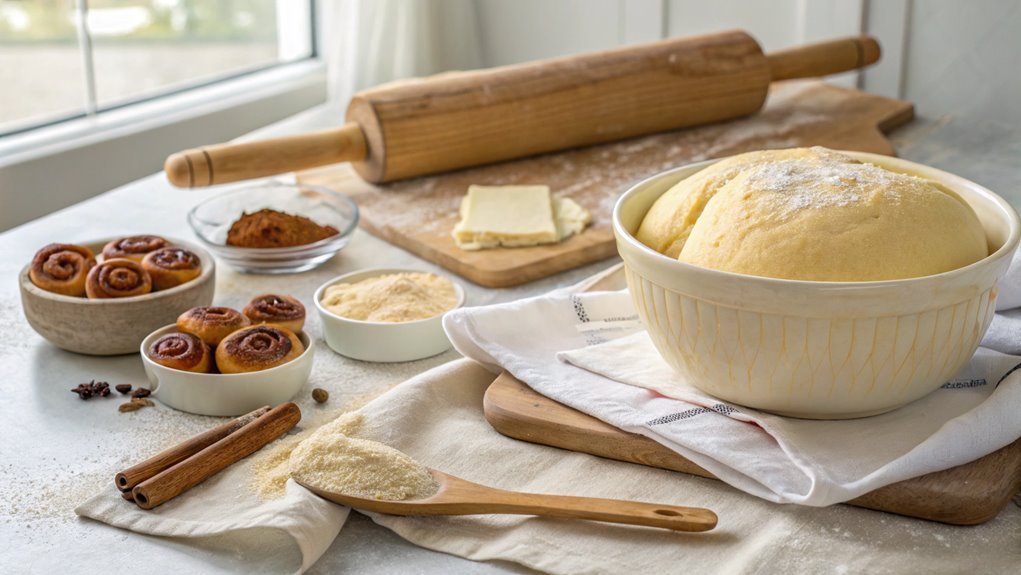
After kneading, cover your bowl with a clean kitchen towel or plastic wrap to create a warm, cozy environment for the dough.
Place it in a warm spot, away from drafts, and let it rise until it doubles in size. This usually takes about one to two hours, depending on the temperature in your kitchen. You can check the dough by gently poking it; if it springs back slowly, it’s ready to go!
The rising process not only enhances the flavor but also creates that light, airy texture that makes cinnamon rolls irresistible.
Don’t rush it! Embrace this waiting time as a moment to imagine the delicious treats you’ll soon enjoy.
While you wait, you might want to prepare your favorite filling or icing for the rolls. Trust me, the anticipation makes every bite even more rewarding.
Step 4. Shape the Rolls Neatly
Now that your dough has risen beautifully, it’s time to shape those rolls neatly. This step is essential for getting that perfect swirl and guaranteeing even baking. Start by gently rolling the dough out on a floured surface into a rectangle. Aim for about 12 inches wide and 18 inches long. The key is to keep the edges straight and the thickness even, so don’t rush it!
Once you have your rectangle, you’re ready to cut it into strips. Here’s what you’ll want to focus on to make your rolls shine:
- Smooth edges: They’ll help maintain that lovely shape during baking.
- Even pieces: This guarantees all rolls bake uniformly, so no one gets a doughy treat!
- Consistent size: Aim for about 1.5 inches wide; this gives you nice, plump rolls.
- Gentle handling: Treat the dough with care to keep those air pockets intact.
With a little patience and attention, you’ll have perfectly shaped rolls ready for the next delicious step.
There’s something so satisfying about seeing your hard work take shape, and trust me, your taste buds will thank you!
Step 5. Add Cinnamon Filling Generously

With your beautifully shaped rolls ready, it’s time to fill them with that irresistible cinnamon goodness.
Start by preparing your cinnamon filling, which typically includes a generous amount of brown sugar, ground cinnamon, and softened butter. Spread the softened butter evenly over the surface of your dough; this acts as a glue for your filling.
Once the butter’s in place, sprinkle the brown sugar and cinnamon mixture generously all over. Don’t be shy! The more, the better. Make certain to cover every inch of the dough to guarantee every bite bursts with flavor.
As you sprinkle, let your excitement build—this is where the magic happens! After you’ve added the filling, gently press it down with your hands. This helps it stick and assures it doesn’t spill out when you roll the dough.
Now, roll the dough tightly from one end to the other, creating a beautiful log filled with that sweet cinnamon mixture.
Once rolled, slice the log into equal pieces, and get ready to bake. You’re one step closer to enjoying those warm, gooey cinnamon rolls, so keep that enthusiasm high!
Final Thoughts
While baking cinnamon rolls may seem intimidating at first, the delightful aroma and warm, gooey treats that emerge from the oven make it all worthwhile.
You’ll find that the process isn’t only rewarding but also a wonderful way to create cherished memories in your kitchen. So go ahead, embrace the adventure!
Remember, the joy of making cinnamon rolls comes not just from the end result but from the entire experience.
As you knead the dough and roll it out, you’ll feel a sense of accomplishment. Here are a few things to keep in mind:
- The smell of cinnamon wafting through your home will make everyone’s mouth water.
- Watching the rolls rise and transform is a magical process.
- Enjoying a warm cinnamon roll with loved ones creates lasting memories.
- Sharing your homemade treats fosters connection and joy.
Frequently Asked Questions
Can I Use Whole Wheat Flour Instead of All-Purpose Flour?
Yes, you can use whole wheat flour instead of all-purpose flour. Just remember, it’ll alter the texture and flavor. You might need to adjust the liquid amounts to achieve the desired consistency. Enjoy experimenting!
How Do I Store Leftover Cinnamon Rolls?
To store leftover cinnamon rolls, let them cool completely. Then, wrap them tightly in plastic wrap or aluminum foil, or place them in an airtight container. You can refrigerate or freeze them for longer freshness.
Can I Freeze Cinnamon Rolls After Baking?
Sure, you can tuck those delightful treats away in the freezer after baking. Just let them cool completely, then wrap them tightly in plastic wrap or foil. They’ll be ready to enjoy later, trust me!
What Can I Substitute for Yeast?
If you need a yeast substitute, try using baking powder or baking soda. Just remember, these won’t give you the same rise, so adjust your recipe accordingly to achieve the desired texture and flavor.
How Do I Make Cinnamon Rolls Gluten-Free?
To make gluten-free cinnamon rolls, you’ll need gluten-free flour, a binding agent like xanthan gum, and the right liquid ratios. Mix, knead, rise, and bake until golden for delicious, fluffy results everyone can enjoy!
Conclusion
Having mastered this cinnamon roll recipe, imagine sharing them with friends at a weekend brunch. Picture a cozy gathering filled with laughter as everyone enjoys the warm, gooey rolls drizzled with icing.
You might inspire a friend to bake their own after tasting your delicious creation. Roll up your sleeves and dive into this baking adventure, filling your kitchen with the irresistible aroma of cinnamon.


