Gluten-Free Chocolate Mousse Recipe
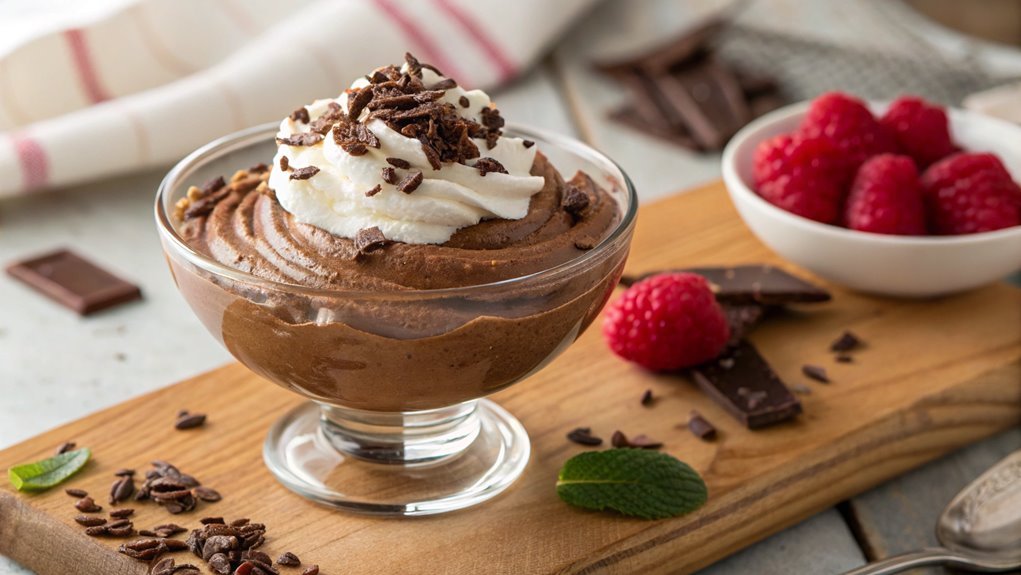
At a gathering, the sweet aroma of chocolate fills the air, and even the gluten-intolerant can indulge with gluten-free chocolate mousse. Achieving the perfect balance of richness and lightness without sacrificing flavor is surprisingly straightforward. With a few key ingredients, you can create a dessert that impresses everyone at the table. Curious about crafting this delightful treat? The steps are easier than you might think.
Recipe
Indulging in a rich, creamy chocolate mousse can be a delightful experience, and the best part is that it can be made gluten-free without sacrificing flavor or texture. This gluten-free chocolate mousse isn’t only simple to prepare, but it also features a satisfying blend of dark chocolate, whipped cream, and egg whites, creating a light yet decadent dessert that can impress any guest.
Whether you’re hosting a dinner party or simply treating yourself, this recipe is sure to please chocolate lovers of all ages.
To start your culinary journey, choose high-quality dark chocolate for the best depth of flavor. The mousse achieves its signature airy texture through the careful folding of whipped cream and egg whites.
As you prepare this dessert, take care not to overmix the batter, as you want to preserve the lightness that makes this dish so enjoyable. With just a few ingredients and minimal steps, you’ll have a sumptuous gluten-free chocolate mousse ready to chill and serve.
Ingredients:
- 200g dark chocolate (at least 70% cocoa)
- 3 large eggs, separated
- 1/4 cup granulated sugar
- 1 cup heavy cream
- 1 teaspoon vanilla extract
- Pinch of salt
Now let’s move on to the cooking steps.
Cooking Steps
Let’s get started on your delicious gluten-free chocolate mousse!
First, you’ll melt the chocolate over low heat, creating a smooth base full of rich flavor.
Then, you’ll whip the egg whites to stiff peaks and fold in the whipped cream for that perfect, airy texture—trust me, it’s going to be amazing!
Step 1. Melt Chocolate Over Low Heat
To melt chocolate over low heat, start by breaking it into small, even pieces. This helps it melt evenly and prevents scorching.
Next, grab a heatproof bowl and place it over a small saucepan filled with simmering water. It’s essential that the water doesn’t touch the bottom of the bowl, so adjust accordingly. This method is known as a double boiler, and it provides gentle heat to your chocolate.
Add your chopped chocolate to the bowl and stir it gently with a spatula or wooden spoon. You’ll want to keep an eye on it, stirring frequently as it begins to melt. As it starts to transform into a glossy liquid, the aroma will be utterly delightful!
You can add a splash of vanilla extract or a pinch of salt for extra flavor if you wish. Once it’s completely melted and smooth, remove the bowl from the heat source, being careful of any steam.
Now you’re ready to integrate this velvety chocolate into your mousse recipe! Melting chocolate this way guarantees you achieve the perfect texture and flavor, setting the stage for an irresistible treat. Enjoy the process!
Step 2. Whip Egg Whites to Stiff Peaks
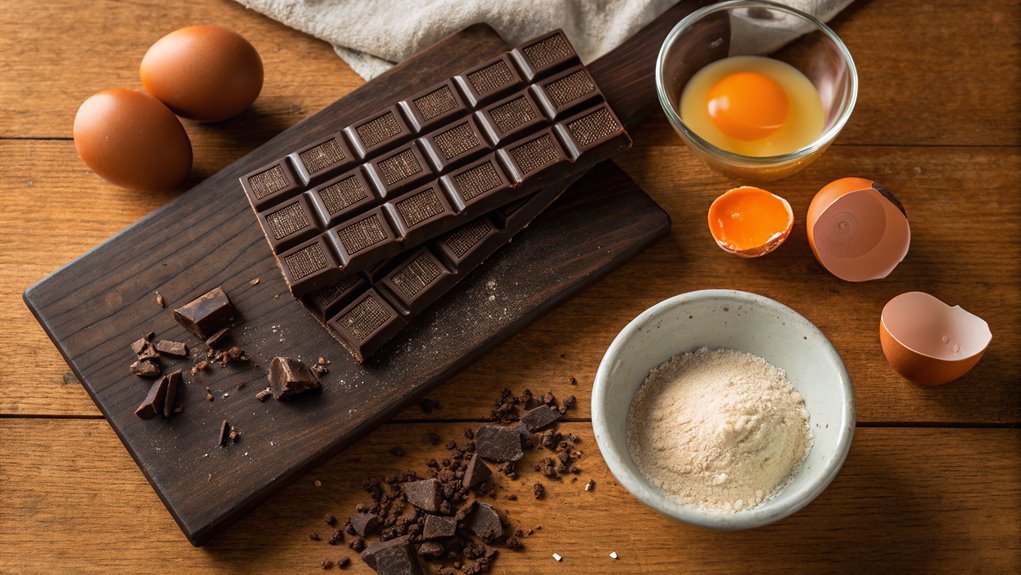
With the chocolate melted and ready, it’s time to whip your egg whites to stiff peaks, which is key for achieving that light and airy texture in your mousse.
Start by making sure your mixing bowl and beaters are completely clean and dry; any grease can interfere with the egg whites’ ability to fluff up. Crack your eggs and separate the whites from the yolks, placing the whites in your bowl.
Using an electric mixer, begin whipping the egg whites on medium speed. You’ll soon see them starting to form soft peaks. At this point, gradually add sugar to the bowl, which will help stabilize the egg whites.
Turn the mixer to high speed and whip until the whites are thick and glossy, forming stiff peaks that stand tall when you lift the beaters.
Pay attention, as this process usually doesn’t take too long.
- Make sure to use room temperature egg whites for the best results.
- Avoid over-whipping, as this can create a dry texture.
- Handle the egg whites gently when incorporating them into your chocolate, ensuring that neon fluffiness remains intact.
Enjoy the magic of light and luscious mousse!
Step 3. Fold in Whipped Cream
Gently fold the whipped cream into the egg whites to create a rich and airy mixture for your chocolate mousse. This step is essential, as it helps maintain that light texture we all love. Use a spatula for this task—it’s gentle yet effective.
Start by adding a small amount of whipped cream to the egg whites. This helps lighten the mixture and makes it easier to incorporate the rest.
Now, take a deep breath and get ready to perform some magic. With a soft motion, use the spatula to scoop from the bottom and fold the mixture over itself.
Make sure to rotate the bowl as you go, ensuring that all of the whipped cream gets blended in without deflating the egg whites. You want a velvety consistency, where no streaks remain—it’s all about the balance!
Step 4. Chill in Refrigerator for 2 Hours
After you’ve carefully folded in the whipped cream, it’s vital to chill the mousse in the refrigerator for at least 2 hours.
This chilling step is important as it allows the flavors to meld beautifully and guarantees a creamy, luscious texture. You’ll notice that the mousse will firm up, making it easier to scoop when you’re ready to enjoy it.
Plus, the cold temperature enhances the rich chocolate flavor, giving you that satisfying experience we all crave.
While you wait, why not use this time to plan how you’ll enjoy your delightful creation? Here are a few ideas to enhance your chocolate mousse experience:
- Whip up some additional whipped cream for a light topping that adds even more creaminess.
- Prepare some gluten-free cookies to serve on the side. They make for a delightful crunch and contrast!
- Gather fresh spices, like cinnamon or espresso powder, to sprinkle over the mousse before serving; they’ll elevate the flavors even more!
Step 5. Serve With Fresh Berries
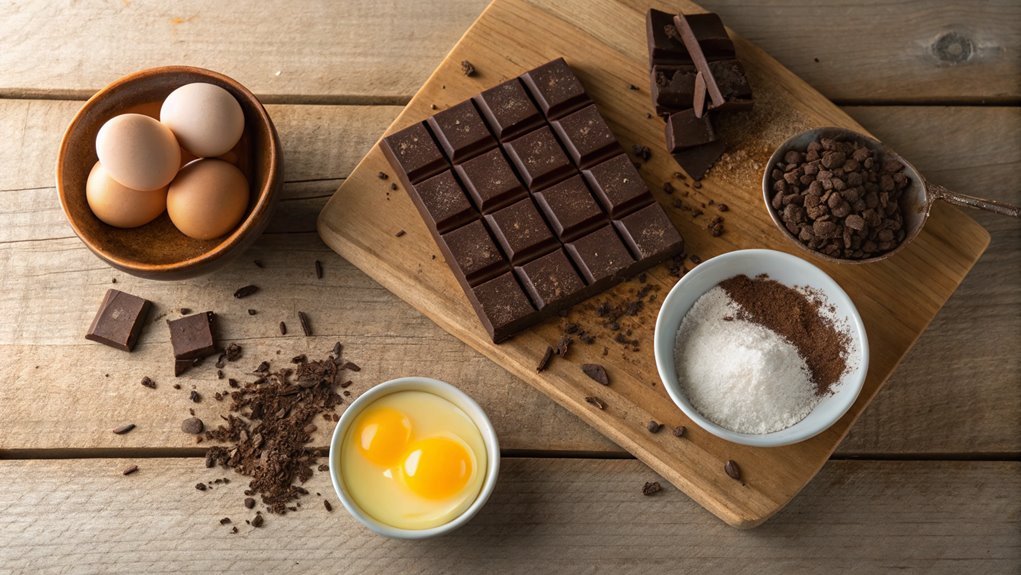
To truly elevate your gluten-free chocolate mousse, serve it with fresh berries for a burst of flavor and vibrant color. The contrast between the rich, creamy mousse and the juicy, tart berries is simply irresistible. You can choose an array of berries, like strawberries, raspberries, blueberries, or blackberries, depending on your preference and what’s in season.
Start by washing the berries gently under cool water. Once they’re clean, pat them dry with a paper towel. If you’ve opted for larger berries like strawberries, consider slicing them into smaller pieces to make them easier to scoop along with the mousse.
When you’re ready to serve, take your chilled mousse and scoop it into individual serving dishes. Then, artfully arrange the fresh berries on top. You might even want to add a sprig of mint for that extra touch of elegance.
Don’t forget, the sweetness of the berries beautifully balances the richness of the mousse, making each bite a delightful experience. Your family and friends will love this charming presentation, and the fresh flavors will have everyone coming back for seconds!
Enjoy every moment as you share this delicious treat!
Final Thoughts
As you wrap up your time in the kitchen, it’s clear that this gluten-free chocolate mousse isn’t just a treat for those with dietary restrictions; it’s a delightful dessert that everyone can enjoy.
The creamy texture and rich chocolate flavor will surely impress your friends and family, no matter their preferences. Plus, it’s simple to prepare, making it a fantastic addition to any gathering or special occasion.
Don’t forget, you can elevate your experience even further by pairing this mousse with some elements that enhance its deliciousness. Here are a few ideas to inspire you:
- Fresh Berries: Strawberries, raspberries, or blueberries add a pop of color and tangy flavor.
- Whipped Cream: A dollop of whipped cream on top creates a beautifully indulgent treat.
- Chocolate Shavings: For an elegant touch, sprinkle some chocolate shavings on top for an extra chocolatey kick.
Frequently Asked Questions
Can I Substitute Cocoa Powder for Chocolate in the Mousse?
Imagine a rich, dark night sky, where cocoa powder can indeed replace chocolate in your mousse. Just keep in mind to adjust sweetness since cocoa’s flavor is more intense, giving your dessert a delightful twist.
How Long Does the Chocolate Mousse Last in the Fridge?
The chocolate mousse lasts about three to five days in the fridge. Just make sure it’s stored in an airtight container to maintain that creamy texture and delicious flavor you love. Enjoy it while it lasts!
Is This Recipe Suitable for a Vegan Diet?
Have you ever wondered if a recipe can cater to both gluten-free and vegan diets? This particular recipe uses dairy-free chocolate and plant-based ingredients, making it ideal for vegans while still being deliciously indulgent.
What Type of Chocolate Works Best for Mousse?
For mousse, you’ll want high-quality chocolate with a cocoa content of at least 70%. Dark chocolate gives richness and depth, while semi-sweet can balance sweetness. Experiment with both to find your favorite flavor profile!
Can I Add Flavors Like Coffee or Peppermint to the Mousse?
Wondering if you can enhance your chocolate mousse? Absolutely! You can add flavors like coffee or peppermint to elevate the taste. Just be mindful of balancing the flavors so they complement the rich chocolate.
