Halloween Dirt Pudding Cups Recipe
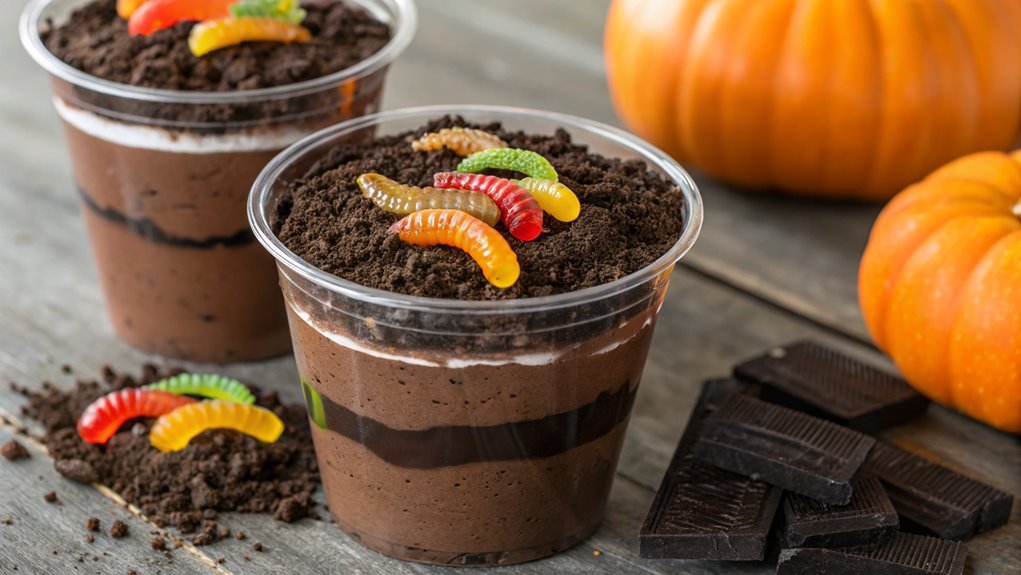
Add a spooky twist to your Halloween with Dirt Pudding Cups, a fun and creative treat. This recipe combines chocolate pudding, crushed cookies, and gummy worms, serving as a delicious and visually striking centerpiece. Customize it to match your theme, making it a fun activity for both kids and adults. Curious about how to create this festive delight? Here’s how to get started.
Recipe
Halloween Dirt Pudding Cups are a fun and delicious treat perfect for spooky gatherings or festive celebrations. This delightful dessert combines rich chocolate pudding with crushed cookies to create the appearance of dirt, topped off with gummy worms for an extra touch of Halloween spirit.
It’s easy to make and is sure to be a hit with both kids and adults alike. To start, you’ll want to gather all your ingredients and have your supplies ready. You can use any brand of chocolate pudding mix you prefer, along with cream cheese and whipped topping to enhance the creamy texture of the pudding.
The crushed cookies will mimic the dirt look, and don’t forget the gummy worms to give that playful touch! These pudding cups not only taste great but also provide a creative way to celebrate Halloween.
Ingredients:
- 1 package instant chocolate pudding mix (3.9 oz)
- 2 cups milk
- 1 cup cream cheese, softened
- 1 cup whipped topping
- 1 cup crushed chocolate sandwich cookies (like Oreos)
- Gummy worms for decoration
- Clear plastic cups for serving
Now let’s move on to the cooking steps.
Cooking Steps
Now that you’ve gathered your ingredients, it’s time to get cooking!
You’ll start by crushing those chocolate cookies finely, creating a delicious base for your dirt pudding cups.
Layer vanilla pudding on top and let your creativity shine with gummy worms, crushed candy corn, and a sweet drizzle of chocolate syrup to finish it off!
Step 1. Crush Chocolate Cookies Finely
Start by placing your chocolate cookies in a resealable plastic bag, sealing it tightly to avoid any mess.
Grab a rolling pin or a heavy object, and let’s get crushing! You want to break the cookies down into fine crumbs, so don’t hold back. The more finely crushed they are, the better they’ll resemble dirt in your pudding cups.
As you start rolling, envision how delicious these dirt pudding cups will be. While crushing, make sure to keep an even pressure, so you achieve a uniform crumb size.
If you’re feeling adventurous, consider tossing in a few extra cookies for a more intense chocolate flavor. Just remember, the goal is to turn them into delightfully crumbly pieces that add texture and taste.
Once you’ve reached your desired crumb consistency, carefully pour them into a bowl.
Take a moment to appreciate your hard work, because this simple step sets the foundation for your Halloween treat!
You’re well on your way to creating an eye-catching dessert that’ll impress everyone at your Halloween gathering. Prepare for the sweet satisfaction when you layer in the pudding next—it’s going to be a treat!
Step 2. Layer in Vanilla Pudding
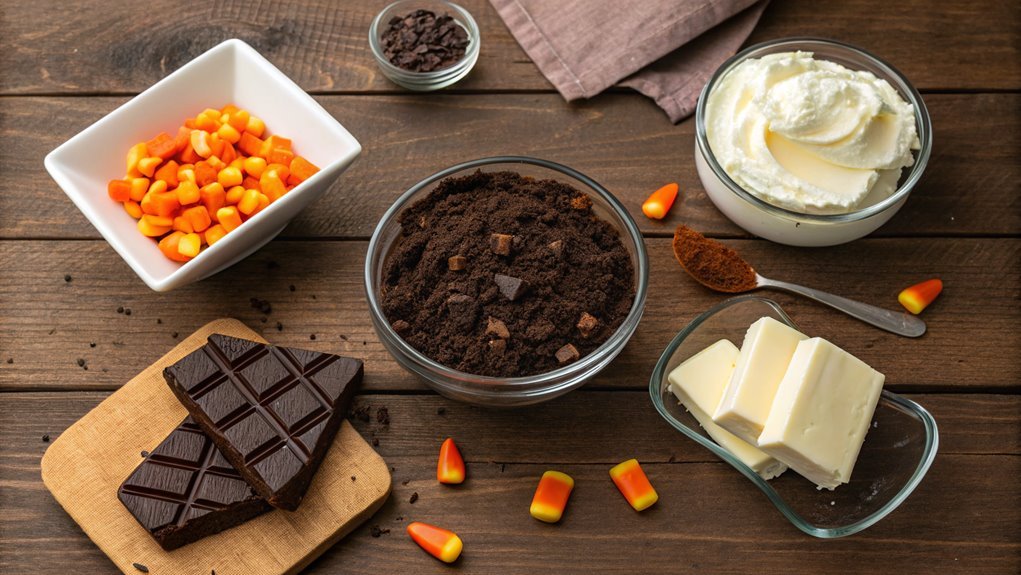
As you immerse yourself in the next step, gently mix your vanilla pudding according to the package instructions until it’s smooth and creamy. This silky base is going to elevate your Halloween Dirt Pudding Cups, so take your time to get it just right.
Once it’s ready, grab your dessert cups and get excited—you’re about to create layers of deliciousness!
Start by adding a generous spoonful of the creamy vanilla pudding into each cup, spreading it evenly across the bottom. This creamy layer not only adds delightful flavor but also provides a base for the crushed chocolate cookies you’ve prepared.
After you’ve layered in the pudding, feel free to admire how the contrast between the light vanilla and dark chocolate looks. It’s fun to envision what’s coming next in this treat!
Make sure to follow this procedure for all cups, ensuring everyone gets the same delicious experience. The layering is what makes these cups so visually enticing, building anticipation for your little monsters when it’s time to dig in.
Now, are you ready to embrace the next ingredient and continue this spooky culinary adventure?
Step 3. Add Gummy Worms on Top
With the creamy vanilla pudding settled into your cups, it’s time to add a fun and playful touch to your Halloween Dirt Pudding Cups. Gummy worms are the perfect addition, bringing a delightful twist that kids (and adults!) will love.
Here’s how to layer them on top for a spooky effect:
- Choose Your Worms: Select a colorful assortment of gummy worms. The more vibrant, the better!
- Placement: Take a few gummy worms and gently drape them over the pudding. Let them hang over the sides for a creepy-crawly effect.
- Mix It Up: If you want more of a surprise, bury some gummy worms slightly in the pudding, peeking out as if they’re crawling through the “dirt.”
- Finalize the Look: Arrange the worms in a way that creates a playful and inviting display, making your cups eye-catching and fun.
Once you’ve added these gummy creatures, your Halloween Dirt Pudding Cups will look absolutely irresistible!
They’re not just a treat; they’re a festive creation that fills your kitchen with excitement. Grab a spoon and get ready for some Halloween fun!
Step 4. Sprinkle With Crushed Candy Corn
To take your Halloween Dirt Pudding Cups to the next level, sprinkling crushed candy corn on top adds a festive touch that’s both flavorful and visually appealing.
After you’ve layered your creamy chocolate pudding and crushed cookies, it’s time for the fun part! You’ll want to grab a handful of candy corn and place it in a resealable plastic bag. Once sealed, give it a good crush with a rolling pin or your hands. This process not only breaks down the candy but also builds anticipation for that delightful pop of color and sweetness.
Now, sprinkle the crushed candy corn generously over each cup. This vibrant topping not only enhances the spooky aesthetic but also adds a hint of caramel flavor that complements the chocolate and creamy layers beautifully.
Be adventurous! You can use different kinds of candy corn to mix up the colors, creating an eye-catching display that will delight your guests.
Once you’ve decorated each cup, take a moment to admire your handiwork. These little treats are sure to be the star of your Halloween celebration, enticing both kids and adults alike.
Step 5. Drizzle With Chocolate Syrup
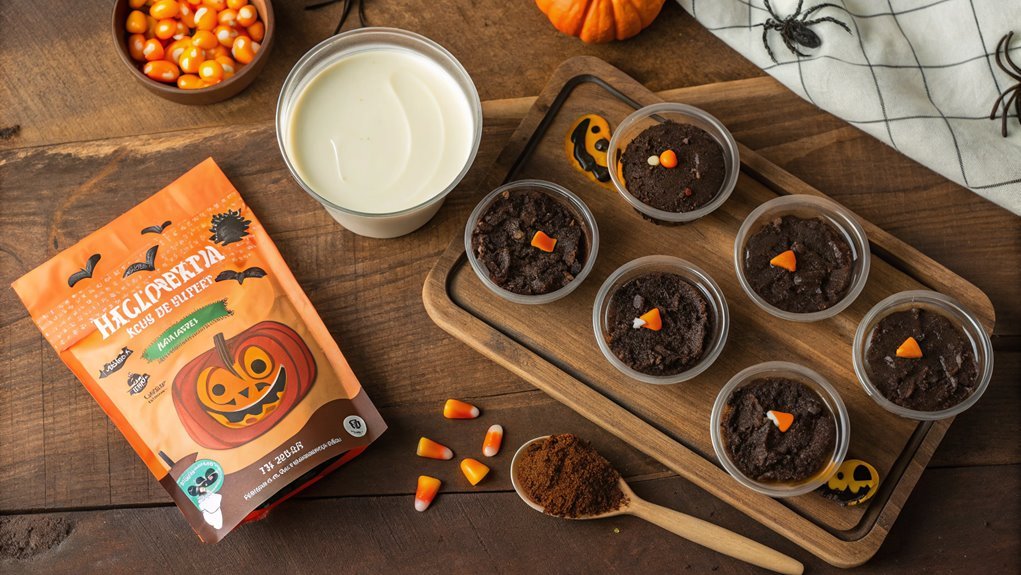
Once you’ve finished layering your Dirt Pudding Cups, it’s time to add a rich chocolate drizzle that elevates both the flavor and the presentation. This final touch makes your dessert not only delicious but visually appetizing, perfect for the Halloween season!
Here’s how to do it:
- Choose Your Syrup: Grab a good-quality chocolate syrup. You can use store-bought or make your own for an extra treat!
- Get Your Tools Ready: Use a squeeze bottle or a spoon for drizzling. A squeeze bottle gives more control, while a spoon offers a rustic touch.
- Drizzle with Care: Gently squeeze or pour the syrup over the top of your cups, allowing it to flow down the sides for a beautiful effect.
- Let It Set: Allow the drizzle to sit for a couple of minutes so it hardens slightly, enhancing that irresistible look!
Now, your Dirt Pudding Cups are ready to dazzle your friends and family!
This drizzling step is so simple and creates a visually stunning dessert that’s bound to be a hit. Enjoy every creamy and crunchy bite!
Final Thoughts
As you wrap up your Halloween celebrations, consider how delightful these dirt pudding cups can be for both kids and adults alike.
With their rich chocolate flavor and fun, spooky presentation, they truly capture the spirit of the season. Not only are they easy to assemble, but you can also personalize them with your favorite toppings, making each cup unique.
Imagine the smiles on everyone’s faces as they dig into layers of creamy pudding and crushed cookies. These cups are perfect for parties or just as a simple treat at home.
You can involve kids in the fun by letting them help decorate with gummy worms or Halloween sprinkles. It’s a great way to create lasting memories in the kitchen together.
Frequently Asked Questions
Can I Make This Dessert in Advance?
Absolutely, you can whip this dessert up ahead of time! It’s like a time-saving magician; prepare it a day in advance, store it in the fridge, and impress your guests with minimal last-minute work.
What Can I Substitute for Dairy-Free Options?
You can substitute dairy with almond milk or coconut milk for a creamy texture. Swap regular cream cheese for a dairy-free alternative, and opt for dairy-free whipped topping to enhance the dessert’s richness without compromising flavor.
How Long Will the Pudding Cups Last?
Your pudding cups will last about three to five days in the fridge, so make sure you enjoy them fresh, share them with friends, or save some for later. Just keep them covered!
Is This Recipe Safe for Young Children?
Yes, this recipe’s generally safe for young children. You’ll want to guarantee no allergens are present and adjust any ingredients that may pose a choking hazard. Always supervise kids while they enjoy their treats for extra safety.
Can I Use Gluten-Free Cookies?
Yes, you can definitely use gluten-free cookies! Just make certain to check the labels for any cross-contamination and guarantee your other ingredients are also gluten-free, so everyone can enjoy the treat safely.
