Chocolate-Dipped Strawberries Recipe
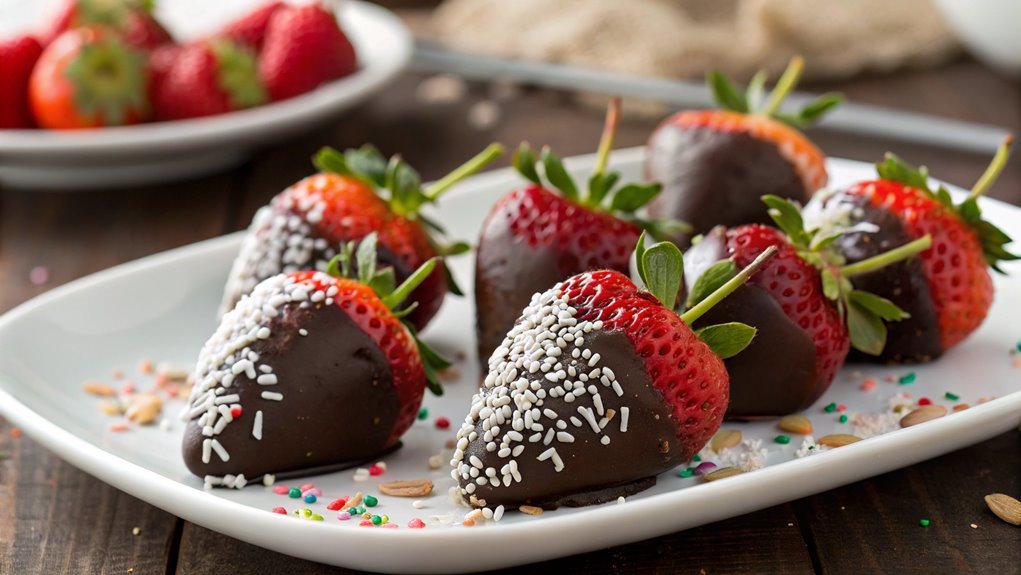
For an elegant yet simple dessert, try chocolate-dipped strawberries. The combination of fresh strawberries and decadent chocolate is delightful.
Start by washing and drying the berries, then focus on achieving the perfect chocolate melt. After dipping, explore endless topping possibilities.
Don’t overlook an essential step that can elevate your creation from ordinary to exceptional. This step can transform your dessert experience.
Recipe
Chocolate-dipped strawberries are a delightful treat that combines the sweetness of ripe strawberries with the rich decadence of melted chocolate.
Perfect for special occasions, romantic evenings, or simply as a satisfying snack, this recipe is both simple and impressive.
With just a few ingredients, you can create a visually stunning dessert that will please any crowd.
The process begins with selecting fresh strawberries that are firm and ripe.
It’s important to wash and completely dry them before dipping, as any moisture can prevent the chocolate from adhering properly.
Choosing high-quality chocolate will greatly enhance the flavor of the finished product, so opt for good chocolate chips or bars for melting.
In just a few steps, you’ll have a batch of chocolate-dipped strawberries that are sure to impress.
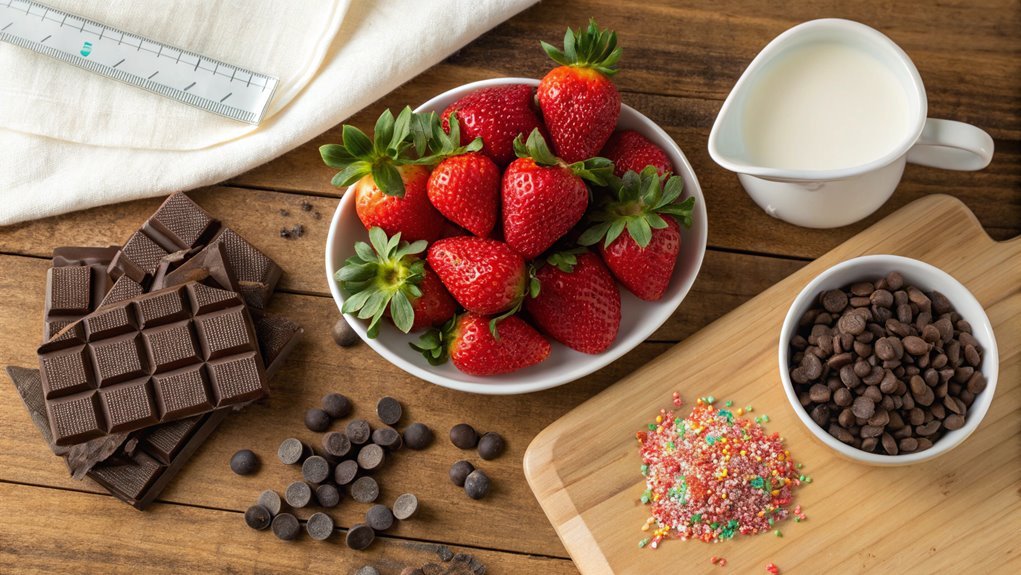
Ingredients:
- Fresh strawberries
- Chocolate chips or chocolate bars (dark, milk, or white)
- Optional toppings (sprinkles, chopped nuts, or shredded coconut)
Now let’s move on to the cooking steps.
Cooking Steps
Ready to create some delicious chocolate-dipped strawberries?
First, you’ll wash and dry your fresh berries, setting the stage for that mouthwatering chocolate to shine.
Then, you’ll melt the chocolate and dip those strawberries in, adding toppings if you like, before chilling them to perfection—it’s a fun and rewarding process you won’t want to miss!
Step 1. Wash and Dry Strawberries
To guarantee your chocolate-dipped strawberries turn out perfectly, start by washing and drying the strawberries thoroughly. Fresh, clean strawberries not only taste better, but they also help the chocolate stick beautifully. Here’s how to do it right:
- Choose ripe and vibrant strawberries: Look for strawberries that are firm and brightly colored for the best flavor.
- Rinse gently under cold water: Place the strawberries in a colander and rinse them under cold running water, making sure to remove any dirt or residue.
- Pat dry with paper towels: Gently pat the strawberries dry using paper towels. You want them to be totally dry because water can prevent the chocolate from adhering properly.
Taking the time to wash and dry your strawberries sets the stage for a delicious treat that looks as good as it tastes.
Imagine biting into that sweet, succulent fruit, perfectly coated in luscious chocolate!
Once you’ve prepped the strawberries, you’ll be ready to plunge into the exciting next steps of your chocolate-dipping adventure.
Keep that enthusiasm brewing—deliciousness is just around the corner!
Step 2. Melt Chocolate in Double Boiler
With your strawberries clean and dry, it’s time to melt the chocolate. Grab a double boiler, which is the perfect tool for this task. If you don’t have a double boiler, you can easily make one by placing a heatproof bowl over a pot of simmering water. Just make sure the bowl fits snugly, without touching the water.
Now, finely chop your chocolate so it melts evenly and quickly. Pour the chopped chocolate into the top of your double boiler. Stir it occasionally as it begins to melt, being careful not to let any water splash into the chocolate. It can seize up, and we don’t want that!
As the chocolate melts, you’ll see it turning smooth and glossy. Be patient and keep stirring until all the chunks disappear. This process should take about 5 to 10 minutes.
Once it’s melted to perfection, remove it from the heat and let it cool slightly.
You’re almost there! Properly melted chocolate is key for making chocolate-dipped strawberries that taste fabulous. Now you’re ready to dip those luscious strawberries and give them a delicious chocolate coat!
Step 3. Dip Strawberries in Chocolate
Grab those beautiful strawberries and give them a dip in the luscious chocolate! This step is where the magic happens. You’ll transform simple berries into an irresistible treat that’s perfect for any occasion. Here’s how to do it:
- Hold each strawberry by the green stem. This gives you a great grip and keeps your hands clean!
- Gently immerse the strawberry into the warm melted chocolate, ensuring it’s evenly coated. You can even twist it a bit to catch more chocolate for that extra deliciousness!
- Lift it out and let any excess chocolate drip off.
You want a nice, even coating that highlights the strawberry’s beauty. If you’d like, you can also sprinkle them with nuts, sprinkles, or sea salt before the chocolate sets.
Make sure to work methodically but quickly, as the chocolate can start to harden. The joy of seeing those luscious strawberries transformed is worth every second!
As you dip, imagine how delightful they’ll taste—fresh, sweet, and covered in rich chocolate goodness. Your friends and family will be amazed at your skills, so engage in this step and enjoy the process!
Step 4. Chill Strawberries on Wax Paper
After dipping the strawberries in chocolate, it’s time to let them chill on wax paper. This step is vital for achieving that perfect glossy finish while ensuring the chocolate hardens properly.
Lay out a sheet of wax paper on a baking sheet or cutting board, making it easy to transport once your treats are ready.
Gently place each chocolate-covered strawberry onto the wax paper, giving them a little space between each one. This prevents them from sticking together as they cool.
You’ll love watching the chocolate begin to set, creating an irresistible crunch that’ll have everyone coming back for more.
Pop the baking sheet into the refrigerator for about 30 minutes. This chilling time is imperative, so don’t rush it! You’ll want those strawberries to be firm and cold, enhancing their freshness in every bite.
As you wait, take a moment to relish the delightful aroma wafting through your kitchen.
Once the strawberries are chilled and the chocolate is firm, you’re just a step away from creating an exquisite treat.
Step 5. Add Toppings Before Chilling
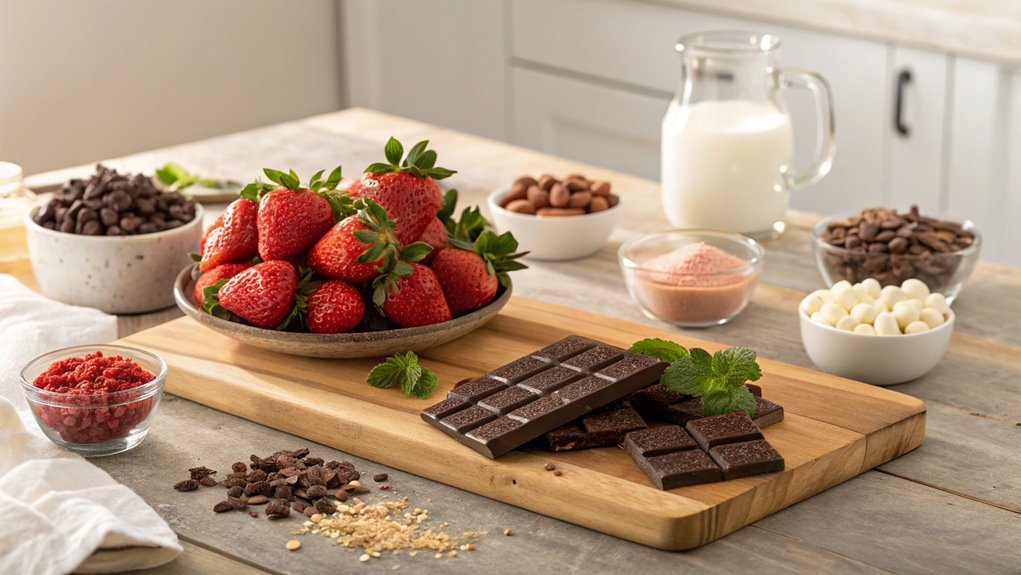
Before you pop those chocolate-dipped strawberries into the fridge, why not elevate their appearance and flavor with some delightful toppings? Adding toppings not only makes your strawberries visually appealing, but it also enhances the taste, creating a bursting flavor experience.
Here’s a quick list of fantastic topping ideas to get you started:
- Chopped nuts: Almonds or pistachios add a crunchy texture.
- Coconut flakes: They bring a tropical vibe and a chewy bite.
- Sprinkles: Fun and colorful, they’re perfect for celebrations!
To add your toppings, sprinkle them generously over the chocolate-covered strawberries while the chocolate is still wet. This way, the toppings will stick perfectly and create a beautiful finish.
You can mix and match these toppings to suit your taste or get creative by using a variety of them on a single strawberry.
Once you’ve coated your strawberries in delicious toppings, then it’s time to chill them. Place them carefully on wax paper, allowing the chocolate to set while the flavors meld together.
Trust me, your friends and family will be impressed by these scrumptious treats that are as fun to make as they’re to eat! Enjoy every bite!
Final Thoughts
While enjoying your delicious chocolate-dipped strawberries, it’s important to remember that this simple treat isn’t just about flavor; it also represents a special moment of indulgence. Each bite bursts with sweetness, and the creamy chocolate mixes perfectly with the juicy strawberry, creating a delightful experience.
Whether you’re sharing them with loved ones or savoring them all by yourself, these treats always feel special.
Don’t be afraid to explore different flavors and toppings! You can customize your chocolate-dipped strawberries to suit your taste. Think about adding sprinkles, crushed nuts, or a drizzle of white chocolate for a touch of elegance.
The best part is that this recipe is incredibly easy and quick, making it perfect for any occasion.
Frequently Asked Questions
Can I Use Milk Chocolate Instead of Dark Chocolate?
Sure, you can definitely use milk chocolate instead of dark chocolate! It’ll give your treat a sweeter flavor and creamier texture. Just melt it carefully for the best results, and enjoy the delightful difference!
How Should I Store Leftover Chocolate-Dipped Strawberries?
To store leftover treats, place them in an airtight container, separating layers with parchment paper. Keep them in the fridge for a few days, but enjoy them sooner for the best flavor and texture!
Can I Use Frozen Strawberries for This Recipe?
While frozen strawberries might seem convenient, they won’t achieve that fresh, juicy texture you want. For the best results, use fresh strawberries; it’ll make a noticeable difference in taste and presentation when you indulge.
How Long Will Chocolate-Dipped Strawberries Last?
Chocolate-dipped treats typically last about 1-2 days at room temperature. If you store them in the fridge, they can last up to a week. Just make sure they’re in an airtight container to maintain freshness!
Are There Vegan Options for Chocolate-Dipped Strawberries?
Imagine hosting a plant-based gathering. You’ll love that there are vegan options available for chocolate-dipped strawberries! Simply use dairy-free chocolate and coconut oil for a delicious treat everyone can enjoy without compromising their values.
