Valentine’s Day Red Velvet Cake Recipe
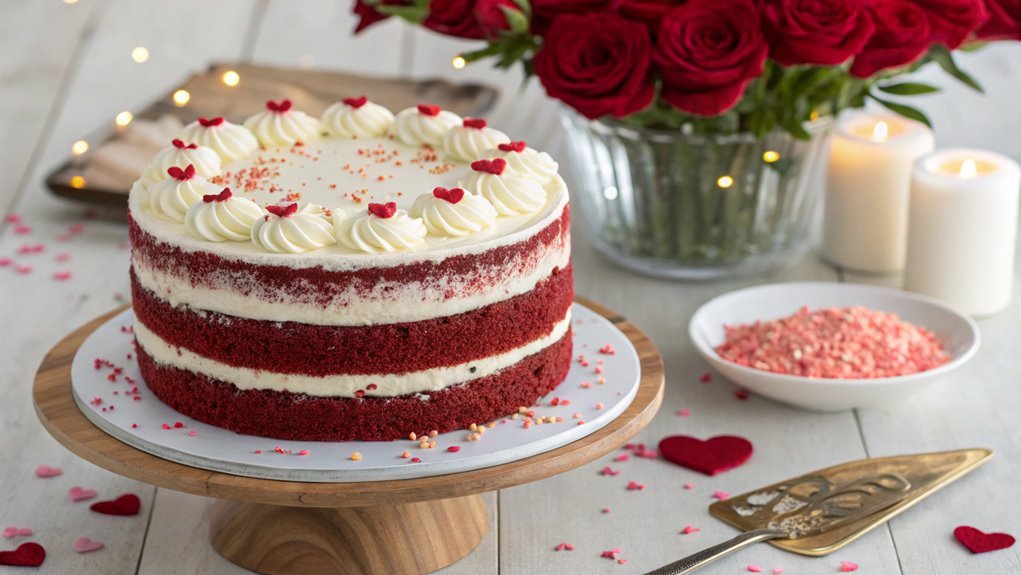
Can a cake express love as well as words? This Valentine’s Day, consider a Red Velvet Cake, with its bold color and rich flavors, as the perfect symbol of affection.
Wondering how to achieve the perfect balance of moist texture and creamy frosting? Follow these steps to create an enticing cake that will impress your loved ones.
Recipe
Valentine’s Day is the perfect occasion to indulge in something sweet and decadent, and what better dessert to celebrate love than a classic red velvet cake? Known for its striking red color and velvety texture, this cake isn’t only visually stunning but also rich in flavor. The combination of cocoa powder and buttermilk gives red velvet its unique taste, while the cream cheese frosting adds a creamy, tangy complement that makes each bite unforgettable.
This recipe is simple enough for bakers of all skill levels, ensuring that you can impress your loved ones without too much fuss. To get started, gather your ingredients and preheat your oven to 350°F (175°C). You’ll need to prepare your cake pans by greasing and flouring them, which will help prevent the cake from sticking.
As you mix the batter, you’ll enjoy the delightful aroma of cocoa and vanilla wafting through your kitchen. Once baked and cooled, the cake layers will be frosted with a luscious cream cheese frosting that brings everything together beautifully. Whether you’re celebrating with a partner, friends, or family, this red velvet cake is sure to be a hit.
Ingredients:
- 2 ½ cups all-purpose flour
- 1 ½ cups granulated sugar
- 1 teaspoon baking soda
- 1 teaspoon salt
- 1 teaspoon cocoa powder
- 1 ½ cups vegetable oil
- 1 cup buttermilk, room temperature
- 2 large eggs, room temperature
- 2 tablespoons red food coloring
- 1 teaspoon vanilla extract
- 1 teaspoon white vinegar
For the Cream Cheese Frosting:
- 8 oz cream cheese, softened
- ½ cup unsalted butter, softened
- 4 cups powdered sugar
- 1 teaspoon vanilla extract
- 1-2 tablespoons milk (if needed for consistency)
Now let’s move on to the cooking steps.
Cooking Steps
Now that you have all your ingredients ready, let’s get cooking!
Start by preheating your oven to 350°F, which sets the stage for a perfectly baked cake.
As you mix your dry and wet ingredients, you’ll feel the excitement build, especially when you add that rich cocoa powder and vibrant red food coloring—this cake is going to be a showstopper!
Step 1. Preheat the Oven to 350°F
To kick off your delicious red velvet cake, start by preheating your oven to 350°F. This step is crucial for achieving that perfect, velvety texture you crave.
While your oven warms up, take a moment to gather your ingredients and tools. This will help you get into the groove of baking and make the process even more enjoyable.
Here are a few tips to keep in mind as you preheat your oven:
- Check your oven’s accuracy: If you have an oven thermometer, use it to verify the temperature is spot on.
- Be patient: Give your oven enough time to reach the desired temperature before moving on to the next steps.
- Prepare your pans: While the oven heats, grease and flour your cake pans, so they’re ready to go when it’s time to pour in the batter.
- Stay organized: Keep your baking area tidy and organized to make the mixing process smoother.
Once your oven reaches 350°F, you’ll be ready to create a beautifully moist cake that’s perfect for celebrating love.
Enjoy every step of this delightful journey!
Step 2. Mix Dry Ingredients Together
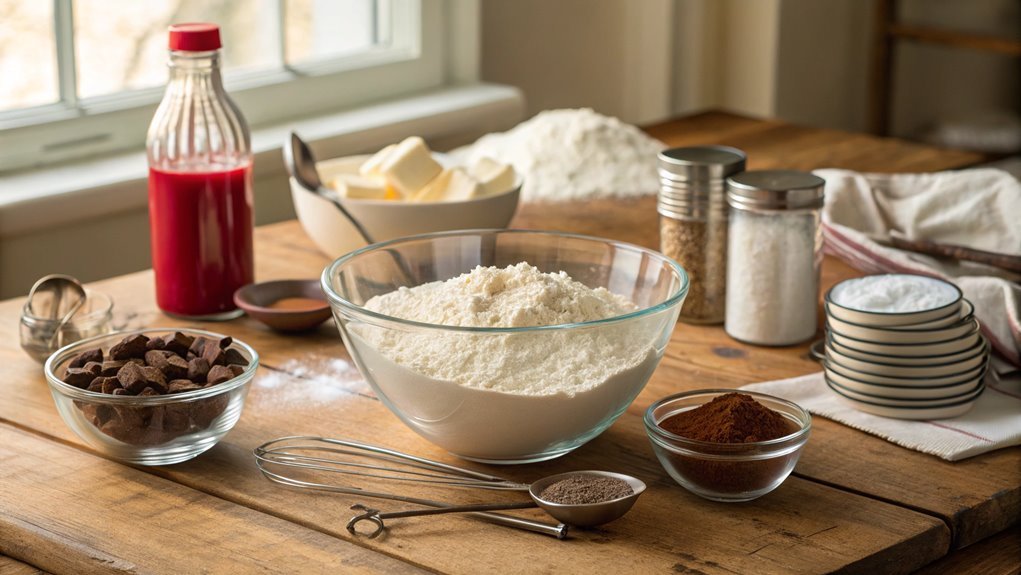
Start by sifting together your dry ingredients to guarantee a light and airy cake. In a large bowl, combine all-purpose flour, cocoa powder, baking soda, and salt. Sifting these ingredients not only helps break up any lumps but also assures even distribution throughout the batter.
Trust me, this step is vital for achieving that perfect texture!
Once you’ve sifted everything, give it a good whisk to mix the dry ingredients thoroughly. This is where the magic begins! The cocoa powder adds that lovely reddish-brown hue that’s signature to red velvet cake, while the baking soda provides the lift you need to create a fluffy masterpiece.
Make sure there are no clumps left behind; you want a smooth mixture that’s ready to blend beautifully with your wet ingredients later on.
As you prepare these dry ingredients, take a moment to appreciate the delightful aroma of cocoa and flour coming together. It’s a warm invitation to the deliciousness that’s about to unfold.
Step 3. Combine Wet Ingredients Thoroughly
With your dry ingredients perfectly mixed, it’s time to turn your attention to the wet ingredients. This step is essential for achieving that rich, moist texture you crave in a red velvet cake.
Start by gathering your ingredients: buttermilk, vegetable oil, eggs, and vanilla extract. Each component plays a critical role in creating the perfect batter.
- Buttermilk adds a delightful tang and keeps the cake moist.
- Vegetable oil guarantees a tender crumb, making every bite soft and luscious.
- Eggs help bind the mixture together while adding richness.
- Vanilla extract enhances the overall flavor, making it even more irresistible.
In a large mixing bowl, combine the buttermilk, vegetable oil, eggs, and vanilla extract. Whisk them together until you achieve a smooth and creamy consistency.
Don’t rush this step—take your time to make sure everything is well blended. This will help your cake rise beautifully and deliver that signature red velvet taste.
Once you’ve combined the wet ingredients thoroughly, you’ll be ready to bring them together with the dry ingredients, setting the stage for a show-stopping dessert.
Enjoy the process, and get ready to impress your loved ones with this delightful creation!
Step 4. Fold in Cocoa Powder
As you prepare to fold in the cocoa powder, remember that this step adds depth and richness to your red velvet cake. Start by sifting the cocoa powder to remove any lumps. This guarantees a smooth incorporation into your batter.
Next, gently sprinkle the sifted cocoa over your wet mixture. Use a spatula to carefully fold it in, making sure to scoop from the bottom and bring the mixture up and over. Folding is key here; you want to keep the air in the batter while blending the cocoa evenly.
Take your time with this step. If you rush, you might end up with streaks of cocoa instead of a beautifully blended batter. As you fold, watch the transformation—your mixture will start to take on that signature velvety texture.
Don’t be afraid to feel a sense of accomplishment as you see all the ingredients come together harmoniously. This is where the magic begins!
Once you’ve fully incorporated the cocoa powder, your cake will be one step closer to becoming a delightful treat that’s perfect for Valentine’s Day. Enjoy the process; it’s all part of creating something special!
Step 5. Add Red Food Coloring
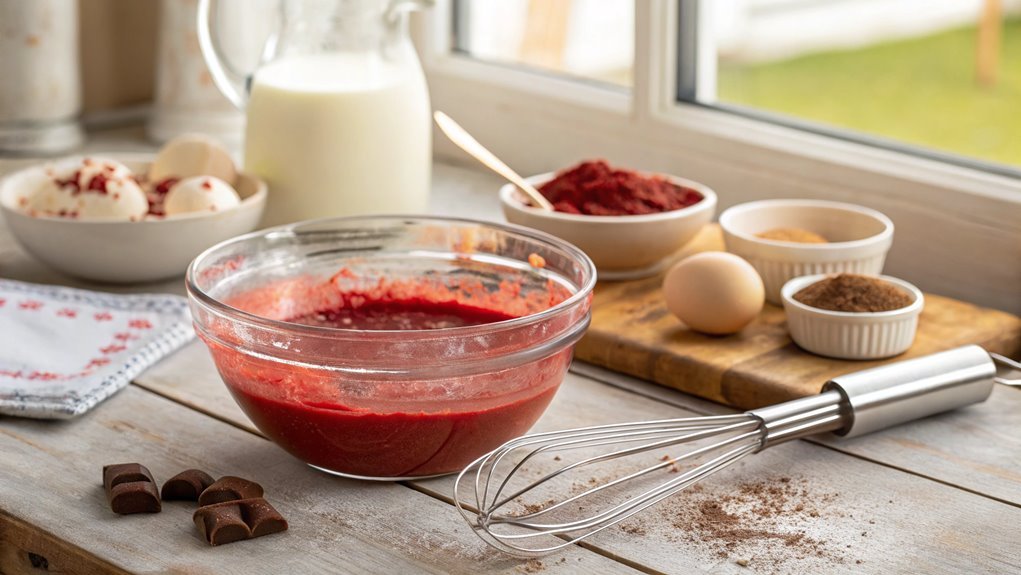
Now it’s time to add the vibrant red food coloring that gives your cake its iconic hue. This step is where the magic truly happens, transforming your batter into a stunning deep red that’s perfect for Valentine’s Day.
Start by adding about one tablespoon of red food coloring to your mixture. If you want a bolder color, don’t hesitate to add a bit more; just remember, a little goes a long way! Mix it in thoroughly, ensuring the color is evenly distributed throughout the batter.
As you stir, watch the transformation unfold—it’s incredibly satisfying! The rich, red color combined with the cocoa will give your cake that signature look. Once it’s well mixed and you’re happy with the shade, you’re ready to move on to the next step.
Before you continue, keep these tips in mind:
- Use gel food coloring for a more vibrant hue.
- Always mix the coloring in gradually.
- Don’t forget to scrape down the sides of the bowl.
- Clean your utensils right after to avoid staining.
Get excited—your cake is shaping up to be a showstopper!
Final Thoughts
Although baking a red velvet cake might seem intimidating at first, it can actually be a delightful experience that brings a touch of romance to your Valentine’s Day celebration.
This cake isn’t just a treat; it’s a love letter to someone special. With its rich, velvety texture and vibrant color, it captures the essence of love and affection.
As you gather your ingredients and mix them together, you’ll find joy in the process. The aroma of baking chocolate and vanilla will fill your kitchen, making your heart race with anticipation.
Just imagine slicing into that beautiful cake, revealing its stunning red interior. It’s sure to impress anyone who takes a bite!
Don’t hesitate to experiment with the frosting, too. A creamy cream cheese frosting is a classic choice, but you can add your own twist with flavors like orange or almond.
This is your chance to make it uniquely yours!
Frequently Asked Questions
Can I Make Red Velvet Cake Without Food Coloring?
Yes, you can make red velvet cake without food coloring. Instead, use natural ingredients like beet puree or simply rely on the cocoa powder for flavor. The cake will still be delicious, though it won’t have the classic red hue.
What Is the History Behind Red Velvet Cake?
Red velvet cake’s rich, romantic roots trace back to the early 20th century. Originally a moist chocolate cake, it gained popularity due to its vibrant color and distinct flavor, enchanting countless cake lovers over the decades.
How Can I Make This Cake Gluten-Free?
To make this cake gluten-free, substitute all-purpose flour with a gluten-free flour blend. Confirm you add xanthan gum if your blend doesn’t contain it. This’ll help maintain the cake’s texture and structure while baking.
Can I Freeze Leftover Red Velvet Cake?
Your leftover cake can be a treasure chest of sweetness. Just wrap it tightly in plastic wrap, place it in an airtight container, and freeze. It’ll stay delicious for up to three months!
What Are Some Good Cake Decorating Tips for Red Velvet?
For decorating red velvet cake, you can use cream cheese frosting for a classic look. Add fresh berries, chocolate shavings, or edible flowers for flair. Don’t forget to create smooth edges with a spatula!
Conclusion
Making a Red Velvet Cake may seem daunting, but it’s simpler than you think. With a few steps, you’ll craft a beautiful dessert that captures the essence of Valentine’s Day. The vibrant color and rich flavor will surely impress your loved ones. Gather your ingredients, and let the magic unfold. Your loved ones will adore this treat, and you’ll be proud to share it!
