Holiday Eggnog Cheesecake Recipe
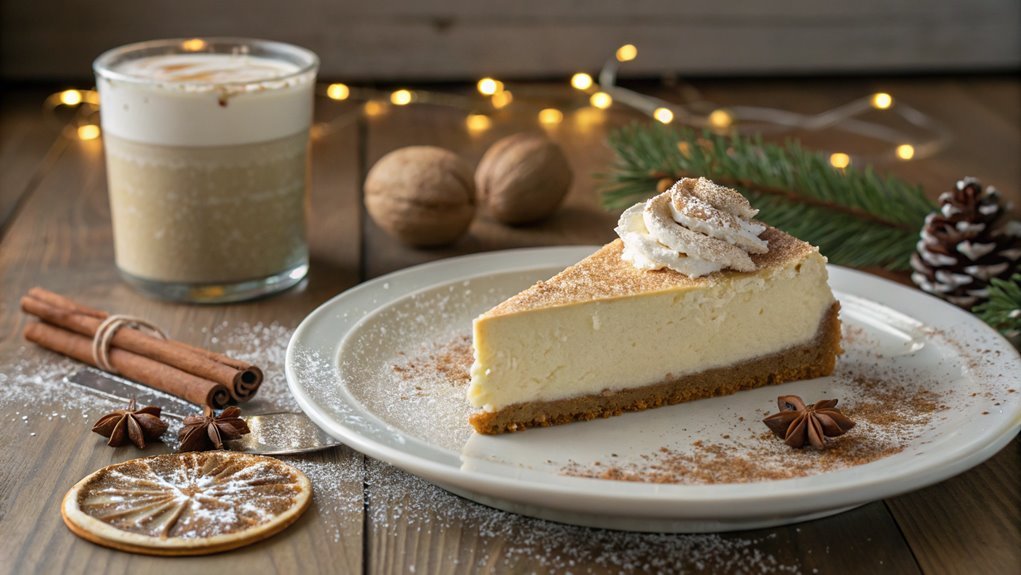
Impress your guests this holiday season with a Holiday Eggnog Cheesecake, combining creamy cheesecake with festive eggnog, nutmeg, and cinnamon flavors. Surprisingly simple to make, it is indulgent enough for any gathering.
Gather your ingredients and focus on final touches to enhance presentation and taste. Discover secrets that will help you perfect this holiday favorite.
Recipe
Eggnog cheesecake is the perfect dessert to bring the holiday spirit to your table. This rich and creamy cheesecake combines the classic flavors of eggnog with a silky texture that melts in your mouth. The addition of nutmeg and cinnamon brings warmth and nostalgia, reminiscent of cozy holiday gatherings.
Whether you’re serving it at a festive party or enjoying it with family, this cheesecake is sure to become a seasonal favorite.
The crust, made from crushed graham crackers and butter, adds a delightful crunch that complements the smooth filling. Topped with whipped cream and a sprinkle of nutmeg, this dessert not only tastes divine but also looks stunning.
Follow this simple recipe to create a delightful eggnog cheesecake that will impress your guests and satisfy your sweet tooth during the holiday season.
Ingredients:
- 1 ½ cups graham cracker crumbs
- ½ cup unsalted butter, melted
- 3 (8-ounce) packages cream cheese, softened
- 1 cup granulated sugar
- 1 teaspoon vanilla extract
- 1 teaspoon ground nutmeg
- 1 teaspoon ground cinnamon
- 3 large eggs
- 1 cup eggnog
- Whipped cream for topping (optional)
- Additional ground nutmeg for garnish (optional)
Now let’s move on to the cooking steps.
Cooking Steps
Let’s get started on making your holiday eggnog cheesecake!
First, you’ll preheat the oven to 325°F, setting the stage for a delicious treat.
Then, mix together the cream cheese and sugar, add in the eggnog and spices, and pour that creamy goodness into your crust before baking it to perfection for 60 minutes.
Step 1. Preheat Oven to 325°F
To kick off your holiday eggnog cheesecake, preheat your oven to 325°F. This important step sets the stage for a delightful baking experience! A properly preheated oven guarantees your cheesecake cooks evenly, giving it that luscious, creamy texture we all love.
While you wait for the oven to reach the perfect temperature, take a moment to gather your ingredients and equipment.
Here are a few things to keep in mind:
- Make sure your oven rack is in the center position for even heat distribution.
- Use an oven thermometer to confirm your oven reaches the right temperature.
- Avoid opening the oven door too often, as this can cause temperature fluctuations.
- Check the oven’s preheating signal; it can be a helpful guide.
- Get excited! You’re on your way to creating a festive treat.
Once your oven hits 325°F, you’re ready to plunge into the next steps of this scrumptious recipe.
The aroma of baking cheesecake will soon fill your kitchen, creating a warm, inviting atmosphere perfect for the holiday season. Enjoy every moment of this delicious journey!
Step 2. Mix Cream Cheese and Sugar
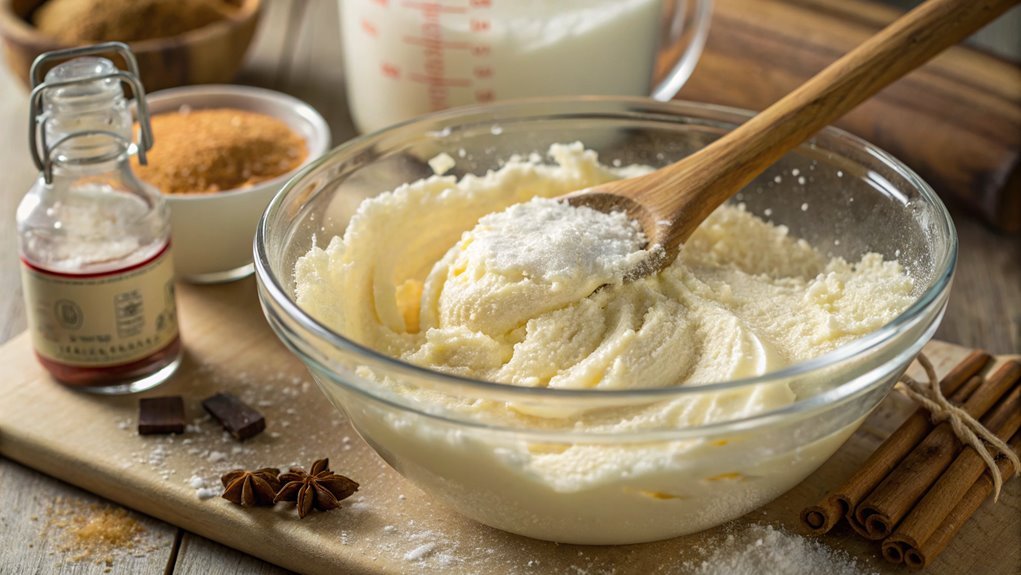
With the oven preheated and ready, it’s time to mix the cream cheese and sugar. Start by grabbing your softened cream cheese—make certain it’s at room temperature for a smooth consistency. Place it in a large mixing bowl, then add granulated sugar. This combo creates the sweet, creamy base for your cheesecake, so don’t skip this step!
Using an electric mixer, beat the cream cheese and sugar together on medium speed. You want to mix until the mixture is light and fluffy, which usually takes about three to five minutes. Scrape down the sides of the bowl with a spatula occasionally to guarantee everything blends evenly.
This step is vital because it prevents lumps and helps your cheesecake turn out perfectly smooth. As you mix, take a moment to enjoy the delightful aroma filling your kitchen. The anticipation of a delicious holiday treat is truly exciting!
Once you achieve that creamy texture, you’re well on your way to creating a showstopper dessert for your holiday gathering. Trust me, this base is going to set the stage for an unforgettable eggnog cheesecake. Now, let’s keep the momentum going and move on to the next step!
Step 3. Add Eggnog and Spices
As you blend that creamy mixture, it’s time to introduce the festive flavors of eggnog and spices. This is where your cheesecake truly starts to shine! Pour in the eggnog, and watch as it transforms the filling into a holiday delight. The rich, creamy texture combined with warm spices will fill your kitchen with an irresistible aroma.
Now, it’s time to add those delightful spices that embody the essence of the season. Here’s what you’ll need to sprinkle in:
- 1 teaspoon ground nutmeg
- 1 teaspoon ground cinnamon
- 1/2 teaspoon ground ginger
- 1/4 teaspoon ground cloves
- A pinch of salt
As you incorporate these ingredients, make certain to blend until everything is smooth and well combined. You’ll want to scrape down the sides of your mixing bowl to guarantee no spice is left behind.
This step is vital; you want every bite of your cheesecake to be bursting with holiday flavor. Take a moment to taste the mixture—get ready for the festive spirit to come alive! Your eggnog cheesecake is on its way to becoming the star of your holiday gatherings!
Step 4. Pour Into Crust
Now that your creamy eggnog mixture is perfectly blended with those holiday spices, it’s time to pour it into the prepared crust.
Gently grab your mixing bowl and tilt it slightly over your crust, ensuring that you don’t make a mess. As you pour, watch the silky filling cascade down, filling every nook and cranny of the crust. The combination of flavors and textures is already mouthwatering, and you can almost taste the holiday cheer.
Take your time to smooth the top with a spatula if needed—it’ll give your cheesecake that professional touch. Make sure to scrape down the sides of the bowl so you don’t miss out on any of that delicious mixture.
The anticipation is building, and you know this dessert is going to be a showstopper at your holiday gathering!
Once you’ve poured the filling in, take a moment to admire your creation. The rich, creamy eggnog filling is just waiting to be baked into a perfect cheesecake.
Trust me, your friends and family will be thrilled when they see this festive treat! Now, let’s get ready for the next step, where the magic really happens!
Step 5. Bake for 60 Minutes
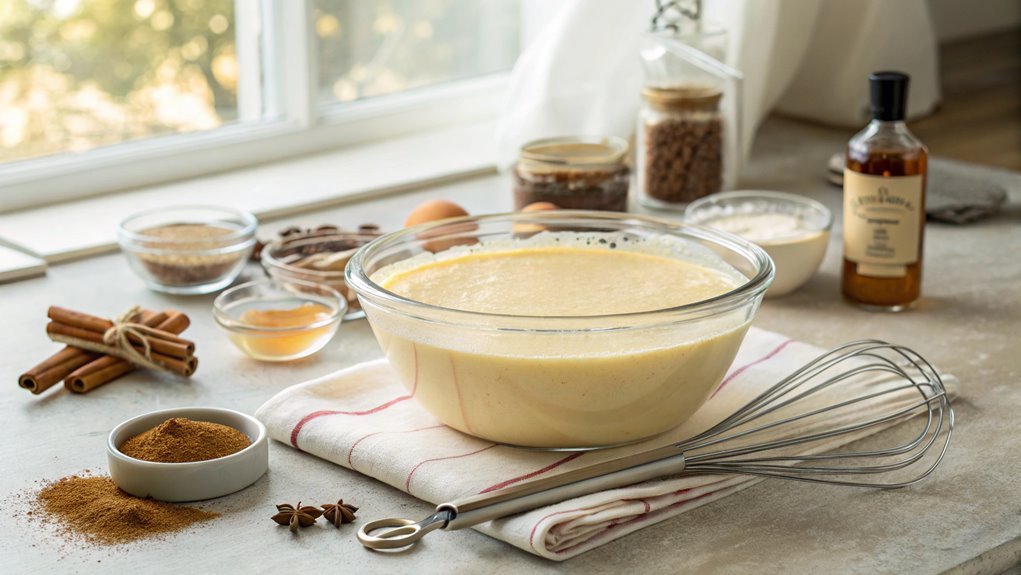
Once you’ve poured in the eggnog filling, it’s time to bake your cheesecake for 60 minutes. This step is essential for achieving that perfect, creamy texture that makes your holiday dessert unforgettable. As you preheat your oven, prepare yourself for the delightful aroma that will soon fill your kitchen.
Here’s what to keep in mind while baking:
- Make sure your oven is properly preheated to 325°F (160°C).
- Place the cheesecake on the middle rack for even baking.
- Avoid opening the oven door during the first 30 minutes; this helps maintain a consistent temperature.
- Keep an eye on the edges of the cheesecake; they should look set, while the center remains slightly jiggly.
Once the time is up, turn off the oven and let the cheesecake cool inside for an hour. This helps prevent cracking.
After the baking time, you’ll be amazed at how beautifully your holiday eggnog cheesecake has come together. Let it cool completely before refrigerating for at least four hours, or overnight if you can resist!
Enjoy this festive treat with family and friends, and watch their faces light up with joy!
Final Thoughts
While you savor each bite of your holiday eggnog cheesecake, it’s clear that this dessert captures the spirit of the season beautifully. The creamy texture combined with the warm spices of nutmeg and cinnamon creates a delightful experience that’s perfect for festive gatherings.
Imagine serving this stunning cheesecake at your holiday dinner; it’ll surely impress your family and friends.
Making this cheesecake isn’t just about the final product; it’s a wonderful way to create lasting memories in the kitchen. The process of mixing, pouring, and baking becomes a joyful celebration in itself.
Plus, you’ll love the aroma wafting through your home, filling it with the essence of holiday cheer.
Don’t hesitate to experiment with the recipe! You can add a touch of whipped cream or a sprinkle of caramel to elevate your cheesecake even further.
As you immerse yourself in this delightful treat, you’ll find it’s more than just a dessert; it’s a festive tradition waiting to unfold.
Frequently Asked Questions
Can I Use a Gluten-Free Crust for This Cheesecake?
Absolutely, you can use a gluten-free crust for your cheesecake! Just make sure it’s well-prepared and complements the flavors. It’ll turn out delicious, and everyone can enjoy it, regardless of dietary restrictions!
How Long Can Leftover Eggnog Cheesecake Be Stored?
You might wonder how long leftover cheesecake lasts. If stored properly in an airtight container, you can keep it in the fridge for about five days. Just make sure it’s well-sealed to maintain freshness!
Is There a Dairy-Free Alternative for the Cream Cheese?
Yes, you can use dairy-free cream cheese alternatives made from nuts or soy. Brands like Tofutti or Kite Hill offer great options that mimic the texture and flavor, ensuring your cheesecake remains delicious without dairy.
What Should I Serve With Holiday Eggnog Cheesecake?
You can serve your holiday eggnog cheesecake with a dollop of whipped cream, a sprinkle of nutmeg, or a side of spiced cranberry sauce. These pairings enhance the flavors and create a festive presentation. Enjoy!
Can I Make This Cheesecake Ahead of Time?
Yes, you can definitely make this cheesecake ahead of time! Just prepare it a day or two in advance, chill it properly, and it’ll be ready to impress your guests when the time comes.
Conclusion
Impress your friends and family with this Holiday Eggnog Cheesecake, a dessert that adds a touch of holiday magic to any gathering. Its creamy texture and festive flavors will have everyone asking for seconds. Try this recipe and elevate your celebrations to unforgettable experiences. This cheesecake is sure to become your new holiday tradition. Enjoy every delicious bite!
