Passover Flourless Chocolate Cake Recipe
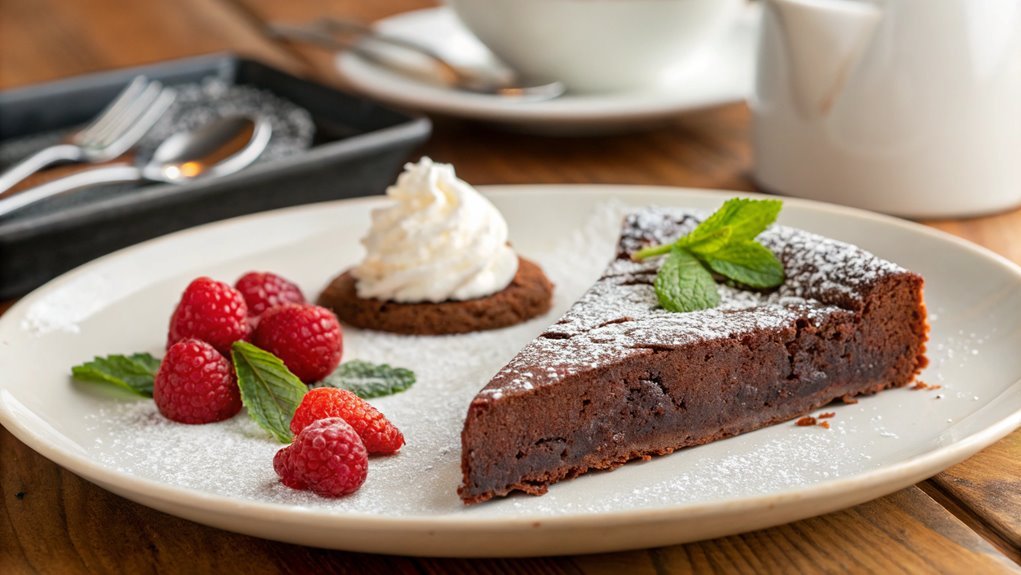
Flourless chocolate cake has a centuries-old tradition tied to Passover, adhering to its dietary restrictions. Surprisingly rich and simple to prepare, this dessert feels both indulgent and sophisticated. Impress your guests with this delightful treat, which might just become your new favorite recipe.
Recipe
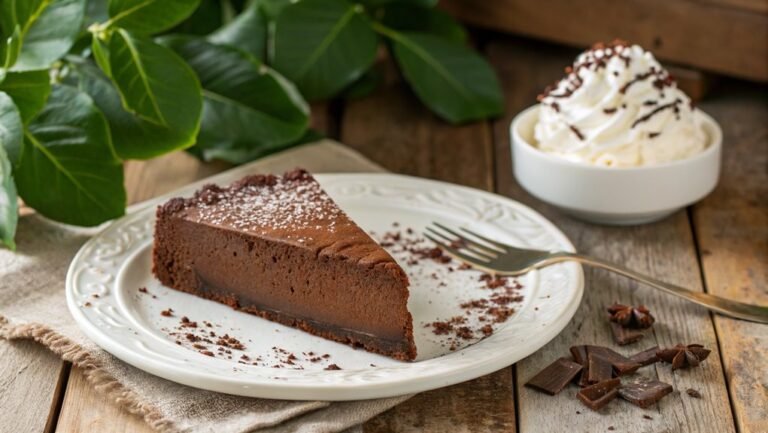
Flourless chocolate cake is a decadent dessert that’s perfect for chocolate lovers and those who are gluten-free. This rich cake has a fudgy texture that melts in your mouth, making it a delightful treat for any occasion.
The beauty of this recipe lies in its simplicity; it requires just a few high-quality ingredients and minimal effort, allowing the intense flavor of chocolate to shine through.
When making a flourless chocolate cake, it’s crucial to use good-quality chocolate to achieve the best flavor. The cake can be served plain or with a dusting of powdered sugar, whipped cream, or fresh berries for an elegant presentation.
Whether you want to impress guests at a dinner party or indulge in a delicious homemade dessert, this flourless chocolate cake recipe is sure to please.
Ingredients:
- 1 cup (6 oz) semisweet or dark chocolate, chopped
- 1/2 cup (1 stick) unsalted butter
- 3/4 cup granulated sugar
- 1/4 teaspoon salt
- 1 teaspoon vanilla extract
- 3 large eggs
- 1/2 cup unsweetened cocoa powder
Now let’s move on to the cooking steps.
Cooking Steps
Let’s get started on making that delicious flourless chocolate cake!
First, you’ll want to preheat your oven to a cozy 350°F, setting the stage for a perfectly baked treat.
Then, melt the rich chocolate and creamy butter together, and you’re off to a sweet adventure that’s sure to impress!
Step 1. Preheat Oven to 350°F
Before you plunge into mixing the ingredients for your flourless chocolate cake, preheat your oven to 350°F. This vital step sets the stage for your delicious dessert to bake evenly and come out perfectly fluffy. Imagine the rich, chocolate aroma wafting through your kitchen as it bakes!
To preheat your oven, simply turn the temperature dial to 350°F and let it warm up for about 15 minutes. This gives your oven ample time to reach the right temperature, so when you place your cake inside, it starts baking right away.
It’s important to preheat the oven because if you skip this step, your cake mightn’t rise as it should, affecting its texture and flavor.
While your oven warms up, you can get all your ingredients ready and set up your baking pan. This is a great time to take a moment to gather everything—like eggs, cocoa powder, and sugar.
It’s all about making the process smoother and more enjoyable. Once the oven beeps, you’ll be all set to bake a decadent flourless chocolate cake that’s perfect for Passover or any occasion. Happy baking!
Step 2. Melt Chocolate and Butter
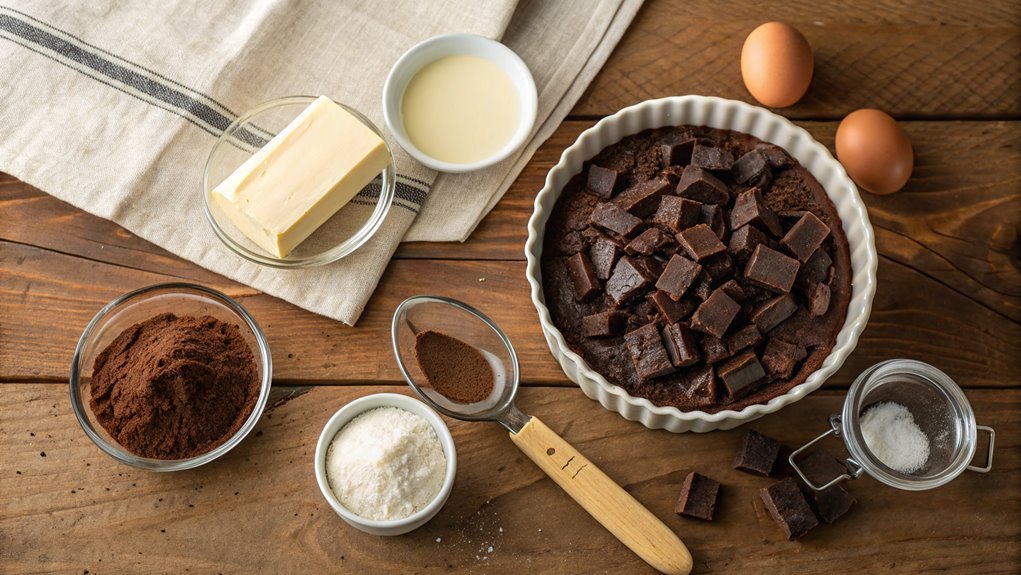
With your oven preheated and ready, the next step is to melt the chocolate and butter together. This stage is essential, as it forms the rich foundation of your flourless chocolate cake.
Start by breaking your chocolate into small pieces to help it melt evenly. You can choose to use a microwave or a double boiler. If you’re using a microwave, pop the chocolate in a microwave-safe bowl, add the butter, and heat it in 30-second intervals, stirring in between until it’s smooth and glossy.
If you prefer a double boiler, fill a pot with a couple of inches of water and place it on low heat. Set a heatproof bowl on top, making sure it doesn’t touch the water. Add the chocolate and butter to the bowl, stirring occasionally until melted. Both methods work beautifully, so pick whichever suits you best!
The aroma of melting chocolate and butter is heavenly, and this is where the magic begins. Once they’re fully melted and combined, you’re well on your way to creating a delicious treat.
Take a moment to enjoy this delightful mixture before moving on to the next step!
Step 3. Add Eggs and Sugar
Whisk the eggs and sugar together in a large mixing bowl until the mixture becomes pale and slightly thickened. This step is vital because it builds the foundation for your cake’s texture.
As you mix, you’ll notice the eggs getting a little frothy, which adds a delightful lightness to the batter. Keep going until you see those lovely ribbons forming in the mixture; it should feel almost creamy!
Now, it’s the perfect time to channel your enthusiasm for baking. Imagine the rich, indulgent cake your friends and family will enjoy. The flavors meld beautifully, and you’ll be amazed at how simple ingredients can create magic.
Once your egg and sugar mixture is ready, you’ll want to act quickly before it settles. The faster you incorporate it with the melted chocolate and butter, the better the result will be. Mixing it in while it’s still warm helps everything blend seamlessly, creating a deliciously rich base for your cake.
This step allows you to feel that chef-like satisfaction. So, take a moment to admire what you’ve accomplished so far—you’re well on your way to creating a mouthwatering Passover treat!
Step 4. Fold in Cocoa Powder
Gently fold in the cocoa powder to your egg and sugar mixture, being careful not to deflate the batter. This step is essential, as cocoa powder brings a rich, chocolatey depth to your cake. Use a spatula, and scoop from the bottom of the bowl, bringing the mixture up and over itself.
It’s important to maintain that airy texture you’ve created with the eggs and sugar. As you fold, you’ll notice the color darkening and the luscious aroma of chocolate filling the air. This is where the magic begins!
Keep your movements gentle and deliberate, so you can evenly incorporate the cocoa without losing that lightness. You want a smooth, velvety batter that’s bursting with flavor.
Take your time with this process—each fold brings you closer to a delectable dessert. You’ll feel the excitement build as the cocoa blends in, and soon enough, the batter will be ready for the next step in your baking adventure.
Step 5. Pour Into Prepared Pan
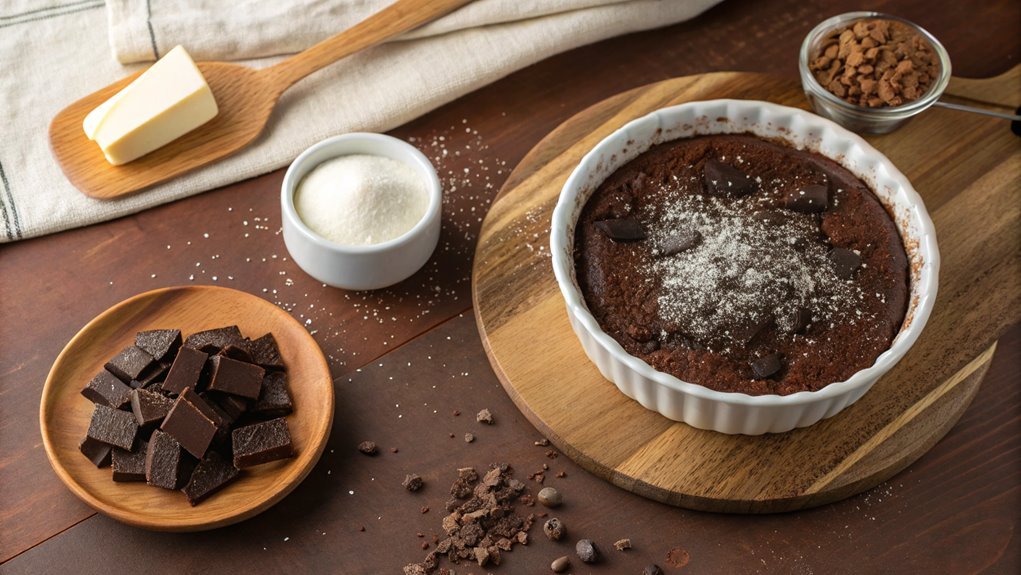
Now that you’ve lovingly folded in the cocoa powder, it’s time to pour your rich, chocolatey batter into the prepared pan. Grab your trusty spatula and carefully scrape every bit of that heavenly mixture into the pan. Make sure to get all the goodness because every spoonful counts!
As you pour, let the batter naturally spread and settle into an even layer. This will help it bake uniformly, giving you that perfect texture we all crave.
Tap the pan gently on the counter a couple of times. This taps out any air bubbles that could ruin your beautiful cake. Then, use your spatula to smooth out the top if necessary, ensuring it’s as delightful to look at as it’s to taste.
Once you feel satisfied with the batter’s appearance, it’s time to pop that pan into the oven. The warm, inviting smell of chocolate will soon fill your kitchen, making it hard to resist.
Final Thoughts
As you savor the rich, decadent layers of this flourless chocolate cake, it’s clear that this dessert is more than just a treat—it’s an experience. The creamy texture combines perfectly with the intense chocolate flavor, creating a symphony of taste that dances on your palate.
Whether you’re celebrating Passover or simply indulging in a sweet craving, this cake is sure to impress.
This recipe is an opportunity for you to explore new culinary horizons. Not only is it simple and straightforward, but it also requires minimal ingredients.
You’ll find that the process of making this cake is just as rewarding as enjoying the final product. Picture your loved ones gathered around the table, eyes lighting up as you present this stunning dessert.
Frequently Asked Questions
Can I Use Dark Chocolate Instead of Semi-Sweet Chocolate?
Yes, you can use dark chocolate instead of semi-sweet chocolate. Just keep in mind that it’ll give your dessert a richer flavor and may alter the sweetness, so adjust sugar if needed. Enjoy experimenting!
How Long Can I Store the Cake After Baking?
You can store the cake in the fridge for up to a week, or freeze it for a few months. Just make sure it’s well-covered to maintain freshness and flavor, so you can enjoy it later!
Is There a Gluten-Free Alternative for the Cocoa Powder?
Yes, you can use cacao powder as a gluten-free alternative for cocoa powder. It’s rich in flavor and allows you to maintain the texture. Just make sure to check for cross-contamination if you’re highly sensitive.
Can I Add Nuts or Fruits to the Batter?
Absolutely, you can add nuts or fruits to the batter! Just make certain they’re chopped or pureed well to guarantee even distribution. Experimenting with flavors really enhances your cake’s texture and taste, making it even more delightful.
What Can I Substitute for Eggs in the Recipe?
If you’re looking to substitute eggs, try using unsweetened applesauce, mashed bananas, or silken tofu. Each works well to bind ingredients, ensuring your cake retains its moisture and texture without compromising flavors.
