Chocolate-Covered Strawberries Recipe
Did you know that 60% of people prefer chocolate-covered fruits to plain ones? To impress guests or enjoy a sophisticated treat, mastering chocolate-covered strawberries is essential.
It’s not just about melting chocolate; technique and presentation elevate this dish. Achieving the perfect balance of flavors and textures is possible with a straightforward method.
Recipe
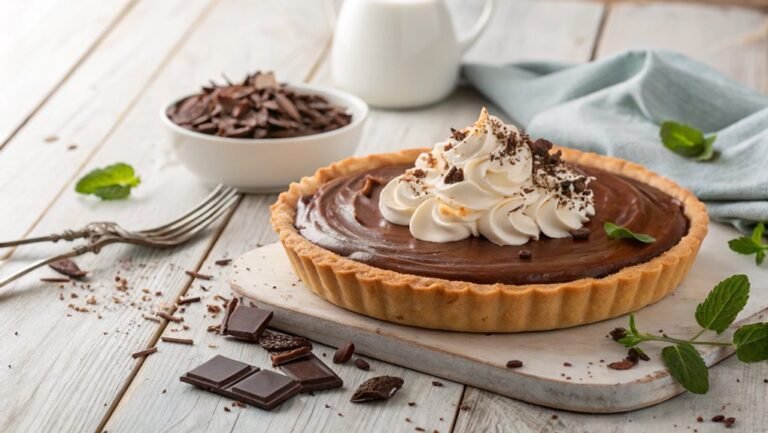
Chocolate-covered strawberries are a delightful treat that combines the juicy freshness of strawberries with the rich decadence of chocolate. They make for a perfect dessert for special occasions or a sweet indulgence any time of the year.
The beauty of this recipe lies not only in its flavor but also in its simplicity, making it accessible for both novice cooks and seasoned bakers alike. With just a few ingredients, you can create an elegant dessert that looks as great as it tastes.
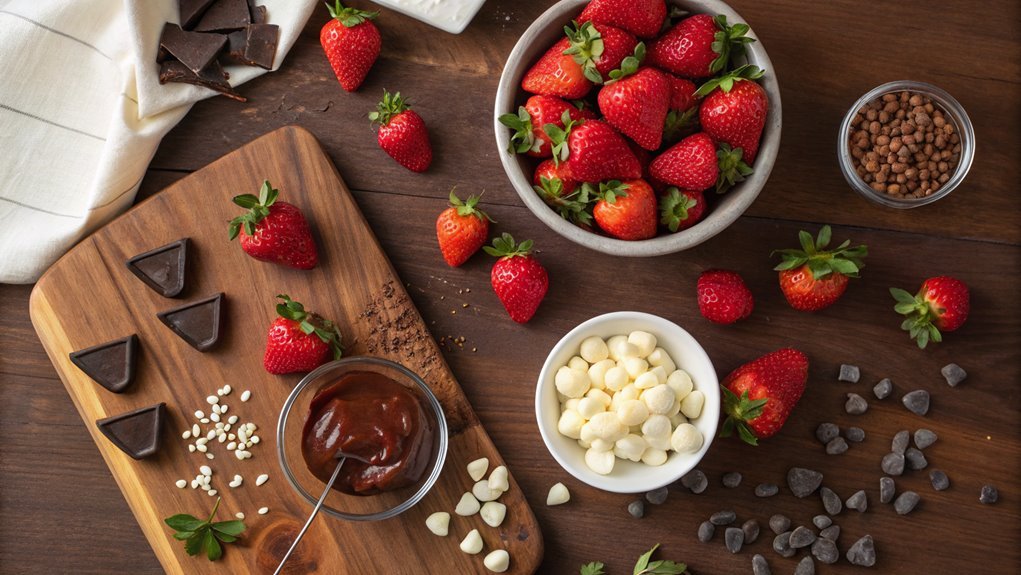
To start, select ripe and firm strawberries, as they provide the best texture and flavor. You can opt for semisweet, milk, or dark chocolate, depending on your preference.
The preparation is straightforward: wash and dry the strawberries, melt the chocolate, dip, and set. In just a matter of minutes, you’ll have a stunning platter of chocolate-covered strawberries that are sure to impress your family and friends.
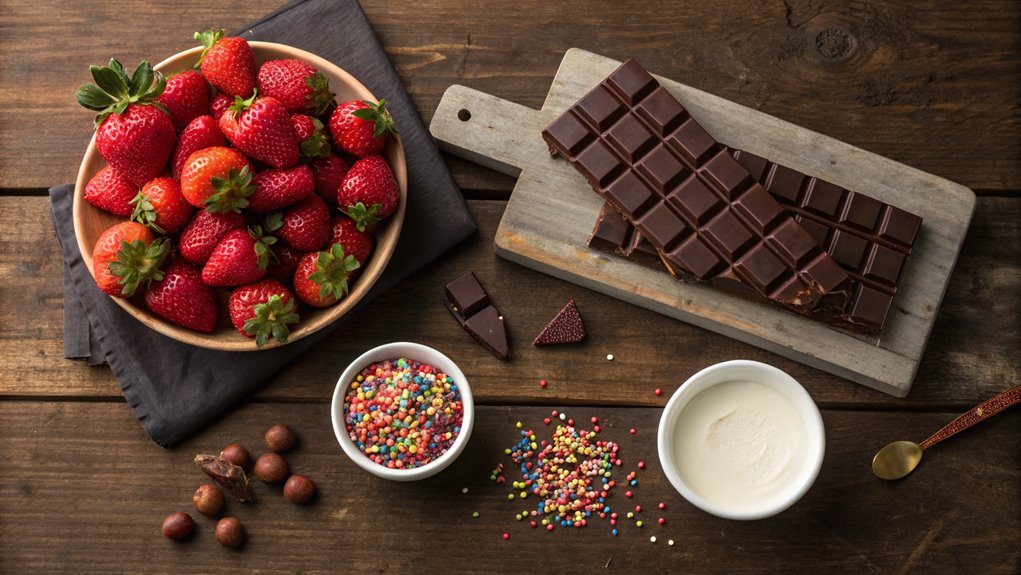
Ingredients:
- 1 pound fresh strawberries
- 8 ounces chocolate (semisweet, milk, or dark)
- Optional: white chocolate for drizzling
- Optional: sprinkles or crushed nuts for decoration
Now let’s move on to the cooking steps.
Cooking Steps
Let’s get started on making those delicious chocolate-covered strawberries!
First, you’ll want to wash and dry your strawberries thoroughly to guarantee that the chocolate sticks perfectly.
After that, melting the chocolate in a double boiler will be your next exciting step, setting you up for a delightful dip that’s both fun and tasty!
Step 1. Wash and Dry Strawberries
Start by rinsing the strawberries under cool, running water to remove any dirt or residues. Fresh strawberries taste even better when clean, and they’re the star of your chocolate-covered creation!
After rinsing, gently pat them dry with a clean paper towel, ensuring they’re not too wet before dipping in chocolate. Here’s a simple process to follow:
- Choose Fresh Strawberries: Look for vibrant, red berries with green leaves. The fresher, the better!
- Rinse Thoroughly: Hold each strawberry under the water and softly rub it, removing any residues.
- Use Paper Towels: Layer a few paper towels on the counter to dry the strawberries without soaking them!
- Air Dry: After patting, let them sit for a few minutes to air dry completely.
Cleaning your strawberries properly sets the stage for an amazing treat. It’s vital because any extra moisture could interfere with the chocolate coating, so take your time!
Once they’re nice and dry, you’ll be ready to begin on the next delicious step of melting chocolate and creating your perfect chocolate-covered strawberries. Enjoy the process—it’s all part of the fun!
Step 2. Melt Chocolate in Double Boiler
To melt chocolate using a double boiler, you’ll need two pots: one for simmering water and a smaller one to hold the chocolate.
Start by filling the larger pot with about an inch of water, and place it on the stove over medium heat. It’s essential that the water doesn’t touch the smaller pot; you want gentle steam, not boiling water!
Next, chop your chocolate into small pieces and add them to the smaller pot.
Once the water begins to simmer, carefully set the smaller pot on top. Stir the chocolate continuously with a spatula or wooden spoon to guarantee even melting and to prevent it from burning.
Keep an eye on the chocolate as it melts, which usually takes about 5 to 10 minutes. If you find the chocolate isn’t melting smoothly, reduce the heat or remove it from the pot occasionally to stir.
This technique creates a creamy texture that’s absolutely perfect for dipping!
Once it’s fully melted, you’ll be ready to transform those strawberries into a delicious treat. Enjoy the rich aroma and get excited for your next step!
Step 3. Dip Strawberries in Chocolate
Gently lift each strawberry by the green stem and dip it into the smooth, melted chocolate. Feel the thrill as you create this delicious treat! Here’s how to make the dipping process perfect:
- Hold the strawberry firmly: Make sure to grasp the green stem so you can control the dip without messy fingers.
- Submerge halfway: Dip the strawberry into the chocolate until it reaches about halfway up its body. This gives it that gorgeous chocolatey look while keeping fresh fruit visible.
- Twist gently: After dipping, twist the strawberry slightly while lifting it out. This helps remove excess chocolate, preventing a thick layer and ensuring it looks fabulous.
- Let it drip: Allow the chocolate to drip back into the bowl for a few seconds. This step is essential; it prevents pooling of chocolate at the base of your strawberries.
You’ll love how simple and rewarding this process is! Each chocolate-covered strawberry will turn out beautifully, making your efforts worth every second.
Now, let’s get those strawberries perfectly dipped and ready for chilling!
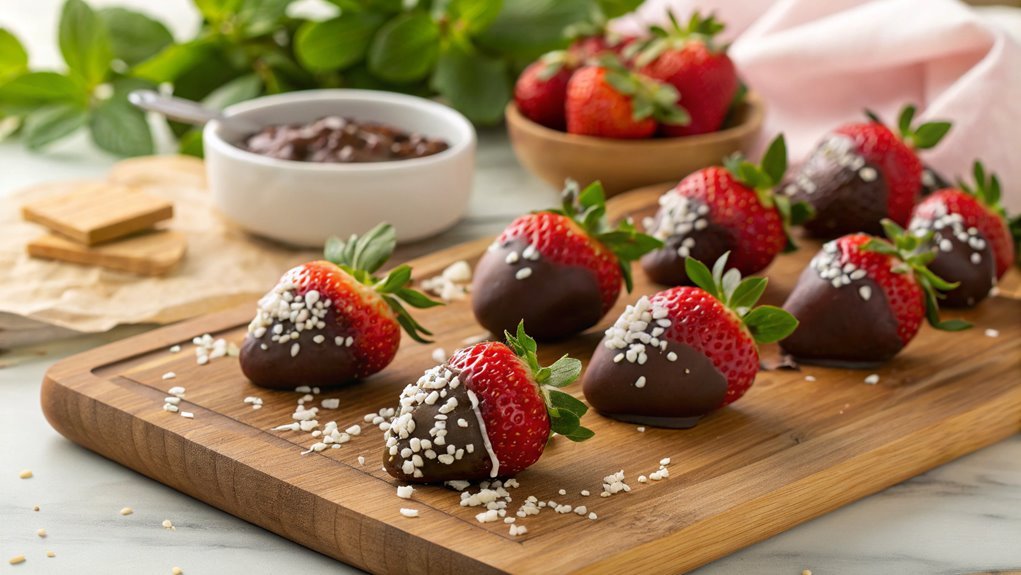
Step 4. Chill Strawberries on Wax Paper
After dipping each strawberry, it’s time to chill them on wax paper. This step is essential to set the chocolate and achieve that delightful glossy finish. Grab a baking sheet and lay out a piece of wax paper, ensuring it’s smooth and wrinkle-free.
Now, gently place your chocolate-covered strawberries on the wax paper, leaving some space between each one. This prevents them from sticking together as they cool.
Once you’ve arranged all the strawberries, slide the baking sheet into the refrigerator. Chilling them for about 30 minutes will help the chocolate harden perfectly, giving you that satisfying crunch when you take a bite. You can almost imagine that delightful moment of enjoying your sweet creation!
While the strawberries chill, take a minute to clean up your work area. You’ll appreciate the organized space when you’re ready for the next exciting step.
Once the chocolate is set, you’ll see the joy of your hard work reflected in those gorgeous strawberries. They’ll look almost too good to eat! But don’t worry; you’ll want to indulge. Enjoy this delicious treat, and get ready for the next fun part!
Step 5. Decorate With White Chocolate Drizzle
Once the chocolate has fully set, you can elevate your chocolate-covered strawberries with a beautiful white chocolate drizzle. This final touch not only looks stunning but adds an extra layer of sweetness that’ll impress everyone. Here’s how to do it:
- Melt the White Chocolate: In a microwave or double boiler, melt white chocolate chips until smooth. Stir often to prevent burning.
- Prepare a Piping Bag: Transfer the melted white chocolate into a piping bag or a plastic sandwich bag with a small corner cut off. This will give you better control for decorating.
- Drizzle Gently: Hold the piping bag above your strawberries and gently squeeze, creating a lovely drizzle pattern. You can get creative with swirls or stripes!
- Let it Set: Once you’ve drizzled your strawberries, place them back in the fridge for a few minutes to let the white chocolate harden.
And there you have it! Your delectable chocolate-covered strawberries now look absolutely irresistible with that eye-catching white drizzle.
Enjoy them at parties, or treat yourself—you’ve earned it! Get ready for compliments with every bite!
Final Thoughts
As you savor your delicious chocolate-covered strawberries, remember that this delightful treat isn’t only easy to make but also perfect for any occasion.
Whether you’re celebrating an anniversary, hosting a party, or just treating yourself, these strawberries are sure to impress. The combination of sweet fruit and rich chocolate is hard to resist, and the best part is, you can customize them however you like!
With just a few ingredients and a bit of time, you can create a gourmet dessert that looks just as good as it tastes.
Don’t be afraid to experiment with different types of chocolate or toppings. The possibilities are endless! You can try dark chocolate, milk chocolate, or even white chocolate for a fun twist.
Add crushed nuts, sprinkles, or a drizzle of contrasting chocolate to make your creations even more eye-catching.
Frequently Asked Questions
How Long Can Chocolate-Covered Strawberries Be Stored?
You can store chocolate-covered treats in the refrigerator for up to two days. If you need to keep them longer, consider freezing them, but note that texture may change once thawed. Enjoy them fresh!
Can I Use White Chocolate Instead of Milk Chocolate?
Oh sure, you can use white chocolate! Because who doesn’t love a fruit dressed in a sweet, milky disguise? Just melt it down like you would milk chocolate, and enjoy your sugary creation.
Are There Any Alternative Fruits to Use?
You can definitely switch things up! Try using bananas, pineapple, or even mango slices. Each offers a delightful twist, letting you explore new flavors while keeping the fun and deliciousness intact. Enjoy experimenting!
What Type of Chocolate Is Best for Melting?
When you’re melting chocolate, choose high-quality couverture chocolate or chocolate chips specifically designed for melting. They’ll give you a smooth, glossy finish that hardens nicely. Avoid chocolate with too much wax or additives.
How Can I Prevent Chocolate From Cracking?
Think of chocolate as a fragile treasure; to prevent cracking, temper it properly. Heat it slowly, avoid moisture, and let it cool gradually. These steps guarantee your chocolate remains smooth and glossy, ready for delight.