Chocolate Silk Pie Recipe
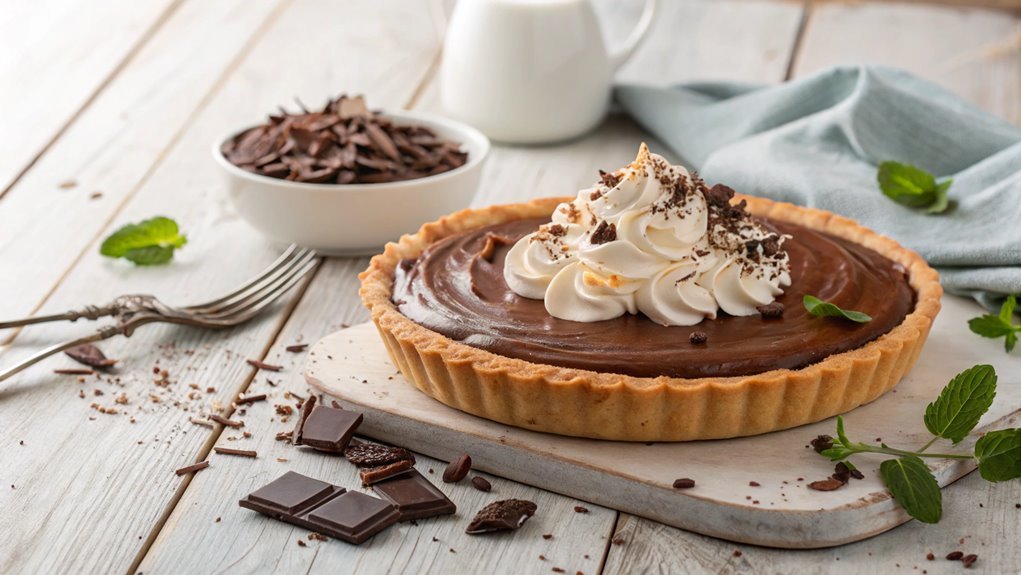
For an impressive dessert, consider making a Chocolate Silk Pie with a smooth, rich filling and a crisp crust. The luxurious texture relies on high-quality chocolate and cream, so attention to detail in each step is crucial.
Even seasoned bakers can struggle with certain parts of the process, so careful attention is essential for success. Follow each step meticulously to ensure this indulgent treat turns out perfectly.
Recipe
Chocolate Silk Pie is a decadent dessert that’s sure to impress your family and friends. This rich and creamy pie features a smooth chocolate filling, made with melted chocolate and whipped cream, all nestled in a flaky pie crust. It’s perfect for any occasion, whether it’s a holiday gathering or a casual dinner party.
The combination of chocolate and the airy texture creates a delightful experience for your taste buds, making it a favorite among chocolate lovers.
To start your Chocolate Silk Pie, you’ll need to prepare the crust, which can be made from scratch or bought pre-made for convenience. Once the crust is baked and cooled, the real magic happens with the filling. The process involves melting chocolate, whipping cream, and combining these elements to create that signature silky texture.
After assembling the pie, it needs to chill in the refrigerator to set, allowing the flavors to meld beautifully.
Ingredients:
- 1 pre-baked pie crust (9-inch)
- 8 ounces semi-sweet chocolate, chopped
- 4 large eggs
- 1 cup granulated sugar
- 1 teaspoon vanilla extract
- 1 cup heavy whipping cream
- 2 tablespoons unsalted butter
- 1/4 teaspoon salt
- Whipped cream for topping (optional)
- Chocolate shavings for garnish (optional)
Now let’s move on to the cooking steps.
Cooking Steps
Now that you have the ingredients ready, let’s jump into the cooking steps that’ll bring your chocolate silk pie to life!
First, you’ll prepare the pie crust, which sets the perfect foundation for that rich filling.
After that, mixing the chocolate and cream will be a delightful experience, so let’s get started!
Step 1. Prepare the Pie Crust
To prepare the pie crust for your Chocolate Silk Pie, start by gathering your ingredients and tools. You’ll need all-purpose flour, sugar, salt, unsalted butter, and cold water. A mixing bowl, a rolling pin, and a pie dish will also come in handy.
Begin by combining the flour, sugar, and salt in a mixing bowl. Cut in the cold butter using a pastry cutter or your fingers until the mixture resembles coarse crumbs. This step is essential, as it creates that flaky texture we all love!
Next, gradually add cold water, one tablespoon at a time, mixing until the dough comes together. Be careful not to overwork it!
Once your dough is ready, shape it into a disc, wrap it in plastic wrap, and refrigerate for at least 30 minutes. Chilling is important; it helps the butter firm up and the gluten to relax, making your crust tender and flaky.
After chilling, roll out the dough on a lightly floured surface until it’s about 1/8 inch thick. Carefully transfer it to your pie dish, trimming the edges as needed.
Now you’re all set to bake your crust, creating a delicious base for your rich chocolate filling!
Step 2. Mix Chocolate and Cream
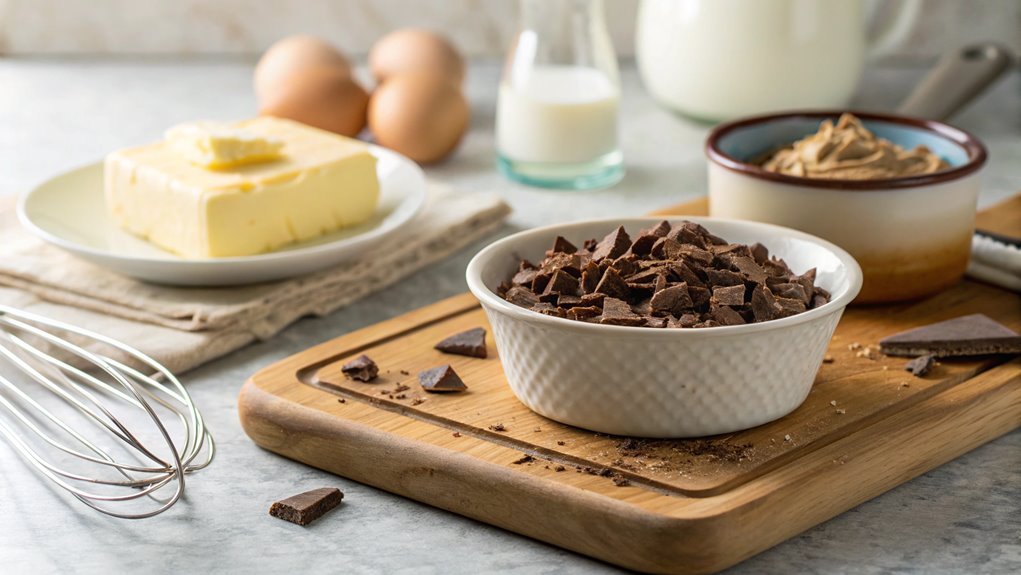
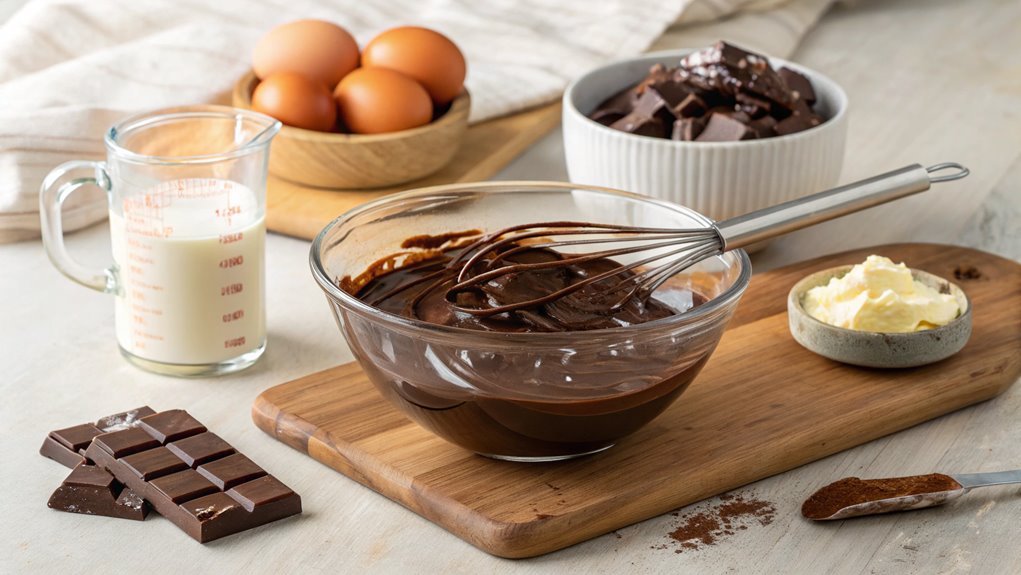
Once your pie crust has cooled, it’s time to melt the chocolate for a rich filling. This step is crucial, as it creates the creamy, decadent base that makes chocolate silk pie so irresistible. Let’s dive right in!
- Choose Your Chocolate: Use high-quality semi-sweet chocolate for the best flavor. You can also mix in some dark chocolate for a deeper taste.
- Melt the Chocolate: Break the chocolate into small pieces and place it in a heatproof bowl. Use a microwave or a double boiler to melt it gently, stirring often until smooth. Be careful not to overheat!
- Add the Cream: Once melted, let the chocolate cool slightly before adding heavy cream. Stir until well combined. The cream will help achieve that luscious, silky texture.
- Incorporate Other Ingredients: You’ll soon mix in sugar, vanilla extract, and a pinch of salt. This will enhance the flavor and balance the sweetness.
Now that you’ve mixed the chocolate and cream, you’re one step closer to enjoying this delightful dessert! Get ready for the next phase where the magic really happens!
Step 3. Chill the Filling Mixture
Although chilling the filling might seem like a simple step, it’s vital for achieving the perfect texture in your chocolate silk pie. After mixing together your chocolate and cream, you’ll want to allow the filling mixture to cool down before moving on. This step helps to thicken the filling and guarantees that it sets beautifully in the pie crust.
To chill the mixture, cover it with plastic wrap, making sure it touches the surface to prevent a skin from forming. Place it in the refrigerator for about 30 minutes. This waiting period is important, as the cool temperature will help the flavors meld together, creating a rich and creamy filling that will simply melt in your mouth.
While you’re waiting, you can prepare the crust or clean up your workspace. Once the time is up, you’ll notice that the filling has thickened slightly, making it easier to spread later.
This is the part where the magic truly happens, so don’t rush it! Embrace the anticipation, and get ready to create a dessert that will impress everyone at your gathering. Your chocolate silk pie is well on its way to becoming a showstopper!
Step 4. Spread Filling in Crust
Now that your filling has chilled and thickened, it’s time to spread it into the prepared pie crust. This is the moment when your chocolate silk pie starts to come to life! Grab your spatula and let’s plunge into the deliciousness.
- Scoop the Filling: Take a generous scoop of the chocolate filling and place it right in the center of your crust.
- Spread Evenly: Using your spatula, gently spread the filling outwards toward the edges of the crust. Make sure to reach all corners for that perfect finish.
- Smooth the Surface: Once you’ve reached the edges, smooth the top to create a beautiful, even layer. You want it to look as good as it tastes!
- Chill Again: After spreading the filling, pop the pie back into the fridge for at least another hour. This allows the flavors to deepen and the filling to set perfectly.
Every step brings you closer to enjoying a slice of this decadent pie. Trust me, the wait will be worth it!
Step 5. Top With Whipped Cream
After letting your pie chill and set, it’s time to crown it with a luscious layer of whipped cream. This step not only adds a beautiful touch but also enhances the flavor of your rich chocolate silk pie.
Grab a mixing bowl and pour in some heavy cream—about a cup should do. Using an electric mixer, whip the cream on medium speed until it starts to thicken. Then, add a tablespoon of powdered sugar and a splash of vanilla extract for that extra sweetness and aroma.
Keep whipping until you see soft peaks form, which will take just a few minutes.
Now, carefully dollop or spread the whipped cream over the cooled chocolate filling. You can be as artistic as you like—swirls, peaks, or just a smooth layer. If you’re feeling adventurous, sprinkle some chocolate shavings or cocoa powder on top for an added touch of elegance.
Once you’ve adorned your pie, pop it back in the fridge for a little while longer to let the flavors meld together.
When you’re ready to serve, slice it up and watch everyone’s eyes light up! Enjoy every decadent bite of your homemade chocolate silk pie!
Final Thoughts
As you savor your homemade Chocolate Silk Pie, take a moment to appreciate the effort that went into creating this decadent dessert. Each bite is a reward for your hard work, and you should feel proud of this delightful treat.
Whether it’s a special occasion or just a sweet craving, this pie is sure to impress everyone who tries it.
Here are a few final tips to enhance your Chocolate Silk Pie experience:
- Experiment with flavors: Try adding a splash of espresso or a hint of vanilla to the chocolate mixture for an extra depth of flavor.
- Explore toppings: Besides whipped cream, consider using chocolate shavings, crushed nuts, or fresh berries to elevate your pie.
- Serve chilled: Make sure to chill your pie properly before serving; it enhances the silky texture and makes it even more enjoyable.
- Share the joy: Don’t forget to share your creation with friends and family. The smiles on their faces will be the best reward!
Frequently Asked Questions
Can I Use Dark Chocolate Instead of Semi-Sweet Chocolate?
Yes, you can use dark chocolate instead of semi-sweet chocolate. It’ll give your dessert a richer flavor, but keep in mind that it may alter the sweetness, so adjust sugar as needed. Enjoy experimenting!
How Long Can I Store Chocolate Silk Pie in the Fridge?
So, you think your chocolate masterpiece can last forever? Think again! You can store that luscious pie in the fridge for about three to four days, but good luck resisting it before then! Enjoy!
Is There a Vegan Version of Chocolate Silk Pie?
Yes, there’s definitely a vegan version of chocolate silk pie! You can use silken tofu, dairy-free chocolate, and a vegan crust. It’s rich, creamy, and just as delicious as the traditional one. Enjoy your dessert!
Can I Freeze Chocolate Silk Pie for Later?
You can freeze desserts like chocolate silk pie for up to three months, preserving their deliciousness. Just wrap it tightly in plastic wrap and aluminum foil to avoid freezer burn. Enjoy later, guilt-free!
What Should I Serve With Chocolate Silk Pie?
You can serve chocolate silk pie with whipped cream, fresh berries, or a scoop of vanilla ice cream. These accompaniments enhance the dessert’s richness and add a revitalizing contrast to its smooth, decadent texture.
Conclusion
Enjoy your show-stopping Chocolate Silk Pie, sure to impress everyone! With rich chocolate filling and fluffy whipped cream, it’s irresistible. Chill properly to enhance the flavors and treat yourself and loved ones. Immerse in chocolatey bliss and watch smiles light up. Happy baking and savor every heavenly bite!
