Rainbow Jello Cups Recipe
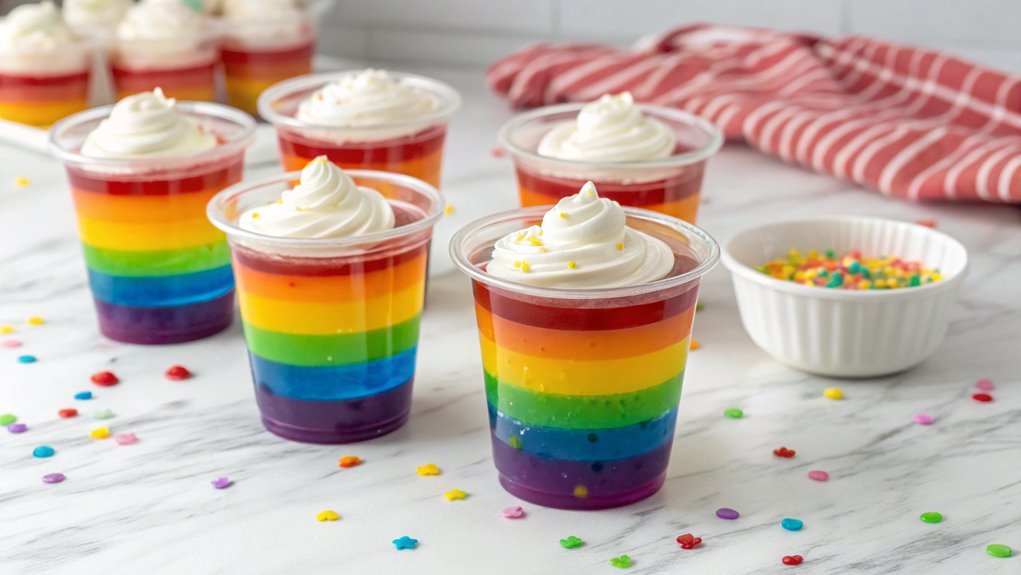
Rainbow Jello Cups can elevate your dessert game with their vibrant layers and fruity flavors, making them a perfect centerpiece for any gathering. Although each layer requires careful preparation and patience to set before adding the next, the stunning final result is well worth the effort. Curious about the step-by-step process? Let’s explore how to create these beautiful cups together.
Recipe
Rainbow Jello Cups are a delightful and colorful dessert that’s perfect for celebrations, parties, or simply a fun treat at home. This vibrant dessert isn’t only visually appealing but also brings a burst of fruity flavors that’s certain to delight both kids and adults alike.
Making Rainbow Jello Cups can be a fun activity to do with family or friends, allowing creativity to shine through as you layer different colors of Jello for a stunning presentation.
To create these eye-catching dessert cups, you’ll need to prepare several flavors of Jello in a variety of colors, which will then be layered in clear cups to showcase their rainbow effect. The process involves preparing each layer at intervals to guarantee that they set properly without mixing.
While the individual layers may take a little time to create, the final result will be a whimsical and tasty treat that everyone will love.
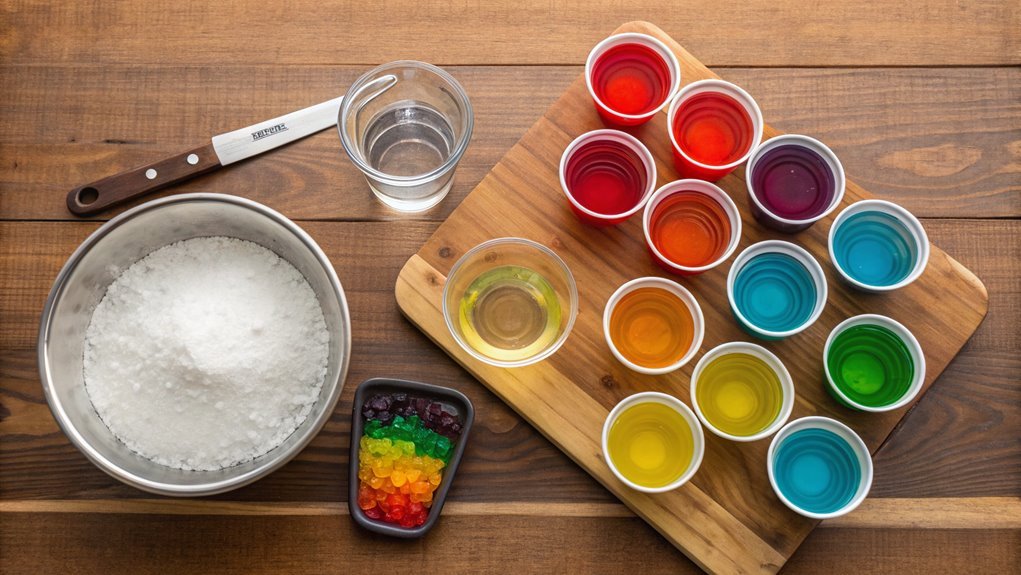
Ingredients:
- 3 cups boiling water
- 3 cups cold water
- 6 different flavors of Jello (preferably in different colors)
- Whipped cream (for topping, optional)
- Clear plastic or glass cups (for serving)
Now let’s move on to the cooking steps.
Cooking Steps
Let’s get started on those colorful Rainbow Jello Cups!
You’ll prepare your gelatin mixtures separately to create each vibrant layer, so gather your favorite flavors.
Just remember to chill each layer before adding the next for that perfect, eye-catching dessert!
Step 1. Prepare Gelatin Mixtures Separately
To create vibrant layers in your jello cups, you’ll need to prepare each gelatin mixture separately. This step is essential for achieving those stunning rainbow layers that are sure to impress your friends and family.
Start by selecting your favorite flavors—each will contribute its beautiful, unique color.
Here’s how you can prepare the gelatin mixtures:
- Choose your colors based on the flavor options you love—think strawberry red or lime green!
- Dissolve the gelatin in boiling water according to package instructions, stirring until it’s completely mixed.
- Add cold water to the hot mix, following the recipe for each layer—this helps it set properly.
- Let mixtures cool slightly before pouring them into cups. This prevents melting and allows for better layering.
- Repeat for each flavor, allowing each layer to set in the fridge before the next one goes in!
Step 2. Layer the First Color
After your gelatin mixtures have cooled slightly, it’s time to layer the first color. Grab your clear plastic cups and pick the color you want to start with. Carefully pour about one to two tablespoons of the cooled gelatin into each cup.
Make certain to pour slowly and steadily; this way, you avoid splashing and guarantee that the layer is smooth. You’ll want to fill each cup evenly, so use a measuring spoon if you need to.
Once you’ve added the first layer, take a moment to admire that vibrant color! It’s like painting a masterpiece, and you’re the artist. Now, let this first layer set. You can set your cups on a flat surface in the fridge, making sure they won’t be disturbed.
Take note that the setting process usually takes about 30 minutes. It’s exciting to watch the magic happen as the gelatin solidifies! This step is essential because a well-set layer will provide the perfect foundation for the next color.
Step 3. Chill Before Adding Next Layer
Once the first layer has set firmly in the fridge, it’s important to chill before adding the next color. This step guarantees that each layer stays distinct and doesn’t mix together, preserving that beautiful rainbow effect you’re aiming for!
To achieve the best results, follow these quick tips while the layers chill:
- Check the consistency: Gently shake the cup to see if the surface is firm enough.
- Keep the fridge cold: Make sure your refrigerator isn’t too warm; a cold environment is vital for setting the layers properly.
- Set a timer: Give each layer at least 15 to 30 minutes to chill. This helps you time each addition perfectly!
- Use clear cups: If you’re aiming for vibrant colors, opt for clear cups for a stunning view of your rainbow.
- Stay patient: Waiting might be tough, but good things come to those who wait!
Each layer is a delightful surprise, so enjoy the process. You’ll be amazed at how fantastic your Rainbow Jello Cups look, and even more thrilled when you get to indulge in the colorful treat you’ve created.
Happy layering, and get ready for the next step!
Step 4. Add Whipped Cream Topping
While your colorful layers have set and are waiting to impress, it’s time to crown your Rainbow Jello Cups with a light and fluffy whipped cream topping. This delightful addition not only enhances their visual appeal but also adds a creamy texture that perfectly complements the fruity flavors.
To start, grab a mixing bowl and pour in some heavy whipping cream. If you want to sweeten your whipped cream, add a couple of tablespoons of powdered sugar.
Using an electric mixer, whip the cream on medium speed until soft peaks form. It’s a simple process, but the transformation is magical! Keep an eye on it, though; you don’t want to overwhip and turn it into butter.
Once your whipped cream is ready, it’s time to scoop or pipe it onto each Jello cup. You can use a spoon for a casual look, or a piping bag for a more polished presentation.
Imagine the joy as you layer that soft, cloud-like topping on each colorful cup! Finish off with a sprinkle of colorful sprinkles or fruit pieces if you’re feeling adventurous.
Enjoy your masterpiece, and watch everyone plunge into this vibrant, delicious treat!
Step 5. Add Final Color Layer
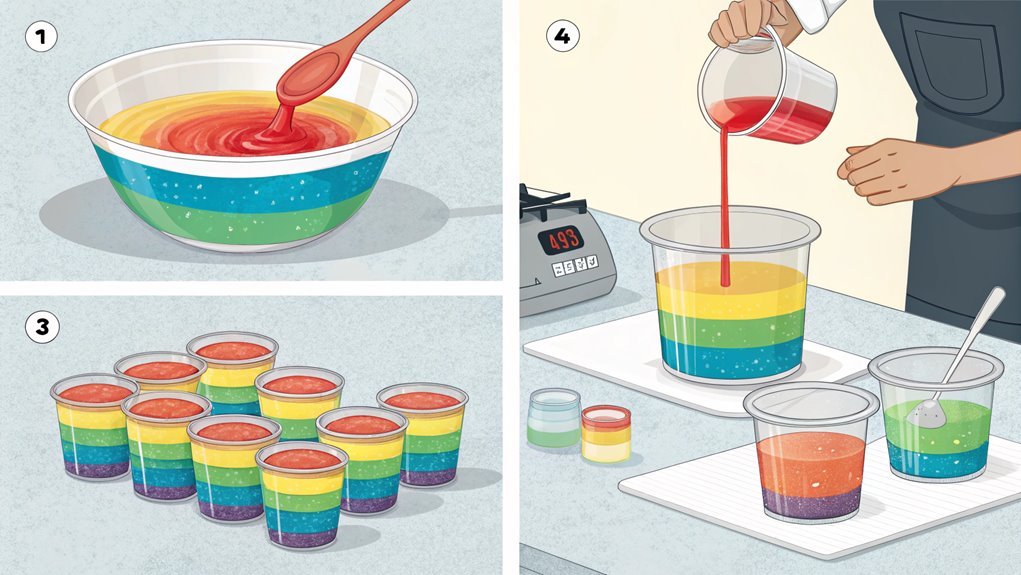
As you prepare to add the final color layer to your Rainbow Jello Cups, make certain the previous layers are fully set for a stunning visual contrast. This last layer won’t only make the cups pop with color but also add a delightful flavor that complements the earlier flavors.
Once you’ve confirmed the layers are set, it’s time for the grand finale!
Here’s how to do it right:
- Choose your final color. Pick a flavor that will stand out against the others, like bright orange or raspberry.
- Mix your Jello. Follow the package instructions, using boiling water and cold water as needed.
- Cool it down. Let your mixture sit until it reaches room temperature. This prevents it from melting the layers below.
- Pour gently. Slow and steady is your mantra! Pour the Jello over the back of a spoon to eliminate splashes and protect your beautifully set layers.
- Chill again. Pop the cups back in the refrigerator for a few hours, ensuring that everything sets perfectly.
When you’re ready to serve, you’ll have gorgeous cups that are as fun to look at as they’re to eat! Enjoy the colorful masterpiece you’ve created!
Final Thoughts
Creating these vibrant rainbow jello cups not only adds a fun twist to your dessert table, but it also sparks joy in every bite.
You’ll find that each layer brings its own burst of flavor and color, enticing everyone to dig in. This recipe is perfect for parties, holidays, or just a simple family treat.
The best part is how customizable these jello cups are! You can experiment with different flavors, mix in fruits, or even use different types of gelatins to make it your own.
When you serve these delightful cups, you’ll see the smiles at the table grow wider with each colorful spoonful.
Plus, they’re easy to make and don’t require advanced cooking skills, making them accessible for cooks of all levels.
Just imagine the thrill of watching your guests’ faces light up as they enjoy a playful, multi-colored dessert!
Frequently Asked Questions
Can I Use Sugar-Free Jello for This Recipe?
Sure, you can use sugar-free Jello! It’ll work just as well. Just keep in mind that the texture and taste might differ slightly from regular Jello, but you’ll still enjoy delicious results.
How Long Do the Jello Cups Last in the Fridge?
Jello cups typically last about 5 to 7 days in the fridge. To enjoy them at their best, make sure you cover them properly. If they start to change, it’s time to toss them.
Can I Substitute With Other Flavors of Jello?
Variety is the spice of life! You can definitely substitute with other Jello flavors; just pick your favorites and adjust the layers accordingly. It’ll add a personal twist that everyone will enjoy.
Is There a Vegan Alternative for the Sweetened Condensed Milk?
Yes, you can use coconut cream or a blend of silken tofu and maple syrup as vegan alternatives for sweetened condensed milk. They provide a creamy texture and sweetness without any dairy, perfect for your recipe!
What Can I Use Instead of Cups if Unavailable?
If you don’t have cups, try small bowls or dessert dishes. You could also use proper glasses or even muffin tins. Just guarantee they’re the right size to hold your treat securely.