Vanilla Bean Panna Cotta Recipe
Imagine a smooth, creamy dessert inviting you to take that first delicate spoonful—Vanilla Bean Panna Cotta, a classic blend of simplicity and elegance. With just a few ingredients, you can create an indulgent dish that’s surprisingly easy to master.
Curious about achieving the perfect texture or what to pair it with for the ultimate experience? Stick around for all the answers you need.
Recipe
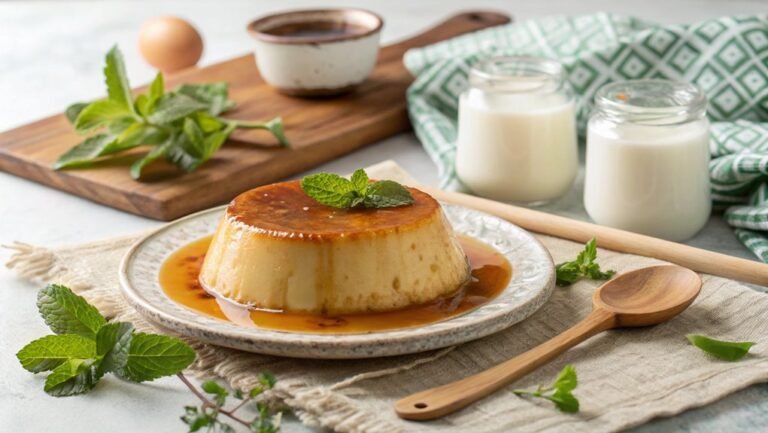
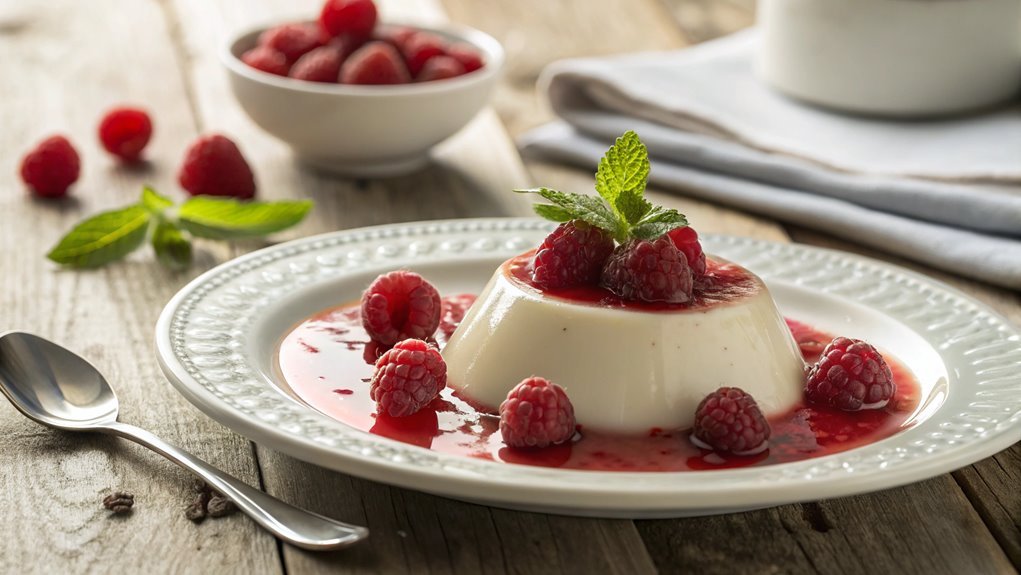
Vanilla bean panna cotta is a classic Italian dessert that’s both creamy and decadent, yet surprisingly simple to prepare. This elegant treat is made by simmering cream, sugar, and vanilla bean, then thickening it with gelatin before chilling it to perfection. The result is a silky, smooth custard that wobbles delightfully on the plate and can be served with various toppings, such as fresh berries, fruit coulis, or a drizzle of caramel sauce.
To create a truly memorable panna cotta, quality ingredients are key. Using real vanilla beans enhances the flavor profile, giving the dessert a rich, aromatic essence that’s far superior to vanilla extract.
While the process involves a few steps, the end result is worth the effort and makes for an impressive dessert for any occasion.
Ingredients:
- 2 cups heavy cream
- 1 cup whole milk
- 1/2 cup granulated sugar
- 1 vanilla bean (split and seeds scraped)
- 2 1/2 teaspoons powdered gelatin
- 3 tablespoons cold water
- Pinch of salt
Now let’s move on to the cooking steps.
Cooking Steps
Now that you have your ingredients ready, let’s jump into the cooking steps to create your delicious vanilla bean panna cotta!
You’ll start by preparing the gelatin mixture and heating the cream and sugar, which will form the creamy base of your dessert.
Once everything is blended and chilled in molds, you’ll be one step closer to serving this delightful treat topped with fresh berries!
Step 1. Prepare the Gelatin Mixture
Before diving into the creamy goodness of panna cotta, you’ll need to prepare the gelatin mixture, which is essential for achieving that perfect texture. Start by gathering your ingredients: unflavored gelatin and cold water.
You’ll want to sprinkle the gelatin over the cold water in a small bowl. This step is significant because it allows the gelatin to bloom, absorbing the water and swelling up. Let it sit for about five to ten minutes, while you anticipate the delightful dessert ahead.
Once the gelatin has bloomed, you’ll notice it has become a thick, jelly-like consistency. This is your cue to transform it into a silky smooth mixture. For this, gently heat the gelatin in a saucepan over low heat.
Stir it continuously until it completely dissolves. Be careful not to let it boil, as that can compromise its thickening ability.
And that’s it! You’ve successfully prepared the gelatin mixture, which will be the backbone of your panna cotta. This simple yet essential step is what’ll give your dessert that luscious, melt-in-your-mouth texture.
Get ready to move on to the next delicious step!
Step 2. Heat Cream and Sugar Mixture
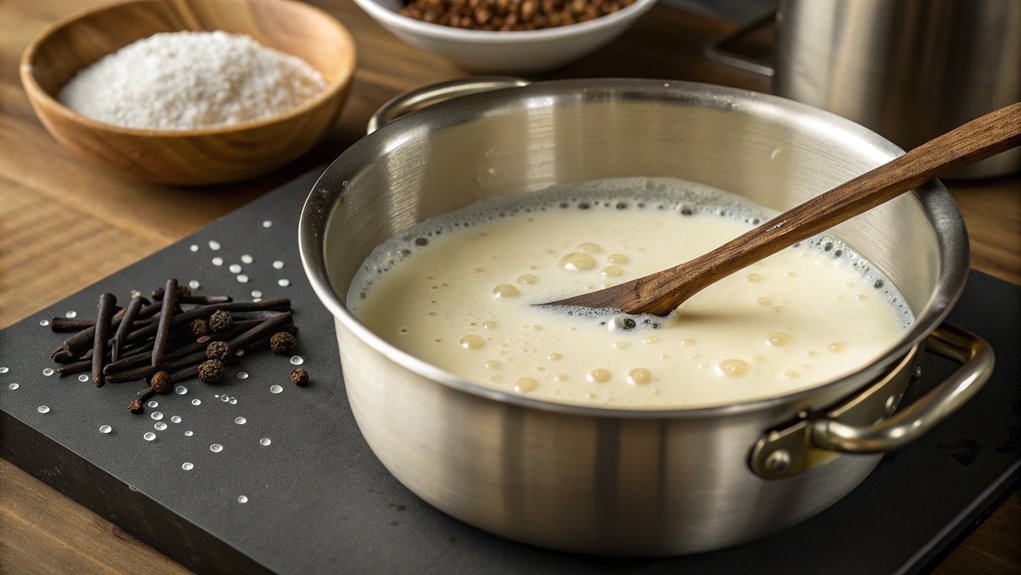
With the gelatin mixture ready, it’s time to focus on the cream and sugar. This step is vital for achieving that silky texture you love in panna cotta.
Start by pouring heavy cream into a saucepan, then add granulated sugar. You want the sugar to dissolve completely, so gently heat the mixture over medium heat. Stir it occasionally, allowing the cream to warm up but not boil.
Here’s what you’ll do:
- Combine Ingredients: Add the sugar to the cream and stir until it dissolves. This guarantees a smooth consistency.
- Add Vanilla: Once the mixture is warm, scrape the seeds from the vanilla bean and add both the seeds and the pod to the cream. This infuses your panna cotta with rich vanilla flavor.
- Monitor Temperature: Keep an eye on the heat; you want the cream to be steaming but not bubbling.
Once everything’s blended beautifully and the sugar’s dissolved, remove the saucepan from heat. This is where the magic begins!
You’ve just created the luscious base for your panna cotta. Exciting, right? Now let’s move on to the next steps!
Step 3. Chill Mixture in Molds
Once you’ve removed the cream mixture from heat, it’s time to pour it into your molds. Grab your prepared molds, whether they’re ramekins, cups, or silicone molds, and place them on a sturdy surface.
Carefully ladle the creamy mixture into each mold, filling them to about three-quarters full. This allows room for the panna cotta to expand slightly as it sets.
Once you’ve filled the molds, take a moment to admire that silky, smooth texture. It’s the perfect base for your delicious panna cotta!
Now, cover each mold with plastic wrap. This helps prevent any unwanted odors from your fridge from sneaking in while they chill.
Next, pop the molds into the refrigerator. You’ll want to let them chill for at least four hours, but overnight is even better if you can wait.
This is the hardest part—waiting! As the panna cotta sets, it’ll transform into a luscious, wobbly dessert that’s sure to impress anyone you serve it to.
Trust me, you’re going to love the anticipation and excitement of that first scoop! Enjoy the process, and get ready for a delightful treat that’s well worth the wait.
Step 4. Add Vanilla Bean Paste
To create that signature flavor in your panna cotta, you’ll need to add vanilla bean paste. This ingredient is the star of your dessert, infusing it with that rich, aromatic essence that makes every bite unforgettable.
Here’s how to seamlessly incorporate it:
- Measure Your Paste: Use about one tablespoon of vanilla bean paste for a lovely, intense flavor. This amount strikes the perfect balance, ensuring your panna cotta isn’t overwhelmed but still fragrant.
- Combine With Cream: After you’ve heated your cream mixture, stir in the vanilla bean paste. Make sure to whisk it in thoroughly until it’s well blended. This step is essential for achieving that creamy, luscious texture.
- Taste Test: Before pouring your mixture into molds, taste it! Adjust the sweetness if needed, or even add a touch more vanilla paste if you want that extra kick of flavor.
Step 5. Serve With Fresh Berries
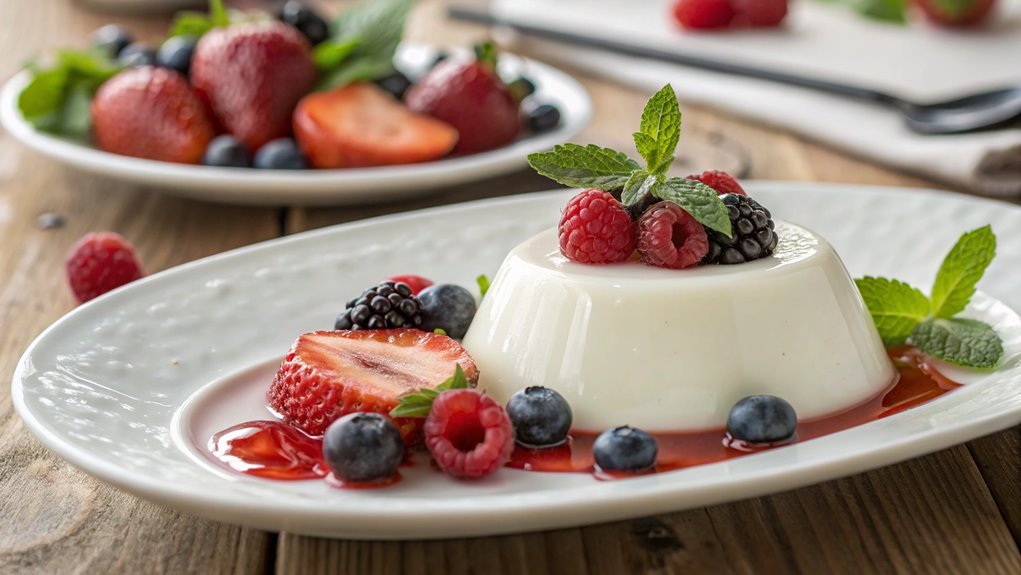
Serving your vanilla bean panna cotta with fresh berries elevates the dessert to a new level. The creamy, smooth texture of the panna cotta pairs perfectly with the juicy burst of ripe berries.
To make this delightful presentation, start by selecting your favorite berries—strawberries, raspberries, blueberries, or blackberries all work wonderfully.
Once you’ve chosen your berries, wash them gently under cold water and pat them dry with a paper towel. If you’re using larger berries like strawberries, slice them into bite-sized pieces. This makes them easier to eat and allows their flavors to mingle beautifully with the panna cotta.
When you’re ready to serve, place a generous spoonful of fresh berries on top of each panna cotta. You can even add a sprinkle of powdered sugar or a drizzle of honey for extra sweetness.
If you want to take it a step further, consider adding a sprig of mint for a pop of color and freshness.
Finally, enjoy the lovely contrast of flavors and textures in every bite. The creamy panna cotta combined with the tartness of the berries will surely impress your family and friends. Enjoy your creation!
Final Thoughts
As you savor your homemade vanilla bean panna cotta, it’s clear that this dessert embodies both elegance and simplicity.
You’ve created something special, and each creamy bite is a reflection of your culinary skills. This delightful treat is perfect for any occasion, whether it’s a family dinner or a fancy gathering with friends.
Here are a few reasons to celebrate this panna cotta:
- Easy to Make: With just a handful of ingredients, you can whip up this delightful dessert without spending hours in the kitchen.
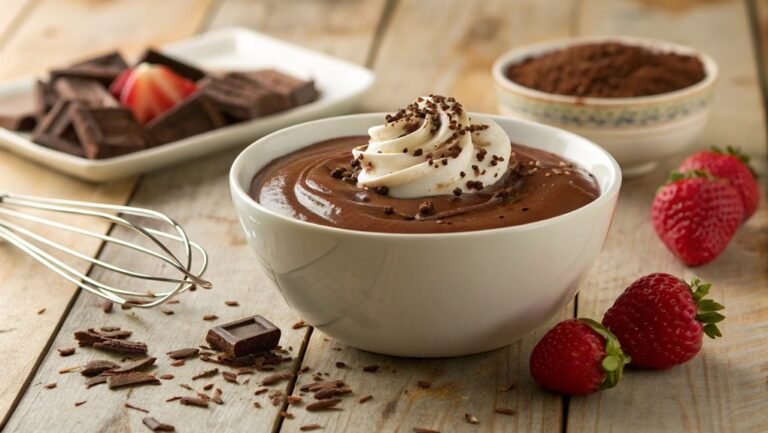
- Versatile Flavor: While vanilla bean shines on its own, feel free to experiment with different toppings like chocolate sauce or citrus coulis to match your taste.
- Impressive Presentation: The smooth, silky texture and beautiful appearance make it a showstopper on any dessert table, leaving your guests in awe.
Frequently Asked Questions
Can I Use Vanilla Extract Instead of Vanilla Beans?
Yes, you can use vanilla extract instead of vanilla beans. Just remember that extract is more concentrated, so you’ll need less. Adjust the quantity to maintain the desired flavor intensity in your recipe. Enjoy your cooking!
How Long Does Panna Cotta Need to Chill?
You might think panna cotta’s a quick fix, but it needs at least four hours to chill. Patience is key! Let it set properly, and you’ll be rewarded with a creamy, dreamy dessert.
Can I Substitute Gelatin With a Vegetarian Alternative?
Yes, you can substitute gelatin with a vegetarian alternative like agar-agar or carrageenan. Just remember to follow the specific instructions for the substitute, as they may require different preparation methods or amounts for setting.
What Toppings Pair Well With Panna Cotta?
You’ll love pairing panna cotta with fresh berries, a drizzle of honey, or a sprinkle of crushed nuts. For a twist, try citrus zest or chocolate shavings to elevate the dessert’s flavor and presentation!
How Should I Store Leftover Panna Cotta?
To store leftover panna cotta, cover it tightly with plastic wrap or transfer it to an airtight container. Keep it in the fridge, and it’ll stay fresh for about three days. Enjoy it later!
Conclusion
Creating Vanilla Bean Panna Cotta is like bringing a touch of Italy into your kitchen. With each silky bite, experience the warmth of tradition and indulgence.
This recipe is a canvas for your creativity; pair it with fresh berries or a drizzle of caramel. Gather your ingredients, channel your inner chef, and enjoy a dessert that’s both rewarding and delicious!