Gluten-Free Fruit Tart Recipe
Crafting a gluten-free fruit tart is a chance to personalize flavors and textures, making it a rewarding experience for any baker. Consider ingredient choices that can transform your tart from simple to extraordinary.
Before starting, think about how to make your tart uniquely yours. Whether you’re a novice or experienced baker, the possibilities are endless.
Recipe
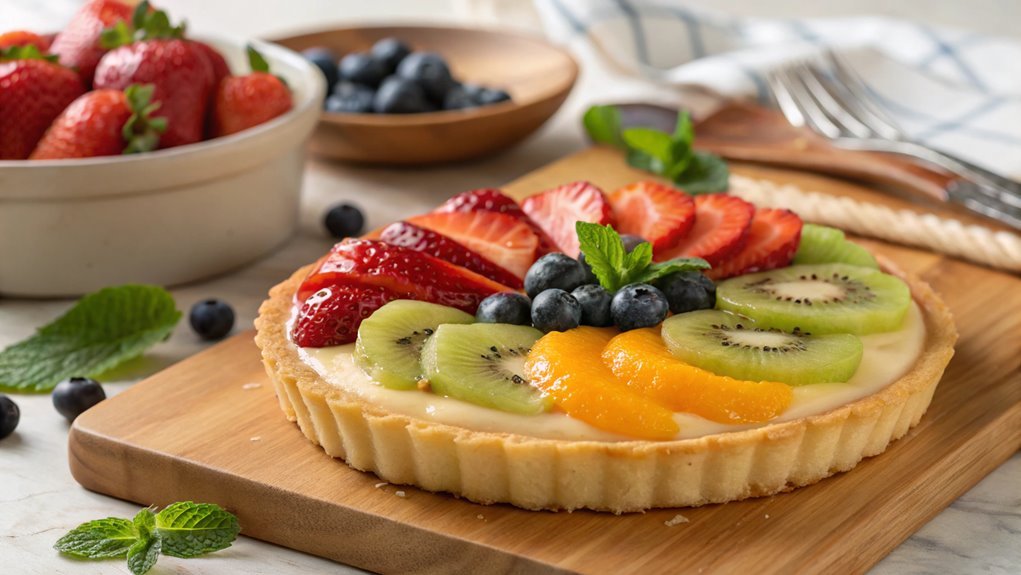
Creating a gluten-free fruit tart is an excellent way to enjoy a delightful dessert that caters to those with gluten sensitivities. This tart features a crisp and buttery gluten-free crust, filled with a luscious vanilla custard and topped with an array of fresh fruits. The combination of flavors and textures makes it a stunning centerpiece for any gathering, while also being a treat that everyone can indulge in.
To achieve the perfect gluten-free fruit tart, you’ll start by preparing the crust, which is the foundation of the dessert. The crust is made with gluten-free flour, butter, and a touch of sugar, ensuring that it’s both delicious and safe for those avoiding gluten.
After baking the crust until it’s golden brown, you’ll fill it with a smooth and creamy custard flavored with vanilla. Once the tart is assembled, you can decorate it with your choice of seasonal fruits for a vibrant and colorful finish.
Ingredients:
- 1 ½ cups gluten-free all-purpose flour
- ½ cup unsalted butter, softened
- ¼ cup granulated sugar
- 1 large egg
- ½ teaspoon vanilla extract
- 1 cup whole milk
- 2 large egg yolks
- ¼ cup granulated sugar (for custard)
- 2 tablespoons cornstarch
- 1 teaspoon vanilla extract (for custard)
- Fresh fruits of your choice (e.g., strawberries, kiwi, blueberries, peaches)
- Optional: apricot jam or glaze for finishing
Now let’s move on to the cooking steps.
Cooking Steps
Now that you’ve gathered all your ingredients, it’s time to get cooking!
Start by preheating the oven to create the perfect environment for your tart.
With each step, from preparing the crust to adding the filling, you’ll be one step closer to enjoying a delicious gluten-free treat that’s sure to impress!
Step 1. Preheat the Oven
Before you plunge into making your gluten-free fruit tart, preheating the oven is essential for achieving that perfect crust. A properly heated oven guarantees that your tart bakes evenly, giving you a delightful golden finish.
It’s a simple step that can elevate your baking experience!
Here’s how to get started:
- Set the Temperature: Turn your oven dial to the required temperature, usually around 350°F (175°C) for this tart.
- Wait Patiently: Allow the oven to preheat for about 10-15 minutes. This is the time to gather your ingredients and tools!
- Use an Oven Thermometer: If you have one, place it inside to make sure the temperature is just right. Your tart deserves the best!
- Listen for the Beep: Most ovens have a signal when they reach the desired temperature. When you hear that beep, you know you’re ready to go!
Step 2. Prepare the Tart Crust
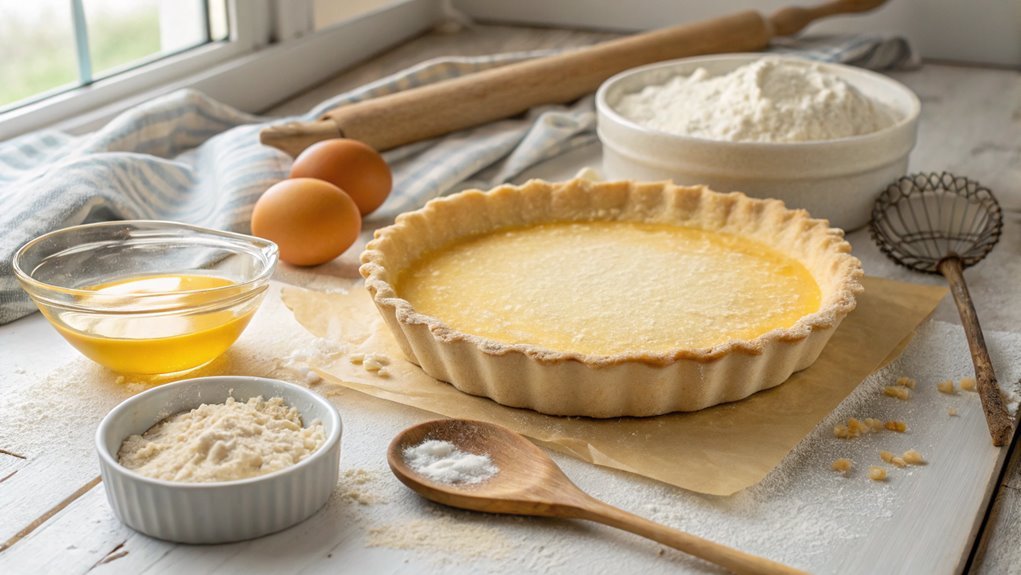
With the oven preheated and ready, it’s time to focus on preparing the tart crust, which forms the delicious foundation of your gluten-free fruit tart.
Start by gathering your ingredients: gluten-free flour, sugar, salt, butter, and an egg. In a mixing bowl, combine the flour, sugar, and salt. This blend will give your crust a lovely sweetness with just the right touch of saltiness.
Next, cut in the cold butter until the mixture resembles coarse crumbs. You can use a pastry cutter or your fingers for this part—just make sure the butter stays cold!
Once the butter’s incorporated, add the egg and mix until the dough forms. If it seems too crumbly, don’t hesitate to add a teaspoon of cold water.
Now, roll out the dough on a lightly floured surface until it’s about ¼ inch thick. Carefully place it into your tart pan, pressing it gently into the edges. Trim any excess dough and use a fork to poke holes in the bottom—this prevents bubbling while baking.
Finally, chill the crust for about 30 minutes before popping it into the oven. You’re one step closer to a delightful treat!
Step 3. Add Filling Ingredients
To create a luscious filling for your gluten-free fruit tart, gather fresh fruits like strawberries, blueberries, and kiwi, along with a few simple ingredients such as sugar and lemon juice. The combination of these vibrant fruits will make your tart irresistible!
Start by washing and slicing your strawberries and kiwi. Next, mix them with blueberries in a large bowl. Then, sprinkle in about two tablespoons of sugar to enhance their natural sweetness. Squeeze in the juice of half a lemon, which adds a zesty brightness and helps the fruits shine.
Here’s a quick breakdown of the filling process:
- Prepare the fruits: Wash, slice, and mix your chosen fruits in a bowl.
- Sweeten: Add sugar to taste—just enough to accentuate the fruit’s natural flavors.
- Add acidity: Squeeze fresh lemon juice over the mix for that perfect tang.
- Let it marinate: Allow the mixture to sit for about 10 minutes, letting the juices meld together beautifully.
Now your filling is ready to shine in your gluten-free tart! You’ll love the burst of flavors with every bite!
Step 4. Bake the Tart Until Golden
As you prepare to bake your gluten-free tart, make certain your oven is preheated to 350°F (175°C) for ideal results. This step is vital, as it helps your tart achieve that perfect golden color and delightful texture.
Once your oven is hot and ready, carefully place your filled tart into the center. You want to guarantee even baking, so avoid crowding the oven with other dishes.
Set a timer for about 25 to 30 minutes. During this time, keep an eye on your tart. You’re looking for a lovely golden hue on the crust. If you notice it browning too quickly, you can cover the edges with aluminum foil to prevent burning. This little trick helps maintain that beautiful color without sacrificing taste.
As the tart bakes, the aroma will fill your kitchen, making it hard to resist peeking inside! The anticipation will build as the crust becomes crisp and flaky.
Once your timer goes off, take a moment to admire your creation. A perfectly baked gluten-free fruit tart is well worth the effort, and soon enough, you’ll be able to savor every delicious bite. Happy baking!
Step 5. Cool Before Serving
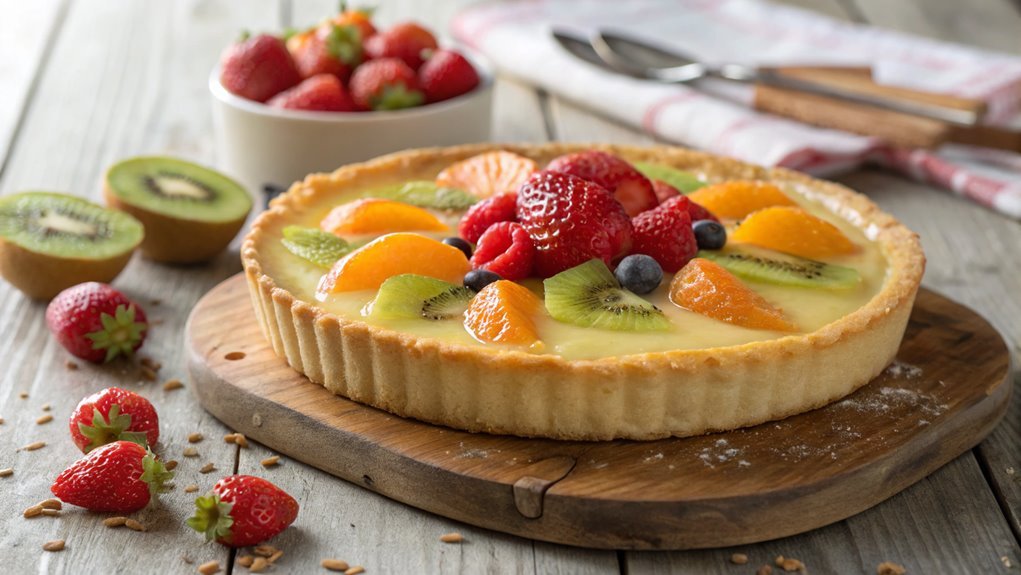
Once the tart is out of the oven, it’s vital to let it cool before serving. This step not only enhances the flavors but also guarantees a perfect texture. You wouldn’t want to plunge into a warm tart that makes the toppings slide off, right?
So, take your time and follow these simple steps:
- Place on a Wire Rack: Move the tart to a wire rack to allow air to circulate all around it, preventing sogginess.
- Wait for 30 Minutes: Let it cool for about 30 minutes. This allows the filling to set while the crust firms up beautifully.
- Refrigerate: For an extra invigorating treat, pop it in the fridge for an additional 30 minutes. The coolness elevates the flavors and makes each bite even more delightful.
- Slice and Serve: Once chilled, grab a sharp knife and slice it into wedges, ready to impress your family and friends.
Now that you’ve mastered this cooling technique, you’re on your way to serving a stunning gluten-free fruit tart that everyone will rave about!
Enjoy every delicious bite!
Final Thoughts
Creating a gluten-free fruit tart not only showcases your baking skills but also allows you to indulge in a delicious dessert that everyone can enjoy. This recipe is a fantastic way to bring a burst of color and flavor to your table, making it perfect for gatherings or a special treat at home.
The combination of a crisp crust, creamy filling, and fresh, vibrant fruits is sure to impress.
Don’t worry if you’re new to gluten-free baking; this recipe is simple and approachable. You’ll find that using gluten-free flour doesn’t compromise the taste or texture. Each bite is a delightful mix of flavors that will satisfy your sweet tooth while being friendly for those with dietary restrictions.
Feel free to get creative with the fruits you choose. Seasonal fruits can elevate your tart and add a personal touch. So, whether it’s summer berries or autumn apples, you can customize it to your heart’s content.
Frequently Asked Questions
Can I Substitute Different Fruits in the Tart?
You can substitute different fruits in the tart. Just pick your favorites or whatever’s in season. Experimenting with flavors and textures keeps things exciting, so don’t hesitate to get creative with your choices!
How Long Does the Gluten-Free Crust Last?
Your crust’s like a fleeting moment; it lasts up to three days at room temperature. If you store it in the fridge, it’ll stay fresh for about a week, ensuring deliciousness whenever you’re ready to indulge.
Is This Recipe Suitable for Vegan Diets?
Yes, this recipe can be made suitable for vegan diets. You’ll need to replace any dairy ingredients with plant-based alternatives and guarantee the crust and filling ingredients align with your vegan preferences. Enjoy your delicious creation!
Can I Use a Store-Bought Gluten-Free Crust?
Yes, you can definitely use a store-bought gluten-free crust! It saves time and effort. Just make sure it’s suitable for your dietary needs, and it’ll work perfectly for your delicious dessert. Enjoy!
What Toppings Pair Well With This Fruit Tart?
When you’re whipping up a delightful dessert, fresh berries, sliced kiwi, or peach segments pair beautifully. You might even sprinkle some toasted almonds or a drizzle of honey for that extra zing. Enjoy your creation!
Conclusion
Crafting this gluten-free fruit tart is like creating art; each fruit adds vibrant color and flavor. Enjoy the creamy custard and buttery crust as you assemble this impressive dessert. Perfect for family gatherings or intimate dinners, this tart is sure to impress. Gather your ingredients and let your creativity shine in the kitchen. Enjoy each delicious bite!
