Easy Waffles With Whipped Cream Recipe
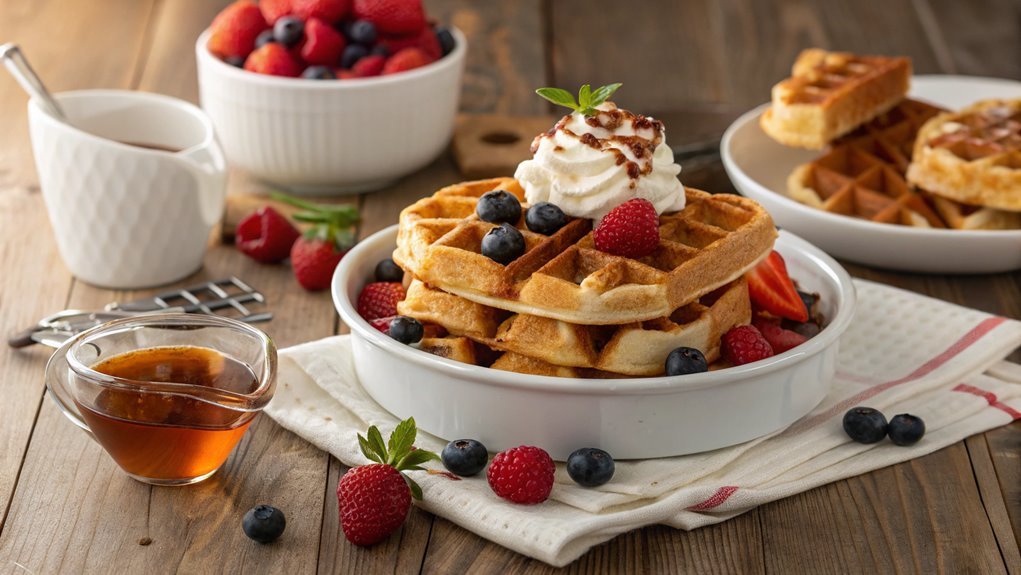
Imagine a cozy Sunday morning with the scent of freshly made waffles filling the air. Contrary to what you might think, creating this indulgence is simple and doesn’t take much time or effort.
This easy waffle recipe can transform your mornings with minimal fuss. If you’re craving golden, fluffy waffles topped with whipped cream, discover the simple steps to make this breakfast treat effortlessly.
Recipe
Waffles are a delightful breakfast treat that can be enjoyed in a variety of ways. Crisp on the outside and fluffy on the inside, they provide the perfect base for toppings like fresh fruit, syrup, or whipped cream.
Making waffles from scratch is simpler than you might think, and this easy recipe will have you whipping them up in no time.
To begin your waffle-making adventure, you’ll need to gather your ingredients and preheat your waffle iron. This recipe yields a batch of delicious waffles that can be customized to your liking, whether you prefer them plain or with added flavors like vanilla or chocolate chips.
Serve them warm, and enjoy a comforting, satisfying breakfast that’s sure to please the whole family.
Ingredients:
- 2 cups all-purpose flour
- 2 tablespoons sugar
- 1 tablespoon baking powder
- 1/2 teaspoon salt
- 2 large eggs
- 1 3/4 cups milk
- 1/2 cup vegetable oil
- 1 teaspoon vanilla extract
Now let’s move on to the cooking steps.
Cooking Steps
Let’s get started on those delicious waffles!
First, you’ll want to preheat your waffle iron so it’s hot and ready when you need it.
While that’s warming up, mix your dry ingredients thoroughly to create a perfect base for your batter—trust me, it’ll make a big difference!
Step 1. Preheat Your Waffle Iron
Before plunging into the batter, you need to guarantee that your waffle iron is preheated to the right temperature. This step is essential for getting those perfectly crispy, golden waffles that everyone loves! Most waffle irons come with an indicator light that lets you know when it’s ready. Simply plug it in, and keep an eye on that light; when it turns green or goes off, you’re all set!
While you’re waiting for it to heat up, you can take a moment to prepare your workspace. Gather your ingredients, and maybe even set up a fun toppings station with whipped cream, fruit, or syrup. This way, once the waffles are cooked, you’re ready to plunge into the deliciousness promptly!
A well-preheated waffle iron means you’ll get that wonderful texture—crispy on the outside, fluffy on the inside. So, resist the urge to pour the batter in too soon!
Once it’s hot enough, the batter will spread evenly, and the cooking magic begins. Trust us, the wait is worth it. Get excited because soon, you’ll be savoring your homemade waffles, dripping with your favorite toppings! Happy cooking!
Step 2. Mix Dry Ingredients Thoroughly
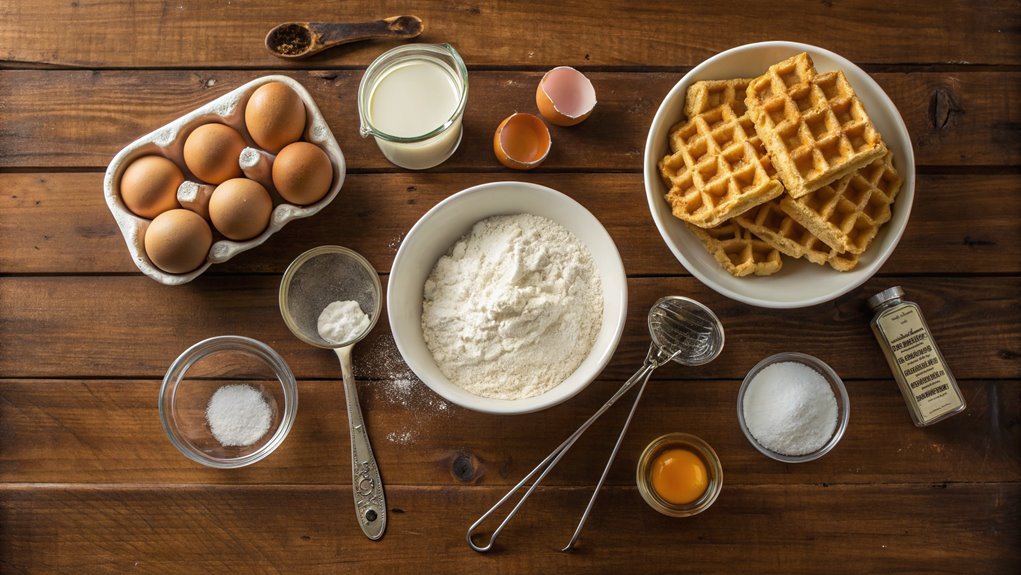
To make certain your waffles turn out light and fluffy, mixing the dry ingredients thoroughly is essential. When you combine elements like flour, baking powder, and sugar, you guarantee that every bite is a delightful experience. That’s why this step is so vital!
Grab a bowl, and you’ll want to use a whisk or a fork to mix everything well. This helps the baking powder distribute evenly, leading to a uniform rise and texture.
Take a moment to envision the joy of enjoying your perfect waffles! Here’s what you can look forward to:
- The crispy exterior that beckons you to take a bite
- The warm, soft center that practically melts in your mouth
- The sweet aroma wafting through your kitchen
- The impressive golden-brown hue that makes breakfast irresistible
- The smiles on your family’s faces as you serve them up!
Step 3. Add Wet Ingredients Gradually
As you’re ready to bring your waffle batter to life, gradually adding the wet ingredients is essential for achieving the perfect consistency. Start by measuring out the milk and eggs, and make certain they’re at room temperature for ideal mixing.
Then, reach for that melted butter or oil—this adds richness and helps create those irresistibly fluffy waffles.
Now, let’s get to the fun part! Pour a little of the wet mixture into your bowl of dry ingredients. Stir gently, taking care not to overmix. You want to combine everything just until it’s blended, leaving a few lumps. This will guarantee your waffles turn out tender and delicious, not tough.
Keep adding the wet ingredients in small amounts, mixing as you go. If your batter seems too thick, you can always drizzle in a bit more milk until it’s just right.
The goal is a smooth, pourable batter that flows easily without being overly runny. Take a moment to admire your efforts before moving to the next step; you’re well on your way to whipping up some fantastic waffles!
Enjoy the process, and get ready for delightful results!
Step 4. Pour Batter Into Waffle Iron
Once your waffle batter is ready, it’s time to pour it into the preheated waffle iron. This step is where the magic truly begins! Carefully open the waffle iron, and using a ladle or cup, pour the batter directly onto the center of the grid.
If you’re like many home cooks, the anticipation of those golden, crisp waffles makes your heart race. Don’t forget to spread the batter evenly, but let it radiate out to the edges as it cooks.
Here’s what you can look forward to as you pour that batter:
- The delicious aroma filling your kitchen.
- The excitement of watching your waffle transform.
- The anticipation of indulgent toppings to come.
- The joy of sharing these warm waffles with loved ones.
- The smile on everyone’s face when they take a bite.
It’s incredibly satisfying to see your batter turn into something extraordinary.
Step 5. Cook Until Golden Brown
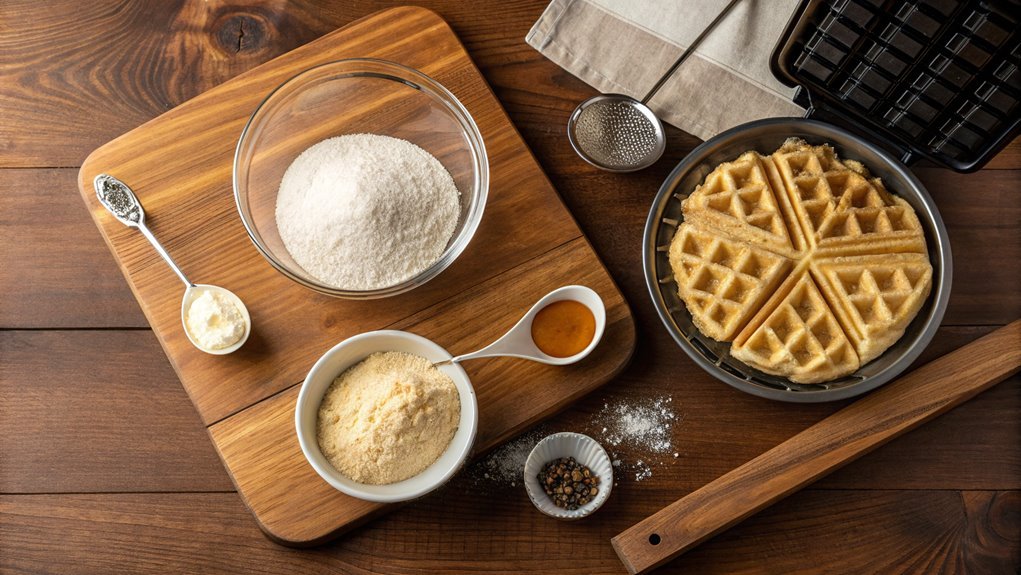
While the batter sizzles in the preheated waffle iron, keep a close eye on the cooking time. This part is essential to achieving that perfect golden-brown color. Generally, most waffle irons take about 4 to 6 minutes to cook the waffles thoroughly. However, each machine can vary, so it’s significant to check your specific model’s instructions.
As the minutes tick by, you’ll begin to see the steam rising. That’s a good sign! Once the steam slows down, you’re on the right track. Carefully lift the lid to peek—it’s usually best to wait until you see a beautiful golden hue to guarantee those waffles are nice and crispy.
When they’re ready, remove them using a fork or tongs, being cautious not to burn yourself. Place the waffles on a cooling rack to preserve their crispiness. Avoid stacking them too soon, as steam can make them soggy.
Now, you can take this opportunity to whip up some fresh cream or slice up fruits for topping! There’s nothing like the aroma of freshly cooked waffles filling your kitchen.
Enjoy every delightful bite—you’ve earned it!
Final Thoughts
In the end, making waffles at home is a simple pleasure that brings joy to breakfast routines.
There’s something magical about the aroma of fresh waffles wafting through your kitchen, and you’ll love how easy it’s to whip up a batch.
Imagine sitting down with a warm, fluffy waffle topped with a mountain of whipped cream—it’s a delightful treat that can turn any ordinary day into something special.
Cooking at home allows you to customize your waffles just the way you like them.
Whether you’re going for classic toppings or trying out new flavors, the possibilities are endless! You get to create a breakfast that suits your mood.
Here are some reasons to explore waffle-making:
- Relive the warmth of childhood breakfasts.
- Savor the satisfaction of homemade goodness.
- Impress your loved ones with your culinary skills.
- Transform weekends into delicious memories.
- Enjoy moments of creativity in your kitchen.
Frequently Asked Questions
Can I Use a Waffle Maker for Pancakes Instead?
Yes, you can use a waffle maker for pancakes! Just pour the pancake batter into the preheated waffle maker instead of a skillet. You’ll get delicious, golden-brown pancakes with a unique texture that your family will love!
What Toppings Can I Add Besides Whipped Cream?
When it comes to toppings, you’ve got a world of choices! Fresh fruits, chocolate drizzle, peanut butter, or maple syrup can take your dish from zero to hero. Don’t be shy; mix and match!
How Should I Store Leftover Waffles?
To store leftover waffles, let them cool completely, then stack them in an airtight container or wrap them tightly in plastic wrap. You can refrigerate or freeze them for later enjoyment. Just reheat before serving!
Can I Freeze the Waffles for Later Use?
“Don’t put all your eggs in one basket.” Yes, you can freeze the waffles for later use. Just wrap them tightly in plastic wrap, place them in a freezer bag, and enjoy them later!
What’s a Good Dairy-Free Alternative for Whipped Cream?
If you’re looking for a dairy-free alternative for whipped cream, try coconut cream or almond milk whipped topping. Both options are delicious and will add a creamy texture to your desserts without the dairy. Enjoy!
