Salted Caramel Apple Tart Recipe
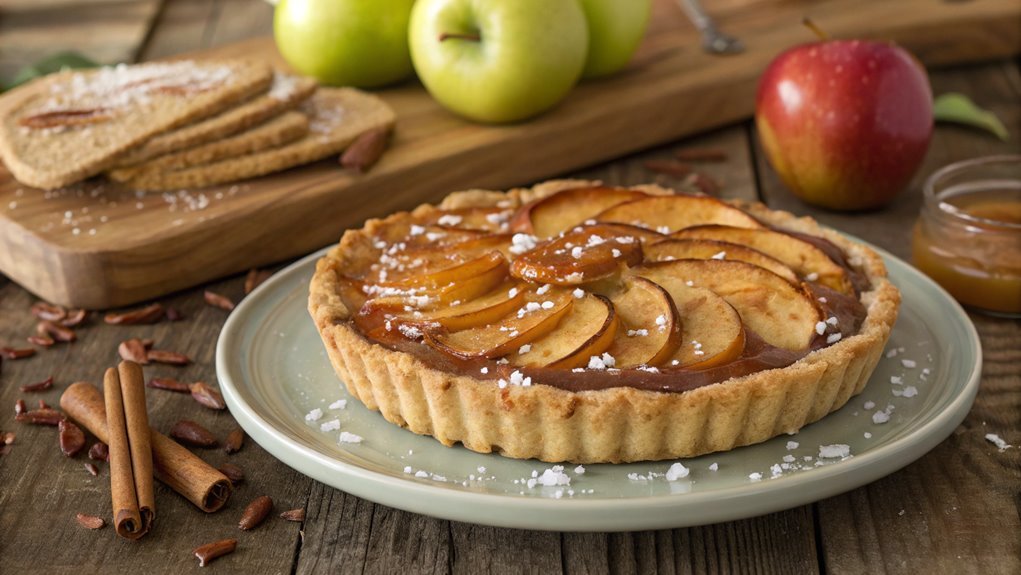
The Salted Caramel Apple Tart stands out with its delicate crust and rich, gooey caramel. You might think such a treat requires advanced skills, but it’s surprisingly simple to make.
As you layer the sweet, tangy apples with indulgent caramel, you’ll see how a few steps can elevate your dessert game. This recipe can transform gatherings, inviting friends and family to savor each bite with ice cream or whipped cream.
Recipe
Indulge in the delightful flavors of fall with this Salted Caramel Apple Tart. This dessert combines a buttery tart crust with sweet and tangy apples, all drizzled with rich salted caramel sauce. Perfect for gatherings or cozy evenings at home, this tart is sure to impress family and friends.
The contrast of the warm tart and the cool caramel creates a delectable experience that will have everyone coming back for seconds.
Making a Salted Caramel Apple Tart may seem intimidating, but with the right ingredients and a little patience, you can master this recipe with ease. Start by preparing the tart crust, allowing it to chill while you sauté the apples with spices.
The apple filling is the star of the show, with layers of flavor enhanced by the caramel sauce and a sprinkle of sea salt that ties everything together beautifully.
Ingredients:
- 1 ½ cups all-purpose flour
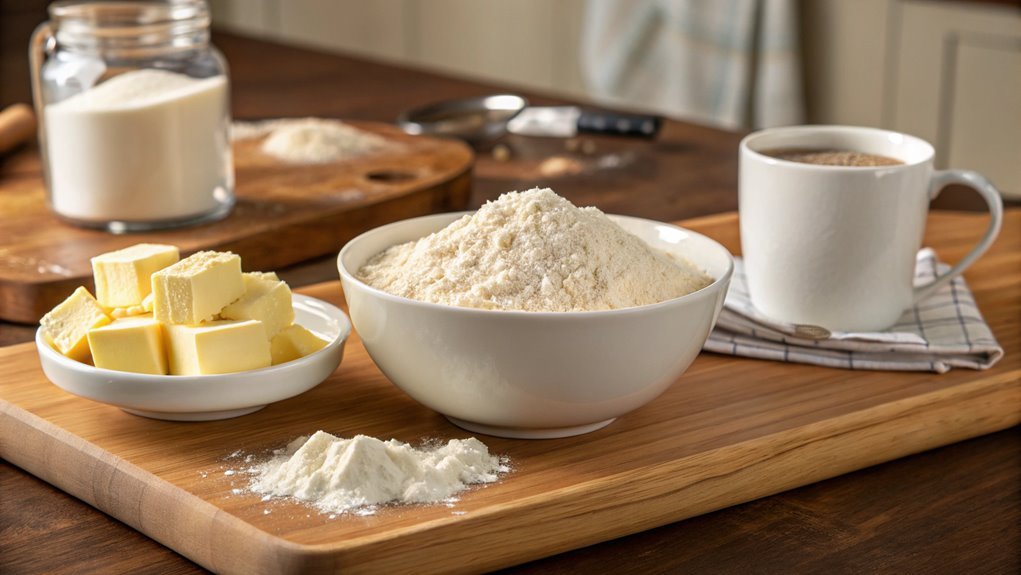
- ½ cup unsalted butter, chilled and cubed
- ¼ cup granulated sugar
- 1 egg yolk
- 2-3 tablespoons ice water
- 4 medium apples, peeled and sliced (Granny Smith or Honeycrisp)
- 1 tablespoon lemon juice
- ½ teaspoon cinnamon
- ¼ teaspoon nutmeg
- ½ cup granulated sugar (for caramel)
- ¼ cup heavy cream
- 1 teaspoon sea salt (plus extra for garnish)
- 1 tablespoon butter
Now let’s move on to the cooking steps.
Cooking Steps
Let’s get cooking!
Start by preheating your oven to 375°F, so it’s ready to work its magic.
Once that’s set, you’ll prepare the tart crust, slice and core those delicious apples, and beautifully arrange them before baking for 30 minutes—the aroma will be irresistible!
Step 1. Preheat Oven to 375°F
Before you plunge into preparing your salted caramel apple tart, preheating the oven to 375°F is essential for ensuring even baking. This step may seem simple, but it sets the stage for a perfectly baked tart.
When your oven is prepped to the right temperature, it helps your crust become crisp and flaky while the filling cooks just right.
To preheat, turn your oven dial or digital settings to 375°F and give it a moment to warm up. You’ll know it’s ready when the indicator light goes on or the digital display signals that the desired temperature is reached.
While you’re waiting, take a moment to gather your ingredients and visualize the delicious tart you’re about to create.
Personalize this experience by thinking about the lovely aromas that will fill your kitchen soon. The combination of buttery crust, sweet caramel, and tart apples will be a delightful treat for you and anyone lucky enough to share it with you.
Step 2. Prepare Tart Crust Mixture
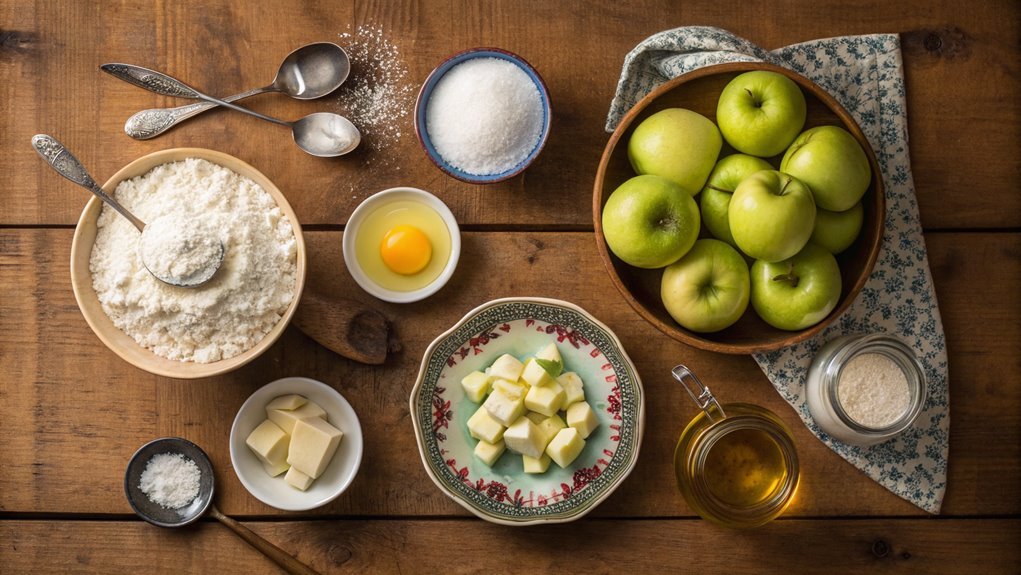
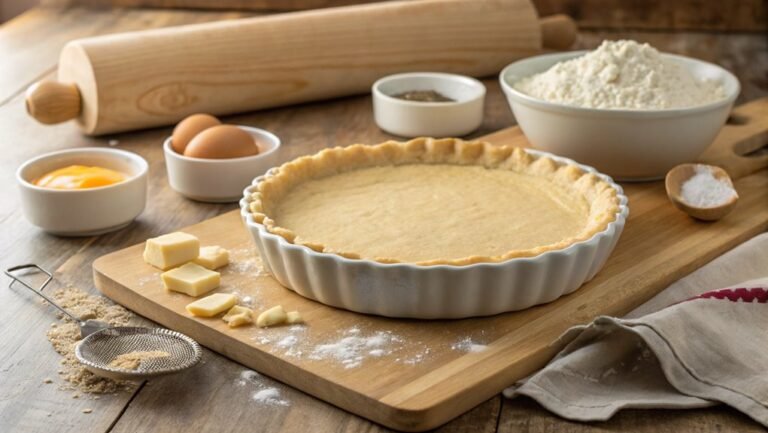
To prepare the tart crust mixture, you’ll need to combine your dry and wet ingredients carefully. Start by measuring one cup of all-purpose flour and pouring it into a mixing bowl. Next, add a pinch of salt and a couple of tablespoons of powdered sugar for a hint of sweetness. Whisk these dry ingredients together until they’re well blended and free of lumps.
Now, it’s time for the wet ingredients! Cut four tablespoons of cold, unsalted butter into small cubes and add them to the flour mixture. Using a pastry cutter or your fingertips, work the butter into the flour until the mixture resembles coarse crumbs. It’s okay if some larger chunks remain; they’ll add flakiness to your crust.
Once that’s done, pour in a tablespoon of ice-cold water to bind everything together. Mix gently until the dough forms a ball. Don’t overwork it; you want it to be tender!
Wrap the dough in plastic wrap and let it chill in the fridge for about 30 minutes. Chilling helps achieve that perfect flaky texture. Soon, you’ll be ready for the next step, and trust me, the crust is going to be amazing!
Step 3. Slice and Core Apples
As you gear up to create the filling for your tart, slicing and coring the apples is vital. First, choose your favorite apples, like Granny Smith or Honeycrisp, for that perfect balance of tart and sweet flavors.
Start by washing them thoroughly to remove any residue. Then, grab a sharp knife and a cutting board.
Place the apple on the board, and with steady hands, slice it in half from top to bottom. Once you’ve halved your apples, it’s time to core them. Use a melon baller or a paring knife to carefully remove the seeds and tough core.
Next, slice each half into thin wedges. Aim for about a quarter-inch thickness to guarantee even cooking. If you want to keep those vibrant colors, toss the apple slices in a bit of lemon juice. This not only prevents browning but adds a revitalizing zing to your tart.
Your apple slices are now ready to mingle with the caramel and other ingredients. This step is simple but vital in achieving that delectable, comforting flavor we all crave.
Enjoy this process; the aroma of fresh apples alone is enough to get anyone excited!
Step 4. Arrange Apples in Tart
Now that your apple slices are ready, it’s time to artfully arrange them in the tart shell. Begin by laying down a base of apple slices, starting from the outer edge. Think about creating a beautiful spiral pattern to capture the eyes of anyone who sees it. You can slightly overlap the slices as you work your way toward the center, using different apple varieties for a colorful and appealing display.
As you arrange, feel free to mix and match the shapes and colors of the apples. This creates a more dynamic presentation. Don’t worry about perfection; the beauty is in the charm of homemade treats. If you have any remaining slices, tuck them into any gaps to make sure your tart is filled generously.
Once you’ve created that stunning apple arrangement, take a moment to admire your work. It’s all about bringing joy to the baking process! This design not only looks fantastic but also helps the apples cook evenly, ensuring every bite is delicious.
Once you’re satisfied, you’re ready to take the next exciting step in this baking adventure. Enjoy the process—you’re almost there!
Step 5. Bake for 30 Minutes
It’s time to place your beautifully arranged apple tart into the oven. Preheat it to 350°F (175°C) if you haven’t already, setting the stage for that perfect bake.
Carefully slide your tart into the oven, and don’t forget to set a timer for 30 minutes. This is where the magic happens!
As it bakes, you’ll start to notice the inviting aroma of caramelizing apples filling your kitchen. The edges of the crust will turn a golden brown, creating a lovely contrast with the lush green and red hues of the apples.
Keep an eye on it towards the end of the baking time; if it starts to brown too much, you can cover it loosely with aluminum foil.
When the timer goes off, take a moment to appreciate your creation. Gently remove the tart from the oven and let it cool for about 10-15 minutes.
This allows the flavors to meld beautifully while making it easier to slice and serve. Trust me, the anticipation will be worth it!
Enjoy your salted caramel apple tart warm, perhaps with a scoop of vanilla ice cream for that extra indulgence! Happy baking!
Final Thoughts
While perfecting your Salted Caramel Apple Tart may take some practice, the end result is well worth the effort. The combination of sweet apples, rich caramel, and a buttery crust is pure bliss, and you’ll find it to be a major crowd-pleaser.
Every bite brings warmth and comfort, making this tart perfect for gatherings or a cozy night in.
Here’s why you should explore this delightful recipe:
- Satisfying Flavor: The salted caramel adds a unique kick that complements the sweet, tart apples beautifully.
- Impressive Presentation: Your family and friends will be wowed by the stunning layers and glossy finish.
- Perfect for Any Occasion: Whether it’s a holiday feast or a casual brunch, this tart fits right in.
- Endless Customization: You can switch up the toppings or fillings to match your preferences!
- Fun to Make: Get the whole family involved, making it a fun activity together!
Frequently Asked Questions
Can I Use Store-Bought Caramel Sauce Instead of Homemade?
Yes, you can definitely use store-bought caramel sauce instead of homemade. It’ll save you time, and as long as it’s high-quality, you won’t compromise the flavor. Just make sure to adjust the quantity accordingly!
How Long Will the Tart Keep in the Fridge?
The tart’ll stay fresh in the fridge for about 3 to 4 days if you cover it well. Just make sure to check for any changes in texture or flavor before serving. Enjoy!
Can I Substitute a Different Fruit for Apples?
Sure, you can! Go wild with fruits like pears or berries, and it’ll feel like a wild adventure. Just remember, the flavor will totally change, but who doesn’t love a little fruity surprise? Enjoy exploring!
What Type of Apples Are Best for Baking?
For baking, you’ll want to choose firm apples that hold their shape. Varieties like Granny Smith, Honeycrisp, and Braeburn work well because they balance sweetness and tartness, ensuring your dish has great flavor and texture.
Is There a Gluten-Free Option for the Tart Crust?
Like a comforting hug, a gluten-free option for the crust exists! You can easily substitute regular flour with almond or oat flour, ensuring it holds together while still delivering that delightful tart experience you’ll love.
