Easy No-Bake Fudge Recipe
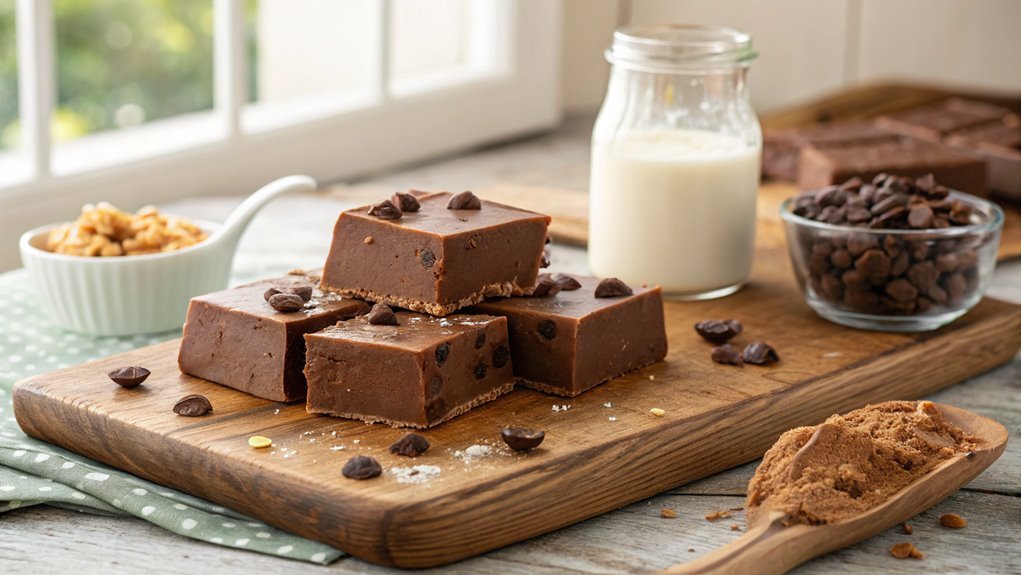
Making fudge doesn’t have to take hours; this easy no-bake recipe lets you create a creamy treat in just minutes with minimal ingredients. It’s perfect for any occasion and can be customized to suit your taste.
Follow the simple steps to impress family and friends with this versatile dessert. The straightforward process ensures you’ll be enjoying your homemade fudge in no time.
Recipe
Making no-bake fudge is a delightful and simple process that can be completed in just a matter of minutes. This recipe is perfect for anyone who craves a rich and creamy treat without the hassle of turning on the oven.
The combination of chocolate and sweetened condensed milk creates a smooth texture that melts in your mouth, making it an irresistible dessert option for gatherings, holidays, or simply as a sweet indulgence at home.
The beauty of this no-bake fudge recipe lies in its versatility; you can customize it by adding your favorite mix-ins such as nuts, dried fruits, or even a sprinkle of sea salt for an extra flavor boost.
Whether you’re a seasoned baker or a kitchen novice, this fudge recipe is an easy way to impress your friends and family with a homemade treat. Let’s explore the ingredients you’ll need to whip up this delicious fudge!
Ingredients:
- 2 cups semi-sweet chocolate chips
- 1 can (14 oz) sweetened condensed milk
- 1/4 cup unsalted butter
- 1 teaspoon vanilla extract
- 1/2 cup chopped nuts (optional)
- Pinch of salt (optional)
Now let’s move on to the cooking steps.
Cooking Steps
Now that you’ve gathered your ingredients, it’s time to get cooking!
Start by melting the chocolate and butter together, creating a rich, creamy base that will make your fudge irresistible.
Once you’ve combined everything, you’ll be just a few steps away from enjoying your delicious no-bake treat!
Step 1. Melt Chocolate and Butter
To melt chocolate and butter effectively, start by chopping the chocolate into small, even pieces. This helps it melt evenly, preventing any burnt bits.
Once you’ve got the chocolate ready, measure out the butter. You can use either a microwave-safe bowl or a double boiler for melting. If you choose the microwave, heat the chocolate and butter in short bursts of about 20 seconds, stirring in between. This way, you’ll avoid overheating and keep everything smooth.
If you prefer the double boiler method, fill a saucepan with a couple of inches of water and bring it to a gentle simmer. Place the bowl with chocolate and butter on top, ensuring it doesn’t touch the water. Stir occasionally until everything is melted and silky.
Watching the chocolate transform into a glossy mixture is incredibly satisfying!
Once melted, take it off the heat, and be ready for the next step. You’re already halfway to creating delicious fudge, and it’s so easy! The aroma of melting chocolate will fill your kitchen, and you’ll know you’re on the path to something sweet and delightful.
Enjoy this process, and get excited for the fudge that’s just around the corner!
Step 2. Add Sweetened Condensed Milk
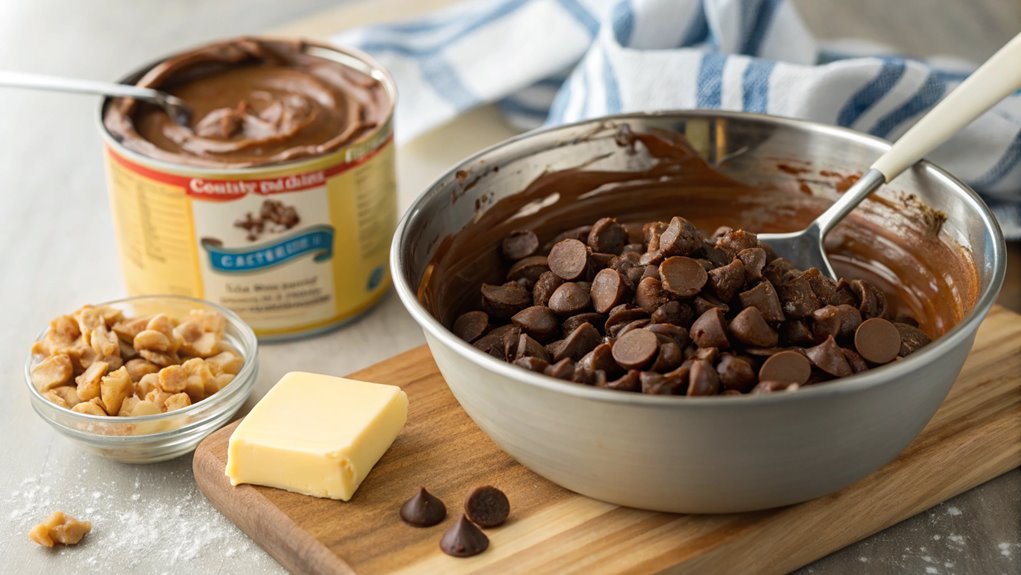
Once the chocolate and butter have melted into a smooth mixture, it’s time to stir in the sweetened condensed milk. This step is essential because it adds a rich, creamy texture that makes your fudge irresistible.
Grab a sturdy spatula or wooden spoon, and gently fold the sweetened condensed milk into the chocolate mixture. You’ll want to blend it well, ensuring there are no clumps left behind.
As you mix, watch how the color deepens and the texture becomes even silkier. It’s like magic! Don’t rush; take your time to enjoy this part of the process. The sweetened condensed milk not only sweetens the fudge but also helps it set perfectly once chilled.
Make sure everything is well combined, and you can feel the excitement building—your fudge is really coming together now!
If you’re feeling adventurous, you could even add a pinch of salt at this stage to enhance the flavors. Once everything’s mixed to perfection, you’ll be just a step away from delicious fudge that everyone will love.
Step 3. Stir in Vanilla Extract
Add a splash of flavor by stirring in the vanilla extract. This simple ingredient elevates your fudge, adding warmth and richness that makes each bite irresistible.
Once you’ve combined the sweetened condensed milk with the chocolate, it’s time to release the magic of vanilla. Measure out about one teaspoon of pure vanilla extract and pour it in.
As you stir, watch the mixture transform. The aroma will fill your kitchen, enticing everyone nearby. Make sure you’re thorough; you want the vanilla evenly distributed throughout the fudge. This step not only enhances the taste but also creates a lovely depth that complements the sweetness.
Don’t be afraid to taste as you go! This is your chance to adjust the flavors according to your preference. Maybe you’ll want a bit more vanilla for an extra kick. Just remember, it’s all about what makes your fudge perfect for you.
Once the vanilla is well incorporated, you’ll be one step closer to a delicious treat that’s sure to impress.
Step 4. Chill in the Refrigerator
After you’ve mixed in the vanilla extract, it’s time to chill your fudge in the refrigerator.
Pour the luscious mixture into a lined baking dish, spreading it out evenly. Make sure it reaches all the corners; this helps it set perfectly.
Now, cover the dish with plastic wrap or a lid. This keeps out any odors from your fridge while your fudge chills.
Pop it in the refrigerator and let it chill for at least two hours. This step is essential! The cold air firms up the fudge, turning it from a gooey delight into a rich, smooth treat.
While you wait, resist the urge to sneak a taste; the anticipation makes the final result even sweeter!
Keep an eye on the clock, as patience is key here.
Once the time’s up, you’ll be greeted with a beautifully set fudge that’s ready to impress. The aroma of chocolate will have your mouth watering!
Enjoy this moment of waiting, knowing that soon you’ll have a delicious treat to share with friends and family.
Step 5. Cut Into Bite-Sized Pieces
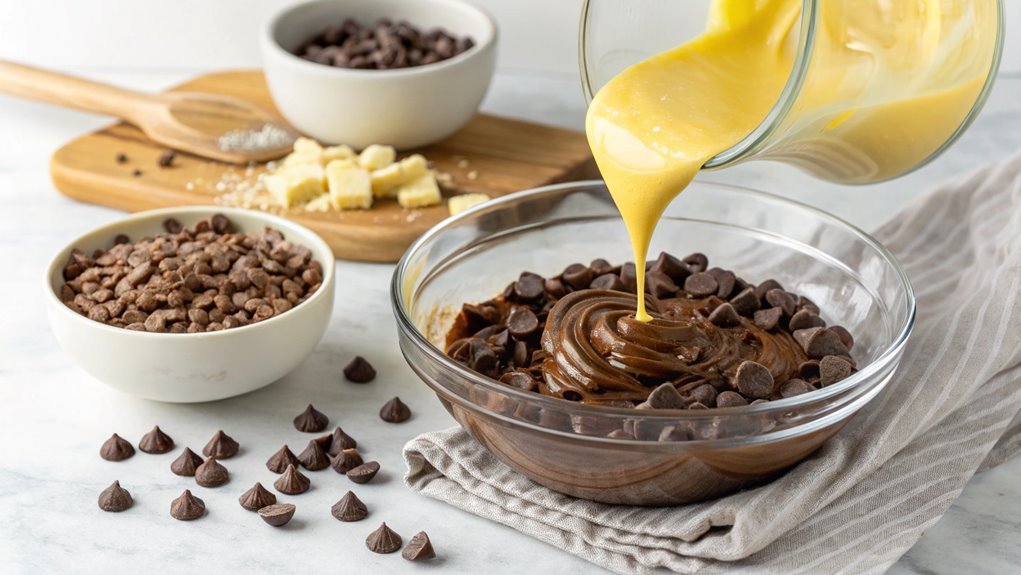
Now that your fudge has chilled and set perfectly, it’s time to cut it into bite-sized pieces. Grab a sharp knife and a cutting board, and let’s embark on this delicious task!
Start by removing the fudge from the pan. If you’ve lined it with parchment paper, gently lift the edges to pull it out. This makes cutting so much easier!
Once it’s out, place the fudge on the cutting board. Depending on how big you want your pieces, you can cut it into squares or rectangles. I recommend starting by slicing it into even strips, then cutting those strips into smaller squares.
Remember to wipe the knife clean between cuts to keep those edges neat and tidy.
As you cut, you’ll see how beautifully the fudge holds its shape, and the rich, creamy layers will tempt your taste buds!
Once you’ve got all your pieces cut, arrange them on a plate or store them in an airtight container. This way, they’ll be ready to share with friends or enjoy whenever a craving strikes.
That’s it! You’ve created something amazing, and you’re definitely going to want to savor every bite!
Final Thoughts
As you reflect on this easy no-bake fudge recipe, you’ll likely appreciate how simple ingredients can come together to create a delightful treat.
It’s amazing how just a few pantry staples can yield something so rich and satisfying. Whether you’re making this fudge for a special occasion or just a sweet snack at home, you’ll find that it’s a hit with everyone.
The best part? You don’t need any fancy equipment or baking skills to whip this up. Just gather your ingredients, mix them together, and let the fridge do the work!
This recipe is perfect for involving kids or friends, making the process even more enjoyable. Imagine the joy of sharing your homemade fudge with loved ones, each bite melting in their mouths.
Don’t hesitate to try different variations, like adding nuts or swapping in your favorite chocolate. The possibilities are endless!
So, gather your ingredients, release your creativity, and plunge into this easy no-bake fudge recipe. You won’t just make a treat; you’ll create memorable moments in the kitchen.
Embrace the joy of cooking and relish every moment of this sweet adventure!
Frequently Asked Questions
Can I Substitute Chocolate Chips With Other Types of Chocolate?
Yes, you can substitute chocolate chips with other types of chocolate. Whether it’s dark, milk, or white chocolate, just make sure you adjust the melting time and sweetness to achieve your desired flavor and texture.
How Long Does No-Bake Fudge Last in the Fridge?
When you store no-bake fudge in the fridge, it stays fresh for about one to two weeks. Keep it in an airtight container, and you’ll enjoy its rich, deliciousness for days to come.
Can I Freeze No-Bake Fudge for Later Use?
Yes, you can freeze no-bake fudge for later use. Just wrap it tightly in plastic wrap or aluminum foil, then place it in an airtight container. It’ll stay fresh for up to three months. Enjoy!
What Toppings Can I Add to My Fudge?
When it comes to toppings, why not get creative? You can sprinkle crushed nuts, drizzle caramel, add colorful sprinkles, or even toss in some mini marshmallows. The options are endless, so have fun experimenting!
Is This Recipe Suitable for Vegan Diets?
Yes, you can make this recipe suitable for vegan diets. Just swap out any dairy ingredients for plant-based alternatives, like coconut milk or nut butter. You’ll still enjoy a delicious, creamy fudge without compromising your dietary needs!
Conclusion
You’ve just made creamy, dreamy fudge that’s incredibly easy to prepare. Each rich, velvety square melts in your mouth like a sweet hug. This no-bake treat is ideal for any gathering or a cozy night in. Gather your ingredients and enjoy this delicious adventure—everyone will be begging for more! Once you try it, you’ll want to make it repeatedly.
