Classic No-Bake Cheesecake Recipe
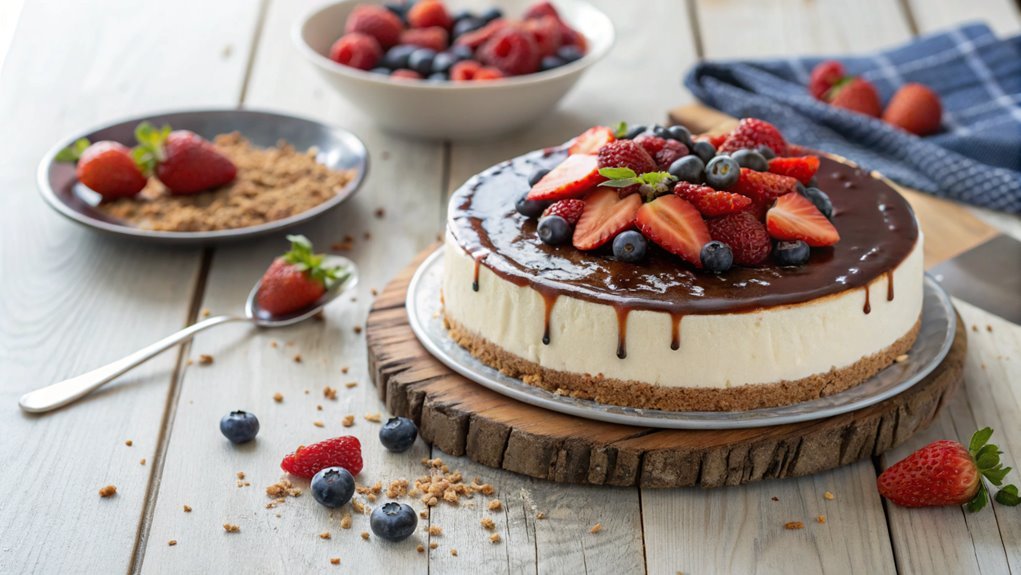
For a simple yet indulgent dessert, the classic no-bake cheesecake is ideal, offering rich creaminess and a buttery graham cracker crust. Perfect for warm weather gatherings, it requires no oven and has a straightforward preparation.
Before choosing toppings or impressing guests, focus on achieving the perfect texture and flavor. These elements make the cheesecake a timeless favorite.
Recipe
No-bake cheesecake is a delightful dessert that combines a creamy, rich filling with a buttery graham cracker crust, all without the need for an oven. This recipe is perfect for warm days when you want something sweet but don’t want to heat up your kitchen.
The beauty of a no-bake cheesecake lies in its simplicity and the ability to customize the flavors to match your preferences, whether you prefer classic vanilla, luscious chocolate, or fruity variations.
To get started, gather your ingredients and prepare your baking dish. A springform pan works wonderfully for this recipe, allowing for easy removal and presentation.
The base is made from crushed graham crackers mixed with melted butter, providing a sturdy yet crumbly foundation for the creamy filling. Once you mix the filling ingredients and pour them over the crust, the cheesecake needs to chill in the refrigerator for a few hours to set properly.
The result is a smooth, decadent cheesecake that’s sure to impress family and friends.
Ingredients:
- 1 ½ cups graham cracker crumbs
- ½ cup unsalted butter, melted
- 2 cups cream cheese, softened
- 1 cup powdered sugar
- 1 teaspoon vanilla extract
- 1 cup heavy whipping cream
- Fresh fruit or chocolate shavings for topping (optional)
Now let’s move on to the cooking steps.
Cooking Steps
Now that you have all your ingredients ready, it’s time to jump into the exciting cooking steps!
First, you’ll prepare the crust mixture, then mix the cream cheese and sugar to create that smooth, rich base.
Once you’ve folded in the whipped cream, your cheesecake will be on its way to becoming a delightful treat that everyone will love!
Step 1. Prepare the Crust Mixture
To create a delicious cheesecake crust, you’ll need just three simple ingredients: graham cracker crumbs, melted butter, and sugar. This combination is the foundation of your cheesecake, giving it that irresistible crunch and flavor. You’ll love how easy it’s to whip up!
First, grab a mixing bowl and add about 1 ½ cups of graham cracker crumbs. Then, stir in ¼ cup of granulated sugar. This little bit of sweetness will enhance the overall taste of your crust.
Next, pour in ½ cup of melted butter, which not only binds the mixture together but also adds richness.
Now, it’s time to mix everything together! Use a fork or your hands to combine the ingredients until the crumbs are evenly coated with butter and the mixture resembles wet sand.
Once you’ve achieved that delightful texture, you can press the mixture firmly into the bottom of a 9-inch springform pan.
Here are some tips to remember:
- Make sure to pack it tightly for a sturdy crust.
- You can bake it for a few minutes for extra crispness, if desired.
- Let it cool before adding your cheesecake filling.
Enjoy this simple and satisfying step!
Step 2. Mix Cream Cheese and Sugar
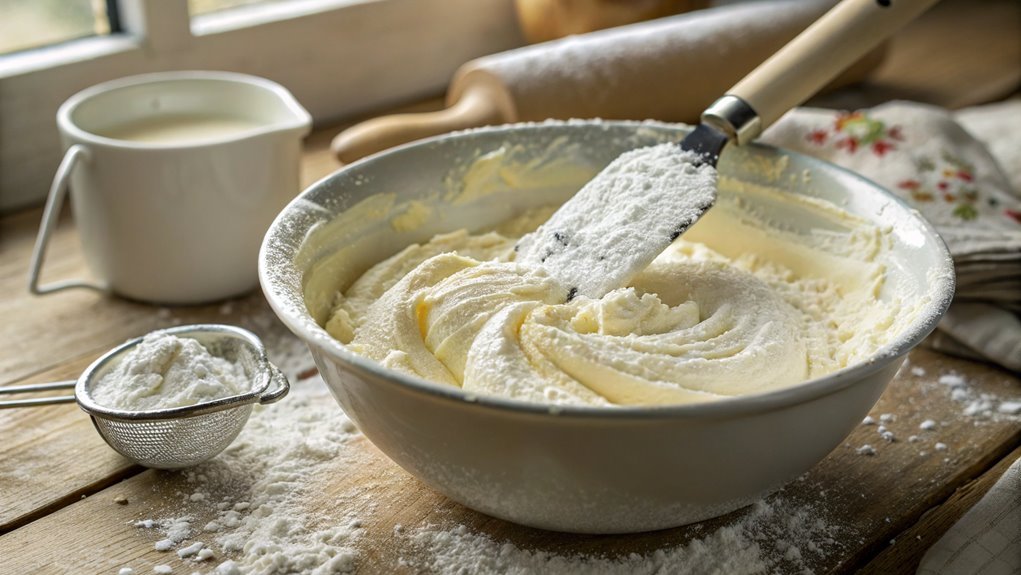
Start by placing your softened cream cheese in a mixing bowl, making certain it’s at room temperature for easy blending. This step is essential because room-temperature cream cheese mixes smoothly, creating a luscious texture for your cheesecake.
Next, add in granulated sugar. The sweetness will balance the tanginess of the cream cheese perfectly!
Using an electric mixer on medium speed, beat the cream cheese and sugar together until you achieve a smooth, creamy consistency. Don’t rush this process; you want to guarantee there are no lumps. Scrape the sides of the bowl occasionally to make sure everything’s getting mixed well.
Once it’s all blended, take a moment to enjoy that creamy goodness! You’re on your way to creating a classic no-bake cheesecake that’s sure to impress friends and family.
The aroma of sweet cream cheese will fill your kitchen, making it an inviting space. This mixture is the foundation of your cheesecake, and it’s all coming together beautifully.
Keep going, and get excited for the next steps! You’re creating something delicious that everyone will love. Enjoy the process, and get ready for a treat that’ll be the star of your dessert table!
Step 3. Fold in Whipped Cream
As you prepare to fold in the whipped cream, verify your mixture of cream cheese and sugar is smooth and well-blended. This step is essential because it guarantees that the flavors meld perfectly, creating a delightful cheesecake.
Now, grab your whipped cream, which should be light and airy!
Using a spatula, gently add the whipped cream to your cream cheese mixture. It’s important to fold rather than stir; this technique preserves the fluffiness of the whipped cream.
Start by adding a small portion of whipped cream, gently mixing it in to lighten the cream cheese mixture. Then, slowly add the rest, folding it in until you see no streaks. You want to maintain that airy texture, which will make your cheesecake light and creamy.
Here are a few tips to keep in mind:
- Use cold whipped cream for better volume.
- Be gentle to avoid deflating the whipped cream.
- Taste as you go to confirm your sweetness is just right!
Once combined, you’ll be amazed at how fluffy and delicious your mixture looks. You’re one step closer to a perfect no-bake cheesecake!
Step 4. Chill the Cheesecake Mixture
Once you’ve folded in the whipped cream and achieved that fluffy texture, it’s time to chill the cheesecake mixture. This step is essential for developing the perfect consistency and flavor.
You’ll want to grab a large mixing bowl and gently pour in your creamy mixture. Make sure to smooth it out evenly with a spatula.
Next, cover the bowl with plastic wrap or a lid to prevent any odors from your fridge affecting the cheesecake. Place it in the refrigerator and let it chill for at least four hours. If you can wait overnight, that’s even better! The longer it chills, the firmer and more delicious it becomes.
While it chills, this is a great opportunity to think about what toppings you might want to add later. Fresh fruit, chocolate sauce, or a berry compote can really elevate your cheesecake.
As you wait, let the anticipation build, because you’re on the verge of creating something truly delightful. Just imagine slicing into that creamy, chilled cheesecake when it’s finally ready.
Trust me, the wait will be worth it! Enjoy this amazing journey into the world of no-bake cheesecake!
Step 5. Add Toppings and Serve
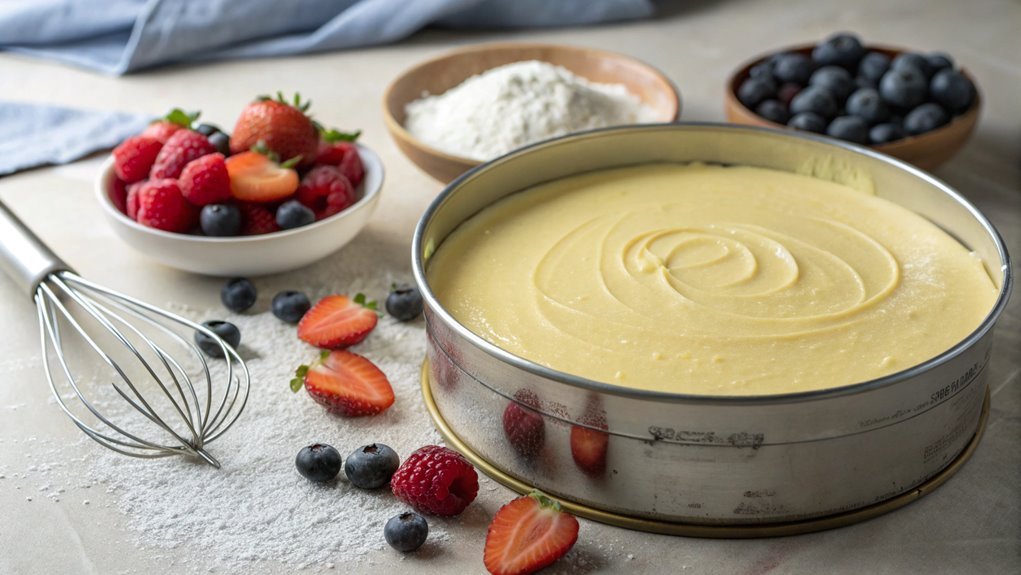
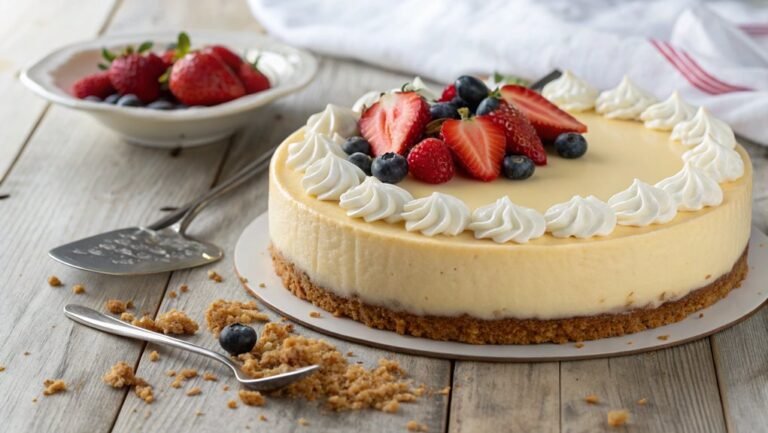
Now that your cheesecake has chilled to perfection, it’s time to transform it with your favorite toppings. This is where you can really let your creativity shine! You’ve got a blank canvas, so choose toppings that excite you. Whether you prefer fruity, nutty, or chocolatey flavors, the options are endless!
Here are some delicious topping ideas to inspire you:
- Fresh berries (strawberries, blueberries, or raspberries)
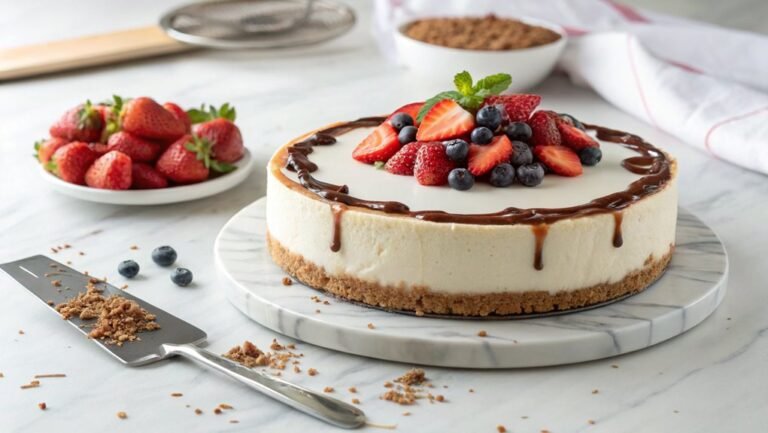
- A drizzle of chocolate or caramel sauce
- Chopped nuts (like pecans or almonds)
To add your toppings, simply scatter the fresh berries over the cheesecake for a burst of color and flavor. If you’re going for a chocolate or caramel drizzle, warm it slightly to make it easier to pour.
For a crunchy twist, sprinkle the chopped nuts on top. Once you’ve added the toppings, slice the cheesecake into generous pieces and serve it on plates.
Your guests will be amazed at how beautiful and delicious your no-bake cheesecake looks! Enjoy every bite and celebrate the joy of creating something special. You’ve earned it!
Final Thoughts
While making a classic no-bake cheesecake might seem intimidating, it’s actually a straightforward process that yields delicious results. You’ll be amazed at how simple it’s to create a dessert that impresses everyone at the table. With just a few ingredients and minimal effort, you can whip up a creamy, dreamy cheesecake that melts in your mouth.
Don’t forget, the beauty of no-bake cheesecake lies in its versatility. You can customize it to suit your taste, whether you prefer a fruity topping, chocolate drizzle, or even a caramel swirl. Each variation brings something unique, making this dessert perfect for any occasion.
So, gather your ingredients and give it a try! You’ll find that the joy of making this cheesecake is just as rewarding as savoring each luscious bite.
Plus, there’s nothing quite like sharing your creation with family and friends. They’ll be asking for seconds, and you’ll feel proud knowing you made it yourself.
In the end, this classic no-bake cheesecake isn’t just a dessert; it’s an experience that brings people together. So, roll up your sleeves, and let the cheesecake magic begin!
Frequently Asked Questions
Can I Use Low-Fat Cream Cheese for This Recipe?
Yes, you can use low-fat cream cheese in your recipe. It’ll still provide a creamy texture, though the flavor might be slightly different. Just remember, it might not set as firmly as regular cream cheese.
How Long Does the Cheesecake Need to Chill?
You might think a quick chill’s enough, but it really needs at least four hours in the fridge to set properly. This guarantees a creamy texture and firm structure, making every slice perfect for serving.
Can I Freeze No-Bake Cheesecake Leftovers?
Yes, you can freeze no-bake cheesecake leftovers! Just slice it, wrap each piece tightly in plastic wrap, and place them in an airtight container. When you’re ready, let it thaw in the fridge overnight.
What Can I Substitute for Graham Cracker Crust?
If you’re looking for a graham cracker crust substitute, try crushed cookies, like Oreos or digestives. You could also use crushed nuts mixed with butter for a gluten-free option that adds a delicious crunch.
How Can I Prevent Cracks in the Cheesecake?
“An ounce of prevention is worth a pound of cure.” To prevent cracks, mix ingredients gently, avoid overbeating, and let the cheesecake cool gradually. Keep it refrigerated until serving for the best results.
Conclusion
A classic no-bake cheesecake is a delightful treat, perfect for a warm day. Made with simple ingredients, each creamy bite is a celebration of flavor. Gather friends and family to enjoy this dessert together. Customize it with your favorite toppings for endless possibilities. Immerse yourself in the sweet moments this cheesecake creates!
