Quick Chocolate Bark Recipe
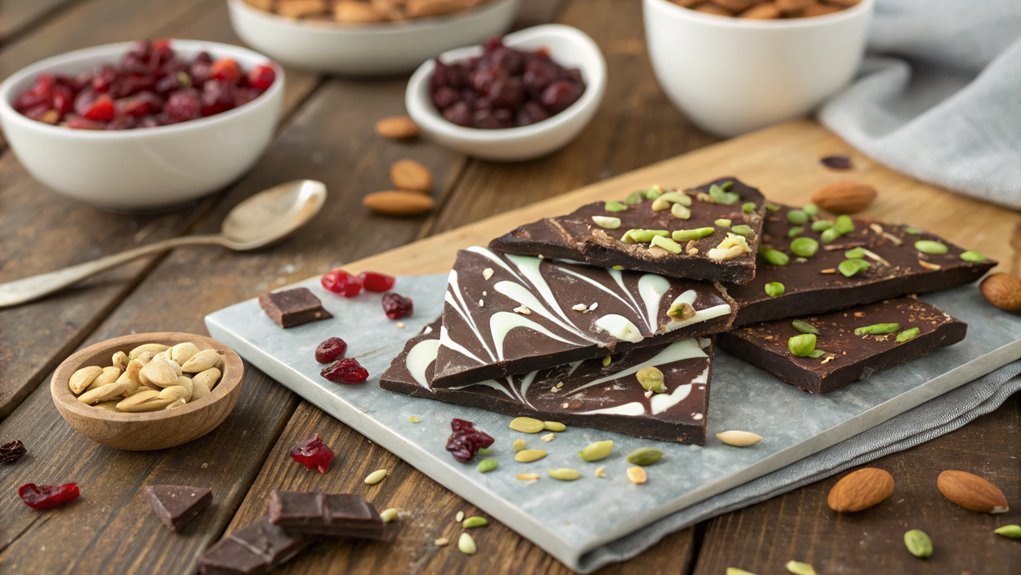
For a quick and delicious snack, try a chocolate bark recipe by melting your favorite chocolate chips and adding various toppings. The process is simple, with endless options for personalization using just a few ingredients.
To make it more interesting, consider experimenting with different flavor combinations. Follow these steps to create your own batch and discover your perfect blend.
Recipe
Chocolate bark is a delightful and simple treat that can be made with just a few ingredients. Perfect for satisfying your sweet tooth, it’s also incredibly versatile, allowing you to mix and match toppings to suit your taste.
Whether you’re looking to whip up a quick snack or impress guests with a homemade gift, this recipe is the perfect solution. Just melt some chocolate, pour it onto a baking sheet, and add your favorite toppings for a delicious and visually appealing dessert.
Making chocolate bark isn’t only easy but also a fun activity that can involve the whole family. It’s a great way to get creative in the kitchen and experiment with different flavors and textures.
You can use dark, milk, or white chocolate as your base, and then go wild with toppings like nuts, dried fruits, or even crushed candies. In no time, you’ll have a beautiful batch of chocolate bark ready to enjoy or share.
Ingredients:
- 2 cups chocolate chips (dark, milk, or white)
- 1 cup assorted toppings (nuts, dried fruits, crushed candies, etc.)
- Parchment paper (for lining the baking sheet)
Now let’s move on to the cooking steps.
Cooking Steps
Ready to whip up some delicious chocolate bark?
Start by melting your favorite chocolate in the microwave, then get creative by adding toppings of your choice.
Once you’ve spread the mixture on a baking sheet, chill it until set, and you’ll be just moments away from breaking it into delightful pieces!
Step 1. Melt Chocolate in Microwave
To melt chocolate in the microwave, start by breaking it into uniform pieces for even melting. This step is essential because uneven chunks can lead to some pieces burning while others remain unmelted.
Once you’ve got those pieces ready, place them in a microwave-safe bowl. Make sure to choose a bowl that’s large enough to allow for stirring later on.
Now, pop the bowl in the microwave and set it to medium power. Heat the chocolate in 30-second intervals, stirring between each interval. It’s important to keep an eye on it, since chocolate can go from perfectly melted to burnt in just a moment!
After about one to two minutes, you should notice the chocolate softening. Stir it well until it’s smooth and glossy. If there are still small lumps, give it a few more seconds in the microwave.
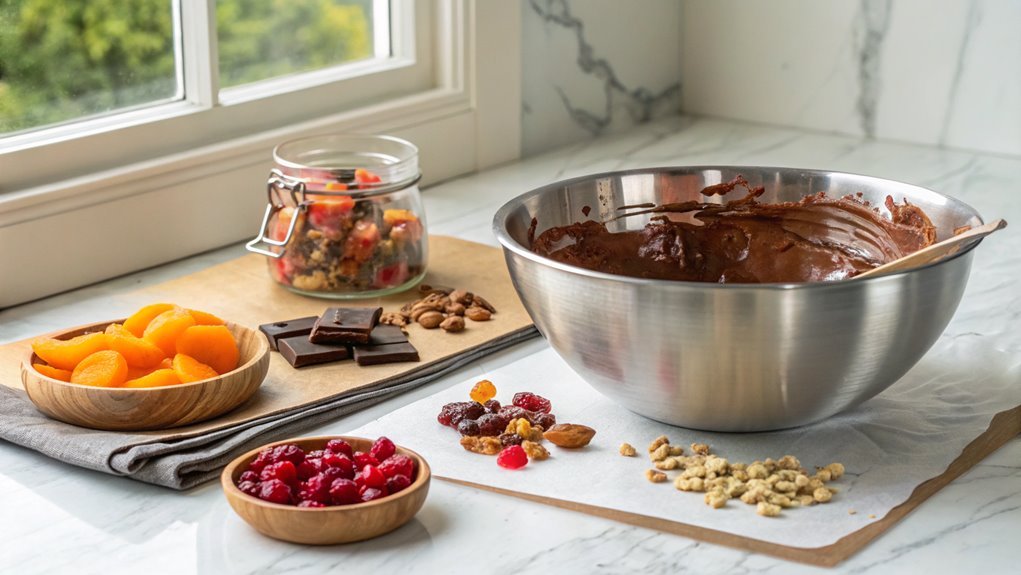
Step 2. Add Toppings of Choice
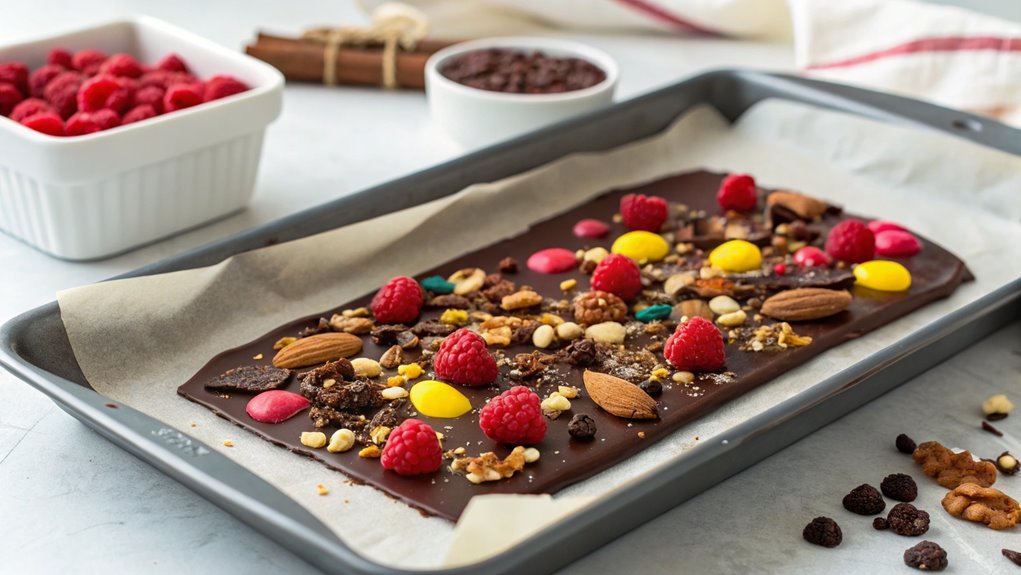
Once the chocolate is melted and smooth, you can release your creativity by adding your favorite toppings. This is where the fun really begins! Think about what you love—crushed nuts, sprinkles, dried fruit, or even a sprinkle of sea salt. The options are endless!
Start by selecting a few toppings that excite you. If you’re a fan of crunch, reach for some chopped almonds or pecans. For a fruity twist, consider adding dried cranberries or apricots. If you want to keep it classic, colorful sprinkles can brighten up your bark and make it look festive. You can even go adventurous with crushed cookies or pretzels for that sweet-and-salty combo.
Once you’ve chosen your toppings, sprinkle them generously over the melted chocolate. Make certain to distribute them evenly, so every bite is a delightful surprise! You can press them down gently to guarantee they stick.
Don’t be afraid to mix and match; this is your chance to show off your unique flavor combinations. The more, the merrier! Enjoy this step, and let your imagination run wild as you create a delicious masterpiece that reflects your personal taste. Happy topping!
Step 3. Spread Mixture on Baking Sheet
After you’ve sprinkled your chosen toppings over the melted chocolate, it’s time to spread the mixture out on a baking sheet.
Grab a parchment-lined baking sheet and pour your delightful chocolate mix right in the center. Using a spatula or the back of a spoon, gently spread the chocolate into an even layer. Aim for about a quarter-inch thickness; this guarantees your bark will set perfectly.
Don’t worry if it’s not perfectly smooth; those little imperfections add character! As you spread, make certain to distribute the toppings evenly. This way, every bite will be a burst of flavor, and no one will miss out on the deliciousness.
You can create fun patterns or swirls with your spatula if you’re feeling creative! Just remember to work quickly, as the chocolate will start to firm up if left out too long.
Once you’ve got it all spread out to your liking, take a moment to admire your work. You’re just a step away from a scrumptious treat that’s sure to impress friends and family alike.
Step 4. Chill Until Set
As the chocolate mixture spreads evenly across the baking sheet, it’s time to chill it until set. This step is essential to achieve that perfect snap when you finally break the bark.
You’ll want to pop the baking sheet into the refrigerator for about 30 minutes, giving the chocolate ample time to firm up. It’s a little wait, but trust me, it’s worth it!
While you wait, you can prepare for the delicious bite that awaits you. Here are a few ideas to enhance your experience:
- Get Creative with Toppings: Think about adding nuts, dried fruits, or even crushed cookies to your bark before it sets. This adds a personal touch and extra flavor!
- Plan Your Presentation: If you’re making this for a gathering, consider how you’ll display the bark once it’s ready. A festive plate or a clear jar can make it look even more appealing.
- Enjoy the Aroma: While it’s chilling, take a moment to enjoy the rich, chocolatey scent wafting through your kitchen. It’s a delightful preview of the treat to come!
Once the time’s up, you’ll be ready to enjoy your homemade chocolate bark!
Step 5. Break Into Pieces
Now that your chocolate mixture has chilled and set, it’s time to break it into pieces! This is the moment you’ve been waiting for, and you’ll love seeing your beautiful creation come to life.
Start by removing the baking sheet from the fridge. You might want to let it sit at room temperature for a minute to soften slightly; this makes breaking it easier.
Use your hands or a sharp knife to break the chocolate bark into the desired size. If you prefer larger chunks, go for it! For smaller pieces, just apply a little pressure with the knife.
You’ll find that the different toppings you added provide a delightful crunch as you break the bark apart.
Place the pieces in an airtight container, and your delicious treat is ready to be enjoyed! Whether you share with friends and family or keep it all for yourself, this sweet treat will surely impress.
You can also package it nicely for gifts or special occasions. So, go ahead—break that bark into pieces and savor every delightful bite of your homemade chocolate bark!
Enjoy the satisfaction of your creation; you’ve earned it!
Final Thoughts
While you may have whipped up a delicious batch of chocolate bark, there’s no need to stop at just one recipe.
The beauty of chocolate bark is its versatility! You can create countless variations to suit your taste and mood. So why not get creative and explore new flavors?
Here are three ideas to kickstart your chocolate bark journey:
- Fruit and Nut Delight: Add dried fruits like cranberries or apricots with a sprinkle of your favorite nuts for a chewy, crunchy treat.
- Savory Twist: Try incorporating a pinch of sea salt or crushed pretzels for a sweet and salty combo that’ll keep you coming back for more.
- Seasonal Spice: During the holidays, mix in some crushed peppermint candies or a dash of cinnamon to give your bark that festive flair.
Frequently Asked Questions
Can I Use Dairy-Free Chocolate for This Recipe?
Absolutely, you can use dairy-free chocolate for this recipe! It melts well and maintains great flavor. Just verify it’s suitable for your dietary needs, and you’ll enjoy a delicious treat without any dairy.
How Long Does Chocolate Bark Last When Stored?
You’d think chocolate bark would last forever, but it typically stays fresh for about two weeks when stored properly. Keep it in an airtight container at room temperature to maintain its deliciousness. Enjoy while it lasts!
What Toppings Work Best With Chocolate Bark?
When you’re choosing toppings for chocolate bark, go for nuts, dried fruits, or crushed candies. They add texture and flavor. Experiment with combinations to find your perfect balance of sweet and crunchy!
Can I Freeze Chocolate Bark for Later Use?
Yes, you can freeze chocolate bark for later use. Just wrap it tightly in plastic wrap or foil, then store it in an airtight container. When you’re ready, thaw it in the fridge before enjoying!
Is There a Way to Make This Recipe Healthier?
You can transform that tempting treat into a healthier delight! Swap milk chocolate for dark chocolate, add nuts for crunch, or sprinkle dried fruits for sweetness. You’ll savor every bite while feeling good about your choice.
Conclusion
Try making this quick chocolate bark—it’s simple and customizable. Melt, mix, spread, and chill, and use any toppings you have on hand. Gather your ingredients and enjoy your homemade treat in no time. Happy snacking!

