Oreo Milkshake Recipe
The Oreo milkshake is a simple yet indulgent dessert that requires more than just blending ice cream and cookies. Achieving the perfect creamy texture and rich flavor involves a careful balance of ingredients. Start by gathering the essentials to elevate this classic treat. Consider how to enhance your milkshake to make it more than just a drink before you begin blending and layering flavors.
Recipe
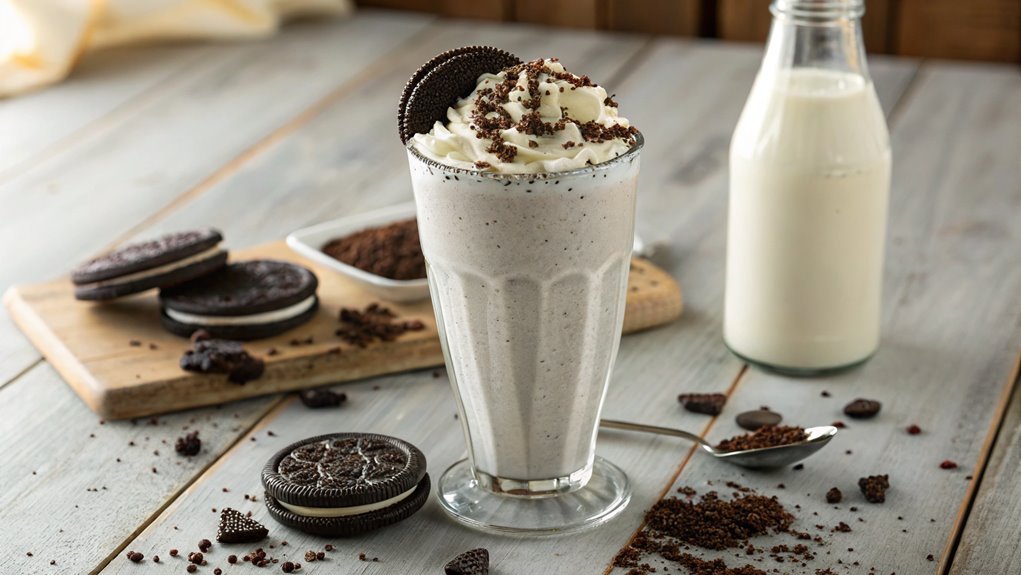
Indulging in a delicious Oreo milkshake is a treat that can be made in minutes right in your own kitchen! This delightful dessert combines the rich flavors of creamy vanilla ice cream and crunchy Oreo cookies, creating a blend that’s both invigorating and satisfying.
Whether you’re cooling down on a hot day or simply craving something sweet, this milkshake is sure to hit the spot.
To make this easy-to-follow Oreo milkshake recipe, all you need are a few simple ingredients and a blender. The beauty of this recipe lies in its versatility; you can customize it to your liking by adjusting the number of cookies or adding extra toppings like whipped cream, chocolate syrup, or even more Oreos for that extra crunch.
Let’s get started on whipping up this creamy delight!
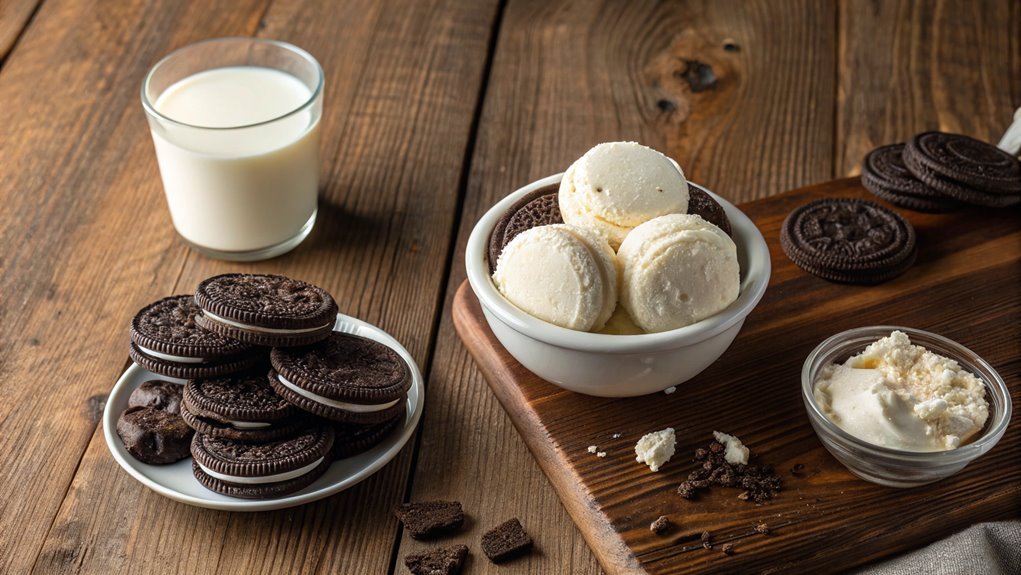
Ingredients:
- 4 Oreo cookies
- 2 cups vanilla ice cream
- 1 cup milk
- Whipped cream (optional, for topping)
- Extra Oreo cookies (optional, for garnish)
Now let’s move on to the cooking steps.
Cooking Steps
Let’s jump right into making your delicious Oreo milkshake!
First, you’ll want to gather all your ingredients so you’re ready to blend everything smoothly.
Then, it’s all about that perfect mix of ice cream and crushed Oreos, topped off with a drizzle of chocolate syrup and some whipped cream for an indulgent treat you won’t forget!
Step 1. Gather All Ingredients First
Before diving into making your Oreo milkshake, gather all the ingredients you’ll need to guarantee a smooth process.
First and foremost, you’ll want to grab a pack of Oreo cookies. Their rich chocolatey flavor is what makes this milkshake truly irresistible!
Next, don’t forget the ice cream. Vanilla works perfectly for balancing sweetness with a creamy texture.
You’ll also need some milk to achieve that ideal consistency—just grab any kind you prefer, whether it’s whole, almond, or oat milk.
For an extra touch of indulgence, consider adding whipped cream and chocolate syrup for topping!
A blender is essential, of course, since that’s how you’ll bring all these delicious ingredients together.
If you fancy a little extra sweetness, having some sugar on hand can always enhance the flavor, too.
Take a moment to check your kitchen for all these goodies. It’ll save you time and make the process so much more enjoyable.
Trust me, once you have everything ready, you’ll be excited to get started creating your dreamy Oreo milkshake.
Step 2. Blend in Ice Cream
Now that you’ve gathered all your ingredients, it’s time to blend in the ice cream. Grab your blender and add in your favorite vanilla ice cream. You’ll want to use about three scoops, but feel free to adjust this based on how creamy you want your milkshake to be. The more, the merrier, right?
Next, pour in some milk. Start with half a cup; this helps create that perfect consistency, making your milkshake thick yet drinkable. If you prefer a thinner shake, you can always add a little more.
Secure the lid on your blender tightly to avoid any spills—trust me, you don’t want that!
Now, blend everything together on high until it reaches a smooth, creamy consistency. Take a moment to savor that delightful aroma wafting from the blender. You might find yourself craving a taste already!
If it’s looking a bit too thick, don’t hesitate to stop the blender and add more milk. Just blend again until it’s perfect.
You’re almost there! Get ready to make your milkshake even more fabulous by adding crushed Oreo cookies next. Enjoy the excitement of creating this delicious treat!
Step 3. Add Crushed Oreo Cookies
To give your milkshake that iconic Oreo flavor, grab those crushed Oreo cookies and sprinkle them into your blender. This step is where the magic happens! As you add the crushed cookies, feel the anticipation build. Those tasty bits are going to elevate your milkshake to a whole new level.
Make certain to pause and admire how the black-and-white flecks transform the mixture into a delightful treat. Once you’ve added enough crushed Oreos—about half a cup should do—give the blender another quick pulse. You want to ascertain the cookie pieces are evenly distributed throughout the shake, creating the perfect crunchy texture with each sip.
Don’t be shy about tasting the mixture at this point! It’s such a reward to experience that creamy, rich chocolate flavor alongside the delicious vanilla ice cream. If you want it chocolatey-er, feel free to toss in a few extra cookies for a more intense Oreo punch.
Once you’re satisfied with the consistency and flavor, it’s time to move on to the finishing touches. You’re just a few steps away from enjoying a luscious, indulgent Oreo milkshake that’ll satisfy your sweet tooth.
Step 4. Drizzle With Chocolate Syrup
After achieving that perfect blend of crushed Oreos in your milkshake, it’s time to add a delightful touch of sweetness with some chocolate syrup. Grab your bottle of chocolate syrup, and get ready to elevate your shake to the next level of yum!
Start by drizzling the syrup inside your glass. Tilt the glass at an angle and squeeze the bottle gently, letting the syrup swirl down the sides. This step not only looks fabulous but adds an irresistible chocolatey flavor right from the first sip. Don’t be shy—add as much or as little as you like.
Now, for the top! Carefully pour a generous drizzle over the surface of your milkshake. This creates a stunning visual contrast against the creamy, white background of the shake, making it even more appealing.
If you’re feeling adventurous, you can even create patterns or zigzag designs with the syrup. It’s all about personal flair and creativity!
Once you’ve drizzled your syrup, you’ll find the excitement building. You’re so close to enjoying this creamy, indulgent treat that’s sure to satisfy any sweet tooth. Enjoy every delicious moment!
Step 5. Serve With Whipped Cream

While you’re finishing up your milkshake, don’t forget to add a luscious layer of whipped cream on top. This isn’t just an optional garnish—it’s the creamy crown that takes your Oreo milkshake from delightful to absolutely decadent!
When you’re ready to serve, grab a can of whipped cream or, better yet, whip up some fresh cream yourself for an extra special touch.
To make your own whipped cream, simply pour some heavy cream into a chilled bowl, add a tablespoon of sugar, and whisk it until soft peaks form. You want it light and fluffy, perfect for topping your milkshake. If you’re using store-bought, just shake the can for a few seconds and hold it upside down above your glass.
Now, generously dollop that whipped cream on your milkshake, letting it swirl down the sides a bit for that irresistible look. Feel free to add more crushed Oreos on top of the cream for an extra crunch or drizzle a bit of chocolate syrup for a dramatic effect.
You’re not just serving a drink; you’re creating an indulgent experience that your taste buds will thank you for! Enjoy every creamy sip!
Final Thoughts
As you savor your homemade Oreo milkshake, it’s clear that this treat is worth every effort. Each creamy sip brings a rush of chocolatey goodness that’s simply irresistible.
You didn’t just make a milkshake; you created a delightful dessert that can brighten any day. The blend of vanilla ice cream, milk, and crushed Oreos delivers a classic taste that many love, making it a perfect choice for gatherings or a sweet escape after a long day.
Experimenting with toppings like whipped cream, chocolate syrup, or even an extra sprinkle of crushed Oreos let you customize it just the way you like.
Don’t forget the fun factor! Turning this recipe into a family activity can be a bonus, allowing everyone to contribute and enjoy a delicious reward together.
Frequently Asked Questions
Can I Use Dairy-Free Ice Cream for This Recipe?
Why not? You can definitely use dairy-free ice cream in this recipe! It’ll create a creamy texture without the dairy. Just make certain your other ingredients complement its flavor for a delicious experience. Enjoy your creation!
How Long Can I Store Leftovers in the Fridge?
You can store leftovers in the fridge for about 1 to 2 days. Make sure to keep it in an airtight container to maintain freshness. Just be mindful that the texture might change slightly.
Can I Add Other Cookies to the Milkshake?
Sure, go ahead! Who needs tradition? Stack your shake with all sorts of cookies; it’s a dessert revolution! Just remember, some cookies might clash, but hey, isn’t culinary chaos half the fun? Enjoy your concoction!
What Toppings Pair Well With an Oreo Milkshake?
When thinking about toppings, you can’t go wrong with whipped cream, chocolate syrup, or crushed cookies. Consider adding sprinkles or a cherry on top for that extra flair. It’ll elevate your milkshake experience!
Is It Safe to Make This Milkshake for Kids?
Absolutely, it’s safe to make this milkshake for kids! Just guarantee you use child-friendly ingredients and control the sugar content. They’ll love the treat, and you can enjoy it too, guilt-free!