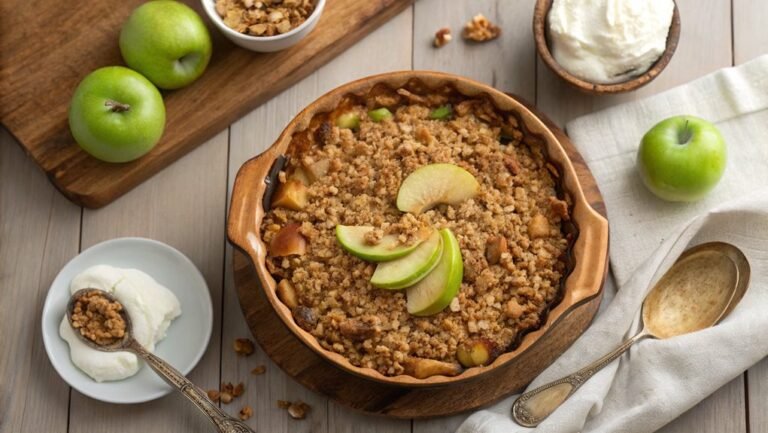
Vegan Apple Crisp Recipe
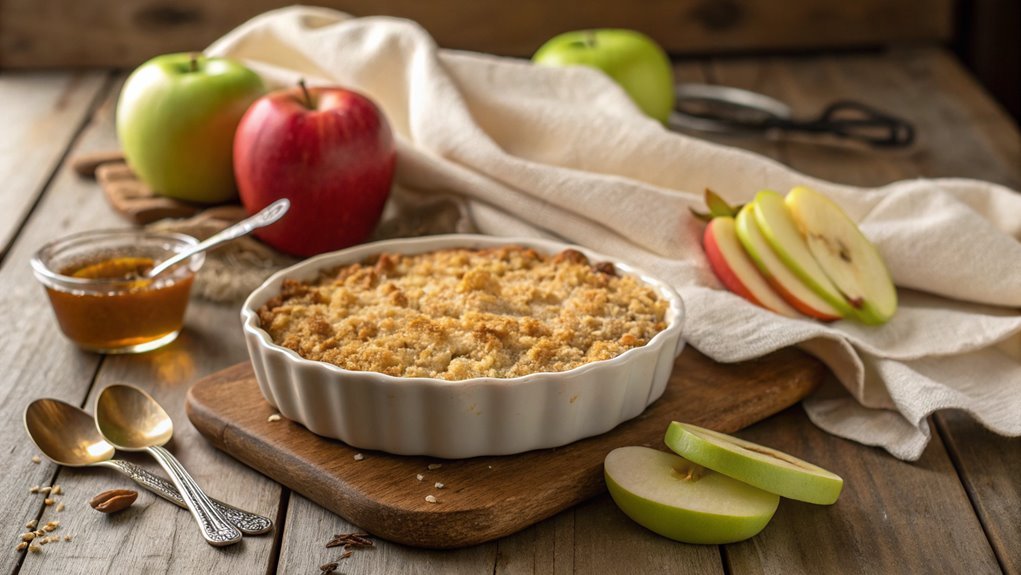
Does a dessert need dairy to satisfy? A vegan apple crisp may challenge this, combining the sweetness of apples with a wholesome oat topping. This recipe is simple to make and meets both indulgent cravings and dietary needs. It’s also highly customizable, letting you tailor the flavors to your liking. Curious about the steps?
Recipe
Vegan apple crisp is a delightful dessert that brings together the comforting flavors of baked apples and a crunchy oat topping. This dish is perfect for fall gatherings, cozy family dinners, or simply to enjoy any day of the week.
Using naturally sweet apples, aromatic spices, and wholesome ingredients, this recipe isn’t only delicious but also easy to make. It’s a wonderful way to satisfy your sweet tooth without compromising your dietary preferences.
The great thing about this vegan apple crisp is its versatility. You can use a mix of different apple varieties to create a more complex flavor profile. Additionally, feel free to experiment with the topping by adding nuts or different spices to suit your taste.
Serve it warm with a scoop of dairy-free ice cream or a dollop of coconut whipped cream for an extra treat. Here’s how to prepare this tasty vegan apple crisp!
Ingredients
- 4 cups of sliced apples (such as Granny Smith and Honeycrisp)
- 2 tablespoons of maple syrup
- 1 teaspoon of cinnamon
- 1/2 teaspoon of nutmeg
- 1 tablespoon of lemon juice
- 1 cup of rolled oats
- 1/2 cup of almond flour
- 1/4 cup of brown sugar or coconut sugar
- 1/4 teaspoon of salt
- 1/4 cup of coconut oil (melted) or vegan butter
- Optional: chopped nuts (such as walnuts or pecans) for topping
Now let’s move on to the cooking steps.
Cooking Steps
Let’s get cooking! Start by preheating your oven to 350°F, as this is the perfect temperature for creating that delicious crispy topping.
Once that’s set, mix together your oats and flour, add your favorite sweetener, and then fold in those diced apples for a burst of flavor in every bite!
Step 1. Preheat Oven to 350°F
Before diving into the deliciousness of your vegan apple crisp, it’s important to preheat your oven to 350°F. This step sets the stage for that scrumptious, golden brown topping you’re craving. A properly preheated oven guarantees that your apple crisp cooks evenly, giving you that perfect combination of tender apples and crumbly oat topping.
Here’s why you shouldn’t skip this vital step:
- It makes certain your dessert bakes consistently, enhancing the flavors.
- You’ll achieve that crunchy topping that everyone loves.
- The apples will become tender and juicy, creating a delightful contrast.
- A hot oven promotes the yummy aromas that fill your kitchen.
To preheat your oven, simply turn it on and set the temperature to 350°F. Allow it to warm up for at least 15-20 minutes, so it’s ready for your delicious ingredients.
While you wait, you can start prepping your apples and gathering your other ingredients. This brief pause makes the actual baking process smoother and more enjoyable.
Trust me, the anticipation of that warm, comforting apple crisp will make the preheating time fly by! Get ready to create a treat that’ll have everyone asking for seconds!
Step 2. Mix Oats and Flour
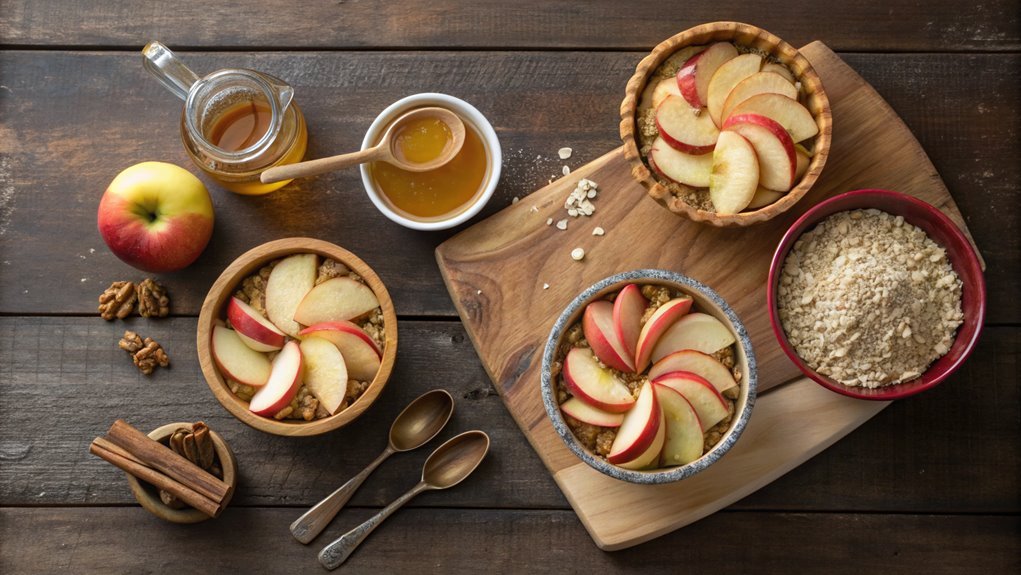
To create the perfect topping for your apple crisp, start by mixing together one cup of rolled oats and half a cup of all-purpose flour in a medium bowl. This combination will provide a delightful crunch that complements the soft, tender apples beautifully.
As you blend the oats and flour, feel the textures—and imagine how this mixture will transform when baked! Make sure you evenly distribute the oats and flour throughout the bowl. You can use a whisk or a fork to fluff them together, ensuring each bite of your crisp will be just right.
The rolled oats not only add flavor but also a wholesome quality that’s perfect for a vegan dish. Plus, they bring fiber and nutrients that elevate your dessert to something you can feel good about enjoying!
Take a moment to appreciate the simple joy of preparing this topping. It’s an easy step that adds so much to your apple crisp. Once you have the oats and flour nicely mixed, you’re well on your way to creating a delicious treat that your friends and family will surely love.
Let’s keep this momentum going as we move on to the next steps in this delightful recipe!
Step 3. Add Sweetener to Mixture
With your oats and flour mixed, it’s time to add some sweetness to your topping. This step is essential for creating that crispy, delicious texture we all love in apple crisp. You’ll want to choose a sweetener that complements your dish, making every bite irresistible.
Here’s what you can consider adding:
- Maple syrup for a rich, earthy flavor
- Coconut sugar for a hint of caramel
- Agave nectar for a light, delicate sweetness
- Brown sugar for that classic molasses taste
Start by measuring out your chosen sweetener. About half a cup is usually perfect, depending on how sweet you like it. Pour the sweetener into your oat and flour mixture, then use a fork or your fingers to combine everything.
You want the sweetener evenly distributed, creating clusters in the topping that will crisp up beautifully in the oven.
This is where the magic begins! The smell of the sweetened oats cooking will make your kitchen feel like a warm hug, making the whole experience rewarding.
Get ready; your house is about to smell amazing! Keep going; the best is yet to come!
Step 4. Fold in Diced Apples
As you prepare to bake, fold in the diced apples gently to confirm they’re coated in the sweet mixture you’ve just created. This step is essential for achieving that delightful flavor balance you’re aiming for.
When you take your apples, make sure they’re evenly distributed throughout the mixture so every bite bursts with fruity goodness.
Grab a spatula or wooden spoon, and use a light hand. You want to keep the apples intact, giving your crisp that lovely texture.
As you fold, pay attention to the colors—you’re blending vibrant apples with the golden tones of your sweet mixture, and it’s visually appealing! Each piece of fruit should glisten, inviting you to taste.
Once the apples are thoroughly coated, you’ll see how they absorb that sweetness, promising a deliciously satisfying dessert.
This step builds anticipation for the final product—your kitchen is about to fill with wonderful aromas!
Step 5. Sprinkle Cinnamon on Top
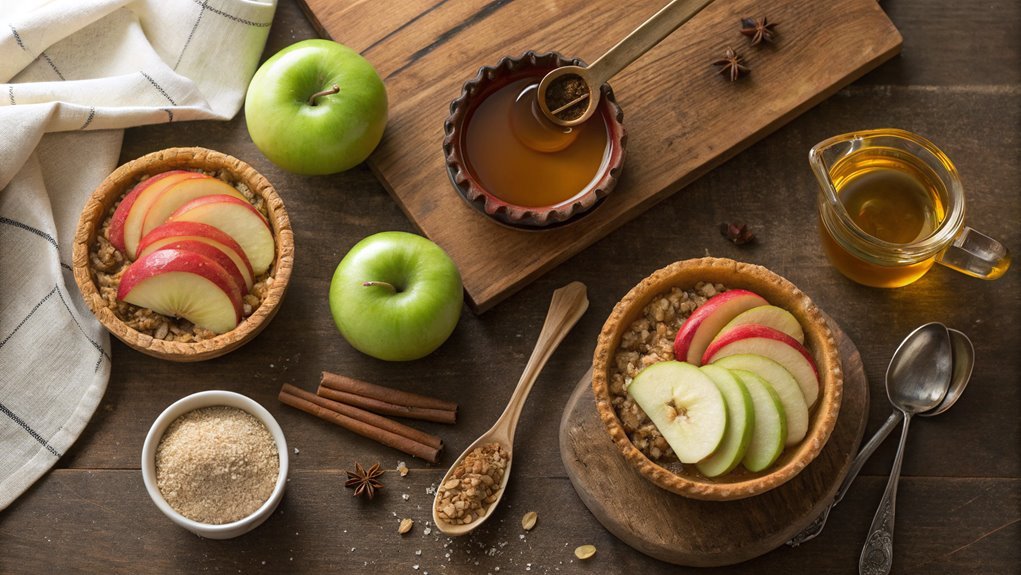
Now that your apples are perfectly coated, it’s time to add an aromatic touch. Sprinkling cinnamon on top transforms your apple crisp into a delightful warm embrace of flavor. The moment you open that jar of cinnamon, the sweet, spicy scent fills the air, inviting you to immerse yourself in this scrumptious treat.
Here’s why you’ll love this step:
- Warm Flavor: Cinnamon complements the sweetness of apples and brings warmth to each bite.
- Health Benefits: Known for its antioxidant properties, cinnamon can add a healthful twist to your dessert.
- Aromatherapy: The smell of baking cinnamon can make your kitchen feel cozy and inviting.
- Visual Appeal: A light dusting of cinnamon gives your dish an enticing, finished look.
To sprinkle the cinnamon, grab your trusty spice jar and gently shake it over the apple mixture. Use just enough to create a uniform layer, but don’t go overboard—just a dash will do!
You want the cinnamon to enhance, not overpower. Once you’ve sprinkled it, give the apples a gentle toss to distribute the goodness evenly, and prepare for a delicious bake!
Final Thoughts
While preparing this vegan apple crisp, you’ve likely discovered how simple and rewarding it can be to create a delicious dessert that aligns with your dietary choices. This recipe isn’t just about indulging in a sweet treat; it’s about embracing wholesome ingredients and the joy of baking.
The wonderful aroma that fills your kitchen while it bakes is sure to bring smiles to everyone around you. As you savor each bite of this crisp, you’ll appreciate the perfect balance of sweet, tart apples and the crunchy topping.
It’s a dish that’s perfect for gatherings, cozy nights in, or even just to treat yourself. Plus, knowing that it’s entirely plant-based makes it an even better choice!
Don’t hesitate to experiment with the recipe by adding your favorite nuts or spices. Each twist will create a unique flavor that reflects your personal taste.
Sharing this scrumptious dessert with friends and family will surely make you their favorite cook. So, roll up your sleeves, grab those apples, and let your kitchen become a hub of deliciousness!
Enjoy every moment of your baking adventure, and don’t forget to relish the joy it brings!
Frequently Asked Questions
Can I Use Other Fruits Besides Apples for This Crisp?
Just like a painter expands their palette, you can definitely experiment with other fruits! Pears, berries, or peaches work beautifully. Toss them in, and enjoy a delicious twist on the classic crisp you love.
How Do I Store Leftovers for Later?
You can store leftovers in an airtight container at room temperature for a day or in the fridge for up to five days. Just reheat briefly before enjoying those delicious leftovers again!
Is This Recipe Gluten-Free?
Yes, this recipe can be gluten-free! Just verify you use gluten-free oats and select a gluten-free flour for the topping. You’ll enjoy a delicious dessert that accommodates your dietary needs without compromising flavor.
Can I Make This Dessert Ahead of Time?
Absolutely, you can make this dessert ahead of time! Just prepare it fully and store it in the fridge. When you’re ready to serve, pop it in the oven for a fresh, warm treat.
What Vegan Butter Alternatives Work Best?
When you’re looking for vegan butter alternatives, coconut oil, avocado oil, or a plant-based margarine work best. They provide similar textures and flavors, ensuring your dessert remains delicious while keeping it dairy-free. Enjoy experimenting!


