Vegan Cheesecake Recipe
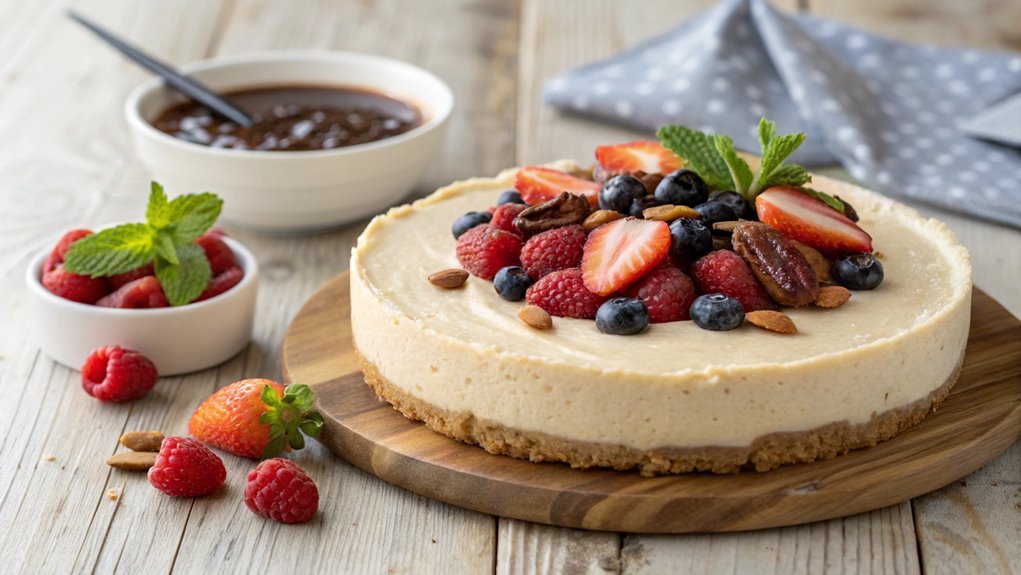
A vegan cheesecake can surprisingly match the richness of a traditional one, with a creamy filling of soaked cashews and coconut cream paired with a crunchy almond flour crust. This plant-based dessert balances textures and flavors beautifully.
For those interested in making this delicious treat that suits various diets, the simple and rewarding steps are worth exploring.
Recipe
Vegan cheesecake is a delightful dessert that captures the creamy, rich texture of traditional cheesecake without using any dairy or eggs. Instead, this recipe relies on plant-based ingredients such as cashews and coconut cream to create a luscious filling that’s both satisfying and indulgent.
Perfect for vegans and non-vegans alike, this cheesecake is sure to impress at any gathering or celebration.
To make this vegan cheesecake, you’ll need to prepare a simple crust made from nuts and dates, which provides a sweet and crunchy base. The filling is blended until smooth and creamy, then poured over the crust and chilled to set.
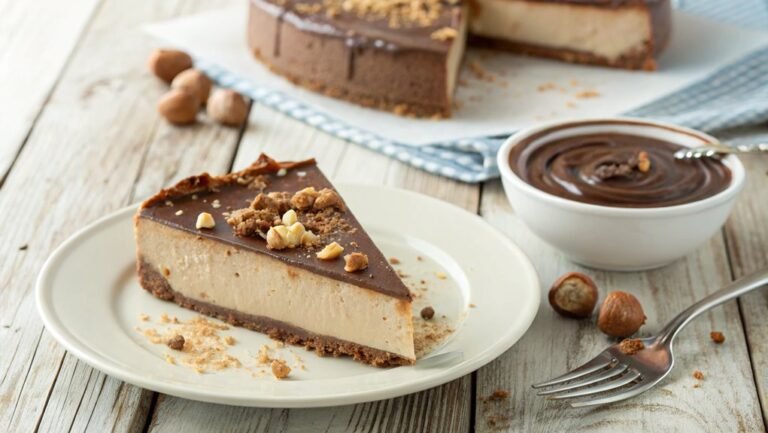
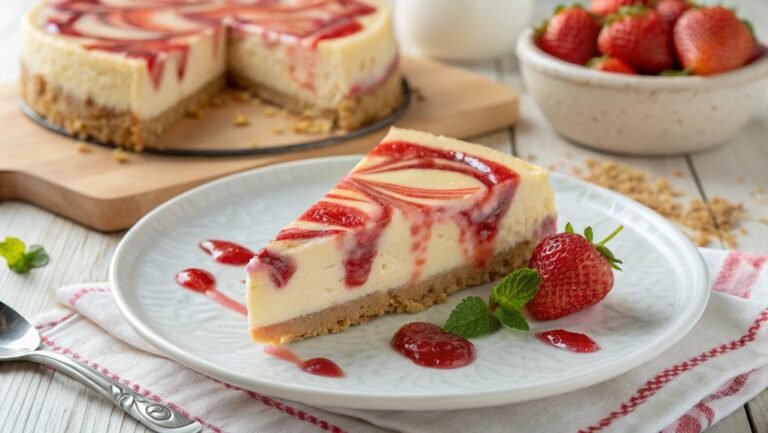
Once it’s ready, you can top it with fresh fruit, chocolate sauce, or a fruit compote for added flavor and visual appeal. Enjoy this delectable treat guilt-free!
Ingredients:
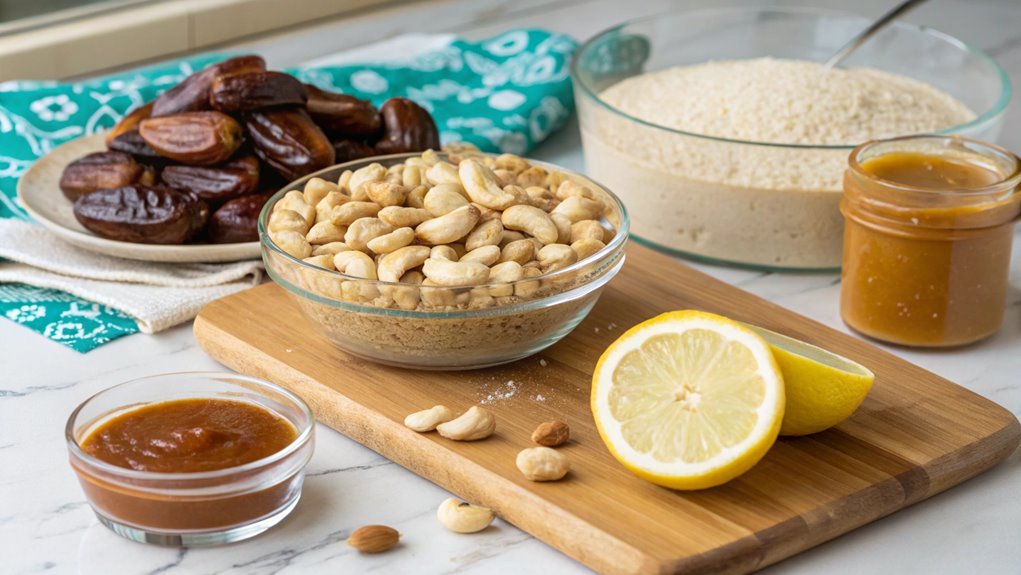
- 1 ½ cups raw cashews (soaked for at least 4 hours)
- 1 cup coconut cream
- ½ cup maple syrup
- ¼ cup lemon juice
- 1 tsp vanilla extract
- 1 cup pitted dates
- 1 cup almonds (or other nuts of choice)
- ½ cup unsweetened shredded coconut
- Pinch of salt
Now let’s move on to the cooking steps.
Cooking Steps
Now that you have all your ingredients ready, it’s time to jump into the cooking steps!
First, you’ll prepare the crust mixture, which sets the perfect foundation for your cheesecake.
After that, blending the cashews and coconut cream will create a smooth, creamy filling that you won’t be able to resist!
Step 1. Prepare the Crust Mixture
To create a delicious crust for your vegan cheesecake, you’ll need just a few simple ingredients. This crust isn’t only easy to make but also adds a delightful crunch to your dessert. Gather your ingredients, and let’s get started!
You’ll want to use:
- Almond flour or crushed nuts for a nutty base
- Medjool dates to add natural sweetness and stickiness
- Coconut oil for a rich, buttery texture
- A pinch of salt to enhance all the flavors
Begin by processing your nuts or almond flour in a food processor until finely ground.
Next, add the Medjool dates, coconut oil, and salt. Pulse the mixture until everything is well combined and sticky enough to hold together. If it feels too dry, don’t hesitate to add a splash of water or more dates!
Once your crust mixture is ready, press it firmly into the bottom of your cheesecake pan.
Make sure it’s even and compact so it holds up during baking. This crust will create a perfect foundation for your creamy filling, and you’ll be so excited to taste the final result! Enjoy the process!
Step 2. Blend Cashews and Coconut Cream
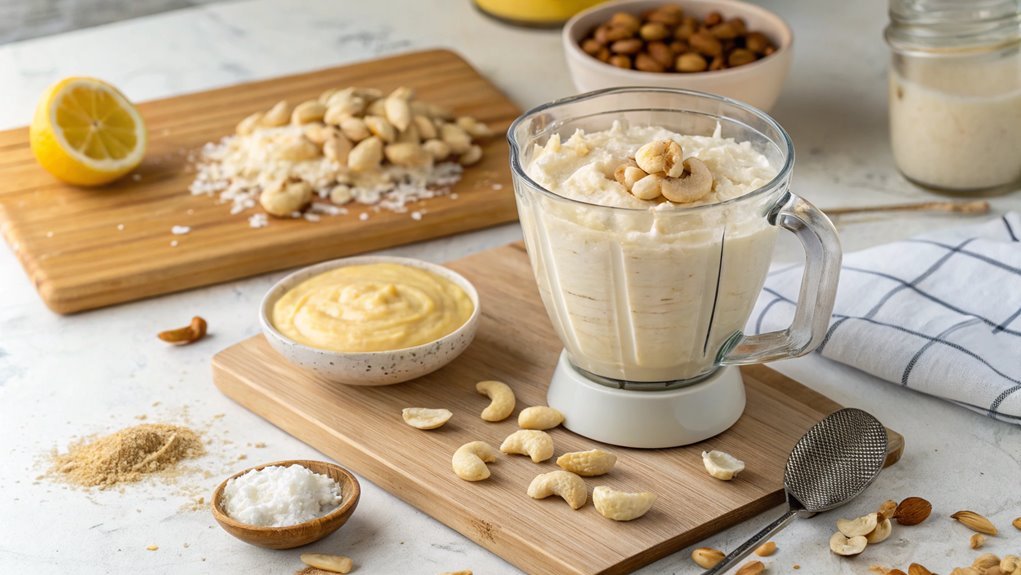
With your crust firmly pressed into the pan, it’s time to create the creamy filling that will elevate your cheesecake. Start by soaking your cashews in water for at least four hours or overnight. This step guarantees they blend smoothly, giving your cheesecake that rich, creamy texture.
Once soaked, drain the cashews and place them in a high-speed blender.
Next, add the coconut cream to the blender. The cream adds a luscious richness that complements the cashews beautifully. As you blend, start on a low setting to break down the cashews and gradually increase to high speed. You want to blend until the mixture is completely smooth and creamy. This might take a couple of minutes, so be patient!
If your blender struggles, you can add a splash of water to help it along, but try to keep it thick for that perfect cheesecake consistency.
Once blended, you’ll have a velvety mixture that’s begging to be tasted. The combination of cashews and coconut cream is simply delightful, and you’ll soon see how this filling transforms your dessert. Enjoy the process, and get ready for a delicious treat!
Step 3. Add Sweetener and Vanilla
As you blend your cashew and coconut cream mixture to perfection, it’s essential to enhance the flavor by adding sweetener and vanilla. This step will elevate your vegan cheesecake, making it irresistibly delicious.
Choose a sweetener that works best for you—whether it’s maple syrup, agave nectar, or coconut sugar. Just remember to start with a small amount and adjust to your taste!
Here’s what you’ll need to achieve that perfect balance:
- 1/4 cup of maple syrup – for a rich, caramel-like sweetness.
- 1 teaspoon of vanilla extract – to add depth and warmth.
- A pinch of salt – to enhance all the flavors.
- Optional: 1-2 tablespoons of lemon juice – for a revitalizing tang.
Once you’ve added your chosen sweetener and vanilla, blend everything together until smooth.
Taste the mixture and tweak the sweetness if needed. The goal is to create a silky, flavorful blend that will make your cheesecake shine.
You’re on the right track to impress your friends and family with this delightful dessert! Enjoy the process and let your creativity shine through every layer of flavor.
Step 4. Pour Into Springform Pan
Now that your cashew and coconut cream mixture is perfectly blended with sweetener and vanilla, it’s time to pour it into a springform pan.
Grab your prepared pan and make certain it’s ready to hold all that creamy goodness! Carefully pour the mixture into the pan, allowing it to fill evenly. You want to create a smooth, level surface, so take your time.
Once you’ve poured in the filling, gently tap the pan on your countertop. This step helps to release any air bubbles that might’ve formed during blending. It’s a simple way to guarantee your cheesecake has a lovely, dense texture.
If you notice any bubbles on the surface after tapping, you can use a spatula to spread the mixture gently, making sure it’s completely smooth. The excitement is building as you see your vegan cheesecake take shape!
Now, take a moment to appreciate your hard work. You’ve created something delicious and dairy-free, perfect for any occasion.
Make certain the filling is evenly distributed, and get ready for the next step in your cheesecake journey. You’re one step closer to a mouthwatering treat!
Step 5. Chill Before Serving
To guarantee your vegan cheesecake sets perfectly, it’s crucial to chill it before serving. This step not only enhances the flavor but also assures a delightful texture that everyone will love.
After pouring your cheesecake mixture into the springform pan, pop it into the refrigerator for at least four hours, or ideally overnight. This waiting period allows the cheesecake to firm up and develop its wonderful taste.
While you wait, here are some tips to make the most of your chilling time:
- Cover it well: Use plastic wrap or a lid to prevent odors from the fridge affecting your cheesecake.
- Check the temperature: Make sure your fridge is set to the right temperature, ideally around 37°F (3°C).
- Resist the urge: Avoid peeking too often, as this can cause temperature fluctuations.
- Garnish later: Save any toppings or decorations until right before serving for that fresh look.
Once it’s chilled and firm, take it out, slice it up, and enjoy the creamy, rich goodness. Your vegan cheesecake is ready to impress, so dig in and share with friends!
Final Thoughts
While you might’ve initially hesitated to try a vegan cheesecake, the creamy texture and rich flavor are sure to win you over. This dessert isn’t just for those who follow a vegan lifestyle; it’s for anyone wanting to indulge in a delicious treat without dairy.
You’ll find that the blend of cashews, coconut milk, and natural sweeteners creates a satisfying experience that rivals any traditional cheesecake.
Making vegan cheesecake is a fantastic way to explore new ingredients and get creative in the kitchen. You can customize the flavors to your liking by incorporating different fruits, spices, or even chocolate.
Plus, you can feel good about serving this dessert to friends and family, knowing it’s plant-based and free from animal products.
Frequently Asked Questions
Can I Use Regular Cream Cheese Instead of Vegan Options?
You can use regular cream cheese instead of vegan options, but it’ll change the dish’s overall texture and flavor. If you’re aiming for a vegan result, stick with plant-based alternatives for the best outcome.
How Long Does Vegan Cheesecake Last in the Fridge?
They say good things come to those who wait. In the fridge, vegan cheesecake typically lasts about 5 to 7 days. Just make sure you store it in an airtight container to keep it fresh!
What Can I Substitute for Nuts in the Recipe?
If you’re looking to substitute nuts, try using seeds like sunflower or pumpkin. You can also consider silken tofu for creaminess or coconut cream for richness. These alternatives can still give you a delicious texture!
Is Vegan Cheesecake Gluten-Free?
Imagine sinking your fork into creamy bliss—yes, vegan cheesecake can be gluten-free! Just ascertain you use gluten-free crust options like crushed oats or nuts, and you’re set for a delightful, worry-free indulgence.
Can I Freeze Vegan Cheesecake for Later Use?
Yes, you can freeze vegan cheesecake for later use. Just wrap it tightly in plastic wrap or aluminum foil, then place it in an airtight container. Thaw it in the fridge before serving for best results.
Conclusion
Savor your vegan cheesecake, a treat for both taste and health! Each creamy slice has a satisfying crunchy crust, perfect for any occasion. Share this indulgence with friends and family to showcase how delicious plant-based desserts can be. Enjoy the flavors and celebrate your culinary achievement—you deserve it!
