Banana Pudding Recipe
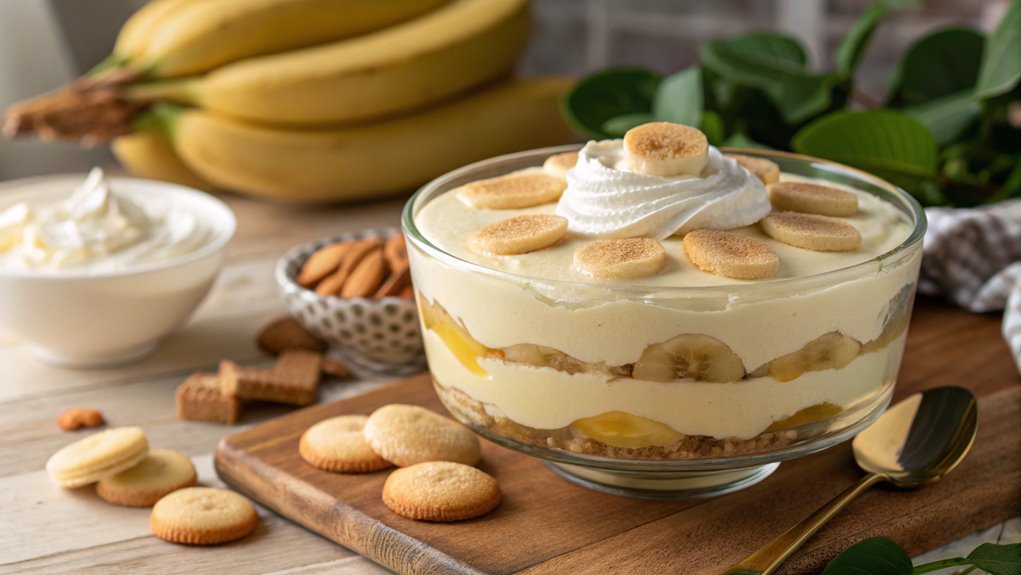
Picture a creamy, nostalgic cloud wafting through your kitchen as you make classic banana pudding. Creating this layered delight is simpler than you think, focusing on balancing flavors and textures.
To ensure each bite is a perfect mix of sweetness and crunch, follow key steps. Understanding the role of each ingredient is vital, so begin with a solid foundation.
Recipe
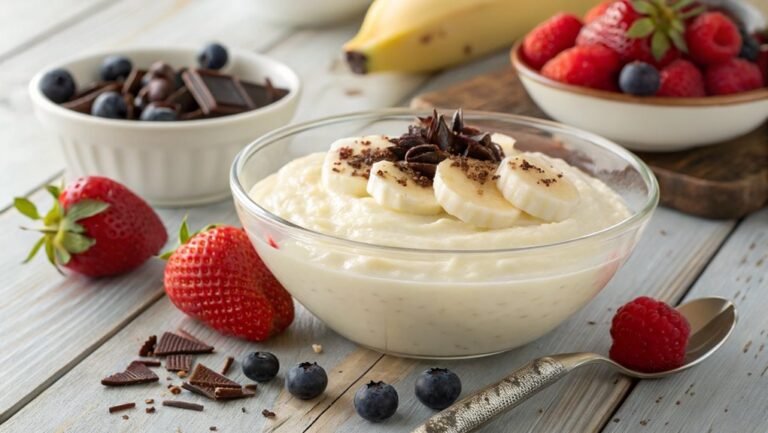
Banana pudding is a classic dessert that has delighted taste buds for generations. This creamy, sweet dish layers luscious vanilla pudding, fresh bananas, and soft vanilla wafers, creating a harmonious blend of flavors and textures.
Whether served at family gatherings or holiday celebrations, banana pudding is sure to evoke fond memories and bring smiles to all who enjoy it. Additionally, it’s a versatile recipe that can be adjusted to suit your taste or dietary preferences by adding more fruit or even incorporating a different flavor of pudding.
Making banana pudding isn’t only simple but also incredibly satisfying. The combination of ripe bananas with rich, homemade pudding creates a decadent experience that feels indulgent without requiring extensive culinary skills.
With just a few basic ingredients, you can whip up a delightful dessert that’s perfect for any occasion. So, grab your mixing bowls and let’s get started on this delicious banana pudding recipe!
Ingredients:
- 1 cup granulated sugar
- 1/3 cup all-purpose flour
- 1/4 teaspoon salt
- 2 3/4 cups milk
- 3 large egg yolks
- 2 tablespoons unsalted butter
- 1 teaspoon vanilla extract
- 4 ripe bananas, sliced
- 1 box of vanilla wafers (about 12 ounces)
- Whipped cream or Cool Whip, for topping (optional)
Now let’s move on to the cooking steps.
Cooking Steps
Get ready to whip up something delightful!
You’ll start by preparing your ingredients, which sets the stage for this creamy, dreamy dessert.
Then, you’ll mix the pudding and milk, layer the bananas and cookies, and chill it all in the refrigerator, making sure to save some excitement for the finishing touch of whipped cream on top!
Step 1. Prepare the Ingredients First
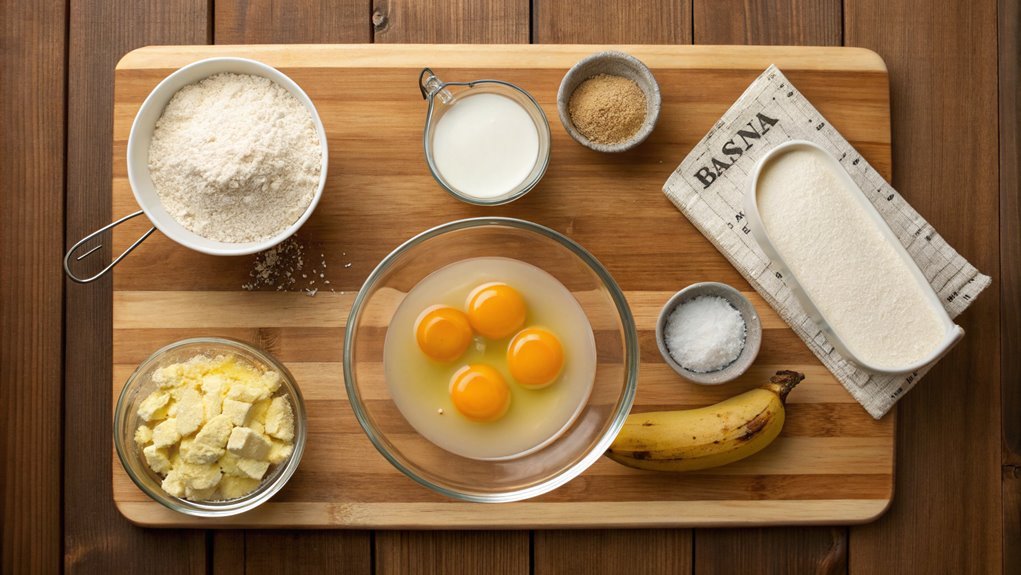
Gathering your ingredients is a crucial first step in creating the perfect banana pudding. You’ll want to make sure you have everything ready before diving into the cooking process.
Start by collecting ripe bananas, as their sweetness will enhance the flavor of your pudding. Aim for about three to four medium-sized bananas, depending on how rich you want it.
Next, grab a box of vanilla pudding mix; this will be the foundation of your dessert. Additionally, you’ll need milk—usually, you’ll use whole milk for that creamy texture.
Don’t forget the whipped topping, which adds a light, airy touch to your banana pudding. You might also consider grabbing some vanilla wafers, which are essential for that classic crunch.
Finally, keep a few fresh bananas on hand for garnish, because a beautiful presentation always elevates your dish.
Now that you’ve prepared all your ingredients, you’re ready to start mixing and layering! The anticipation of whisking everything together and creating something delicious is part of the magic.
Trust me; the effort you put into gathering these ingredients will be well worth it when you serve this delightful dessert!
Step 2. Combine Pudding and Milk
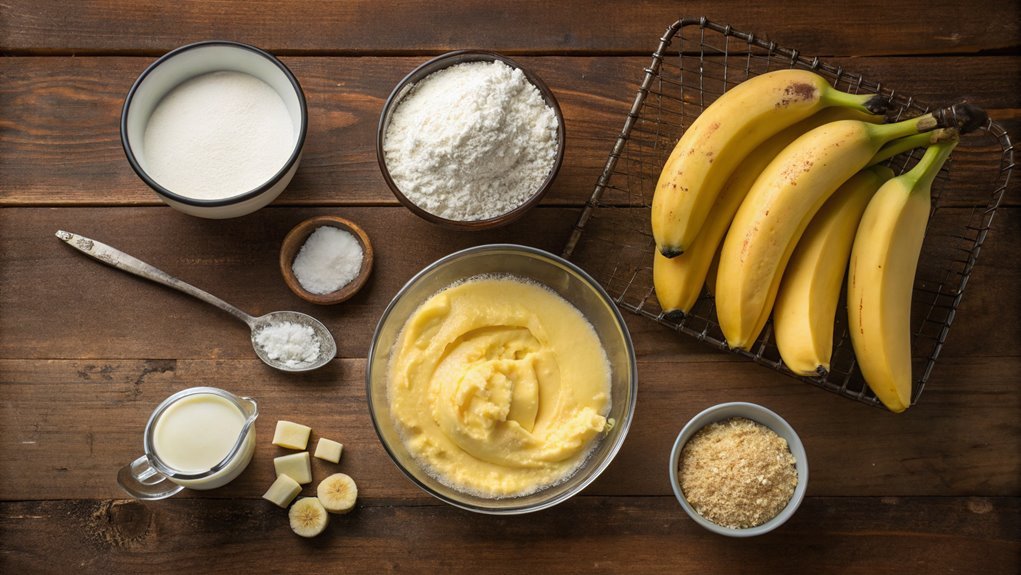
After gathering everything you need, it’s time to combine the pudding mix and milk. Grab a medium-sized mixing bowl, and pour in the cold milk. You’ll want to use about four cups for this recipe.
Next, add the pudding mix to the bowl. Using a whisk, start mixing them together. It’s best to whisk vigorously to avoid any lumps. In just a few minutes, you’ll see it turning smooth and creamy. Keep whisking until the pudding thickens and reaches a nice consistency, which usually takes around two minutes.
This part is essential because it sets the foundation for your delicious banana pudding. Once the pudding’s thickened up nicely, you can take a moment to admire your handiwork. It’s so satisfying to see your mixture come together!
If you like, you can taste a little to make sure the sweetness is to your liking. Now that you’ve mastered this step, you’re one step closer to creating a delightful dessert. The next phases will only add to the deliciousness!
Step 3. Layer Bananas and Cookies
Now that your pudding is ready, it’s time to build the layers that will create a stunning banana pudding. Start by grabbing a nice glass dish or trifle bowl, as this will showcase your delicious creation!
Begin with a layer of the creamy pudding; spread it evenly across the bottom. Next, slice up some ripe bananas into thin rounds. Place a layer of those juicy banana slices over the pudding, making sure to cover every space.
Now, it’s cookie time! Take your vanilla wafers, and gently lay them over the bananas. You can arrange them in a neat pattern or just scatter them, whichever you prefer!
Don’t be shy; use enough cookies to get that delightful crunch in every bite. Repeat this process—pudding, bananas, cookies—until you’ve used up all your ingredients. Each layer should be enticing, creating a beautiful mosaic of flavors and textures.
When you’re done layering, the anticipation will build as you think about the deliciousness ahead. This is where the excitement of banana pudding becomes real, and it’s nearly ready to savor!
Enjoy creating this delightful masterpiece!
Step 4. Chill in the Refrigerator
To let your banana pudding reach its full potential, allow it to chill in the refrigerator for at least four hours. This essential step is where all the magic happens! As your pudding cools, the flavors meld together, creating a creamy, delicious dessert that’s sure to impress everyone at your gathering.
While the pudding chills, you might think about what makes it extra special. The cookies soften, absorbing the rich banana flavor, and the bananas themselves stay fresh and vibrant. Trust me, this resting period is worth the wait!
After the time’s up, you’ll be greeted with a delightful pudding that’s thickened perfectly and loaded with that irresistible banana goodness.
For best results, cover the bowl with plastic wrap or a lid to prevent any unwanted odors from your fridge sneaking into your dessert. If you’re looking for the ultimate indulgence, try placing your pudding in an attractive serving dish, so it’s extra inviting when you pull it out.
The anticipation builds as you await that first scoop, and your patience will be rewarded with a scrumptious slice of homemade goodness!
Step 5. Top With Whipped Cream
Topping your banana pudding with whipped cream adds a luscious finish that’s hard to resist. This creamy layer enhances the overall experience, making every spoonful delightfully indulgent.
To create that perfect topping, follow these simple steps:
- Whip up heavy cream, adding a pinch of sugar for that sweet touch. You’ll want it fluffy enough to hold its shape.
- Once your cream is whipped, gently spread it over the chilled pudding, covering it completely with a generous layer.
- For an extra special look, use a piping bag to create beautiful swirls on top. This adds an elegant flair that’s sure to impress!
- Drizzle some caramel or chocolate sauce over the whipped cream for added flavor and visual appeal. Trust us, this step can elevate your dessert!
After finishing, let the pudding sit for a few minutes. This will allow the flavors to meld beautifully together.
When you serve it, be prepared for smiles and sighs of satisfaction. Topping your banana pudding with whipped cream transforms a simple dessert into a heavenly treat.
Go ahead and give it a try—there’s no better way to elevate your delicious creation!
Final Thoughts
As you savor the rich layers of banana pudding, it’s easy to appreciate the blend of flavors and textures that make this dessert a timeless classic. Each bite brings a wave of creamy goodness, complemented by fresh banana slices and a hint of vanilla. It’s a delight that warms the heart and makes you feel at home.
You might find yourself inspired to create your own version, adjusting the recipe to suit your taste. Perhaps you’ll add a sprinkle of cinnamon or a touch of chocolate to push the boundaries of tradition. The beauty of banana pudding lies in its versatility, allowing you to experiment while still keeping the essence of this beloved dish intact.
Don’t hesitate to share this dessert with friends and family, creating unforgettable memories around the table. Whether it’s a summer cookout or a cozy winter gathering, banana pudding shines as a crowd-pleaser.
Frequently Asked Questions
Can I Use Instant Pudding Instead of Regular Pudding Mix?
Imagine standing at a crossroad, where instant pudding’s convenience beckons you. You can absolutely use it instead of regular pudding mix. It’ll save time, bring simplicity, and still create a deliciously creamy dessert you’ll love.
How Long Does Banana Pudding Stay Fresh in the Fridge?
You should cover and store banana pudding in the fridge, where it’ll stay fresh for about three to four days. Just remember, it may lose some texture as it sits longer. Enjoy every delicious bite!
Can I Make Banana Pudding a Day in Advance?
Why rush when you can prepare ahead? You can absolutely make it a day in advance. Just remember to store it properly in the fridge to maintain freshness. Enjoy your delicious treat when you’re ready!
What Type of Bananas Are Best for Banana Pudding?
When choosing bananas, you’ll want ripe yet firm ones. Look for those with a few brown spots, as they’ll provide the perfect sweetness and flavor without becoming mushy, making your dessert even more delicious.
Is It Possible to Make a Dairy-Free Banana Pudding?
If you’ve ever dreamed of a creamy delight without dairy, you’re in luck! Yes, you can make a dairy-free banana pudding using almond milk, coconut cream, or cashew cream for a luscious, guilt-free treat.
