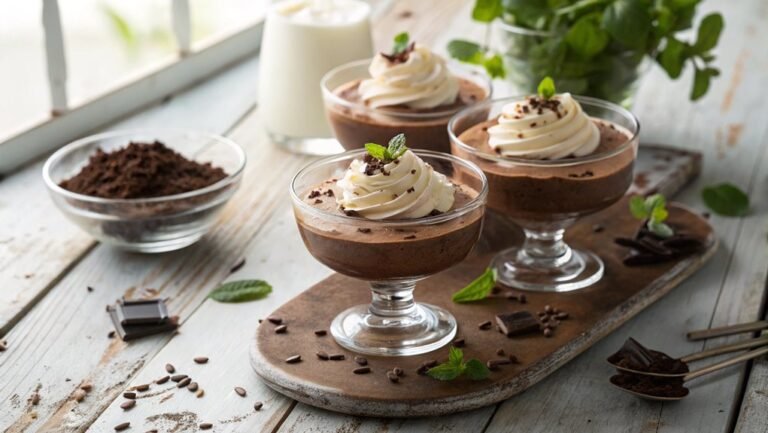
No-Bake Chocolate Truffles Recipe
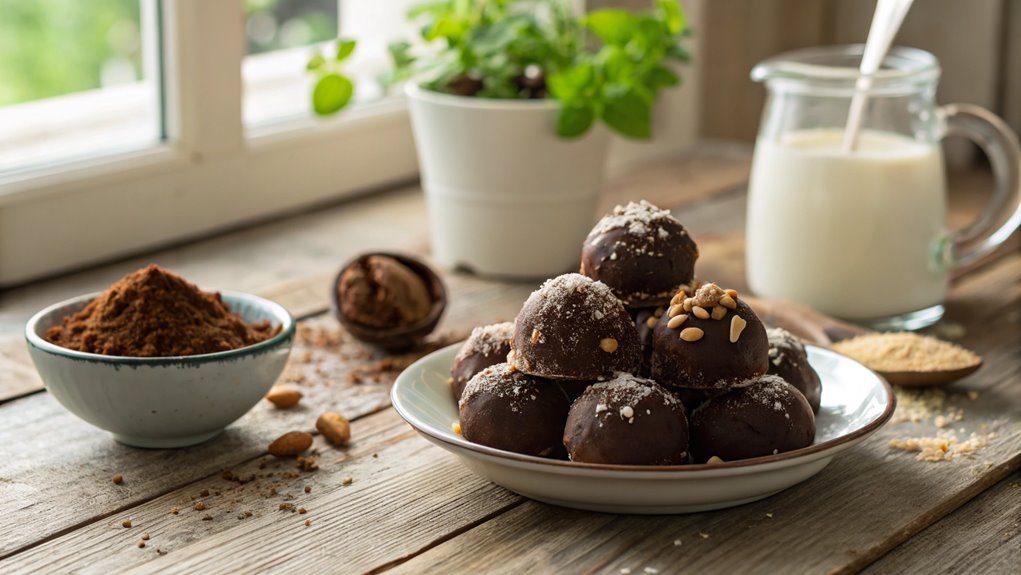
Craving a rich, indulgent treat? No-bake chocolate truffles are perfect with their simple ingredients and straightforward process.
Experiment with various chocolate types or spices for unique flavors and coatings to elevate these treats. Curious about how to start and explore variations?
Recipe
Indulge your sweet tooth with these delightful no-bake chocolate truffles that are incredibly easy to make and require minimal ingredients. Perfect for a quick treat or as a thoughtful homemade gift, these truffles boast a rich chocolate flavor and a creamy texture that melts in your mouth.
The best part is, they can be customized with various coatings, fillings, or flavorings to suit your taste. These truffles are made with just a few simple ingredients that you probably already have in your pantry.
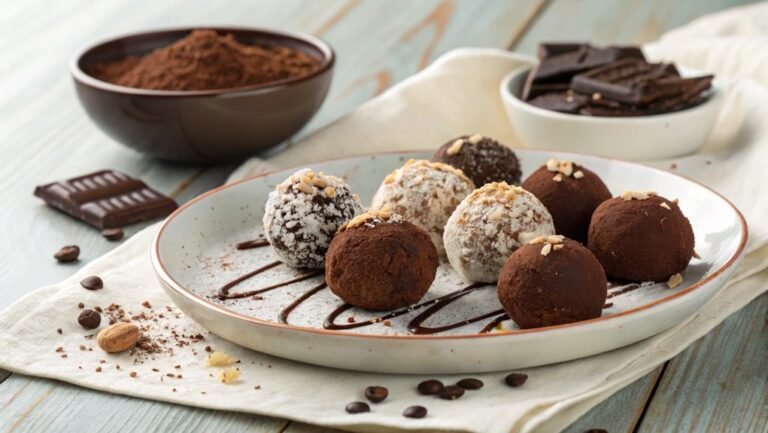
The base of the truffles is a mixture of chocolate and cream, which is then chilled to firm up before being rolled into bite-sized balls. Once shaped, you can roll them in cocoa powder, chopped nuts, or shredded coconut to add an extra layer of flavor and texture.
Follow this easy recipe to whip up these decadent treats in no time!
Ingredients:
- 8 ounces of semisweet chocolate, chopped
- 1/2 cup heavy cream
- 1 teaspoon vanilla extract
- Cocoa powder, for rolling
- Chopped nuts (optional), for rolling
- Shredded coconut (optional), for rolling
Now let’s move on to the cooking steps.
Cooking Steps
Get ready to whip up some delicious no-bake chocolate truffles!
You’ll start by melting the chocolate in a bowl, then chill the mixture for about 30 minutes to get it just right.
Once that’s done, you’ll form it into bite-sized balls, coat them with cocoa powder, and refrigerate for an hour to set—simple and oh-so-satisfying!
Step 1. Melt Chocolate in a Bowl
To melt chocolate in a bowl, start by finely chopping your chocolate into small, even pieces. This helps the chocolate melt evenly and prevents it from burning.
Next, choose your melting method, whether it’s a microwave or a double boiler. Both work well, but you’ll need to keep a close eye on the chocolate as it melts.
Here’s what you’ll need:
- High-quality chocolate – Opt for semisweet or dark chocolate for a rich flavor.
- Microwave-safe bowl or double boiler – Pick the method that suits you best.
- Spatula or spoon – You’ll want something to stir the chocolate as it melts.
- Patience – Don’t rush the process; slow and steady wins the race!
If you’re using a microwave, heat the chocolate in short bursts of 15-30 seconds, stirring in between until it’s smooth.
If you prefer the double boiler method, fill the bottom pot with water and heat it gently. Place the bowl of chocolate on top, allowing it to melt slowly.
Once melted, your chocolate will be ready to blend into your truffle mixture, creating a delicious treat you won’t forget! Enjoy the process!
Step 2. Chill Mixture for 30 Minutes
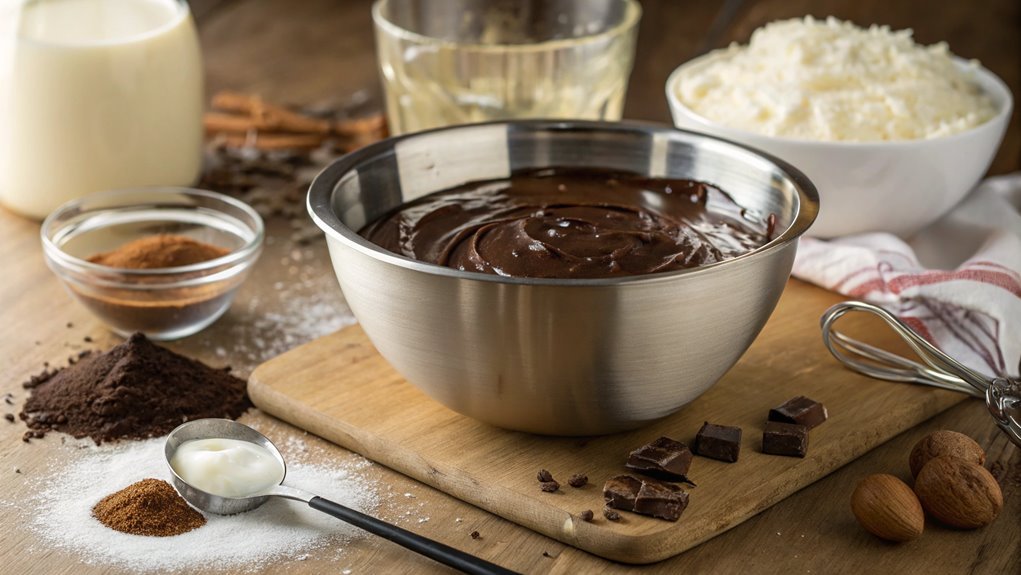
After you’ve combined your melted chocolate with the other ingredients, it’s vital to chill the mixture for 30 minutes. This step helps the flavors meld together and thickens the mixture, making it easier to work with later.
You’ll want to grab a bowl or container with a tight-fitting lid to avoid any unwanted odors from your fridge mingling with your truffle goodness.
Once you’ve poured the mixture into the bowl, cover it well. This isn’t just about keeping it fresh; it’s also about allowing those delicious flavors to deepen.
As it chills, you can take a moment to clean up your workspace, or maybe even start dreaming about all the delicious toppings you’ll use later.
After 30 minutes, the anticipation will be worth it! You’ll discover that the mixture has thickened nicely, making it perfect for shaping.
This chilling time is important, so don’t rush it! You’re one step closer to creating those delectable, melt-in-your-mouth truffles that everyone will adore.
Step 3. Form Into Bite-Sized Balls
Once the mixture has chilled and thickened, it’s time to roll it into bite-sized balls. This is the fun part! You get to shape your delicious truffles, and trust me, they’ll look adorable and tempting once you’re done. Here’s how to do it:
- Prepare Your Workspace: Clear a clean surface or use a baking sheet lined with parchment paper to make rolling easier and cleaner.
- Scoop the Mixture: Grab a tablespoon or melon baller to scoop out a portion of the chilled mixture. You want each ball to be about one inch in diameter for perfect bites.
- Roll the Balls: Using your hands, gently roll the scooped mixture between your palms to form a smooth ball. Don’t worry if they’re not perfect; each truffle has its charm!
- Set Aside: Place the rolled truffles on your prepared surface. You’ll want to let them sit for a few minutes to firm up a bit more before you coat them.
Now, you’ve got a tray full of irresistible chocolate truffles, just waiting to be coated and enjoyed!
Enjoy the process and get ready for the delicious rewards!
Step 4. Coat With Cocoa Powder
Coating your truffles with cocoa powder adds a rich, velvety finish that enhances their chocolatey goodness. Once you’ve rolled your truffles into bite-sized balls, it’s time to give them that elegant touch.
First, grab a shallow bowl and fill it with unsweetened cocoa powder. This will be your coating station, so make sure there’s enough cocoa to cover all your truffles.
Now, take one truffle at a time and gently roll it in the cocoa powder. Make sure to turn it around, so every side gets a nice dusting. The cocoa powder not only adds flavor but also creates a beautiful contrast to the creamy interior.
If you like, you can tap off any excess cocoa powder gently, ensuring your truffles aren’t overly coated.
Once all the truffles are coated, you’ll notice how they transform into a chocolate lover’s dream! Each bite will be a perfect blend of rich cocoa and creamy goodness.
This step is simple yet vital in elevating your truffles to a gourmet treat. So, embrace the process, and enjoy the delightful results of your hard work! You’re just a few steps away from pure indulgence!
Step 5. Refrigerate for One Hour
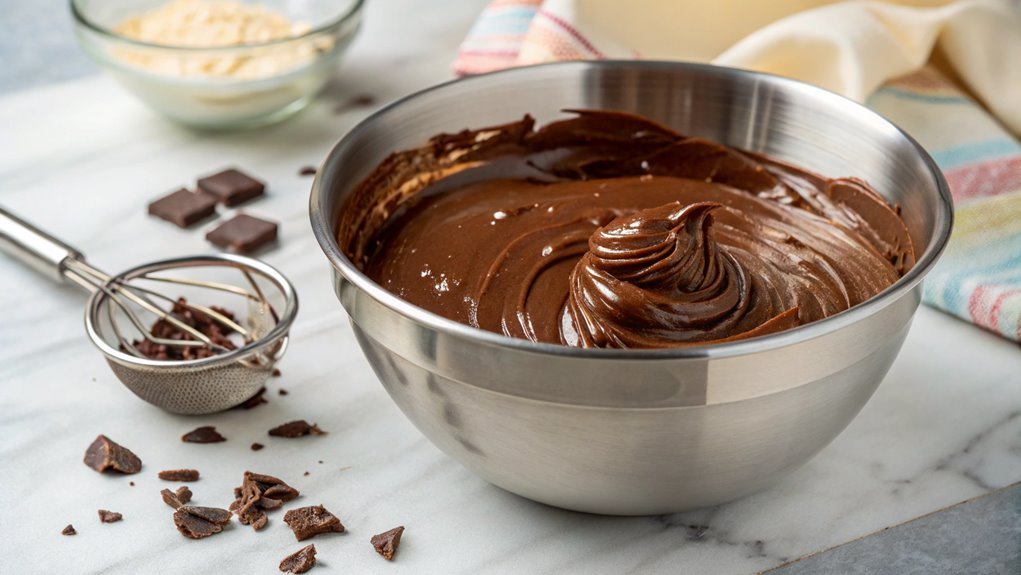
To achieve the perfect texture for your chocolate truffles, you’ll want to refrigerate them for one hour. This essential step helps the truffles firm up, making them easier to handle and ensuring they melt beautifully in your mouth.
Plus, chilling enhances the flavors, creating a delightful treat that’s hard to resist!
Here’s what you need to do during this hour:
- Place the truffles on a plate: After coating them in cocoa powder, arrange your truffles in a single layer on a plate or baking sheet. This prevents them from sticking together.
- Cover them lightly: Use plastic wrap or a clean kitchen towel to cover the plate. This keeps them fresh and prevents any fridge odors from affecting their flavor.
- Set a timer: Use your phone or a kitchen timer to keep track of the hour. This way, you won’t lose track of time while you dream about your delicious creation!
- Get ready to indulge: After the hour’s up, take them out, and prepare for the delightful moment of tasting your homemade truffles!
Now, you’re just a step away from enjoying these decadent delights!
Final Thoughts
The joy of creating no-bake chocolate truffles lies in their simplicity and deliciousness. With just a few ingredients, you can whip up a batch that’s perfect for any occasion.
Whether you’re treating yourself or impressing friends, these truffles are sure to delight. You don’t need to be a master chef to make them; just follow the steps, and you’ll see how easy it can be!
Experimenting with flavors and coatings adds a personal touch, allowing you to create unique treats tailored to your taste. You can roll them in cocoa powder, dip them in melted chocolate, or even sprinkle chopped nuts on top.
The possibilities are endless! Plus, they make fantastic gifts. Imagine the joy on someone’s face when they receive a box of homemade truffles, lovingly crafted by you.
Frequently Asked Questions
Can I Use Dairy-Free Chocolate for a Vegan Option?
Absolutely, you can use dairy-free chocolate for a vegan option! Just make sure it’s labeled as dairy-free or vegan. This way, you’ll enjoy a delicious treat without compromising your dietary preferences. Enjoy your creation!
How Long Can I Store These Truffles?
You can store these truffles in an airtight container in the fridge for up to two weeks. Just make sure they’re well-sealed to keep them fresh and maintain their delicious flavor. Enjoy them whenever!
What Can I Substitute for Heavy Cream?
You can substitute heavy cream with coconut cream, milk, or a non-dairy alternative like almond or oat milk. Just keep in mind that the texture and richness might vary slightly depending on your choice.
Are There Gluten-Free Options for This Recipe?
Yes, there are gluten-free options! You can use gluten-free cookies or oats as a base. Confirm any added ingredients, like chocolate or flavorings, are also certified gluten-free to keep your treats safe and delicious.
Can I Freeze the Truffles for Later?
You can definitely freeze the truffles for later. Remember, “Good things come to those who wait.” Just make sure to store them in an airtight container to maintain their delicious flavor and texture. Enjoy!
Conclusion
Now that you’ve made your no-bake chocolate truffles, you’re in for a delightful treat. These little bites are perfect for sharing or enjoying solo. With a few simple steps, you’ve transformed basic ingredients into something special. Gather your loved ones and enjoy your homemade truffles. They’re sure to impress, and you’ll be craving more!
