Chocolate Mousse Recipe
When indulgent desserts come to mind, chocolate mousse stands out, perfectly balancing the richness of dark chocolate with the airy texture of whipped cream. Mastering this classic treat is simpler than it seems and yields undeniably impressive results.
Before starting, consider what makes this dessert exceptional and how a few tweaks can elevate your mousse to new heights of decadence. Gather your ingredients and explore ways to enhance its luxurious taste and texture.
Recipe
Chocolate mousse is a classic dessert that’s both rich and airy, making it a favorite among chocolate lovers. This indulgent treat combines the deep, luxurious flavor of chocolate with a light, fluffy texture that melts in your mouth.
Perfect for special occasions or a simple weeknight treat, this recipe is sure to impress guests and family alike.
Making chocolate mousse at home is easier than it seems. With just a few key ingredients and some simple techniques, you can whip up a batch of this decadent dessert in no time.
The key to achieving the perfect mousse lies in properly melting the chocolate and folding in the whipped cream to maintain that airy texture. Follow these steps, and you’ll have a delightful dessert ready to serve in just a few hours.
Ingredients:
- 8 ounces dark chocolate (70% cocoa)
- 3 tablespoons unsalted butter
- 3 large eggs, separated
- 1/4 cup granulated sugar
- 1 cup heavy cream
- 1 teaspoon vanilla extract
- A pinch of salt
Now let’s move on to the cooking steps.
Cooking Steps
Get ready to create a luxurious chocolate mousse that’ll impress everyone!
First, you’ll gently melt your dark chocolate, making it smooth and rich.
Then, you’ll whip your egg whites to soft peaks and fold everything together to achieve that airy perfection before chilling it to set—trust me, it’s worth the wait!
Step 1. Melt Dark Chocolate Gently
To achieve the perfect texture for your chocolate mousse, melting dark chocolate gently is essential. Start by breaking your chocolate into small pieces. This helps it melt evenly and prevents any lumps from forming.
Next, place the chocolate in a heatproof bowl. You can choose to melt it using a double boiler or in the microwave. If you opt for the microwave, set it to low power and heat in short bursts of about 15 to 20 seconds, stirring in between. This way, you can keep a close eye on it and avoid overheating.
If you’re using a double boiler, fill a pot with simmering water and set your bowl on top, making sure it doesn’t touch the water. Stir the chocolate frequently as it melts. The key here is patience; melting slowly will enhance the chocolate’s flavor and texture.
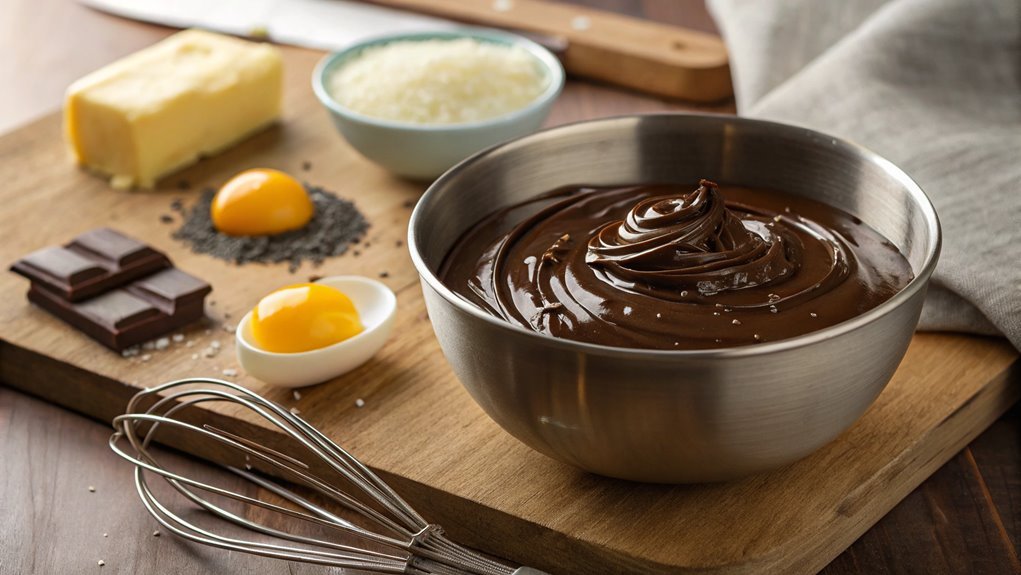
Once it’s smooth and fully melted, remove it from the heat and let it cool slightly before incorporating it into your mousse. The rich, glossy chocolate you’ve created will be the heart of your dessert, setting the stage for a delightful treat that everyone will love. Enjoy the process!
Step 2. Whip Egg Whites to Soft Peaks
Whipping egg whites to soft peaks is an important step in creating a light and airy chocolate mousse. Start by ensuring your mixing bowl and beaters are completely clean and dry. Any grease can prevent the egg whites from whipping up properly.
Crack your eggs, separating the whites into the bowl, and be careful not to let any yolk slip in.
Begin mixing the egg whites at medium speed. As they start to foam, gradually increase the speed to high. You’ll see the mixture transform, becoming frothy and increasing in volume.
After a few minutes, you’ll notice soft peaks forming. This means when you lift the beaters, the egg whites will hold a peak that gently bends over at the tip.
This stage is vital because it creates the structure needed for your mousse. Don’t overbeat! If you whip them too long, you’ll end up with stiff peaks, which isn’t what you want.
Step 3. Fold Chocolate Into Egg Mixture
Now that your egg whites are whipped to soft peaks, it’s time to incorporate the melted chocolate into the egg mixture. This step is essential because it brings together the rich flavor of chocolate with the light, airy texture of the egg whites.
Start by taking a small amount of the whipped egg whites and gently fold it into the melted chocolate. This helps to lighten the chocolate, making it easier to mix with the rest of the egg whites.
When you’re folding, use a spatula and make smooth, sweeping motions. You want to go from the bottom of the bowl to the top, turning the mixture over as you go. This technique keeps the air bubbles intact, ensuring your mousse remains fluffy.
Continue adding the egg whites in increments, folding gently until everything is well combined. You should aim for a uniform mixture that’s chocolatey and airy, without any visible streaks of egg whites.
This process takes a bit of patience, but it’s worth it! You’re creating a decadent dessert that’ll impress anyone who gets a taste. Enjoy the magic of transforming these simple ingredients into something truly delightful!
Step 4. Chill Mousse for One Hour
Chilling the mousse for one hour is essential for achieving the perfect texture. This step allows the flavors to meld beautifully and the mousse to set just right, giving you that rich, creamy experience in every bite. After all your hard work, you want to savor every moment!
Here’s what happens during that hour in the fridge:
- The mousse firms up, creating a delightful, airy consistency.
- The cocoa flavor deepens, enhancing the chocolatey goodness.
- The cooling process makes for a revitalizing treat, perfect for any occasion.
- You’ll be filled with anticipation, imagining how delicious it’ll be!
Once the hour is up, you’ll notice the mousse has transformed into a velvety masterpiece. The texture should be smooth and light, perfect for scooping.
This is a moment to celebrate your culinary skills! So, go ahead and give it a taste—feel free to indulge a little while you wait. Remember, the key to a great chocolate mousse lies in this chilling step. It’s so worth it!
Get ready to impress your friends and family with this delectable dessert that’s not just a treat for the taste buds, but also a feast for the eyes. Enjoy!
Step 5. Serve With Whipped Cream
To elevate your chocolate mousse to new heights, serving it with freshly whipped cream is a must. This delightful pairing not only enhances the flavor but also adds a light, airy texture that complements the richness of the mousse.
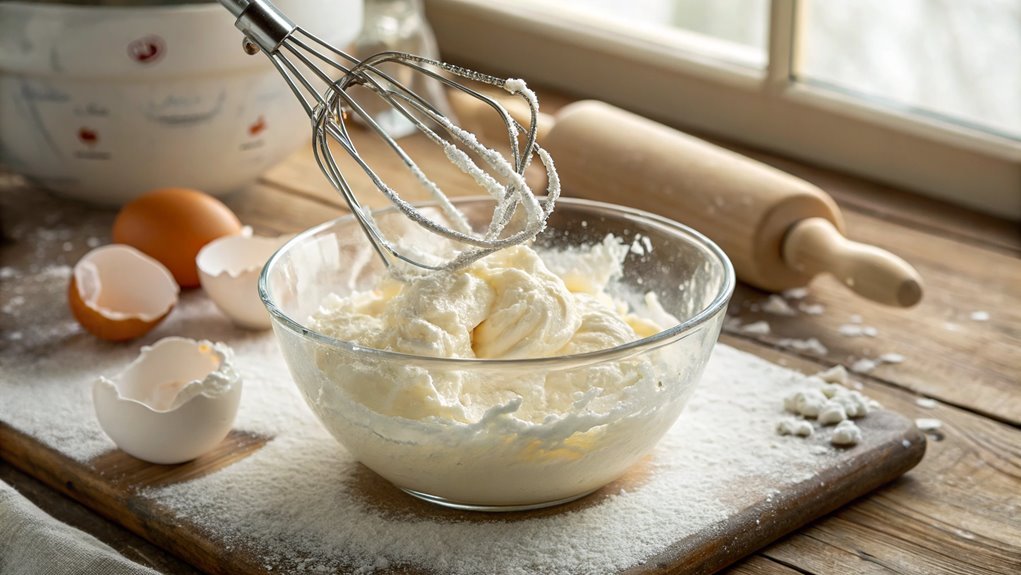
Start by pouring heavy cream into a chilled mixing bowl. If you want to add a hint of sweetness, sprinkle in a tablespoon of powdered sugar and a splash of vanilla extract.
Next, grab a whisk or an electric mixer and whip the cream until soft peaks form. Be careful not to overwhip, as you want it to be fluffy, not grainy.
Once your cream is ready, it’s time to serve. Take your chilled chocolate mousse from the fridge and scoop it into individual serving dishes.
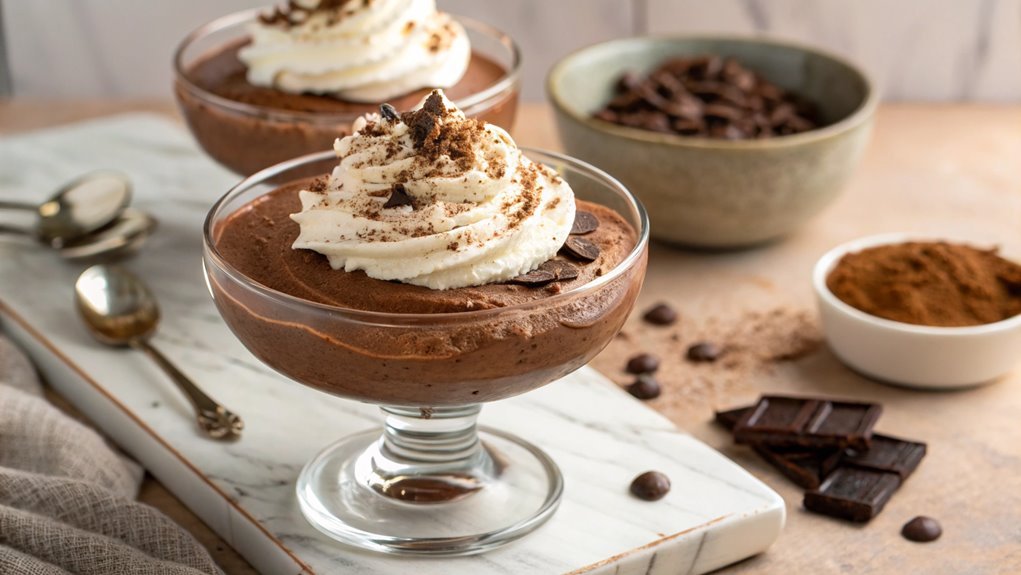
Now, generously dollop the whipped cream on top, letting it cascade down the sides. For an extra touch, you can sprinkle some shaved chocolate or cocoa powder on top.
This added detail makes the dessert look stunning and irresistible. Enjoy the symphony of flavors as you take a bite of your chocolate mousse topped with that creamy goodness. It’s a dessert that will impress everyone!
Final Thoughts
Creating a delectable chocolate mousse can bring immense satisfaction to both the cook and those lucky enough to indulge in it.
This rich, velvety dessert isn’t just a treat; it’s an experience that can elevate any occasion. As you whip up this delightful dish, you’ll feel the excitement build, knowing that you’re about to create something truly special.
Imagine serving it to your friends or family, and watch their faces light up with joy.
Here are a few things that make chocolate mousse a must-try:
- The luxurious texture that melts in your mouth
- The rich, intense chocolate flavor that satisfies any sweet tooth
- The simple preparation that doesn’t require advanced skills
- The ability to impress your guests with a gourmet touch
Frequently Asked Questions
Can I Use Dark Chocolate Instead of Milk Chocolate?
Absolutely, you can use dark chocolate instead of milk chocolate! It’ll give your dish a richer flavor. Just remember, dark chocolate’s less sweet, so you might want to adjust the sugar in your recipe.
How Long Does Chocolate Mousse Last in the Fridge?
Chocolate mousse usually lasts about three to four days in the fridge. Make sure you store it in an airtight container to keep it fresh and prevent any absorption of other odors from the fridge.
Can I Make Chocolate Mousse Ahead of Time?
You can make desserts like chocolate mousse up to three days ahead of time. This allows flavors to meld beautifully. Just store it properly in the fridge, and you’ll have a delicious treat ready for guests.
Is There a Vegan Version of Chocolate Mousse?
Yes, there’s definitely a vegan version of chocolate mousse! You can use ingredients like silken tofu, avocado, or coconut cream combined with cocoa powder and sweetener to create a deliciously rich and creamy treat.
What Can I Serve With Chocolate Mousse?
You’d think chocolate mousse stands alone, but it loves company! Serve it with fresh berries, a dollop of whipped cream, or crunchy cookies. These pairings elevate your dessert experience, making it even more delightful!
Conclusion
Your chocolate mousse is ready to delight your taste buds! Its silky texture and rich flavor offer a sweet embrace with each spoonful. Dive into this delightful dessert that’s sure to impress friends and family. Whether topped with whipped cream or chocolate shavings, every bite celebrates chocolatey goodness. Grab your ingredients and let the magic of cooking unfold!