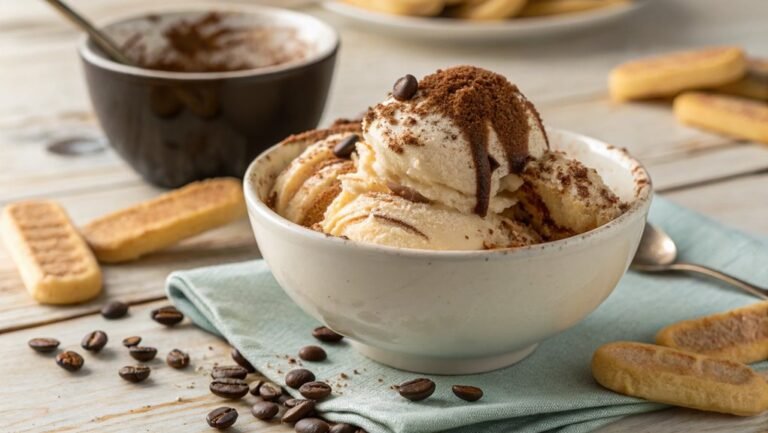
Coffee Ice Cream Recipe
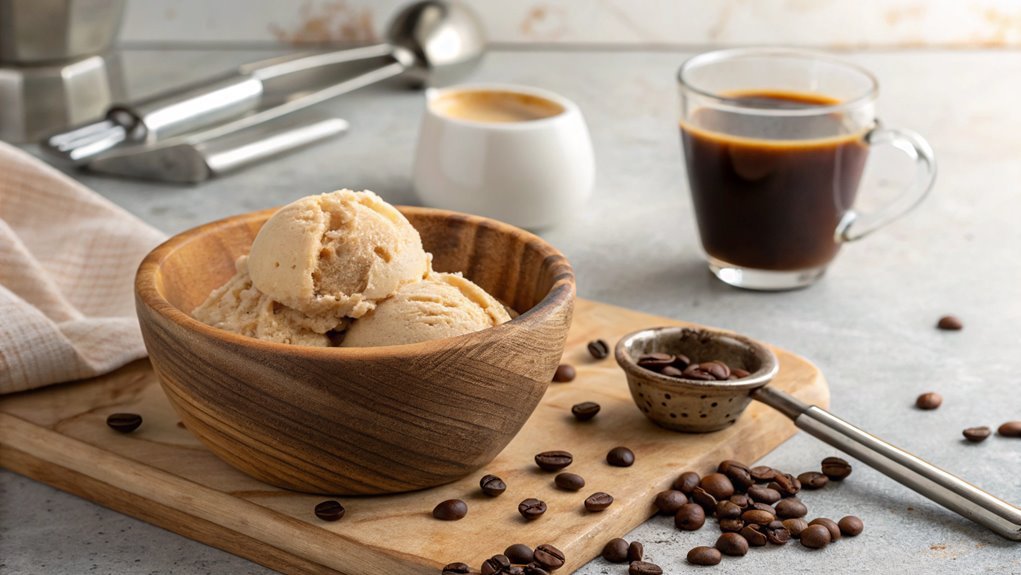
Embark on a culinary journey to transform coffee into exquisite ice cream using just a few ingredients. Picture the rich aroma of brewed coffee blending with sweetened condensed milk and whipped cream for a luxurious treat. Each step is crucial for achieving creamy texture and bold flavor. What’s the secret to making this recipe the star of your next gathering?
Recipe
Coffee ice cream is a delightful treat that combines the rich flavor of coffee with the creamy texture of ice cream, making it perfect for coffee lovers. This homemade version isn’t only delicious but also quite simple to whip up.
The key to achieving the perfect consistency is to incorporate a good amount of heavy cream, which guarantees a smooth and creamy texture once frozen. Whether you’re enjoying it on a warm summer day or as a cozy dessert during winter, this coffee ice cream is sure to satisfy your cravings.
To start making your coffee ice cream, you’ll need to brew a strong pot of coffee. The intensity of the coffee flavor will shine through in the final product, so don’t hold back on the coffee!
Once your coffee is brewed, it’s important to let it cool before mixing it with the other ingredients. This recipe includes sweetened condensed milk to add richness and sweetness, while heavy cream lightens the texture.
Once everything is mixed together, simply churn it in an ice cream maker, and you’ll have a delightful homemade treat ready to enjoy.
Ingredients:
- 2 cups heavy cream
- 1 cup brewed coffee (strong)
- 1 cup sweetened condensed milk
- 1 teaspoon vanilla extract
- Pinch of salt
Now let’s move on to the cooking steps.
Cooking Steps
Now that you’ve got your ingredients ready, it’s time to jump into the cooking steps!
Start by brewing a strong coffee mixture that’ll burst with flavor, then whip your cream until it’s nice and stiff.
Combining these elements thoroughly and chilling the mixture adds an extra touch of richness that makes this ice cream absolutely irresistible!
Step 1. Brew Strong Coffee Mixture
To brew a strong coffee mixture that will elevate your ice cream, start by gathering freshly ground coffee beans and water. You’ll want to use a good quality coffee to truly enhance the flavor of your ice cream. Measure out about 1 cup of water for every ¼ cup of coffee grounds; this ratio gives you a robust taste that balances beautifully with the creaminess you’re aiming for.
Next, boil the water in a saucepan. Once it starts bubbling, remove it from heat and add your coffee grounds. Stir the mixture gently to make certain all the grounds are fully saturated.
Now, let it steep for about 4 to 5 minutes. This step is vital—it allows the flavors to intensify!
After steeping, strain the coffee mixture through a fine mesh sieve or coffee filter to get rid of the grounds. What’s left is a rich, aromatic coffee concentrate that’s perfect for your ice cream base.
Let it cool down before incorporating it into your sweet concoction. The strong coffee flavor will shine through, making your homemade ice cream a delightful treat. Enjoy the process; your taste buds will thank you!
Step 2. Whip Cream Until Stiff
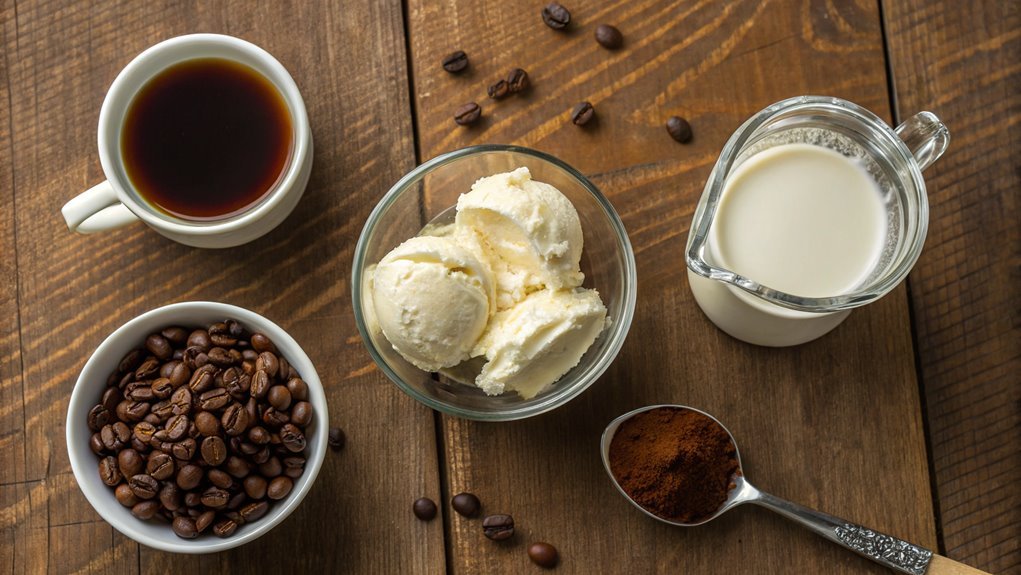
Once your coffee mixture has cooled, it’s time to whip the cream until it reaches stiff peaks. Grab your mixing bowl and pour in the chilled heavy cream.
Using an electric mixer on medium speed, begin whipping the cream. You’ll see it start to thicken, and that’s when the magic begins! As you whip, remember to keep an eye on the consistency—you want it to be fluffy and light.
In about four to five minutes, you’ll notice that the cream holds its shape nicely when you lift the beaters. This is the moment when you achieve those stiff peaks! To check, simply lift the mixer; the peaks should stand tall without drooping. If they’re soft, just keep blending for a little longer.
Whipping cream not only adds a delightful texture to your ice cream but also enhances its rich flavor.
You’ll feel a rush of excitement as you see it transform from liquid to the luscious, airy peaks that will elevate your ice cream experience. Trust me—you’ll be so proud of this step!
Now, you’re one step closer to that creamy coffee ice cream you can’t wait to enjoy!
Step 3. Combine Ingredients Thoroughly
Gently fold the whipped cream into your cooled coffee mixture, ensuring an even blend without deflating the airy texture you’ve just created. This is an essential step, as it’ll determine how light and creamy your ice cream will be.
Use a spatula, and take your time, scooping from the bottom and turning the mixture over itself. It’s all about precision here!
As you combine the ingredients, watch the rich coffee blend envelop the whipped cream, creating a beautiful swirl of dark and light. Feel free to add other flavors if you’re feeling adventurous! A splash of vanilla extract can enhance the coffee notes beautifully, while a sprinkle of chocolate chips can add a delightful crunch.
Once everything’s well combined, you’ll have a luxurious, creamy mixture that’s impossible to resist. Take a moment to savor the aroma; it’s like a café right in your kitchen!
Transfer your concoction into a suitable container, being sure to scrape the sides of your bowl for every last drop. The joy of making ice cream isn’t just in the eating but also in the creating.
You’re almost there, so get ready for the delicious results ahead!
Step 4. Chill Mixture for One Hour
While the mixture is rich and creamy, it needs to chill for about an hour to achieve the right consistency. This important step is where all those fantastic flavors meld together, creating a delightful ice cream experience.
Pour the combined ingredients into a bowl or container, making sure it’s large enough to allow some expansion as it chills.
Now, cover it tightly with plastic wrap or a lid. This keeps it fresh and prevents any unwanted odors from affecting your mixture. Place it in the refrigerator and set a timer for one hour.
During this time, you can daydream about your homemade coffee ice cream, imagining the rich, smooth texture and that wonderful coffee flavor dancing on your palate.
It’s also a great opportunity to tidy up your kitchen and get ready for the next steps. Think about whether you want to add mix-ins later, like chocolate chips or crushed cookies, to elevate your treat even further.
After an hour, you’ll be ready to take an exciting leap forward in your ice cream journey. You’re one step closer to enjoying your delicious creation, full of joy and caffeine goodness!
Step 5. Freeze Mixture for Four Hours
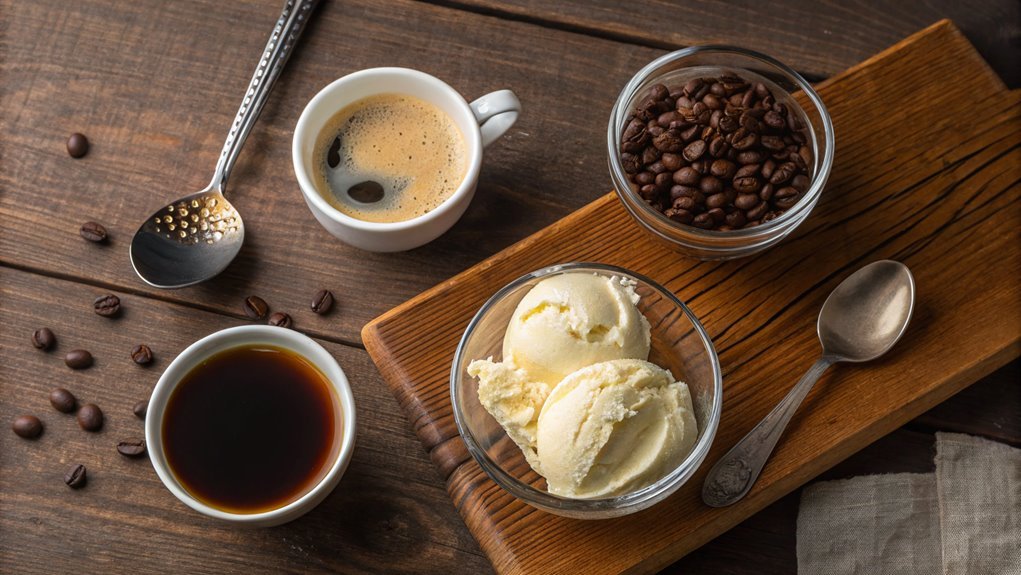
After the hour in the refrigerator, it’s time to take your chilled mixture and pour it into your ice cream maker. This is where the magic begins! Turn on your machine and watch as the mixture transforms into a creamy delight.
Make sure to follow the manufacturer’s instructions for your specific maker, as freezing times can vary. Typically, it’ll take about 20 to 30 minutes for the mixture to thicken up nicely.
Once your ice cream reaches the consistency you love, it’s time to transfer it to an airtight container. Don’t forget: the fun doesn’t end here! To deepen the flavor and texture, you’ll want to place your mixture in the freezer for at least four hours.
This step is essential—allowing your coffee ice cream to firm up will elevate it to a whole new level.
After that wait, you’ll have a wonderfully rich coffee ice cream ready to be savored. Serve it up in bowls or cones, and don’t be shy about adding toppings!
Enjoy every creamy bite of your homemade creation, and share it with friends for a perfect dessert experience. Happy freezing!
Final Thoughts
As you savor your homemade coffee ice cream, you’ll appreciate how easy it’s to create a delightful treat right in your own kitchen.
This rich, creamy dessert isn’t just a perfect way to cool off; it also brightens your day with its invigorating coffee flavor. Imagine scooping into that velvety texture, each bite reminiscent of your favorite café creation.
Making this ice cream at home gives you the freedom to customize it to your liking. You can experiment with different coffee beans or add a touch of vanilla for extra flavor.
The best part is, you don’t need fancy equipment or complicated techniques. Just follow the simple steps, and you’ll have a delicious dessert that impresses friends and family alike.
Frequently Asked Questions
Can I Make Coffee Ice Cream Without an Ice Cream Maker?
Sure, you don’t need fancy gadgets for a creamy treat! Just whisk together your ingredients, freeze them in a container, and stir every hour until it’s smooth. You’ll enjoy every delightful scoop without an ice cream maker!
What Type of Coffee Is Best for This Recipe?
For the best flavor, you’ll want to choose a medium to dark roast coffee. Freshly brewed coffee or finely ground coffee works well too, enhancing the richness and depth of your dessert. Enjoy the process!
How Long Does Homemade Coffee Ice Cream Last in the Freezer?
Don’t worry if you think homemade ice cream won’t last—typically, it stays good in the freezer for about two to three weeks. Just keep it well-sealed to maintain its delightful flavor and texture.
Can I Add Alcohol to the Coffee Ice Cream Mixture?
You can definitely add alcohol to the mixture! Just remember, too much might affect the freezing process. A splash enhances flavor, while a moderate amount keeps your ice cream creamy and easy to scoop. Enjoy experimenting!
Is There a Dairy-Free Version of Coffee Ice Cream?
Yes, there’s definitely a dairy-free version! You can use coconut milk or almond milk as a base. Just mix in your favorite coffee flavor and sweeteners, and you’ll have a delicious, creamy treat. Enjoy!
