Classic Vanilla Ice Cream Recipe
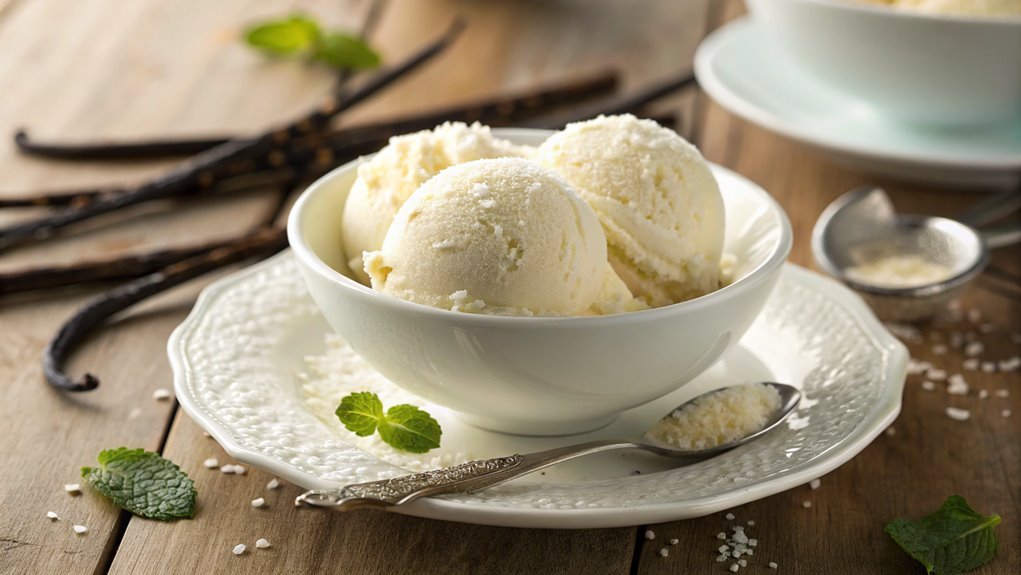
Creating classic vanilla ice cream is straightforward and rewarding. Begin by mixing heavy cream, whole milk, sugar, and vanilla extract, then chill and churn the mixture for creamy results.
For an elevated experience, follow key steps and tips. These enhancements ensure your first scoop is truly special.
Recipe
Making classic vanilla ice cream at home is a delightful process that yields a creamy and rich treat perfect for warm days or as a topping for your favorite desserts. This recipe is simple enough for anyone to follow and requires just a few basic ingredients.
With a little patience and a few steps, you’ll be enjoying homemade ice cream that rivals any store-bought option.
To begin, you’ll need to prepare a custard base by heating milk, cream, and sugar. The key to achieving a smooth texture is to temper the eggs before combining them with the heated milk mixture.
Once combined, the mixture will need to cool down before being churned in an ice cream maker. This process allows the flavors to meld beautifully, resulting in a dessert that isn’t only delicious but also a great way to impress family and friends.
Ingredients:
- 2 cups heavy cream
- 1 cup whole milk
- 3/4 cup granulated sugar
- 1 teaspoon pure vanilla extract
- 1/4 teaspoon salt
- 4 large egg yolks
Now let’s move on to the cooking steps.
Cooking Steps
Now that you’ve gathered your ingredients, it’s time to jump into the cooking steps!
First, you’ll mix the cream and sugar until they’re perfectly blended, creating a sweet base for your ice cream.
After chilling the mixture for 30 minutes, you’ll be ready to churn it in your ice cream maker, bringing you one step closer to that delicious homemade treat!
Step 1. Gather Your Ingredients First
Before diving into the delightful process of crafting classic vanilla ice cream, it’s essential to gather your ingredients. You’ll want to make sure you have everything ready to go, as this will make your ice cream-making experience smooth and enjoyable.
Start with heavy cream, which gives your ice cream that rich, creamy texture you love. Next, grab whole milk; it balances the cream and adds a lovely flavor. You’ll also need granulated sugar to sweeten your treat, and don’t forget the pure vanilla extract, which is key for that classic taste.
For the best results, use high-quality vanilla extract—trust me, it makes a difference! Additionally, you might want a pinch of salt to enhance the flavors. If you’re feeling adventurous, consider adding some mix-ins later, like chocolate chips or crushed fruits, but let’s stick to the basics for now.
Finally, gather your kitchen tools: a mixing bowl, whisk, and an ice cream maker, if you have one. With all your ingredients and tools in place, you’re ready to set out on this delicious journey. Get excited; you’re about to create something truly delightful!
Step 2. Mix Cream and Sugar
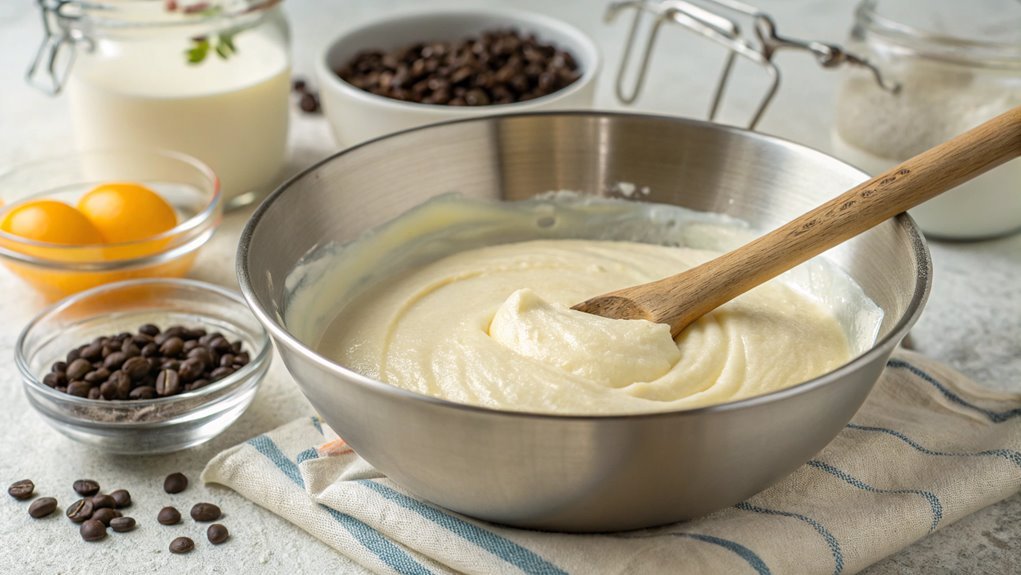
With your ingredients at the ready, it’s time to mix cream and sugar to form the base of your ice cream. Start by pouring two cups of heavy cream into a large mixing bowl. The richness of the cream will give your ice cream that luscious texture we all love.
Next, add one cup of granulated sugar. This is where the magic begins, as the sugar sweetens the cream, creating a delightful mixture that’ll make your taste buds sing!
Using a whisk or an electric mixer, blend the cream and sugar together until the sugar dissolves completely. This usually takes about two to three minutes. You want to see a smooth, glossy mixture that’s well combined.
Don’t rush this step; it’s essential for achieving that perfect creamy consistency. As you mix, you can already imagine all the delicious ice cream you’re about to create. The sweet aroma of the cream and sugar will make your kitchen feel like a confectionery paradise.
Once everything is blended, stand back and admire your hard work. You’re one step closer to enjoying a classic vanilla ice cream that’s homemade and oh-so-delicious!
Step 3. Chill Mixture for 30 Minutes
Chilling the mixture is a crucial step in making your vanilla ice cream. After you’ve mixed the cream and sugar, it’s time to let that delicious concoction cool down. Pour the mixture into a bowl or container, cover it tightly with plastic wrap, and pop it in the refrigerator.
This step not only helps the flavors meld beautifully, but it also enhances the texture of your ice cream. You’ll want to chill it for about 30 minutes. This short wait is important, so try not to rush it!
While you wait, you could daydream about the creamy treat that’s on its way or even gather your favorite toppings, like sprinkles or chocolate sauce. Use this time to confirm everything is ready for the next phase.
A well-chilled mixture will churn up into a smoother and creamier ice cream, giving you that perfect scoop every time. Plus, the cold temperature helps prevent ice crystals from forming, which means you’ll enjoy a velvety finish.
Step 4. Churn in Ice Cream Maker
Now that your mixture has chilled and the flavors have melded, it’s time to churn it in your ice cream maker.
Pour the chilled mixture into the machine, ensuring you don’t overfill it, as the ice cream will expand while churning. Follow your ice cream maker’s instructions—some machines require you to turn them on before adding the mixture, while others work best when you add it first.
As the machine churns, you’ll see the mixture transform. The paddle will aerate the ice cream, creating a light and creamy texture.
Keep an eye on it; this process usually takes about 20 to 30 minutes. You want the ice cream to reach a soft-serve consistency that looks inviting and delicious.
Don’t forget to taste it! The rich vanilla flavor should shine through, and the texture should be smooth and delightful.
If you’re feeling adventurous, you can even mix in some chocolate chips or crushed cookies during the last few minutes of churning.
Once you’re satisfied with the consistency, you’ll be one step closer to enjoying your homemade ice cream! Get ready to scoop your creation into a bowl or cone!
Step 5. Freeze Until Firm
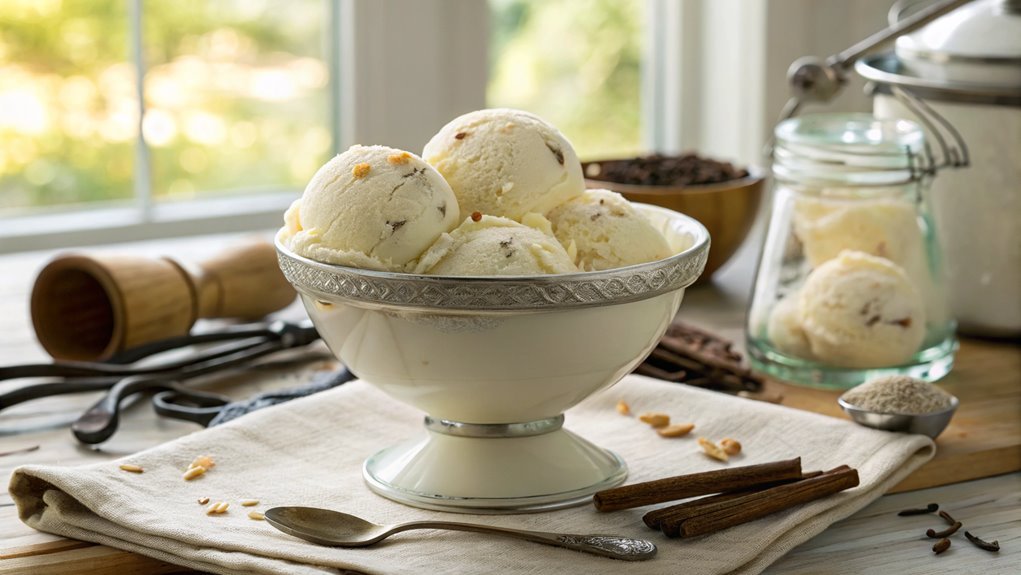
After churning your mixture to a delightful soft-serve consistency, it’s time to transfer it to a lidded container for freezing. Choose a container that’s suitable for your ice cream, ensuring it has enough space for expansion. This step is essential, as it allows your homemade treat to firm up beautifully.
Once you’ve poured the mixture in, smooth the top with a spatula to create an even surface. This simple action helps prevent ice crystals from forming, ensuring a creamy texture. Now, cover the container with its lid or plastic wrap to seal in that rich flavor.
Next, place your container in the freezer. You’ll want to let it freeze for at least four hours, but overnight is even better if you can wait! During this time, the ice cream will solidify, transforming from soft and fluffy to a perfectly scoopable delight.
After the waiting game, check your ice cream. If it’s firm to the touch, you’re ready to serve! Scoop it into bowls, top with your favorite sprinkles or sauces, and savor the joy of your homemade classic vanilla ice cream. Enjoy every creamy bite!
Final Thoughts
As you savor the rich, creamy goodness of your homemade classic vanilla ice cream, it’s clear that this delightful treat is the perfect way to celebrate any occasion.
Making your own ice cream isn’t just about enjoying a delicious dessert; it’s about the joy of creating something special from scratch. You’ve taken simple ingredients and transformed them into a delightful experience that everyone can share.
Whether it’s a hot summer day or a cozy winter evening, homemade vanilla ice cream brings a smile to your face and warmth to your heart.
Picture serving it at family gatherings, birthday parties, or just a quiet night in. It pairs beautifully with fruit, pie, or even a drizzle of chocolate syrup, making it incredibly versatile.
Don’t hesitate to experiment with flavors or mix-ins; the possibilities are endless! You can add chocolate chips, nuts, or even swirl in some caramel. Each batch can be a new adventure.
Frequently Asked Questions
Can I Substitute Heavy Cream With Milk?
You can substitute heavy cream with milk, but the texture and richness will change. If you want a creamier result, consider using whole milk or adding a bit of butter to enhance the flavor.
How Long Does Homemade Ice Cream Last in the Freezer?
Homemade ice cream typically lasts about two to three weeks in the freezer. After that, it may lose flavor and texture. To enjoy it best, consume it within that timeframe for ideal taste.
Is It Safe to Eat Raw Eggs in Ice Cream?
Eating raw eggs in ice cream is like dancing on a tightrope; it’s risky. You’re exposing yourself to potential salmonella. If you want peace of mind, use pasteurized eggs or a cooked custard base instead.
Can I Add Mix-Ins Like Chocolate Chips?
You can add mix-ins like chocolate chips to your ice cream. Just fold them in gently once your base is ready. It’ll create a delicious texture and flavor combination you’ll love! Enjoy!
What Equipment Do I Need to Make Ice Cream?
To make ice cream, you’ll need an ice cream maker, mixing bowls, a whisk, and a spatula. A thermometer can help with temperature precision, and you might also want an airtight container for storage.
Conclusion
Having crafted your own classic vanilla ice cream, enjoy the smooth, creamy delight. Whether plain or with toppings, every bite is a celebration of homemade goodness. Dive into this tasty adventure—your taste buds will thank you!
