Thai Mango Sticky Rice Recipe
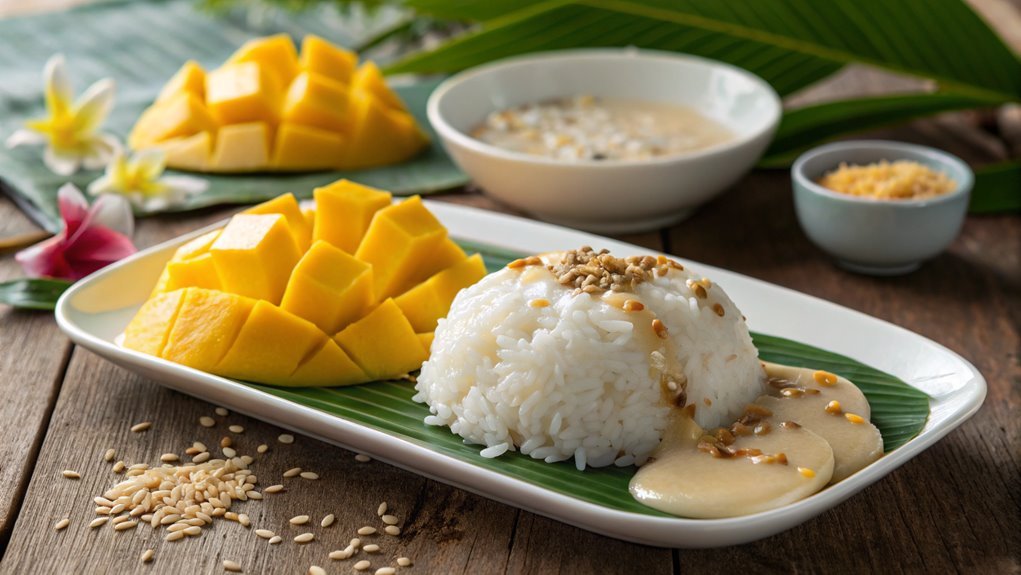
Thai Mango Sticky Rice is a beloved dessert that encapsulates the rich flavors of Thailand, combining the creamy texture of coconut with the sweetness of fresh mango. This dish not only delights the palate but also represents a cultural icon of Thai cuisine.
Achieving the perfect balance of sweetness and creaminess, along with mastering key techniques, elevates this dessert to extraordinary levels. Understanding these steps unveils the secrets behind this delightful treat, making it a valuable addition to your culinary repertoire.
Recipe
Thai Mango Sticky Rice is a beloved dessert that beautifully combines the sweetness of ripe mangoes with the rich, creamy texture of coconut sticky rice. This delightful dish is often enjoyed during the mango season in Thailand, but it can be savored any time of the year.
The harmony of flavors and textures makes it a favorite among both locals and visitors alike. With its simple yet satisfying ingredients, you can easily recreate this Thai street food classic in your own kitchen.
To prepare this dish, you’ll need to cook glutinous rice until it becomes tender and sticky. Then, you’ll mix the cooked rice with a luscious coconut sauce that brings a delightful creaminess to the dish.
Finally, the sticky rice is served alongside fresh, juicy mango slices, making it a perfect treat for warm days. With just a few ingredients and some easy steps, you can indulge in this sweet and satisfying dessert that captures the essence of Thai cuisine.
Ingredients
- 1 cup glutinous rice (also known as sticky rice)
- 1 ½ cups coconut milk
- ¾ cup sugar
- ½ teaspoon salt
- 2 ripe mangoes, peeled and sliced
- Sesame seeds or mung beans for garnish (optional)
Now let’s move on to the cooking steps.
Cooking Steps
Now that you’ve got the ingredients ready, it’s time to jump into the cooking steps that will transform your sticky rice and mango into a delightful treat!
Start by rinsing the sticky rice to remove excess starch, then soak it overnight to achieve that perfect texture.
Once it’s ready, you’ll steam the rice, whip up a creamy coconut sauce, and add those luscious mango slices for the ultimate Thai dessert experience!
Step 1. Rinse the Sticky Rice
Before cooking the sticky rice, it’s vital to rinse it thoroughly to remove excess starch, which can make the final dish overly sticky. Start by measuring out your sticky rice, about two cups should do for a delightful serving.
Place the rice in a large bowl and cover it with cold water. With your hands, gently swirl the rice around to help release the starch. You’ll notice the water getting cloudy—that’s the starch leaving!
Next, carefully drain the water and repeat this process two or three times until the water runs almost clear. This step is essential because it helps achieve that perfect, chewy texture we all love in Thai mango sticky rice.
Don’t rush! Enjoy the moment as you prepare this delicious dish. Once you’ve rinsed the rice thoroughly, you’ll feel the excitement of creating something truly special.
Now, the sticky rice is ready for the next step in your cooking adventure. This is where the magic really begins! Get ready to soak it overnight and bring the flavors to life. Your taste buds will thank you for the effort, and you’ll be one step closer to an amazing Thai dessert experience!
Step 2. Soak the Rice Overnight
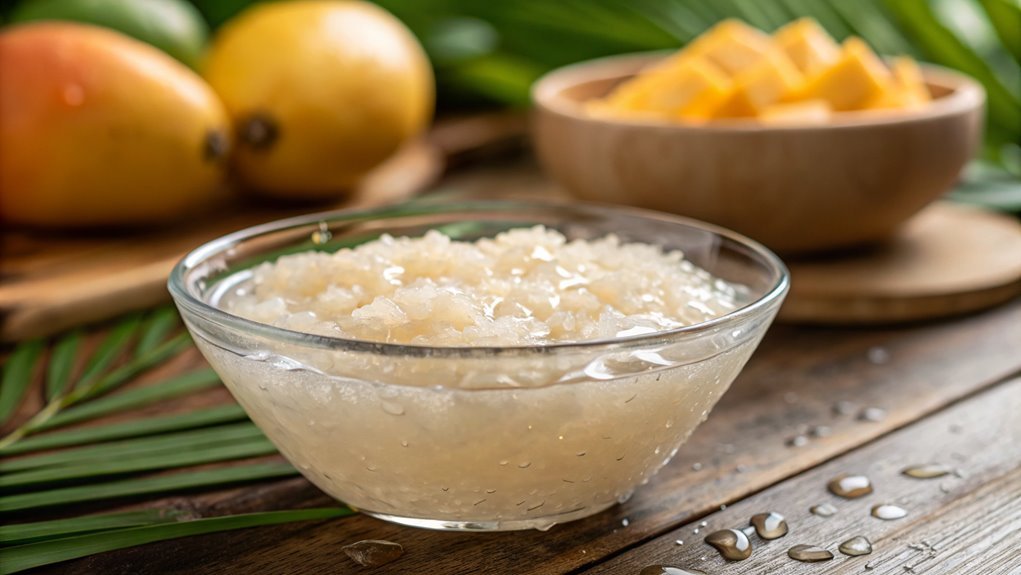
To guarantee your sticky rice achieves that perfect texture, soak it overnight in water. This vital step helps the rice absorb moisture, making it tender and sticky when cooked. Plus, it’s super easy! Just fill a bowl with water, add the rinsed rice, and let it soak.
You’ll wake up to perfectly prepped rice, ready for the next cooking stage.
Here are a few tips to make your soaking process even better:
- Use enough water: Confirm the rice is fully submerged to allow for even absorption.
- Choose the right container: A large bowl works best to prevent overflow as the rice expands.
- Keep it cool: Store the soaking rice in a cool place to avoid any unwanted fermentation.
- Set a reminder: Don’t forget to soak the rice the night before to avoid last-minute stress!
Step 3. Steam the Soaked Rice
After soaking the rice overnight, it’s time to steam it for that signature sticky texture.
Begin by draining the soaked rice in a sieve or colander, letting it sit for a couple of minutes to remove any excess water. While the rice drains, prepare your steaming setup. You can use a bamboo steamer lined with cheesecloth or a traditional steamer pot. If you’re using a bamboo steamer, make sure to heat water in a pot, ensuring it’s simmering but not boiling too vigorously.
Once your steamer’s ready, spread the drained rice evenly in the steamer basket. Cover it with a lid or a clean cloth to trap the steam.
Steam the rice for about 25 to 30 minutes, checking occasionally to make sure the water hasn’t evaporated completely. You’ll know the rice is done when it turns translucent and feels sticky to the touch.
This steaming process is essential, as it helps achieve that beautiful texture you crave.
Once it’s ready, carefully remove the rice from the steamer. You’ll be so excited to see how perfectly it turned out! Celebrate this step, as you’re one step closer to making delicious Thai mango sticky rice!
Step 4. Prepare Coconut Sauce
Start by combining coconut milk, sugar, and a pinch of salt in a saucepan over medium heat. Stir the mixture gently as it warms up, allowing the sugar to dissolve completely. You want a smooth, creamy sauce that’s just bursting with rich, coconut flavor.
Keep an eye on it, and don’t let it boil—this sauce is delicate!
As you prepare the coconut sauce, consider these tips to enhance your experience:
- Use fresh coconut milk for the best flavor. If you can, opt for canned varieties that are labeled “pure” for a delightful taste.
- Adjust sweetness by tasting as you go. If you like it sweeter, feel free to add a bit more sugar.
- Experiment with flavors! A splash of vanilla extract or a hint of pandan can elevate the sauce even more.
- Keep it warm until you’re ready to serve. This sauce is best enjoyed warm, drizzled over your sticky rice.
Once the sauce is ready, you’ll be amazed at how it complements the rice.
Enjoy this delightful treat—you’re in for a real culinary adventure!
Step 5. Add Mango Slices
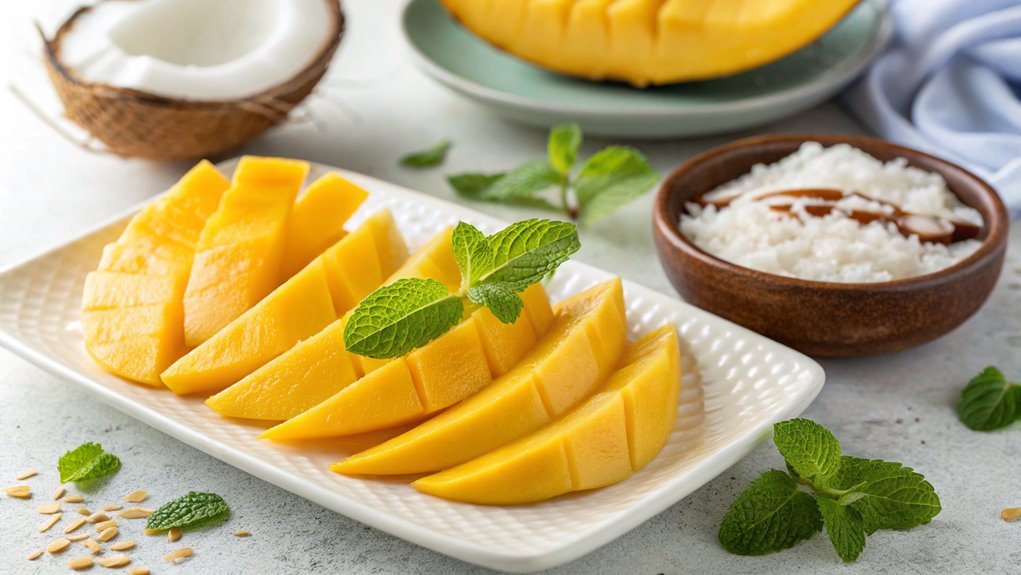
Adding mango slices is an essential step that brings the dish to life. Fresh, ripe mangoes not only add beautiful color but also provide a sweet, juicy contrast to the creamy sticky rice.
To start, choose two ripe mangoes, ensuring they feel slightly soft when you press them gently. Next, peel the mangoes and slice them into thin, elegant strips. You want to showcase their vibrant yellow flesh, so take your time with this part—it’s worth it!
Once your mango slices are ready, it’s time to present your masterpiece. On a serving plate, arrange a generous scoop of the warm sticky rice, creating a lovely mound. Then, fan out the mango slices beside or on top of the rice, showcasing their stunning shape.
Finally, drizzle your prepared coconut sauce over the whole dish, allowing the rich flavors to meld beautifully.
Don’t forget to take a moment and admire your creation! The combination of sticky rice, mango, and coconut sauce is simply irresistible. Serve it immediately, and watch everyone’s faces light up with joy as they dig into this delightful Thai treat.
Enjoy every bite—this is a dish that truly celebrates the magic of flavors!
Final Thoughts
While you might be tempted to rush through the preparation of Thai mango sticky rice, taking your time to savor each step truly enhances the experience. This delightful dessert isn’t just about the final product; it’s about the joy of cooking and enjoying something wonderful that you’ve created.
Each layer of flavor brings you closer to that perfect bite, and trust me, it’s worth it!
As you take a moment to reflect on your creation, consider these elements to elevate your dish:
- Choose ripe mangoes: The sweetness of ripe mangoes makes all the difference.
- Experiment with coconut milk: Adjust the sweetness or creaminess to suit your taste.
- Presentation matters: A beautiful plating can make your dish even more enjoyable.
- Share with loved ones: Enjoying this treat together can make it a memorable occasion.
Don’t hesitate to invite friends and family to join you in this culinary adventure. You’ll not only impress them with your skills, but you’ll also create lasting memories.
Frequently Asked Questions
Can I Use Frozen Mango for This Recipe?
Yes, you can use frozen mango for this recipe. Just thaw it beforehand and make certain it’s adequately sweet. It might slightly alter the texture, but it’ll still taste delicious and satisfying in your dish.
What Type of Rice Is Best for Sticky Rice?
Choosing the right rice is like picking the perfect canvas for an artist. You’ll want to use glutinous rice, also known as sticky rice, for that ideal chewy texture and authentic flavor in your dish.
How Do I Store Leftover Mango Sticky Rice?
To store leftover mango sticky rice, let it cool completely, then place it in an airtight container. Refrigerate for up to three days. Reheat gently in the microwave before serving to enjoy its deliciousness again.
Can I Make This Recipe Vegan-Friendly?
Can you imagine enjoying a delicious dessert that’s also vegan-friendly? You can definitely make this recipe vegan by swapping out any dairy ingredients for plant-based alternatives, ensuring it’s just as satisfying without the animal products.
What Can I Serve With Mango Sticky Rice?
You can serve mango sticky rice with fresh fruit, like sliced strawberries or ripe bananas, or pair it with a light coconut sorbet. Adding a drizzle of coconut cream enhances the flavors beautifully, creating a delightful dessert experience.
Conclusion
Thai Mango Sticky Rice is a bridge connecting flavors and cultures. This delightful dessert shows how simple ingredients can create extraordinary experiences. With creamy coconut sticky rice and juicy mangoes, you’ll find joy in cooking and sharing. Gather your ingredients and start this culinary adventure—you won’t regret it!

